The woman at the community garden stand watched me paw through her bin of sugar pumpkins, probably looking a little too serious about it. She didn’t say anything at first. Then she reached into her apron pocket and pulled out a small paper bag, already folded at the top. “You’re not just gonna carve those, are you?” she asked. I laughed and admitted I usually just tossed the seeds. She handed me the bag and said, “Try these. My grandmother’s way. No boiling, no fuss.” Inside was a handwritten note with three ingredients and an oven temperature. I didn’t even catch her name—Garden Lady, I call her in my mind—but that little bag changed how I look at pumpkin season forever.
Honestly, I was skeptical at first. Cinnamon sugar on a seed that’s usually doused in salt and spice? It felt wrong, like putting maple syrup on a potato chip. But the first batch I made, I stood at the counter eating them straight off the baking sheet, and I knew she was onto something. The trick, I learned after burning one batch and under-toasting another, is that you don’t need to babysit them. You just need a bowl, a spoon, and a little patience. That’s it. I mean, how many recipes can you say that about?
Maybe you’ve been there—standing over a pumpkin post-carving, wondering if the seeds are worth the effort. Or maybe you’ve never bothered because the thought of separating all that stringy pulp feels like a chore. Let me tell you, this version changes the game. No soaking overnight. No drying for hours. Just rinse, toss, bake, and suddenly you’ve got a crunchy, sweet snack that makes your kitchen smell like a fall candle exploded in the best way. The recipe stayed with me because it’s the kind of thing you make without thinking, and then you find yourself craving it in July when pumpkins aren’t even in season.
Why You’ll Love This Recipe
I’ve tested this method about a dozen times across three different ovens, and I can tell you with confidence: this is the easiest path to perfect baked pumpkin seeds. No chef’s coat required, no special equipment, no stress. Here’s why this one stands out from every other recipe you’ll find.
- Quick & Easy: From pumpkin to snack in under 25 minutes. No boiling, no soaking, no waiting overnight for the seeds to dry. You can literally make these while your pumpkin is still on the counter waiting to be carved.
- Simple Ingredients: You need exactly four things—pumpkin seeds, butter, cinnamon, and sugar. That’s it. No trip to a specialty store, no hunting for obscure spices. Everything is probably in your pantry right now.
- Perfect for Fall Snacking: These are great for Halloween parties, Thanksgiving snacking, or just Tuesday afternoons when you want something crunchy that isn’t chips. They also make a killer topping for yogurt or oatmeal.
- Crowd-Pleaser: I brought a batch to a potluck once, and someone asked for the recipe before they even finished chewing. Kids love them because they taste like cinnamon toast, and adults love them because they’re not another sugary dessert.
- Unbelievably Delicious: The texture is what gets you—crunchy on the outside with a slight chew in the middle, coated in butter and cinnamon sugar that caramelizes just enough to make you reach for another handful.
What makes this recipe different from the rest is the technique. Most recipes tell you to boil the seeds first, which adds time and a whole extra pot to wash. Others insist on drying them for hours before baking. My method skips all that nonsense. You rinse, pat dry, toss, and bake. The butter does the work of helping the sugar and cinnamon stick, and the high heat creates that caramelized coating without burning. It’s not just another version of baked seeds—it’s the version that respects your time and your sink.
This recipe isn’t just good—it’s the kind that makes you close your eyes after the first bite. It’s comfort food reimagined: healthier than candy, faster than a batch of cookies, but with the same soul-soothing satisfaction. Perfect for impressing guests without stress, or turning a simple pumpkin-carving session into something memorable.
What Ingredients You Will Need
This recipe uses simple, wholesome ingredients to deliver bold flavor and satisfying crunch without the fuss. Everything here is probably already in your kitchen, which makes it perfect for those spontaneous pumpkin projects.
- Fresh pumpkin seeds (1 cup, about 4 ounces) — Scooped straight from a sugar pumpkin or carving pumpkin. Rinse them well in a colander to remove the stringy pulp. Pat them dry with a clean kitchen towel—wet seeds won’t crisp up properly. You can also use store-bought raw pumpkin seeds if you don’t have a pumpkin handy.
- Unsalted butter (2 tablespoons, melted) — This is what helps the cinnamon sugar stick and gives the seeds that rich, toasty flavor. I prefer unsalted so I can control the salt level, but salted butter works in a pinch—just skip any added salt. Use melted coconut oil if you need a dairy-free option.
- Granulated sugar (2 tablespoons) — Regular white sugar works beautifully here. It melts and caramelizes slightly during baking, creating that sweet, crunchy coating. You can use coconut sugar for a less processed option, though the color will be darker and the flavor slightly more caramel-like.
- Ground cinnamon (1 teaspoon) — The star of the show. Use fresh cinnamon if you have it—the flavor is noticeably brighter. I personally prefer Saigon cinnamon for its stronger, sweeter profile, but any variety works. If you’re feeling adventurous, try a pumpkin pie spice blend instead.
- Pinch of salt (optional, 1/8 teaspoon) — A tiny bit of salt balances the sweetness and makes the cinnamon flavor pop. I add it about half the time, depending on my mood. If you’re using salted butter, skip this entirely.
That’s the whole list. Four ingredients, zero fuss. The beauty of this recipe is that it’s endlessly adaptable—you can swap the cinnamon for cardamom, add a pinch of nutmeg, or even toss in some vanilla extract for extra warmth. But the base version is perfect as-is, and I’d encourage you to try it exactly as written before you start experimenting.
One quick note on pumpkin seeds: if you’re using seeds from a carving pumpkin, they’ll be larger and have a thicker white hull. Sugar pumpkin seeds are smaller and more tender, which means they cook faster and have a better seed-to-shell ratio. Either works, just adjust your baking time by a minute or two if you’re using big carving pumpkin seeds.
Equipment Needed
You don’t need much for this recipe, which is honestly my favorite part. Here’s what you’ll need:
- Colander or fine-mesh strainer — For rinsing the seeds and separating them from the pumpkin pulp. A regular colander works fine; just shake it vigorously to help the pulp fall through.
- Clean kitchen towel or paper towels — For patting the seeds dry. A lint-free towel works best, but paper towels are perfectly fine and easier to toss afterward.
- Mixing bowl — Medium-sized, for tossing the seeds with butter, sugar, and cinnamon. Any bowl works—I use a ceramic one, but glass or stainless steel is fine.
- Baking sheet — A rimmed baking sheet is ideal to keep the seeds from rolling off. I use a half-sheet pan, but any size works as long as the seeds are in a single layer.
- Parchment paper or silicone baking mat — Optional but highly recommended. It prevents sticking and makes cleanup a breeze. If you don’t have either, you can grease the pan lightly with butter or cooking spray.
- Spatula or wooden spoon — For stirring the seeds halfway through baking. Nothing fancy needed here.
That’s it. No food processor, no dehydrator, no special gadgets. If you have a working oven and a spoon, you can make these. I’ve made them in a toaster oven before, and they turned out just as good—just keep an eye on them since toaster ovens run hot.
Preparation Method
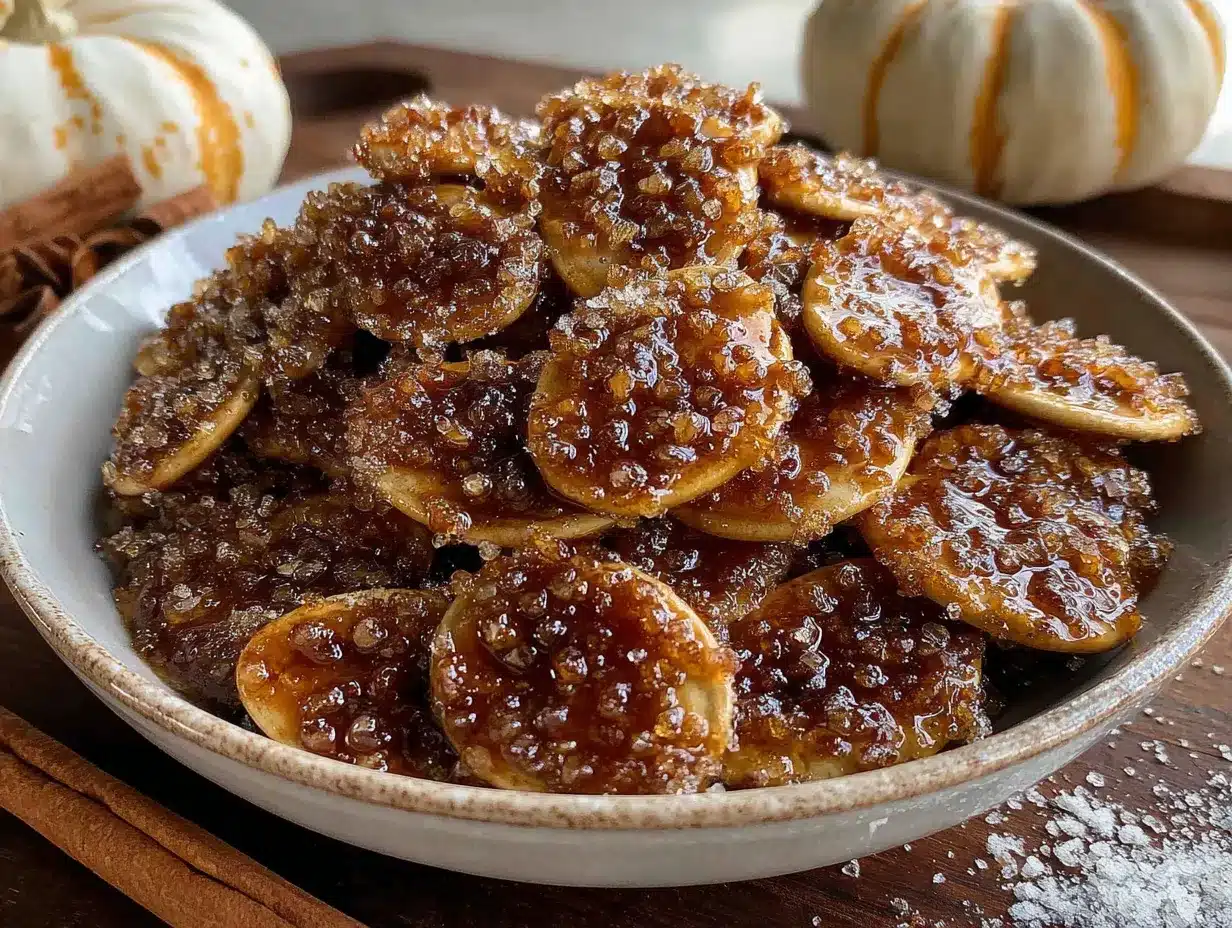
This is where the magic happens. Follow these steps, and you’ll have a batch of cinnamon sugar pumpkin seeds that rival anything you’d buy at a farmers market.
- Preheat your oven to 350°F (175°C). Give it a full 10-15 minutes to come to temperature. A properly preheated oven is the difference between perfectly toasted seeds and sad, chewy ones. While the oven heats, line your baking sheet with parchment paper if you’re using it.
- Prepare the pumpkin seeds. Scoop the seeds out of your pumpkin and place them in a colander. Run cool water over them while using your fingers to separate the seeds from the stringy pulp. Don’t stress about getting every last bit of pulp—a little bit won’t hurt anything. This takes about 2-3 minutes. Shake the colander well to remove excess water.
- Dry the seeds thoroughly. Transfer the rinsed seeds to a clean kitchen towel or a layer of paper towels. Pat them dry, pressing gently to absorb moisture. Let them sit for 5 minutes while you prepare the coating mixture. This step matters more than you think—wet seeds steam instead of toast, and you’ll end up with soft, sad seeds. Trust me, I learned this the hard way.
- Mix the coating. In your mixing bowl, combine the melted butter, granulated sugar, ground cinnamon, and optional salt. Stir until the sugar starts to dissolve into the butter. It won’t be completely smooth, and that’s fine. The mixture should look like a thick, grainy paste.
- Toss the seeds. Add the dried pumpkin seeds to the bowl with the butter mixture. Use a spatula or spoon to toss everything together until every seed is coated. Don’t rush this—take about 30 seconds to make sure there are no dry spots. The seeds should look glossy and speckled with cinnamon sugar.
- Spread on the baking sheet. Pour the coated seeds onto your prepared baking sheet. Spread them into a single, even layer. If they’re piled on top of each other, they’ll steam instead of crisp. Give them a little space—they’re not shy.
- Bake for 10 minutes. Place the baking sheet on the center rack of your oven. Set a timer for 10 minutes. At this point, your kitchen will start smelling like a fall bakery, and you’ll be tempted to open the oven and peek. Resist the urge—every time you open the door, heat escapes and your baking time increases.
- Stir and rotate. After 10 minutes, pull the baking sheet out and give the seeds a good stir with your spatula. This ensures even toasting. Rotate the pan front to back as well, since most ovens have hot spots. Spread them back into a single layer.
- Bake for another 5-8 minutes. Return the sheet to the oven and bake for another 5-8 minutes. Start checking at the 5-minute mark. The seeds are done when they’re golden brown and smell deeply toasted. They’ll continue to crisp as they cool, so don’t let them get too dark in the oven.
- Cool completely. Remove the baking sheet from the oven and let the seeds cool on the pan for at least 10 minutes. Don’t touch them yet—they’re hot and they need time to set. As they cool, you’ll hear a faint crackling sound, which is the sugar hardening into that perfect crunchy coating.
- Break apart and serve. Once cooled, the seeds might be slightly stuck together in clumps. That’s normal and actually desirable—those clusters are the best part. Gently break them apart with your fingers and transfer to a serving bowl. Or just eat them straight off the pan. No judgment here.
A few visual cues to watch for: the seeds should look glossy when they go into the oven and turn a warm, golden brown by the time they’re done. The sugar coating will bubble slightly during baking, which is perfectly fine. If you see any seeds turning dark brown or black, pull them out immediately—they’ve crossed into burnt territory.
Cooking Tips & Techniques
I’ve burned more batches of pumpkin seeds than I care to admit, so let me save you the trouble. Here are the lessons I learned the hard way.
Don’t skip the drying step. I know it’s tempting to just rinse and toss, but wet seeds are the enemy of crispiness. When water hits hot oil or butter, it creates steam, and steam makes seeds chewy. Pat them dry, let them sit for a few minutes, then pat them again. Your future self will thank you.
Watch the last few minutes closely. The difference between perfectly toasted and burnt is about 90 seconds. Sugar burns fast once it reaches a certain temperature. I recommend staying near the oven during the last 3-4 minutes of baking. Set a timer, but trust your nose—if you smell something toasty and sweet, they’re probably done.
Use room temperature seeds. If your seeds are cold from being in the fridge, let them sit on the counter for 10 minutes before coating. Cold seeds can cause the butter to seize up, making it harder to get an even coating. This is a small detail, but it makes a difference.
Double the batch if you’re smart. These disappear fast. I made a single cup of seeds once thinking it would last me a week, and they were gone in two days. If you’re already going through the effort, make a double batch. They store well, and you’ll thank yourself later.
One mistake I still make: I always underestimate how much the sugar coating can burn. One time I walked away to answer the phone, and by the time I came back, my kitchen smelled like a campfire. The seeds were unsalvageable. Set a timer on your phone, not just the oven’s timer, so you hear it wherever you are in the house.
Variations & Adaptations
Once you’ve mastered the basic version, the possibilities are endless. Here are some variations I’ve tried and loved.
Spiced Chai Version: Add 1/4 teaspoon each of ground cardamom, ginger, and cloves along with the cinnamon. The result tastes like a chai latte in seed form. I made this for a book club meeting and everyone asked for the recipe. It’s especially good in the winter when you want something warming.
Maple Pecan Twist: Replace the granulated sugar with 2 tablespoons of maple syrup and add 1/4 cup of chopped pecans to the mix. The maple syrup makes the seeds slightly chewier and more caramelized. Just note that maple syrup burns faster than sugar, so reduce the baking time by 2-3 minutes and watch them carefully.
Savory-Sweet Hybrid: Add 1/4 teaspoon of cayenne pepper or smoked paprika along with the cinnamon. The heat cuts through the sweetness and makes these dangerously addictive. I brought a batch of these to a football watch party, and they were gone before halftime. Seriously.
Vegan Option: Substitute the butter with melted coconut oil or vegan butter. Coconut oil adds a subtle tropical note that pairs surprisingly well with cinnamon. Use refined coconut oil if you don’t want any coconut flavor.
Gluten-Free Note: This recipe is naturally gluten-free, which makes it perfect for guests with celiac disease or gluten sensitivity. Just make sure your cinnamon and sugar are certified gluten-free if that’s a concern—some brands process spices in facilities that also handle wheat.
Serving & Storage Suggestions
These seeds are best served at room temperature, straight from the baking sheet or a bowl. The texture is at its peak within the first 24 hours—crunchy, slightly caramelized, and perfectly sweet. Here’s how to enjoy them:
As a snack: Serve them in a small bowl alongside other fall treats like apple slices, popcorn, or dried cranberries. They’re great for parties, movie nights, or just munching while you’re cooking dinner.
As a topping: Sprinkle them over yogurt, oatmeal, or smoothie bowls for added crunch. They also work beautifully on top of pumpkin soup or butternut squash soup—the sweetness balances the savory notes perfectly.
In baked goods: Crush them slightly and fold them into muffin batter or quick bread for added texture. I’ve added them to banana bread and pumpkin bread with excellent results.
Storage: Once completely cool, transfer the seeds to an airtight container. They’ll keep at room temperature for up to 5 days. If you live in a humid climate, add a silica gel packet to the container to keep them crisp. Do not refrigerate them—the moisture from the fridge will make them soft.
Freezing: You can freeze these seeds for up to 3 months. Place them in a freezer-safe bag or container, squeeze out as much air as possible, and seal. To refresh, spread them on a baking sheet and warm them in a 300°F oven for 3-4 minutes. They won’t be quite as crunchy as fresh, but they’re still delicious.
Flavor development: These seeds actually taste better the next day. The cinnamon and sugar have time to meld together, and the texture settles into that perfect crunch. If you can resist eating them all immediately, store them overnight and enjoy them tomorrow.
Nutritional Information & Benefits
Here’s the nutritional breakdown for a 1/4 cup serving (about 1 ounce) of these cinnamon sugar pumpkin seeds:
| Nutrient | Amount |
|---|---|
| Calories | 180 |
| Total Fat | 12g |
| Saturated Fat | 4g |
| Carbohydrates | 14g |
| Fiber | 2g |
| Sugar | 9g |
| Protein | 6g |
| Iron | 10% DV |
| Magnesium | 20% DV |
| Zinc | 15% DV |
Pumpkin seeds are a nutritional powerhouse. They’re packed with magnesium, which supports muscle function and sleep quality, and zinc, which is essential for immune health. The healthy fats and protein make them a satisfying snack that won’t spike your blood sugar like processed sweets. Plus, the cinnamon adds anti-inflammatory benefits and may help regulate blood sugar levels.
This recipe is naturally gluten-free and can be made dairy-free with a simple butter swap. It’s also nut-free, making it safe for school lunches and parties. The only potential allergen is dairy from the butter, which is easily substituted.
Conclusion
If you’ve never bothered with pumpkin seeds before, let this be your invitation. This recipe is proof that the simplest things often turn out the best. No complicated techniques, no obscure ingredients, no hours of prep—just four ingredients, one bowl, and a little patience. The result is a snack that tastes like fall in the best possible way.
I still think about that woman at the community garden stand sometimes. She probably has no idea that her little paper bag started a tradition in my kitchen. Every time I scoop seeds out of a pumpkin, I remember her quiet confidence—the way she knew this recipe was good enough to share without any fanfare. That’s the kind of recipe this is. It doesn’t need a backstory or a fancy presentation. It just needs to be made.
So go ahead—carve that pumpkin, save those seeds, and give this recipe a try. Adjust the cinnamon to your liking, add a pinch of nutmeg if you’re feeling bold, and make it your own. When you take that first crunchy, sweet bite, you’ll understand why I keep coming back to this recipe year after year. And if you come up with a variation I haven’t tried, I’d love to hear about it. Drop a comment below and share your creation—I’m always looking for new ways to enjoy this simple, perfect snack.
Frequently Asked Questions
Can I use pre-packaged pumpkin seeds from the store?
Absolutely. If you don’t have a fresh pumpkin, you can use raw, unsalted pumpkin seeds from the store. Just skip the rinsing step and proceed with the recipe as written. The texture will be slightly different since store-bought seeds are already dried, but they’ll still turn out delicious.
Do I have to remove the white outer shell?
No, you don’t. The white hull is edible and contains fiber. Some people prefer to buy hulled pumpkin seeds (pepitas), but for this recipe, the hull adds nice crunch and texture. If you want a more tender seed, you can use hulled pepitas, but reduce the baking time by 2-3 minutes since they’re smaller.
Why did my seeds turn out chewy instead of crunchy?
Chewy seeds usually mean one of two things: they weren’t dried thoroughly before baking, or they weren’t baked long enough. Make sure you pat the seeds completely dry with a towel before adding the coating. If they’re still chewy after cooling, return them to the oven for another 3-4 minutes.
Can I make these in an air fryer?
Yes! Air fryers work great for this recipe. Preheat your air fryer to 300°F (150°C), spread the coated seeds in the basket in a single layer, and cook for 8-10 minutes, shaking the basket halfway through. Keep an eye on them toward the end since air fryers can run hot.
How do I prevent the sugar from burning?
The key is watching the last few minutes closely. Sugar burns quickly once it reaches a certain temperature. If your oven runs hot, reduce the temperature to 325°F (160°C) and bake for a few minutes longer. You can also stir the seeds more frequently during the last half of baking to distribute the heat evenly.
Pin This Recipe!
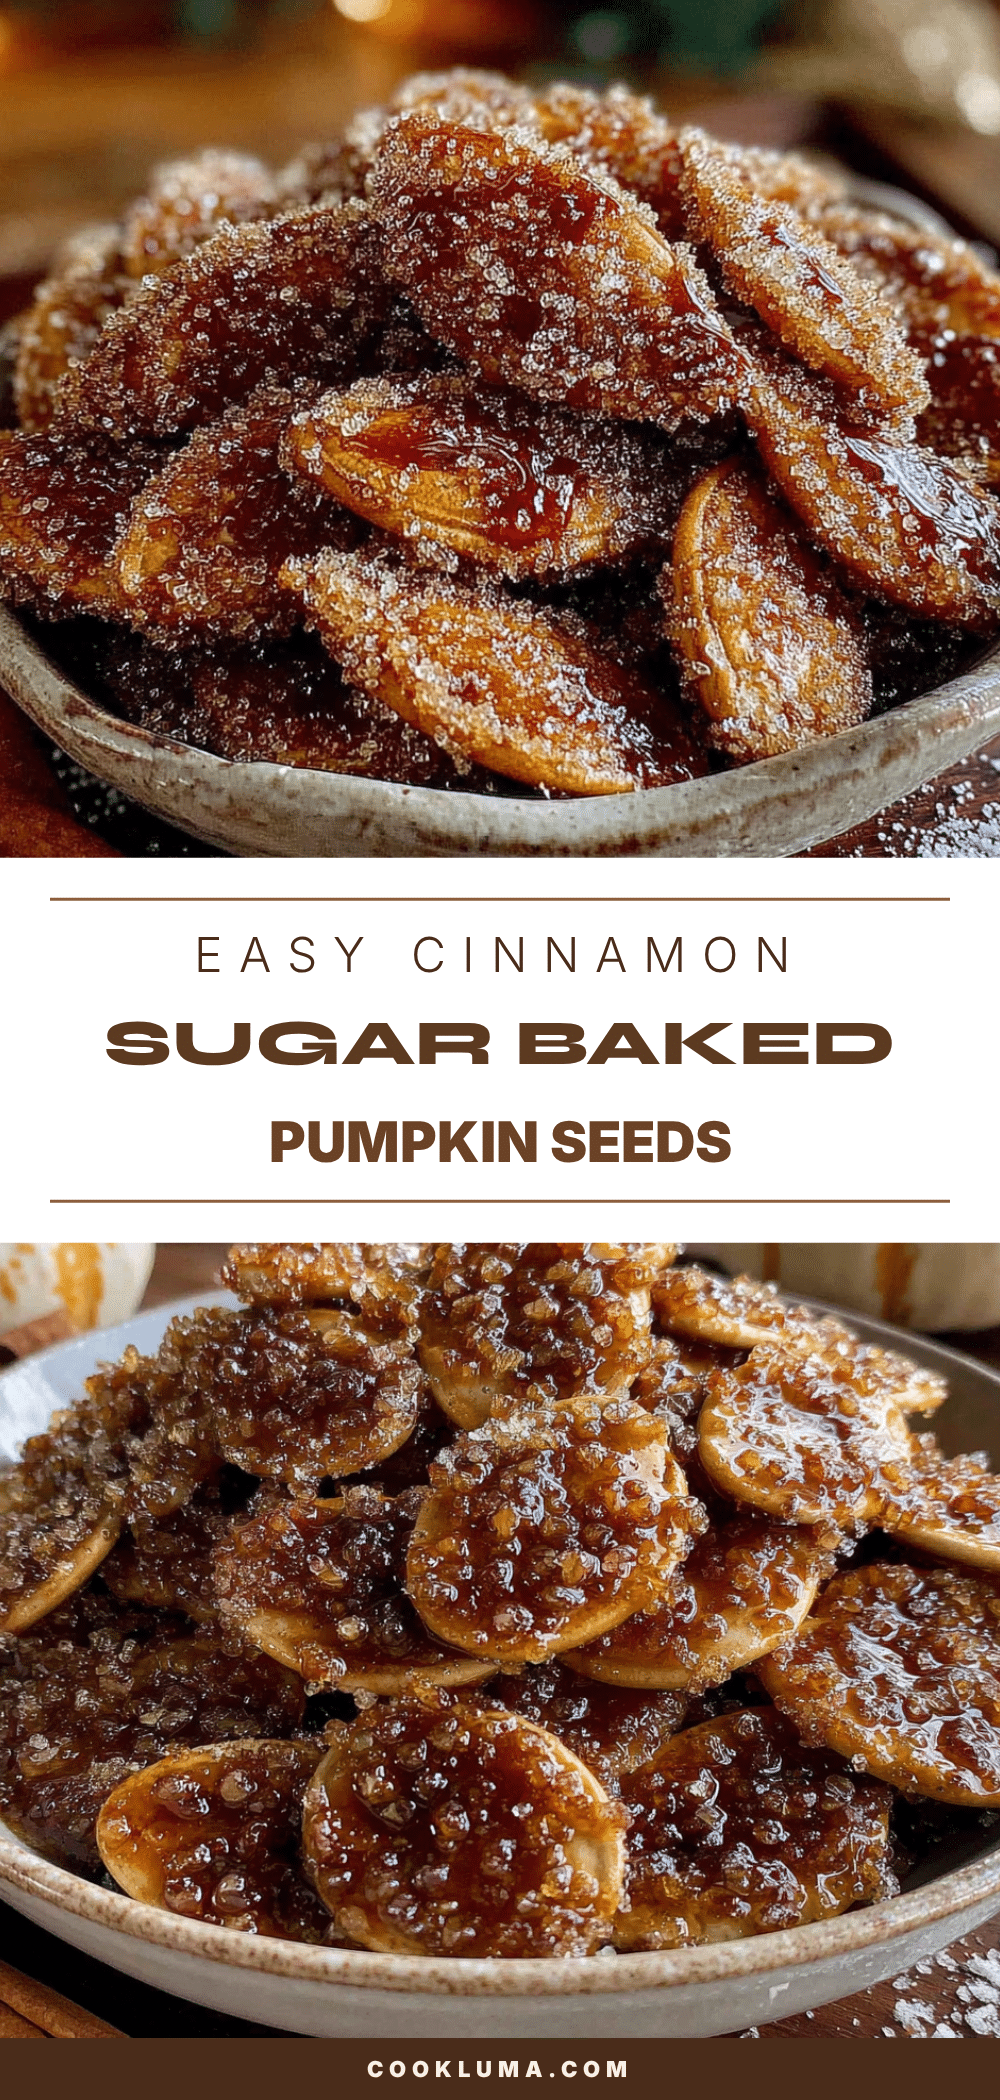
Easy Cinnamon Sugar Baked Pumpkin Seeds
Crunchy, sweet, and perfectly caramelized, these cinnamon sugar pumpkin seeds are the easiest fall snack you’ll ever make. No boiling, no soaking, just rinse, toss, and bake for a treat that tastes like cinnamon toast.
- Prep Time: 10 minutes
- Cook Time: 15 minutes
- Total Time: 25 minutes
- Yield: 4 servings 1x
- Category: Snack
- Cuisine: American
Ingredients
- 1 cup fresh pumpkin seeds (about 4 ounces)
- 2 tablespoons unsalted butter, melted
- 2 tablespoons granulated sugar
- 1 teaspoon ground cinnamon
- 1/8 teaspoon salt (optional)
Instructions
- Preheat your oven to 350°F (175°C). Line a baking sheet with parchment paper if desired.
- Scoop the seeds out of your pumpkin and place them in a colander. Rinse with cool water while using your fingers to separate the seeds from the stringy pulp. Shake well to remove excess water.
- Transfer the rinsed seeds to a clean kitchen towel or paper towels. Pat them dry, pressing gently to absorb moisture. Let them sit for 5 minutes.
- In a mixing bowl, combine the melted butter, granulated sugar, ground cinnamon, and optional salt. Stir until the sugar starts to dissolve into the butter, forming a thick, grainy paste.
- Add the dried pumpkin seeds to the bowl and toss with a spatula or spoon until every seed is coated, about 30 seconds.
- Pour the coated seeds onto the prepared baking sheet and spread them into a single, even layer.
- Bake for 10 minutes. Do not open the oven door during this time.
- After 10 minutes, remove the baking sheet from the oven and stir the seeds. Rotate the pan front to back. Spread them back into a single layer.
- Return to the oven and bake for another 5-8 minutes, checking at the 5-minute mark. The seeds are done when they are golden brown and smell deeply toasted.
- Remove from the oven and let the seeds cool on the pan for at least 10 minutes. They will continue to crisp as they cool.
- Once cooled, gently break apart any clumps and serve.
Notes
For best results, dry the seeds thoroughly before baking to ensure crispiness. Watch the last few minutes of baking closely to prevent burning. The seeds will continue to crisp as they cool. Store in an airtight container at room temperature for up to 5 days.
Nutrition
- Serving Size: 1/4 cup
- Calories: 180
- Sugar: 9
- Sodium: 75
- Fat: 12
- Saturated Fat: 4
- Carbohydrates: 14
- Fiber: 2
- Protein: 6
Keywords: pumpkin seeds, cinnamon sugar, baked pumpkin seeds, fall snack, easy recipe, Halloween snack, Thanksgiving snack


