“Why can’t we just squish the cookies flat and put the legs on top?” my seven-year-old nephew asked, peering at the bag of pretzel sticks I had just dumped onto the counter. I opened my mouth to explain the physics of cookie dough, the importance of pressing the legs *into* the dough so they’d bake in properly, the structural integrity of a spider leg. I started to explain why that wouldn’t work—then stopped. Honestly, I had no good reason. I was just repeating what I’d always done. I shrugged, handed him a rolling pin, and said, “Alright, smart guy. Show me.”
He rolled the dough, cut out his circles, and carefully laid eight pretzel legs on top of each one, pressing down just enough to make them stick. I was already calculating how many of these would break in the oven. But you know what? They didn’t. They baked up perfectly, the legs fused to the cookie, and the chocolate candy body sat right on top without sliding off. I mean, I’d been making spider cookies for years—and here was a kid, in ten minutes, showing me a better way. Let’s just say I ate a little crow with my spider cookie that afternoon. And it tasted delicious.
That’s the thing about these Kid-Friendly Halloween Spider Sugar Cookies. They’re not fussy. They’re built for little hands and big imaginations. The dough is sturdy enough to hold pretzel legs, soft enough to be a joy to eat, and the assembly is so simple that the decorating becomes the fun part—not the stressful part. Maybe you’ve been there, trying to get a batch of Halloween treats done while a kid is “helping” and you’re both getting frustrated. This recipe was born from that exact moment. It’s the kind of cookie that makes you feel like a Halloween hero without spending all day in the kitchen. And honestly, that’s the only kind of Halloween baking I have time for anymore.
Why You’ll Love This Recipe
I’ve tested this recipe about six times now, tweaking the butter-to-sugar ratio and the chill time until I got it just right. Here’s why I keep coming back to it, and why I think you will too:
- Quick & Easy: From start to finish, you’re looking at about 45 minutes of active time. The dough comes together in one bowl, and the decorating is a breeze. Perfect for a weekday afternoon or a last-minute Halloween party.
- Simple Ingredients: You probably have everything in your pantry right now. Flour, sugar, butter, an egg, vanilla, baking powder, and salt. The “spider” parts are just pretzel sticks and chocolate candy melts or Hershey’s Kisses. No fancy baking supply store run required.
- Perfect for Halloween: These are the star of any classroom party, trunk-or-treat event, or spooky movie night. They look impressive but are secretly simple to make.
- Crowd-Pleaser: Kids love making them, and adults love eating them. The salty-sweet combo of the pretzel and the soft sugar cookie is honestly addictive. I’ve watched grown men eat three in a row without blinking.
- Unbelievably Delicious: This isn’t a dry, crumbly sugar cookie. It’s soft, buttery, and thick. The edges get just a hint of golden brown while the center stays tender. It’s the kind of cookie you’d make even without the spiders.
What makes this recipe different from the dozens of other spider cookies out there? It’s the method. Most recipes have you press the pretzel legs into the dough before baking, which works—until the dough spreads and the legs shift. My nephew’s “squish the legs on top” method actually works better because the pretzels stay visible and don’t get swallowed by the spreading dough. Plus, I’ve adjusted the dough to be slightly less spread-y, so your spiders keep their shape. It’s a small tweak, but it makes a huge difference when you’re trying to get those eight legs to look deliberate.
Honestly, this recipe isn’t just good—it’s the kind that makes you close your eyes after the first bite. It’s Halloween comfort food: familiar, fun, and full of buttery goodness. Perfect for making memories with your kids without making a mess of your kitchen. Well, okay, there will be a little mess. But it’s the fun kind.
What Ingredients You Will Need
This recipe uses simple, everyday ingredients to deliver a soft, buttery sugar cookie that holds its shape and tastes amazing. The “spider” parts are just two store-bought items that make decorating a total no-brainer. Here’s what you’ll need:
For the Sugar Cookie Dough
- 1 cup (226g) unsalted butter, softened – Make sure it’s truly soft, not melted. You want it to be at room temperature so it creams properly with the sugar. I use Land O’Lakes for consistency, but any brand works fine.
- 1 cup (200g) granulated sugar – White sugar gives these cookies a clean sweetness and a slightly crisp edge. You could use organic cane sugar if you prefer, but the texture will be a tiny bit grainier.
- 1 large egg, room temperature – A cold egg can shock the butter and make the dough lumpy. If you forgot to take it out of the fridge, just place it in a bowl of warm water for 5 minutes.
- 1 teaspoon vanilla extract – Pure vanilla extract makes a difference here. Imitation vanilla works in a pinch, but the flavor won’t be as rich. I’m partial to Nielsen-Massey, but honestly, store-brand pure vanilla does the job.
- 2 cups (250g) all-purpose flour – Spoon and level your flour. Scooping directly from the bag can pack in too much flour, making your cookies dry and dense. Fluff it up first, then spoon it into your measuring cup and level it off with a knife.
- 1/2 teaspoon baking powder – This gives the cookies a little lift without making them puffy. Too much baking powder and they’ll spread like pancakes.
- 1/4 teaspoon salt – Salt balances the sweetness and enhances the buttery flavor. I use fine sea salt for baking, but table salt works too.
For the Spider Decorations
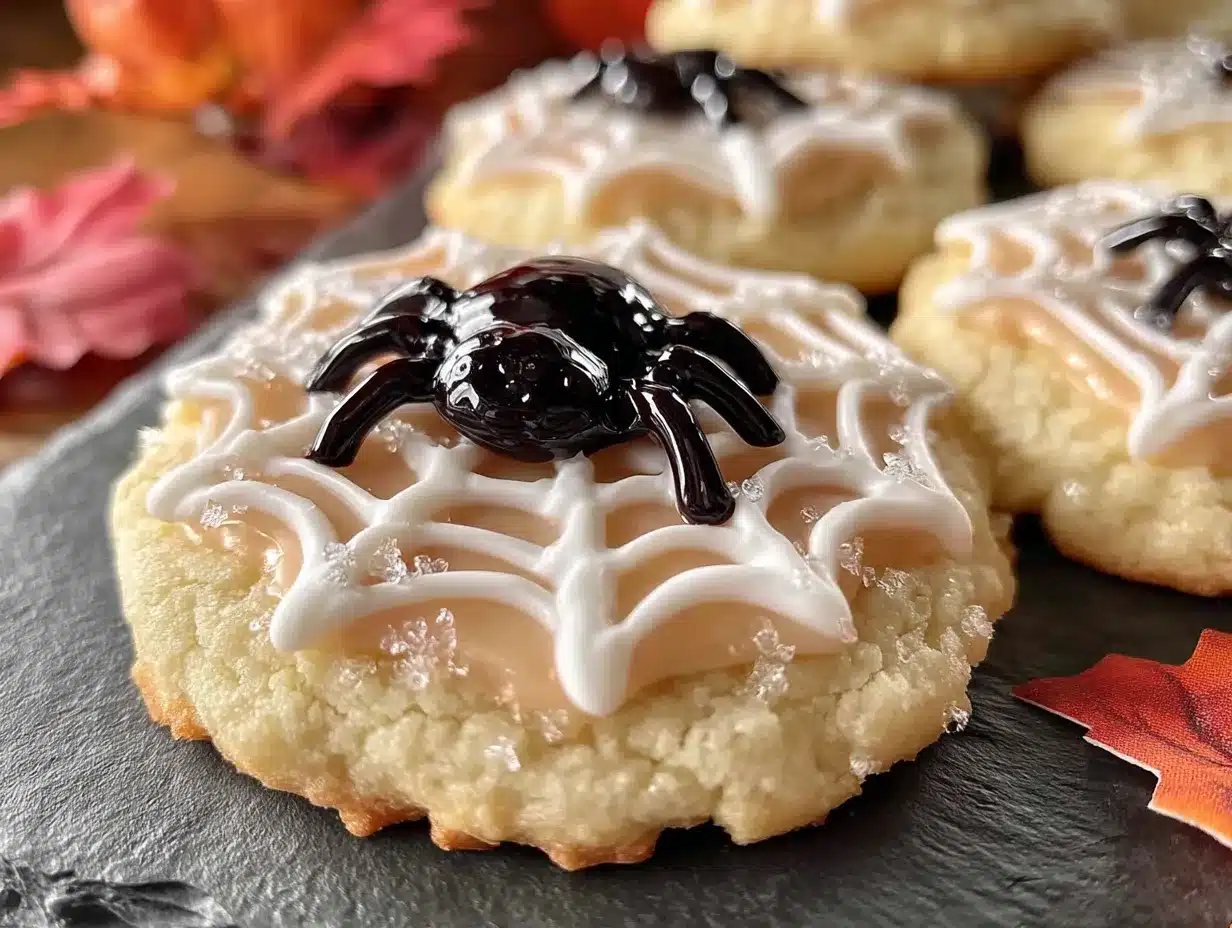
- 32 mini pretzel sticks (about 1/2 cup) – You need 8 legs per spider, and each pretzel stick gets broken in half. So for 8 spiders, you’ll need 32 whole pretzel sticks. I like the Snyder’s brand because they’re sturdy and don’t crumble when you snap them.
- 8 chocolate candy melts or Hershey’s Kisses, unwrapped – For the spider body. You can use milk chocolate, dark chocolate, or even white chocolate if you want a ghostly spider. I use Ghirardelli melting wafers because they’re flat on the bottom and sit nicely on the cookie. If using Hershey’s Kisses, you may need to trim a tiny bit off the pointy end so they don’t tip over.
- 1/2 cup chocolate chips or candy eyes (optional) – For the spider eyes. Two small dots of melted chocolate or two candy eyes per spider. Wilton makes good candy eyes, but a dab of melted chocolate from the body works just as well.
Ingredient Substitution Notes: If you’re dairy-free, you can use a plant-based butter stick (I like Country Crock Plant Butter) in place of regular butter. The texture will be slightly softer, so chill the dough for an extra 15 minutes. For a gluten-free version, swap the all-purpose flour with a 1-to-1 gluten-free baking flour like Bob’s Red Mill. I’ve tested it, and it works—just don’t overmix the dough. And if you don’t have pretzel sticks, you can use chow mein noodles or even thin breadsticks broken into pieces. The legs just need to be long and crunchy.
Equipment Needed
You don’t need a lot of fancy tools for these cookies, which is part of the charm. Here’s what you’ll need:
- Large mixing bowl and hand mixer (or stand mixer) – A hand mixer works perfectly for creaming the butter and sugar. A stand mixer with the paddle attachment is even easier. You can do it by hand with a wooden spoon, but your arm will get a workout.
- Measuring cups and spoons – For accuracy. I cannot stress this enough: baking is a science, and eyeballing it leads to flat cookies.
- Baking sheets (2) – I recommend light-colored, rimmed baking sheets. Dark sheets absorb more heat and can over-brown the bottoms of your cookies.
- Parchment paper or silicone baking mats – Parchment paper is cheap and makes cleanup a breeze. Silicone mats work great too, but they can make cookies spread a tiny bit more.
- 3-inch round cookie cutter – A simple round cutter gives you the perfect spider body shape. If you don’t have one, you can use the rim of a drinking glass dusted with flour.
- Cooling rack – Essential for letting the cookies cool completely before decorating. If you try to put chocolate on a warm cookie, it will melt into a puddle.
- Small microwave-safe bowl – For melting the chocolate candy melts or chocolate chips for the eyes.
Budget-Friendly Tip: Don’t have a cookie cutter? Use a clean, empty tuna can with both ends removed. It’s the exact right size and costs nothing. I’ve been using the same tuna can for years, and it works like a charm.
Preparation Method
Let’s get into the nitty-gritty. I’ve broken this down into clear steps so you can follow along without any surprises. Trust me, I’ve made every mistake in the book so you don’t have to.
Step 1: Cream the Butter and Sugar
In a large mixing bowl, beat the softened butter and granulated sugar together on medium speed until light and fluffy. This takes about 2-3 minutes with a hand mixer. You’re looking for a pale, airy mixture that looks almost like frosting. Scrape down the sides of the bowl once or twice. Don’t rush this step—proper creaming is what gives your cookies their tender texture.
Step 2: Add the Egg and Vanilla
Add the room-temperature egg and the vanilla extract to the butter mixture. Beat on low speed until just combined. If you beat too hard, the egg can emulsify too much and make the dough gummy. Stop as soon as you don’t see any streaks of egg yolk.
Step 3: Mix the Dry Ingredients
In a separate small bowl, whisk together the all-purpose flour, baking powder, and salt. This ensures the baking powder is evenly distributed so you don’t get a pocket of baking powder in one cookie. Gradually add the dry ingredients to the wet mixture, mixing on low speed. Stop when the dough just comes together. It will look a little crumbly at first, but that’s okay. If it looks too dry to hold together, add 1 teaspoon of milk. If it looks too sticky, add 1 tablespoon of flour.
Step 4: Chill the Dough
Turn the dough out onto a piece of plastic wrap. Flatten it into a disc about 1 inch thick, wrap it tightly, and refrigerate for at least 30 minutes. This step is non-negotiable. Chilling the dough solidifies the butter, which prevents the cookies from spreading too much in the oven. You can chill it for up to 2 days if you want to prep ahead.
Step 5: Preheat and Prep
Preheat your oven to 350°F (175°C). Line two baking sheets with parchment paper or silicone baking mats. While the oven heats, take the dough out of the fridge and let it sit on the counter for 5 minutes—just long enough to be rollable without cracking.
Step 6: Roll and Cut
Lightly flour your work surface and rolling pin. Roll the dough out to about 1/4-inch thickness. I like to roll between two sheets of parchment paper to avoid adding too much extra flour, which can dry out the cookies. Use your 3-inch round cookie cutter to cut out circles. Re-roll the scraps once and cut more circles. You should get about 8 cookies from this dough.
Step 7: Add the Spider Legs
Here’s where my nephew’s trick comes in. Place the cut dough circles on your prepared baking sheets, spacing them about 2 inches apart. Now, take your mini pretzel sticks and break each one in half. You want 8 half-pretzel sticks per spider. Gently press the pretzel pieces into the top of each dough circle, arranging them like spider legs—four on each side, radiating outward from the center. Press just enough so they stick; you don’t want to smash them into the dough. The legs will bake right onto the cookie.
Step 8: Bake
Bake for 10-12 minutes, or until the edges are just barely golden brown. The centers will still look soft and slightly underdone—that’s perfect. They’ll set as they cool. If you overbake them, they’ll be crunchy instead of soft. Let the cookies cool on the baking sheet for 5 minutes, then transfer them to a cooling rack to cool completely.
Step 9: Attach the Spider Body
Once the cookies are completely cool, it’s time to make them into spiders. Melt your chocolate candy melts or chocolate chips in a small microwave-safe bowl in 20-second bursts, stirring between each burst, until smooth. Dab a small amount of melted chocolate onto the center of each cookie (right on top of where the legs meet). Place a chocolate candy melt or Hershey’s Kiss on top, pressing gently. The chocolate acts as glue. Let the chocolate set for about 10 minutes.
Step 10: Add the Eyes
For the eyes, you have two options. Option one: use the remaining melted chocolate to dab two tiny dots on the front of the spider body. Option two: use candy eyes, pressing them into a tiny dab of chocolate on the spider body. I prefer the candy eyes because they make the spiders look cartoonishly cute instead of scary. But if you’re going for spooky, just use chocolate dots. Let everything set completely before serving—about 20 minutes at room temperature, or 10 minutes in the fridge.
Cooking Tips & Techniques
I’ve made these cookies about six times now, and I’ve learned a few things the hard way. Here are my best tips to make sure your spiders turn out perfect every time:
Don’t overmix the dough. I know it’s tempting to keep beating until everything looks perfectly smooth, but overmixing develops the gluten in the flour and makes your cookies tough. Mix just until you don’t see any more dry flour. A few tiny lumps are fine. The dough will come together as it chills.
Chill the dough for real. I once skipped the chilling step because I was in a hurry. The cookies spread into flat, sad pancakes, and the pretzel legs all slid to the edges. It was a mess. The 30-minute chill isn’t just a suggestion—it’s what keeps your spiders looking like spiders and not like blobfish. If your kitchen is warm, chill for a full hour.
Pretzel placement matters. Press the pretzel halves into the dough gently but firmly. If they’re only sitting on top, they’ll fall off when you flip the cookie. If you press them too deep, they’ll be buried and you won’t see the legs. Aim for about halfway in. And make sure they’re evenly spaced—four on each side—so your spider looks balanced. I’ve had a few lopsided spiders that looked like they were doing the limbo.
Let cookies cool completely. I cannot stress this enough. If you try to put the chocolate body on a warm cookie, the chocolate will melt and slide right off. Patience is key. I usually bake the cookies in the morning and decorate them in the afternoon. That way, they’re stone cold and ready for their spider bodies.
Use a timer for the chocolate. Melting chocolate in the microwave is easy to mess up. If you overheat it, it seizes up and becomes a grainy, unusable mess. Melt in 20-second bursts, stirring each time, and stop when most of the chips are melted but a few small lumps remain. The residual heat will melt those last lumps as you stir.
Multitask like a pro. While the dough is chilling, you can break all your pretzel sticks in half and unwrap your chocolate candies. That way, when the cookies come out of the oven, you’re ready to go. I like to set up a little assembly line: cookies on one side, pretzels in a bowl, chocolate in another bowl, candy eyes in a tiny dish. It makes the decorating part feel like a craft project instead of a chore.
Variations & Adaptations
One of the best things about this recipe is how easy it is to change up. Here are a few variations I’ve tried, and they all turned out great:
Gluten-Free Spider Cookies: Swap the all-purpose flour with a 1-to-1 gluten-free baking flour blend. I’ve used Bob’s Red Mill and King Arthur Measure for Measure with good results. The dough will be a little stickier, so chill it for an extra 15 minutes. Everything else stays the same, including the pretzels—just make sure you use gluten-free pretzel sticks if needed.
White Chocolate Ghost Spiders: Use white chocolate candy melts for the spider body instead of milk chocolate. Then, use a tiny bit of black icing to draw two eyes and a little mouth. They look like friendly ghost spiders, and my kids went absolutely nuts for these. The white chocolate is sweeter, so it pairs nicely with the salty pretzels.
Peanut Butter Spider Cookies: Add 1/4 cup (65g) of creamy peanut butter to the butter and sugar mixture when creaming. Reduce the butter to 3/4 cup (170g) to keep the dough from getting too greasy. The peanut butter flavor with the chocolate body is a match made in heaven. Just make sure no one has peanut allergies if you’re bringing these to a school party.
Spider Web Cookies: Instead of making spiders, you can use the same dough to make spider webs. Cut the dough into circles, bake them plain, and then drizzle melted white chocolate in a spiral pattern on top. Drag a toothpick from the center outward to create a web effect. It’s a fun variation if you want something less “buggy” for younger kids.
Vegan Spider Cookies: Use a plant-based butter stick and a flax egg (1 tablespoon ground flaxseed mixed with 3 tablespoons water, left to sit for 5 minutes). The cookies will be a bit more fragile, so handle them gently. Use dairy-free chocolate for the body. The texture won’t be exactly the same, but they’ll still be delicious.
Serving & Storage Suggestions
These spider cookies are best served at room temperature. The cookie stays soft, the pretzels stay crunchy, and the chocolate body is firm but not hard. They make a fantastic centerpiece for a Halloween dessert table. I like to arrange them on a black platter with a few fake spider webs draped around—it makes them look like they’re crawling out of the web.
For a Halloween party, pair these cookies with a glass of cold milk or a warm cup of apple cider. The salty-sweet combo is perfect with something creamy and cold. If you’re serving them at a school event, pack them in a single layer in a container with parchment paper between layers so the pretzel legs don’t snap off.
Storage: Store the decorated cookies in an airtight container at room temperature for up to 5 days. Do not refrigerate them—the fridge will make the cookies dry and the pretzels stale. If you live in a humid climate, add a silica gel packet (the kind that comes in shoe boxes) to the container to keep the pretzels crunchy. I learned that trick after a batch of spider cookies went soft and chewy in the Florida humidity.
Freezing: You can freeze the undecorated cookies for up to 3 months. Bake and cool them completely, then place them in a single layer in a freezer-safe container with parchment paper between layers. When you’re ready to decorate, thaw them at room temperature for about 30 minutes, then add the pretzel legs and chocolate body. You can also freeze the raw dough disc for up to 2 months—just thaw it in the fridge overnight before rolling and cutting.
Flavor Development: Honestly, these cookies taste even better the next day. The flavors meld together, and the cookie gets even softer. The pretzels do lose a little crunch after day two, so if you want maximum crunch, serve them on day one. But my family actually prefers them on day two when the pretzels have softened just a bit and the whole thing tastes like one cohesive cookie.
Nutritional Information & Benefits
Let’s be real—these are Halloween cookies, not health food. But if you’re curious, here’s the approximate nutritional breakdown for one spider cookie (based on 8 servings):
- Calories: 385
- Total Fat: 18g (Saturated Fat: 11g)
- Carbohydrates: 52g (Fiber: 1g, Sugar: 28g)
- Protein: 5g
- Sodium: 210mg
Now, here’s the thing I tell myself when I’m eating three of these: the pretzels do add a tiny bit of protein and iron, and the butter provides a small amount of vitamin A. The chocolate has antioxidants. Is that a stretch? Absolutely. But it makes me feel slightly better about having one with my morning coffee on November 1st.
Dietary Considerations: This recipe contains gluten, dairy, and eggs. For a gluten-free version, see the variations section above. For a dairy-free version, use plant-based butter and dairy-free chocolate. For an egg-free version, use a flax egg. The cookies won’t be quite as tender, but they’ll still be tasty. Always check your ingredient labels if you’re serving to someone with allergies—some chocolate chips are processed in facilities that also process nuts.
From a wellness perspective, I think the real benefit of these cookies is the joy they bring. Making them with my nephew was more fun than any “healthy” activity we’ve done together. Sometimes the best thing you can feed your family is a little bit of silly, spooky fun.
Conclusion
So there you have it—spider sugar cookies that are actually easy, actually kid-friendly, and actually delicious. I know I’m biased, but I think these are the perfect Halloween treat. They’re not too sweet, not too complicated, and they look like something you spent hours on when really, the whole process takes less than an hour. That’s my kind of baking.
I hope you make these with your kids, your grandkids, your neighbors, or just for yourself. And I hope you let them put the legs on top, even if your brain tells you it’s wrong. Sometimes the best tricks come from the people who don’t know they’re supposed to follow the rules. That’s what Halloween is all about, right?
If you try this recipe, I’d love to hear how it went. Drop a comment below and tell me about your spider cookie adventures. Did your kids come up with any wild variations? Did you find a better way to arrange the legs? I’m always learning, and honestly, I’m happy to be the one who gets schooled by a seven-year-old with a bag of pretzels. Happy Halloween, and happy baking!
Frequently Asked Questions
Can I make the dough ahead of time?
Absolutely. You can make the dough, wrap it tightly in plastic wrap, and refrigerate it for up to 2 days. You can also freeze the dough disc for up to 2 months. Just thaw it in the fridge overnight before rolling and cutting.
Why did my cookies spread too much?
Most likely, your dough wasn’t chilled long enough, or your butter was too soft. Make sure you chill the dough for at least 30 minutes. Also, check that your baking powder isn’t expired—old baking powder loses its leavening power and can cause spreading.
Can I use a different type of pretzel?
Yes! You can use thin pretzel sticks, thick pretzel rods (cut into pieces), or even pretzel twists broken into straight pieces. Just make sure they’re sturdy enough to hold up during baking. Avoid the really thin, fragile pretzel sticks—they tend to crumble when you break them.
How do I keep the pretzel legs from falling off?
Press them gently but firmly into the dough before baking. The dough will puff up slightly around the pretzels as they bake, locking them in place. If a leg still feels loose after baking, you can dab a tiny bit of melted chocolate under it to glue it to the cookie.
Can I use store-bought sugar cookie dough?
You can, but the results won’t be as good. Store-bought dough tends to spread more and doesn’t have the same buttery flavor. If you’re in a pinch, use a refrigerated sugar cookie dough, but chill it for an extra 15 minutes before cutting. And be prepared for slightly flatter spiders.
Pin This Recipe!
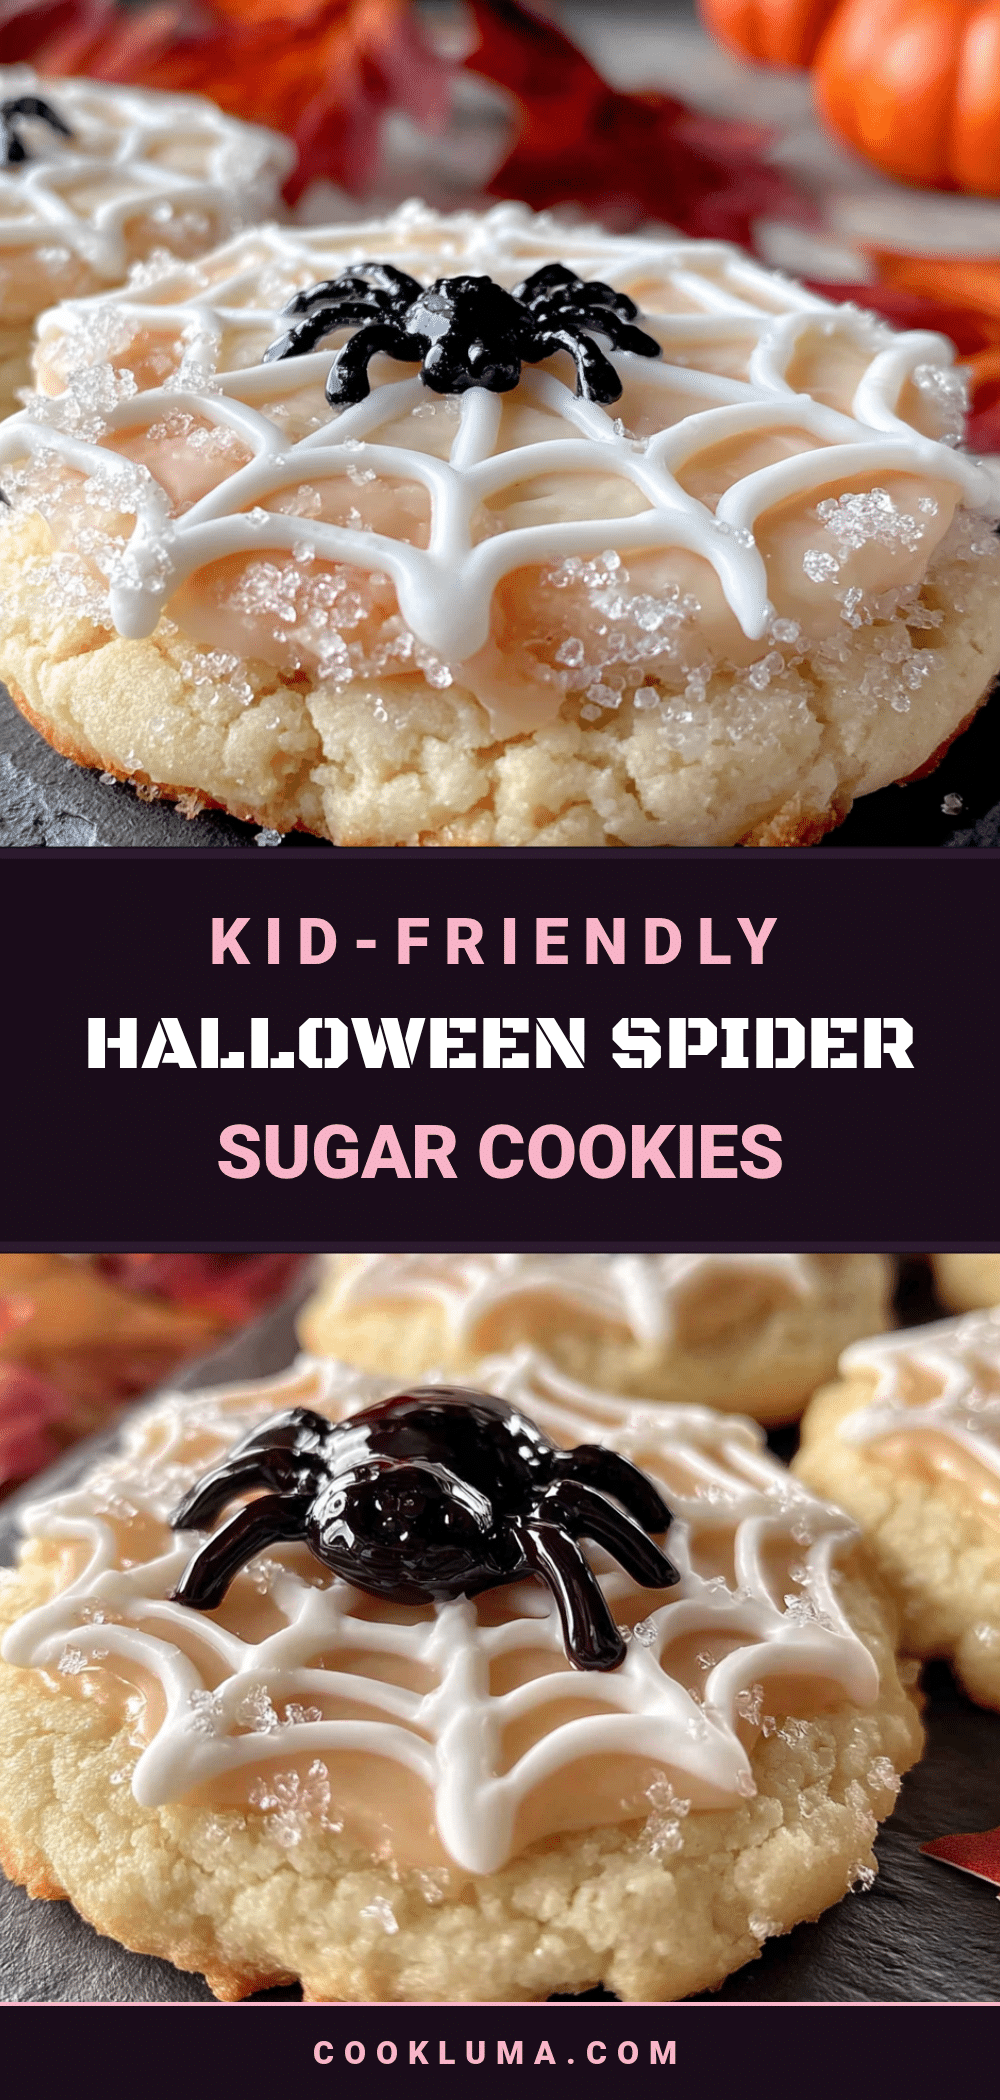
Kid-Friendly Halloween Spider Sugar Cookies: Easy Spooky Treat
These soft, buttery sugar cookies are topped with pretzel legs and a chocolate body, making them the perfect spooky treat for Halloween. They’re easy enough for kids to help make and delicious enough to disappear in minutes.
- Prep Time: 15 minutes
- Cook Time: 12 minutes
- Total Time: 45 minutes
- Yield: 8 servings 1x
- Category: Dessert
- Cuisine: American
Ingredients
- 1 cup (226g) unsalted butter, softened
- 1 cup (200g) granulated sugar
- 1 large egg, room temperature
- 1 teaspoon vanilla extract
- 2 cups (250g) all-purpose flour
- 1/2 teaspoon baking powder
- 1/4 teaspoon salt
- 32 mini pretzel sticks (about 1/2 cup)
- 8 chocolate candy melts or Hershey’s Kisses, unwrapped
- 1/2 cup chocolate chips or candy eyes (optional)
Instructions
- In a large mixing bowl, beat the softened butter and granulated sugar together on medium speed until light and fluffy, about 2-3 minutes. Scrape down the sides of the bowl once or twice.
- Add the room-temperature egg and vanilla extract to the butter mixture. Beat on low speed until just combined.
- In a separate small bowl, whisk together the all-purpose flour, baking powder, and salt. Gradually add the dry ingredients to the wet mixture, mixing on low speed until the dough just comes together.
- Turn the dough out onto a piece of plastic wrap. Flatten it into a disc about 1 inch thick, wrap it tightly, and refrigerate for at least 30 minutes.
- Preheat your oven to 350°F (175°C). Line two baking sheets with parchment paper or silicone baking mats.
- Lightly flour your work surface and rolling pin. Roll the dough out to about 1/4-inch thickness. Use a 3-inch round cookie cutter to cut out circles. Re-roll the scraps once and cut more circles. You should get about 8 cookies.
- Place the cut dough circles on your prepared baking sheets, spacing them about 2 inches apart. Break each mini pretzel stick in half. Gently press 8 half-pretzel sticks into the top of each dough circle, arranging them like spider legs—four on each side, radiating outward from the center.
- Bake for 10-12 minutes, or until the edges are just barely golden brown. Let the cookies cool on the baking sheet for 5 minutes, then transfer them to a cooling rack to cool completely.
- Once the cookies are completely cool, melt your chocolate candy melts or chocolate chips in a small microwave-safe bowl in 20-second bursts, stirring between each burst, until smooth. Dab a small amount of melted chocolate onto the center of each cookie and place a chocolate candy melt or Hershey’s Kiss on top, pressing gently.
- For the eyes, use the remaining melted chocolate to dab two tiny dots on the front of the spider body, or press candy eyes into a tiny dab of chocolate. Let everything set completely before serving—about 20 minutes at room temperature, or 10 minutes in the fridge.
Notes
Chill the dough for at least 30 minutes to prevent spreading. Press pretzel legs gently but firmly into the dough before baking. Let cookies cool completely before adding chocolate body. Store in an airtight container at room temperature for up to 5 days. Freeze undecorated cookies for up to 3 months.
Nutrition
- Serving Size: 1 spider cookie
- Calories: 385
- Sugar: 28
- Sodium: 210
- Fat: 18
- Saturated Fat: 11
- Carbohydrates: 52
- Fiber: 1
- Protein: 5
Keywords: Halloween cookies, spider cookies, sugar cookies, kid-friendly, easy Halloween treat, pretzel spider cookies


