Honestly, I thought mixing peanut butter and chocolate in a granola bar without baking was a mistake until I tried it myself. I’d always been that person who believed no snack could beat the crunch and warmth of something fresh from the oven. But after a particularly rushed morning when I grabbed one of these easy no-bake chocolate peanut butter granola bars, everything changed. The chewy texture, the rich blend of chocolate and peanut butter, and the slight saltiness all just clicked in a way I didn’t expect.
There was this moment, standing in my kitchen, with sticky fingers and a taste lingering that made me pause—was this really no-bake? It didn’t have that raw, crumbly feel I feared. Instead, it was perfectly set, just the right balance of sweet and nutty, with a hint of crunch from the oats. I kept thinking how great it would be to have this kind of grab-and-go snack ready without fussing over the oven or watching the clock. It stuck with me not just because it’s quick but because it feels like a treat you actually want to eat, not a compromise.
This recipe stuck around because it’s one of those rare finds that’s simple but satisfying—not just for me, but for everyone I’ve shared it with. If you’re skeptical about no-bake bars or think you need fancy ingredients to get that perfect blend, you might find yourself quietly surprised too.
Why You’ll Love This Recipe
After testing tons of snack bars (and trust me, I’ve been through a few disasters), this easy no-bake chocolate peanut butter granola bars recipe really stands out. Here’s why:
- Quick & Easy: Mix, press, and chill—done in about 15 minutes, perfect for when time’s tight.
- Simple Ingredients: No weird additives or hard-to-find stuff. Just pantry basics like oats, peanut butter, honey, and cocoa powder.
- Perfect for On-the-Go: Great for school lunches, office snacks, or post-workout fuel.
- Crowd-Pleaser: Even my picky eaters ask for seconds, and they’re great for sharing at casual get-togethers.
- Unbelievably Delicious: The chocolate and peanut butter combo is classic, but the texture here is what really makes it feel homemade and indulgent.
What makes this recipe different? I blend the peanut butter and honey gently before folding in the oats and cocoa, which gives the bars a nice chew without being too sticky or crumbly. Plus, I usually add a pinch of sea salt on top before chilling—it’s a small touch that makes the chocolate pop. You won’t find a lot of fuss here, just real flavor and real satisfaction.
Honestly, it’s like having your favorite chocolate bar with a little wholesome boost. No oven, no mess, just a snack you trust to keep you fueled and happy.
What Ingredients You Will Need
This recipe uses simple, wholesome ingredients to deliver bold flavor and satisfying texture without the fuss. Most of these you probably already have in your kitchen!
- Old-fashioned rolled oats (about 2 cups / 180g) – the base, for chewiness and heartiness
- Natural creamy peanut butter (1 cup / 250g) – the star binding ingredient, adds richness and protein (I like the unsweetened kind to control sugar)
- Honey or maple syrup (1/3 cup / 80ml) – for natural sweetness and a bit of stickiness
- Cocoa powder (1/4 cup / 25g), unsweetened – adds that deep chocolate flavor without overpowering
- Vanilla extract (1 tsp) – just a touch for warmth and depth
- Salt (1/4 tsp) – balances the sweetness and enhances the peanut butter
- Mini chocolate chips (optional, 1/3 cup / 60g) – for melty chocolate pockets
- Chopped peanuts (optional, 1/4 cup / 30g) – for extra crunch and nuttiness (I often add these when I want a little texture contrast)
Pro tip: You can swap the peanut butter with almond butter or sunflower seed butter for a different nutty twist or to keep it nut-free. Also, if you need gluten-free, make sure your oats are certified gluten-free.
Equipment Needed
The beauty of this recipe is how little you need to pull it off:
- Mixing bowl: A large bowl to combine everything comfortably.
- Spatula or wooden spoon: For stirring the sticky mix thoroughly.
- 8×8-inch square pan (about 20×20 cm): To press the mixture firmly for even bars. If you don’t have this exact size, a similar baking dish or even a loaf pan works fine.
- Measuring cups and spoons: For accuracy (especially important with sticky ingredients).
- Parchment paper: To line the pan for easy removal and cleanup.
If you don’t have parchment paper, lightly greasing the pan will do—but parchment really helps keep the bars intact and makes lifting them out much easier. I’ve tried silicone mats too, which work well but aren’t necessary.
Preparation Method
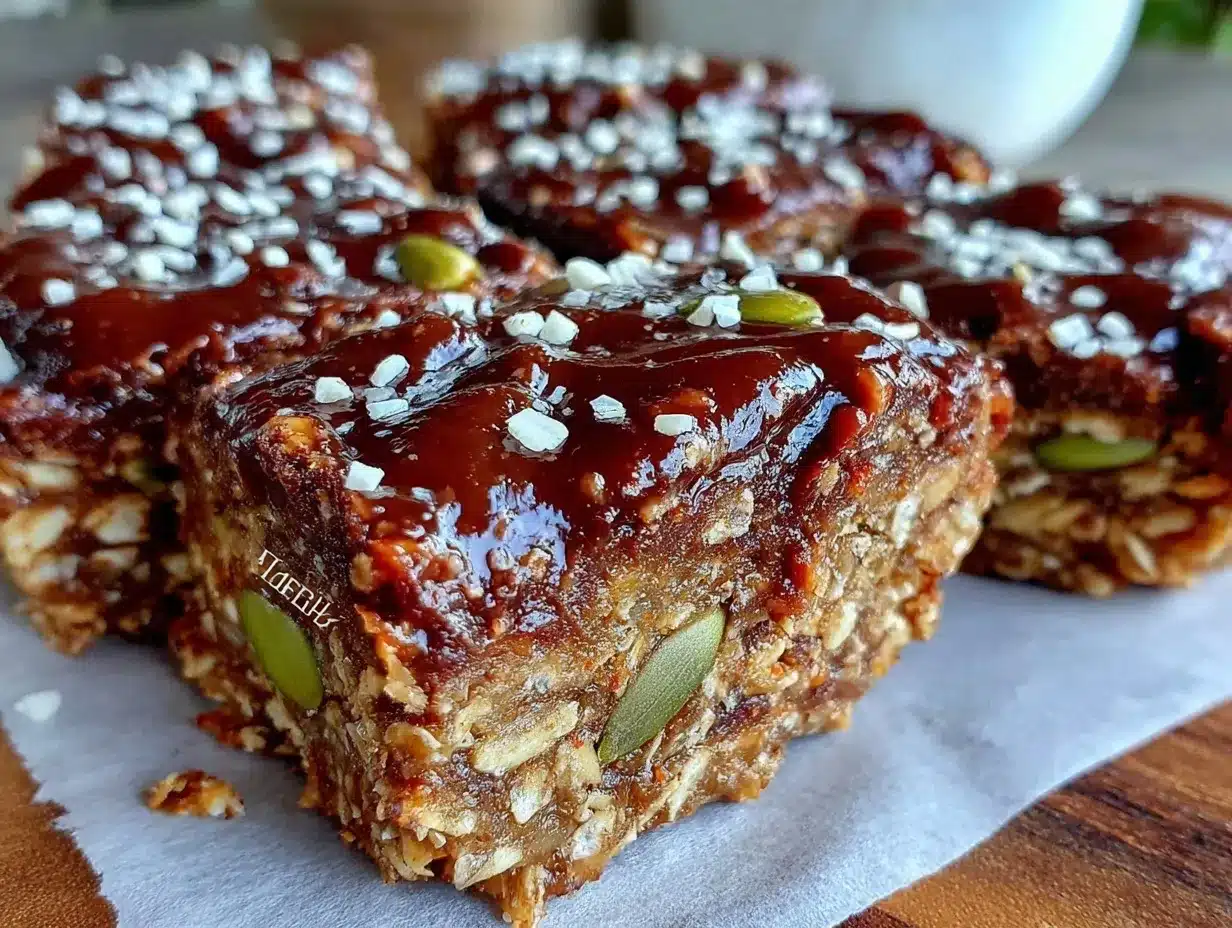
- Line your pan: Start by lining your 8×8-inch pan with parchment paper, leaving some overhang on the sides for easy bar removal later (about 5 minutes).
- Mix the wet ingredients: In a large mixing bowl, combine the peanut butter, honey, and vanilla extract. Stir together until smooth and well-blended. This usually takes about 3-4 minutes because you want the mixture silky, not clumpy.
- Add dry ingredients: Sprinkle in the cocoa powder, salt, and rolled oats. Stir gently but thoroughly until everything is evenly coated. The mixture should be sticky but not soupy. This step takes about 5 minutes, and if it feels too dry, add a teaspoon of honey or peanut butter to loosen it up.
- Fold in extras: If using chocolate chips and chopped peanuts, fold them in now for an added texture surprise (about 2 minutes).
- Press the mixture: Transfer the mixture to your prepared pan. Using the back of a spoon or your clean hands, press it down firmly and evenly. Don’t be shy here—the firmer you press, the better the bars will hold together. This takes about 5 minutes.
- Chill: Pop the pan into the fridge for at least 2 hours or until firm. This is when the magic happens—the bars set without any baking involved.
- Slice and serve: Lift the set mixture out using the parchment overhang and place on a cutting board. Cut into bars or squares with a sharp knife. To avoid crumbling, wipe the knife clean between cuts. Enjoy immediately or store for later.
Note: If the bars feel too soft after chilling, give them more time in the fridge. If too hard, let them sit at room temperature for 5-10 minutes before eating.
Cooking Tips & Techniques
Making no-bake bars might seem straightforward, but a few tricks make all the difference:
- Consistency is key: Your peanut butter and honey should be at room temperature for easier mixing. Cold peanut butter can cause lumps and uneven texture.
- Press firmly: Don’t rush the pressing step. Firm pressure helps bind the bars so they don’t fall apart when sliced.
- Watch the chilling time: The fridge is your best friend here. Chilling solidifies the bars nicely, so don’t skip this even if you’re impatient.
- Substitute carefully: If using alternative nut butters, note they may have different moisture levels; adjust honey accordingly.
- Prevent stickiness: Lining the pan with parchment paper is a lifesaver for removal. Also, clean your knife between cuts to avoid messy slices.
I learned the hard way that adding too many mix-ins can loosen the bars, making them crumbly. So, keep extras moderate, and if you want more texture, add chopped nuts sparingly.
Variations & Adaptations
One of the best things about this recipe is how easy it is to adapt:
- Dietary swaps: Use sunflower seed butter and maple syrup for a nut-free and vegan version.
- Flavor twists: Add a teaspoon of cinnamon or a dash of espresso powder for a subtle flavor lift.
- Seasonal fruits: Fold in dried cranberries or chopped dried apricots for a chewy, fruity contrast.
- Protein boost: Stir in a scoop of your favorite protein powder to make these bars perfect for workout recovery.
- Cooking method adjustment: While this is a no-bake recipe, you can lightly toast the oats beforehand for a nuttier flavor if you have a bit more time.
I once tried swapping cocoa powder for carob powder to cut caffeine, and although it changed the flavor, the bars still held together well and were surprisingly tasty. Feel free to experiment and find your favorite version!
Serving & Storage Suggestions
These easy no-bake chocolate peanut butter granola bars are best served chilled or at room temperature. They make a perfect snack straight from the fridge or packed in your bag for later.
Try pairing them with a glass of cold milk or a cup of morning coffee for a quick energy boost. For a fun twist, serve alongside fresh fruit or even a creamy yogurt dip.
To store, wrap individual bars in parchment or plastic wrap and keep them in an airtight container in the fridge for up to one week. They also freeze beautifully—just pop them in a freezer-safe container or bag. Thaw at room temperature for 20 minutes before enjoying.
Over time, the flavors mellow and meld, making the bars taste even richer after a day or two in the fridge. So, if you’re prepping ahead, you’re in for a nice surprise.
Nutritional Information & Benefits
Each bar (assuming 12 servings) provides roughly:
| Calories | 180 |
|---|---|
| Protein | 5g |
| Fat | 9g (mostly healthy fats from peanut butter) |
| Carbohydrates | 20g (natural sugars from honey and oats) |
| Fiber | 3g |
The recipe offers a decent amount of protein and fiber to keep you full, thanks mainly to the oats and peanut butter. The healthy fats support sustained energy, while the natural sweeteners keep it cleaner than most store-bought bars.
For those watching gluten intake, using certified gluten-free oats makes this recipe safe. Plus, it’s free from artificial preservatives and colors, which is a nice bonus for everyday snacking.
Conclusion
This easy no-bake chocolate peanut butter granola bars recipe is proof that you don’t need complicated steps or fancy ingredients to make a snack that hits all the right notes. It’s straightforward, satisfying, and flexible enough to fit your pantry and taste buds.
I love how these bars travel well, keep me fueled, and satisfy my chocolate cravings without feeling heavy or overly sweet. Plus, they’re a welcome companion to other easy treats like my moist double chocolate zucchini bread or a refreshing bite during summer alongside the crunchy broccoli salad with honey mustard bacon dressing.
Give these bars a try, tweak them to your liking, and let me know how they turn out for you. There’s something quietly satisfying about a snack you can trust to be both delicious and quick, and this recipe delivers just that.
FAQs
- Can I use crunchy peanut butter instead of creamy?
Yes, but the texture will be slightly chunkier. It can add nice crunch, just be sure to mix thoroughly. - How long do these bars last at room temperature?
They’re best kept refrigerated and will stay fresh for up to a week. At room temp, they might soften and become sticky after a day or two. - Can I substitute honey with another sweetener?
Maple syrup works well as a vegan alternative, but using granulated sugar isn’t recommended since it won’t bind the bars properly. - Is it possible to make these bars nut-free?
Absolutely! Use sunflower seed butter instead of peanut butter and make sure to check all ingredient labels for cross-contamination. - Can I add other mix-ins like dried fruit or seeds?
Yes, just keep the total volume manageable so the bars still hold together well. Chia seeds, flaxseeds, or dried cranberries are great options.
Pin This Recipe!
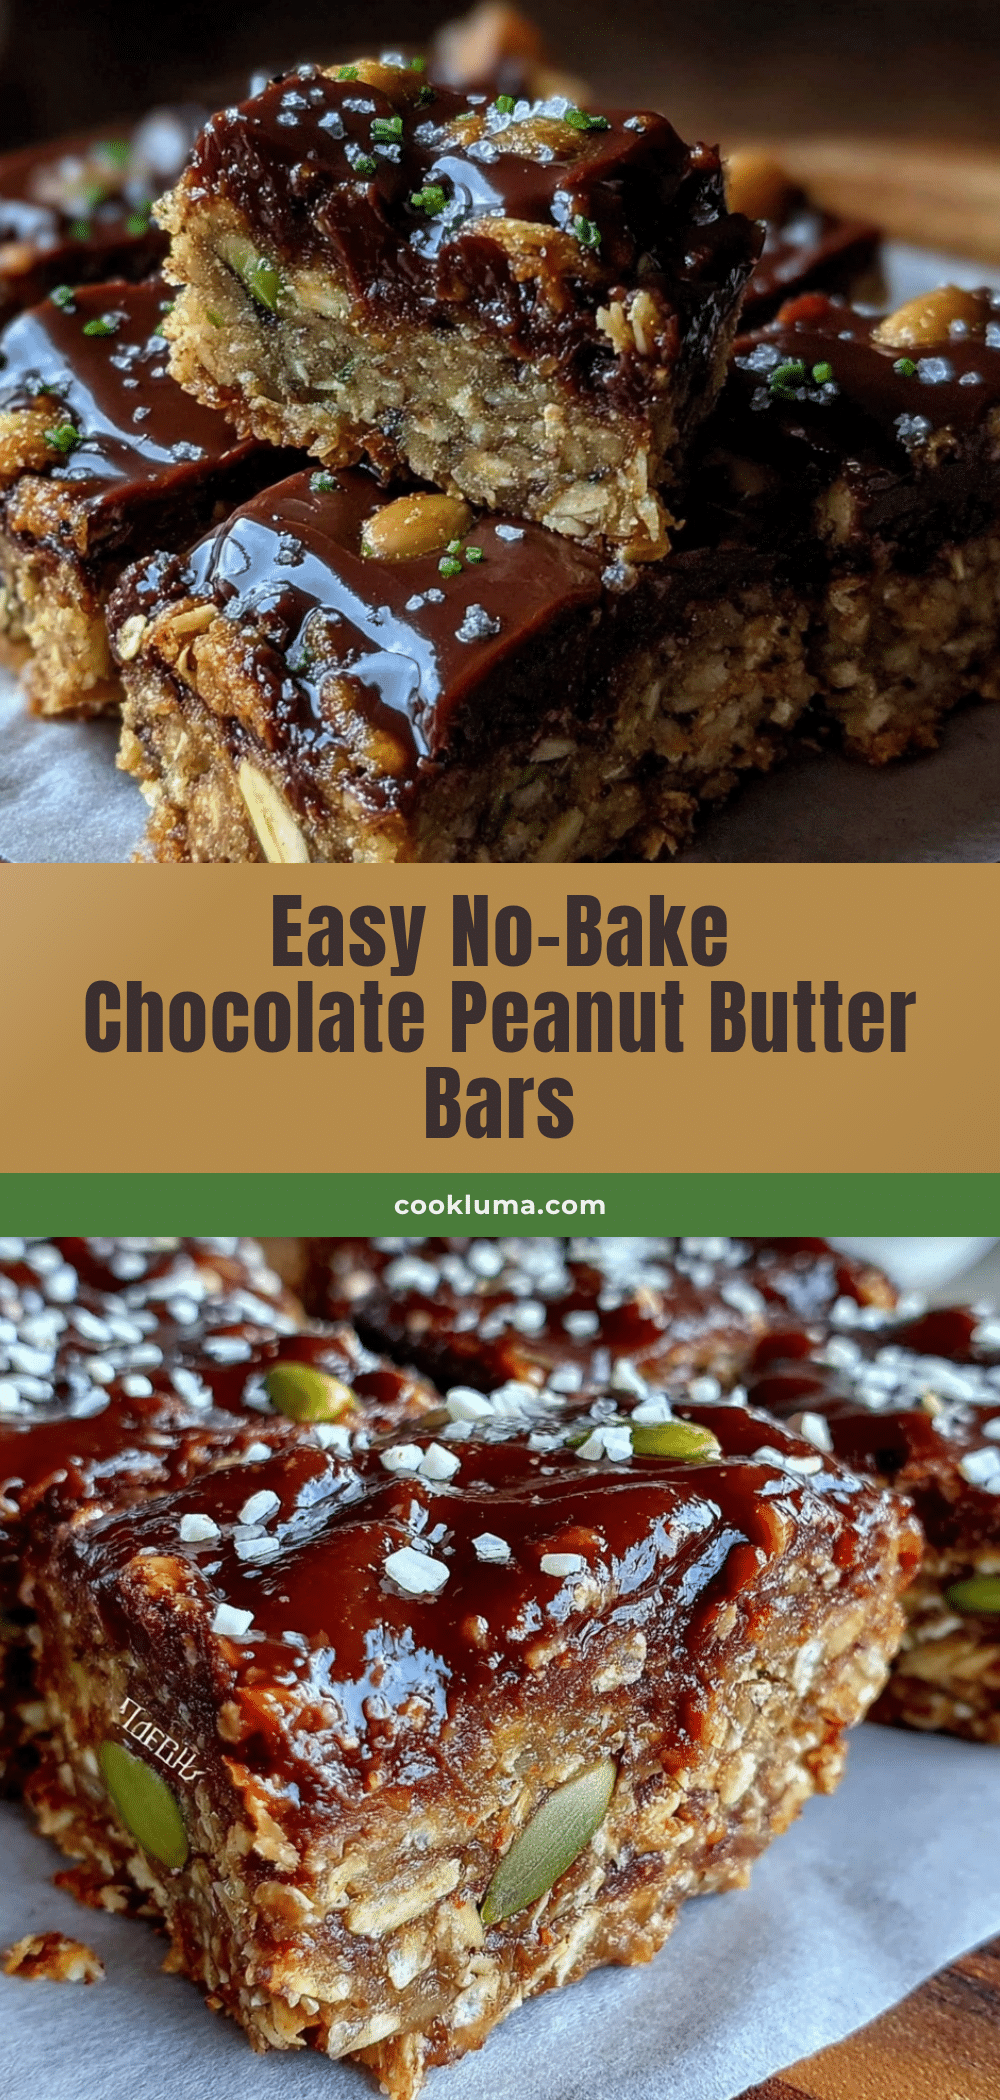
Easy No-Bake Chocolate Peanut Butter Granola Bars
These no-bake granola bars combine the rich flavors of chocolate and peanut butter with a chewy texture, perfect for a quick, satisfying snack without any baking.
- Prep Time: 15 minutes
- Cook Time: 0 minutes
- Total Time: 2 hours 15 minutes
- Yield: 12 servings 1x
- Category: Snack
- Cuisine: American
Ingredients
- 2 cups old-fashioned rolled oats (about 180g)
- 1 cup natural creamy peanut butter (about 250g)
- 1/3 cup honey or maple syrup (about 80ml)
- 1/4 cup unsweetened cocoa powder (about 25g)
- 1 teaspoon vanilla extract
- 1/4 teaspoon salt
- 1/3 cup mini chocolate chips (optional, about 60g)
- 1/4 cup chopped peanuts (optional, about 30g)
Instructions
- Line an 8×8-inch pan with parchment paper, leaving some overhang on the sides for easy removal (about 5 minutes).
- In a large mixing bowl, combine peanut butter, honey, and vanilla extract. Stir until smooth and well-blended (3-4 minutes).
- Add cocoa powder, salt, and rolled oats to the wet mixture. Stir gently but thoroughly until evenly coated and sticky but not soupy (about 5 minutes). Add a teaspoon of honey or peanut butter if too dry.
- Fold in mini chocolate chips and chopped peanuts if using (about 2 minutes).
- Transfer the mixture to the prepared pan and press firmly and evenly using the back of a spoon or clean hands (about 5 minutes).
- Chill in the refrigerator for at least 2 hours or until firm.
- Lift the set mixture out using the parchment overhang and cut into bars or squares with a sharp knife. Wipe the knife clean between cuts to avoid crumbling. Serve immediately or store.
Notes
Use room temperature peanut butter and honey for easier mixing. Press the mixture firmly to help bars hold together. Chill thoroughly for best texture. Substitute peanut butter with almond or sunflower seed butter for nut-free or different flavor. Clean knife between cuts to avoid crumbling. Bars can be stored in the fridge up to one week or frozen for longer storage.
Nutrition
- Serving Size: 1 bar (assuming 12 b
- Calories: 180
- Fat: 9
- Carbohydrates: 20
- Fiber: 3
- Protein: 5
Keywords: no-bake granola bars, chocolate peanut butter bars, easy snack, healthy snack, no bake, granola bars, peanut butter, chocolate, quick snack


