“Why do you have to peel them?” my seven-year-old asked, watching me stand at the counter with a vegetable peeler in one hand and a Honeycrisp in the other. I started to explain why that wouldn’t work — something about texture and how the skins get chewy and how real apple crisp has that tender, melt-in-your-mouth fruit — then stopped. Honestly, I didn’t have a great answer. I’d been making apple crisp the same way for years because that’s how my grandmother made it, and I’d never once questioned the peeling part. So I put down the peeler, looked at her hopeful little face, and said, “You know what? Let’s try it your way.” I was fully prepared to dump the whole thing in the trash and start over. But let me tell you — what came out of that oven made me eat my words, and then some. The skins softened perfectly, added this lovely rustic texture, and saved me a solid ten minutes of prep time. Maybe you’ve been there, standing in your kitchen doing something a certain way just because you always have, not because it’s actually better. That night, my kid taught me something I should have figured out years ago: sometimes the best cooking advice comes from the person who’s just learning. This Kid-Approved Cinnamon Sugar Apple Crisp with Oat Crumble has become our go-to fall dessert, and I haven’t picked up a peeler since.
Why You’ll Love This Recipe
I’ve tested this recipe more times than I can count, and here’s the honest truth — it works every single time. As a home cook who’s burned more than a few crisps in my day, I can tell you this one is practically foolproof. My neighbor Susan, who claims she can’t bake to save her life, made it for her book club last week and texted me a photo of an empty dish. That’s the kind of recipe this is.
- Quick & Easy: From start to oven in under 15 minutes. No complicated steps, no fancy techniques, just simple mixing and layering.
- Simple Ingredients: You probably have everything in your pantry right now. Oats, flour, butter, sugar, cinnamon — that’s it. No trips to specialty stores required.
- Perfect for Family Dinners: This is the kind of dessert that makes everyone at the table happy, from your pickiest eater to your health-conscious spouse.
- Crowd-Pleaser: I’ve brought this to potlucks, school events, and Thanksgiving dinners. It disappears faster than anything else on the dessert table.
- Unbelievably Delicious: The combination of tender, cinnamon-spiced apples with that crunchy, buttery oat topping is pure comfort food magic.
What makes this recipe different from the dozens of apple crisps out there? It’s the ratio, honestly. I spent months tweaking the oat-to-butter-to-sugar balance until I got that perfect crumble — not too sandy, not too clumpy, with just enough crunch to contrast the soft apples underneath. Plus, leaving the skins on (thank you, kid wisdom) adds a subtle texture and saves you time. This isn’t just another version of apple crisp. It’s the one you’ll make again and again, the one your kids will ask for by name, the one that makes you close your eyes after that first warm bite with a scoop of vanilla ice cream melting into the cracks.
What Ingredients You Will Need
This recipe uses simple, wholesome ingredients to deliver bold flavor and satisfying texture without the fuss. Most of these are pantry staples, which means you can whip this up on a Tuesday night without a special shopping trip.
- For the Apple Filling:
- 6 medium apples, unpeeled, cored and sliced into ¼-inch thick pieces (I recommend Honeycrisp or Granny Smith — Honeycrisp for sweetness, Granny Smith for tartness)
- ¼ cup granulated sugar
- 2 tablespoons all-purpose flour
- 1 teaspoon ground cinnamon
- ¼ teaspoon ground nutmeg (freshly grated if you have it, but pre-ground works fine)
- 1 tablespoon lemon juice (keeps the apples from browning and adds brightness)
- For the Oat Crumble Topping:
- 1 cup old-fashioned rolled oats (not quick oats — they get mushy)
- ½ cup all-purpose flour
- ½ cup packed light brown sugar
- 1 teaspoon ground cinnamon
- ¼ teaspoon salt (trust me on this — it balances the sweetness)
- ½ cup unsalted butter, cold and cut into small cubes (I use Kerrygold, but any good butter works)
A few notes on ingredient choices. When it comes to apples, I’ve found that a mix works best. My personal favorite combination is four Honeycrisp and two Granny Smith — you get that natural sweetness plus a little tang that keeps the crisp from being cloying. If you’re in a pinch, Fuji or Braeburn work beautifully too. Just avoid Red Delicious, which turn into mush.
For the oats, please use old-fashioned rolled oats. Quick oats absorb too much moisture and turn the topping into a paste instead of a crumble. I learned that one the hard way, standing over a sad, soggy crisp wondering where I went wrong. Steel-cut oats won’t work here either — they stay too chewy. Old-fashioned is the sweet spot.
If you need a dairy-free option, substitute the butter with a good vegan butter stick. I’ve had success with Earth Balance and Miyoko’s. Avoid margarine spreads, which have too much water content and will make your crumble greasy instead of crisp.
Equipment Needed
You don’t need a fancy kitchen to make this recipe work. Here’s what you’ll actually use:
- 9×13-inch baking dish — Glass or ceramic works best. Metal conducts heat differently and can over-brown the bottom.
- Large mixing bowl for the apple filling
- Medium mixing bowl for the oat crumble
- Sharp knife and cutting board for slicing apples
- Pastry cutter or two forks for cutting butter into the oat mixture (your hands work too, if you don’t mind getting messy)
- Measuring cups and spoons
- Rubber spatula for scraping every last bit of crumble onto the apples
If you don’t have a pastry cutter, honestly, just use your fingertips. Rub the cold butter into the flour-oat mixture until it looks like coarse sand with some pea-sized butter chunks remaining. Those chunks are what create those gorgeous crispy bits on top. I bought a pastry cutter years ago and still use my hands half the time — it’s faster and you get a better feel for the texture.
Preparation Method
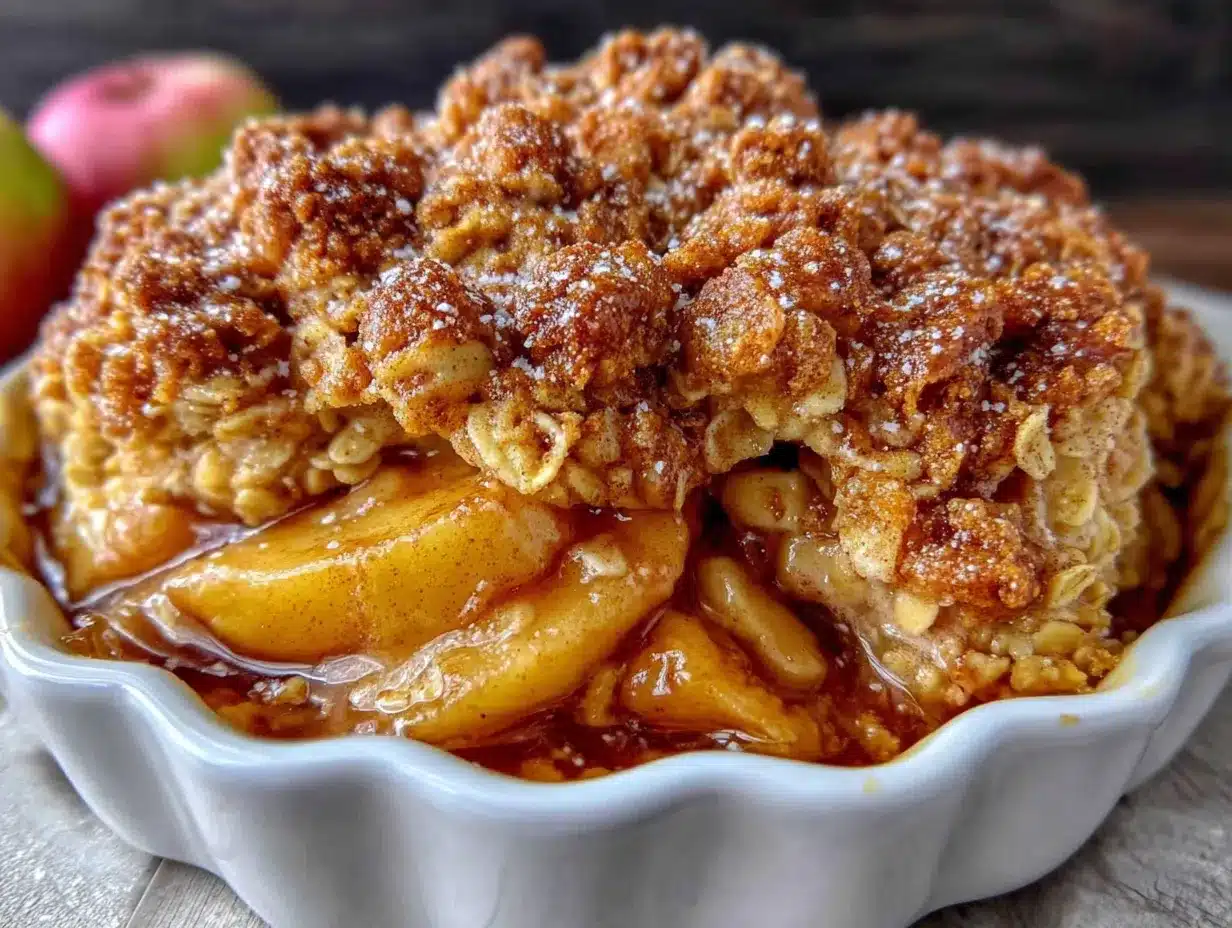
Let me walk you through this step by step. I’ve made this so many times I could do it in my sleep, but I’ll share every detail so you get it right the first time.
- Preheat your oven to 350°F (175°C). Get this going first so the oven is ready when you are. While it’s heating, move on to the apples.
- Prepare the apples. Wash your apples thoroughly — remember, we’re leaving the skins on. Cut them in half through the stem, then cut each half into quarters. Remove the core and seeds from each quarter, then slice each quarter into 3-4 pieces, about ¼-inch thick. You want them uniform so they cook evenly. Toss the sliced apples into your large mixing bowl as you go.
- Make the apple filling. To the bowl of sliced apples, add the granulated sugar, all-purpose flour, ground cinnamon, ground nutmeg, and lemon juice. Use a rubber spatula or your clean hands to toss everything together until every apple slice is coated. The flour will help thicken the juices as the apples cook, so don’t skip it. Set this aside while you make the topping.
- Make the oat crumble. In your medium mixing bowl, combine the old-fashioned oats, all-purpose flour, packed brown sugar, ground cinnamon, and salt. Whisk these dry ingredients together with a fork to break up any brown sugar clumps. Now add the cold, cubed butter. Use your pastry cutter, two forks, or your fingertips to work the butter into the dry mixture. Keep going until the mixture looks like coarse sand with some pea-sized butter pieces remaining. Stop before it comes together into a dough — you want it crumbly. If the butter starts getting too soft, pop the bowl in the fridge for 5 minutes.
- Assemble the crisp. Lightly grease your 9×13 baking dish with a little butter or non-stick spray. Pour the apple mixture into the dish and spread it into an even layer. Don’t press it down — let the apples sit loosely so they can cook evenly. Now sprinkle the oat crumble evenly over the top. Use your hands to let it fall naturally, covering as much of the apples as possible. Some apples peeking through is totally fine — that’s how you know it’s done later.
- Bake. Place the dish on the middle rack of your preheated oven. Bake for 40-45 minutes, until the topping is golden brown and the apple filling is bubbling up around the edges. You’ll see those beautiful amber juices creeping up the sides of the dish — that’s how you know it’s ready. If the topping is browning too quickly but the apples aren’t bubbling yet, loosely tent the dish with aluminum foil for the last 10 minutes.
- Cool slightly before serving. This is the hardest part, I know. Let the crisp sit on a wire rack for at least 10-15 minutes before scooping into bowls. This allows the filling to set up a bit so it’s not too runny. The smell filling your kitchen will be absolutely intoxicating — cinnamon, butter, and baked apples all mingling together.
One more thing — if you’re using a glass baking dish, your cooking time might be on the longer end since glass doesn’t conduct heat as quickly as metal. Just keep an eye on that golden-brown topping and those bubbling edges.
Cooking Tips & Techniques
After making this crisp probably thirty times, I’ve collected a few hard-won tips that’ll save you from my early mistakes.
Don’t overwork the crumble. I ruined my first few batches by mixing the butter in too thoroughly. You want some bigger chunks of butter remaining — those melt and create steam pockets that give you those crispy, craggy bits on top. If your mixture looks like wet sand with no visible butter pieces, you’ve gone too far.
Cold butter is non-negotiable. I once left my butter on the counter for an hour thinking it would be easier to cut in. It wasn’t. Soft butter gets absorbed into the flour and oats instead of staying in distinct pieces, and you end up with a dense, greasy topping instead of a light, crunchy one. If your kitchen is warm, chill the butter in the freezer for 10 minutes before starting.
Let the crisp rest. I know the temptation to dig in immediately is real — I’ve burned my tongue more than once proving this point. But that 10-15 minute rest isn’t just about temperature. It lets the juices thicken naturally as they cool slightly. A crisp that’s rested will hold its shape on the spoon instead of turning into apple soup.
Use a bigger dish than you think you need. A 9×13 is perfect for this recipe, but if you try to cram it into an 8×8, you’ll get a thick layer of apples that takes forever to cook and a topping that burns before the fruit is tender. Give those apples room to breathe.
Check for doneness with a knife. If you’re not sure whether the apples are tender, insert a paring knife into the center of the crisp. It should slide through with little resistance. If you feel crunch, give it another 5-10 minutes.
Variations & Adaptations
One of the best things about this recipe is how flexible it is. Here are some variations I’ve tried and loved:
Gluten-Free Version: Substitute the all-purpose flour with a good gluten-free 1:1 baking flour. I’ve used Bob’s Red Mill with great results. The oat crumble works beautifully since old-fashioned oats are naturally gluten-free (just make sure you’re using certified gluten-free oats if cross-contamination is a concern).
Lower Sugar Option: Cut the granulated sugar in the apple filling down to 2 tablespoons and use a sugar substitute like monk fruit sweetener in the crumble. The apples provide plenty of natural sweetness, especially if you use Honeycrisp or Fuji varieties. My husband, who has a sweet tooth, didn’t even notice the difference.
Berry-Apple Combo: Swap out 2 of the apples for 1 cup of fresh or frozen berries. Blueberries or raspberries work beautifully. Just toss them in with the apples and proceed as usual. The berries burst during baking and create these gorgeous purple-red pockets throughout the filling.
Add Some Crunch: Throw in ¼ cup of chopped pecans or walnuts to the oat crumble mixture. Toast them lightly in a dry pan first for extra flavor. My sister-in-law adds slivered almonds and swears it’s the only way to make apple crisp.
Spice It Up: Add ¼ teaspoon of cardamom or ginger to the apple filling for a more complex flavor profile. Cardamom pairs beautifully with cinnamon and gives the crisp a slightly exotic warmth that’s perfect for fall entertaining.
Serving & Storage Suggestions
This crisp is best served warm, straight from the oven, with a generous scoop of vanilla ice cream melting into every crevice. That cold-meets-warm contrast is what makes it absolutely irresistible. If you’re feeling fancy, a drizzle of caramel sauce over the top takes it to another level entirely.
For a dairy-free option, coconut milk ice cream or a dollop of whipped coconut cream works beautifully. My kids actually prefer it with a splash of cold heavy cream poured right over the top — it’s simple but somehow perfect.
This crisp pairs wonderfully with a cup of hot coffee or a mug of spiced apple cider. For a full fall meal, serve it after a bowl of hearty lentil soup or alongside a slice of simple pumpkin bread for a cozy dessert spread.
Storage: Cover the baking dish tightly with foil or plastic wrap and store in the refrigerator for up to 5 days. The topping will lose some of its crunch over time, but the flavor actually gets better as the apples continue to absorb the cinnamon and sugar.
Reheating: The best way to revive leftover crisp is in the oven. Place individual portions in a 350°F oven for 10 minutes, or pop them in the air fryer at 325°F for 5-6 minutes. The microwave works in a pinch (about 45 seconds), but the topping will be soft rather than crispy. If you’re reheating the whole dish, cover with foil and warm at 325°F for 15-20 minutes.
Freezing: You can freeze the unbaked crisp for up to 3 months. Assemble everything in a freezer-safe dish, wrap tightly with plastic wrap and then foil, and freeze. When you’re ready to bake, add about 15 minutes to the cooking time and bake from frozen. You can also freeze baked, cooled crisp — just thaw overnight in the fridge and reheat as directed.
Nutritional Information & Benefits
Here’s the approximate nutritional breakdown per serving (based on 8 servings):
- Calories: 310
- Total Fat: 12g
- Saturated Fat: 7g
- Cholesterol: 30mg
- Sodium: 95mg
- Total Carbohydrates: 50g
- Dietary Fiber: 5g
- Sugars: 32g
- Protein: 3g
Apples are packed with fiber and vitamin C, and leaving the skins on doubles the antioxidant content. Oats provide soluble fiber that’s great for heart health and keeping you full. While this is definitely a treat, it’s a treat with some redeeming qualities — whole grains, real fruit, and minimal processed ingredients.
If you’re watching your sugar intake, you can easily reduce the sugar by a third without sacrificing much flavor. The natural sweetness of the apples carries a lot of the weight here. For a lower-fat version, reduce the butter in the crumble to ⅓ cup and add an extra tablespoon of applesauce to help bind it.
This recipe is naturally nut-free (unless you add the pecan variation) and can be made dairy-free and gluten-free with simple substitutions. Always check your labels if cooking for someone with allergies.
Frequently Asked Questions
Can I use quick oats instead of old-fashioned oats?
I wouldn’t recommend it. Quick oats are more finely chopped and absorb too much moisture, turning your crisp topping into a soggy, pasty mess instead of a crunchy crumble. Stick with old-fashioned rolled oats for the best texture.
Do I really have to leave the skins on the apples?
You absolutely can peel them if you prefer, but I’ve found the skins soften beautifully during baking and add a nice rustic texture and extra fiber. Plus, it saves you a solid 10 minutes of prep time. My kids don’t even notice the skins are there.
Can I make this ahead of time?
Yes! You can assemble the entire crisp (without baking) up to 24 hours in advance. Just cover and refrigerate. When you’re ready to bake, add about 5-10 minutes to the cooking time since you’re starting from cold. The topping might not get quite as crispy, but it’s still delicious.
Why is my crisp runny?
A runny filling usually means one of two things: either you didn’t let the crisp rest long enough after baking, or your apples released more juice than expected. The flour in the filling helps thicken things, but some apple varieties are juicier than others. If you’re using very juicy apples, add an extra tablespoon of flour to the filling. And always let that 10-15 minute rest happen before serving.
Can I double this recipe for a crowd?
Absolutely. Double everything and bake it in a 9×13 dish — it’ll be nice and thick. You’ll need to increase the baking time to about 55-60 minutes. Keep an eye on the topping and tent with foil if it’s browning too quickly. This is my go-to for potlucks and Thanksgiving gatherings.
Conclusion
This Kid-Approved Cinnamon Sugar Apple Crisp with Oat Crumble has become a staple in our kitchen for good reason. It’s simple enough for a Tuesday night dessert but impressive enough to bring to a holiday gathering. The combination of tender, cinnamon-spiced apples with that buttery, crunchy oat topping is pure comfort in a bowl — especially when you add a scoop of melting vanilla ice cream on top.
What I love most about this recipe is how forgiving it is. You can use whatever apples you have on hand, adjust the sugar to your taste, throw in some berries or nuts if you’re feeling adventurous. It’s the kind of recipe that makes you feel like a good cook without any stress or fuss. And honestly, isn’t that what we all want from our weeknight desserts?
I’d love to hear how yours turns out. Did you try any variations? Did your kids help make it? Drop a comment below and let me know — and don’t forget to share a photo if you make it. There’s something special about a dessert that brings people together, and this one does exactly that. Happy baking, friends!
Pin This Recipe!
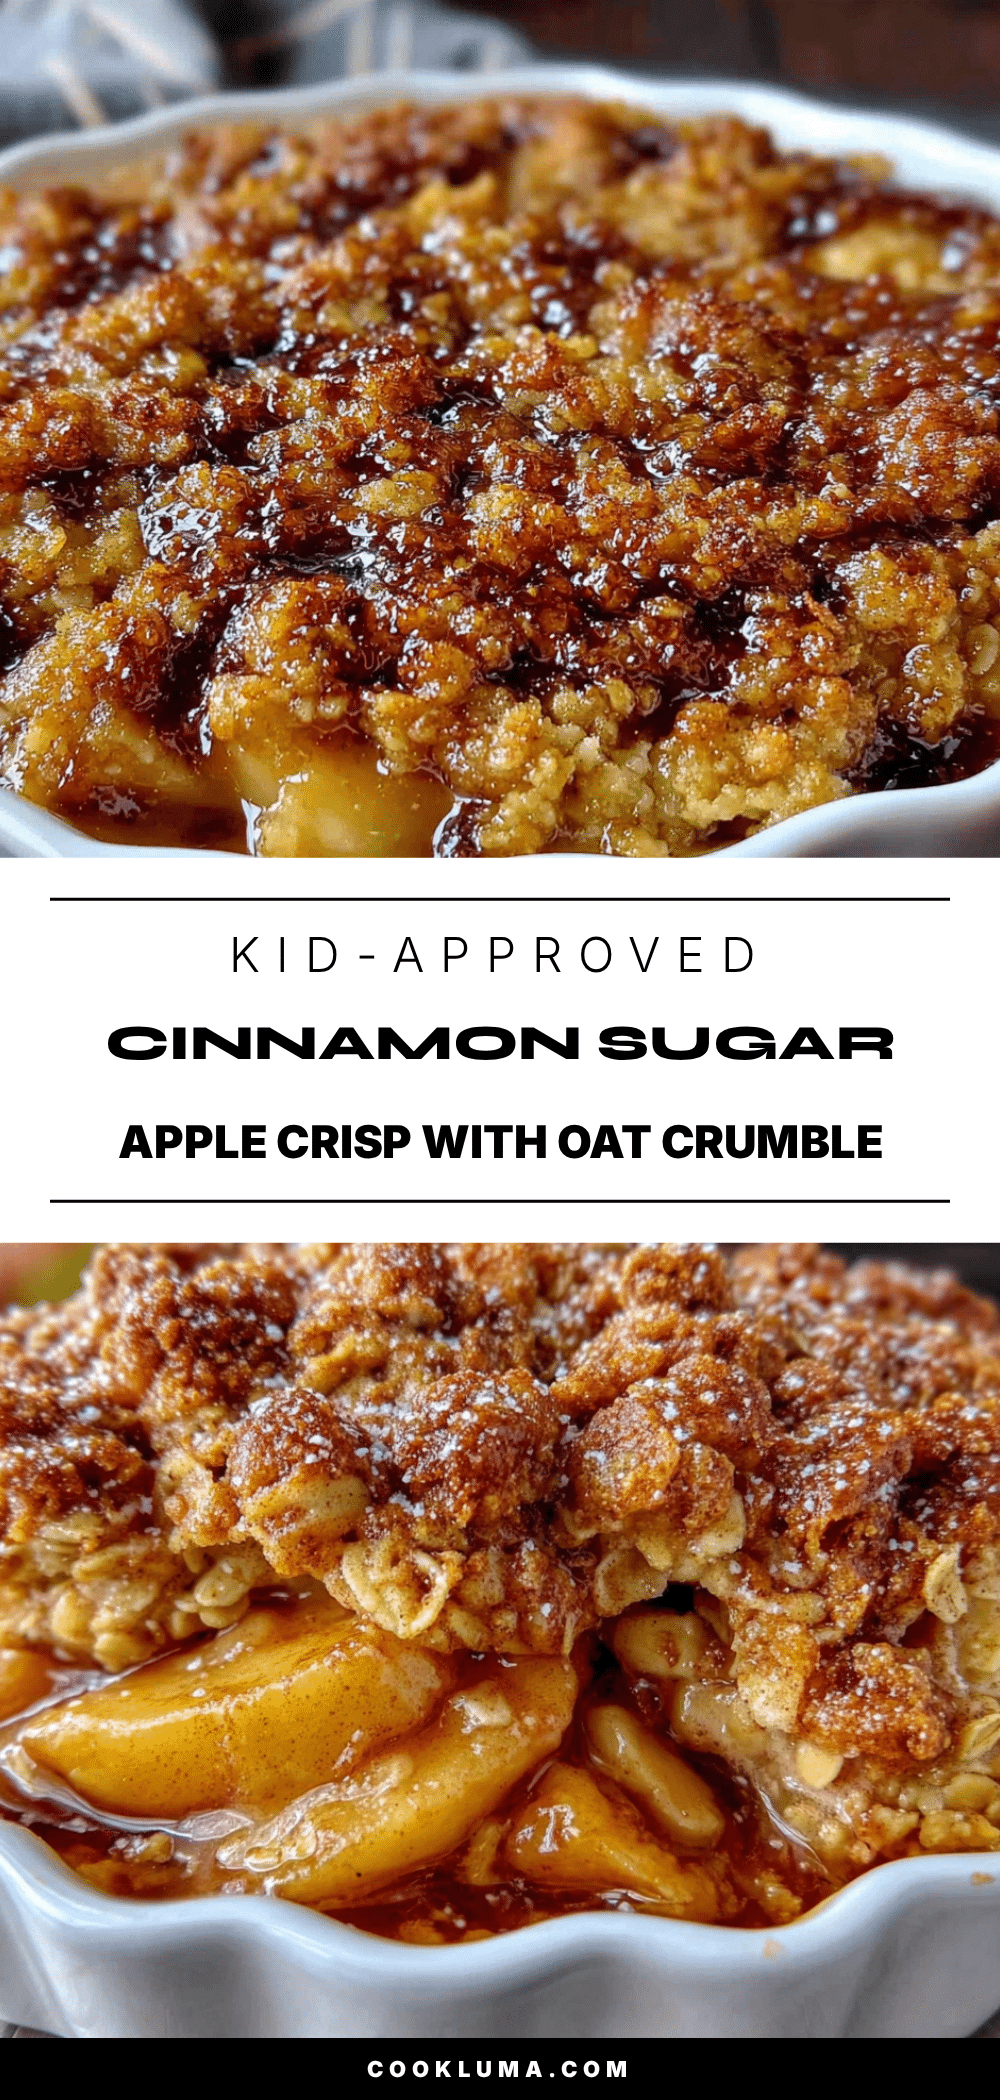
Kid-Approved Cinnamon Sugar Apple Crisp With Oat Crumble

A foolproof apple crisp with unpeeled apples and a buttery oat crumble topping. Quick to prepare and perfect for family dinners or potlucks.
- Prep Time: 15 minutes
- Cook Time: 45 minutes
- Total Time: 1 hour
- Yield: 8 servings 1x
- Category: Dessert
- Cuisine: American
Ingredients
- 6 medium apples, unpeeled, cored and sliced into ¼-inch thick pieces (Honeycrisp or Granny Smith recommended)
- ¼ cup granulated sugar
- 2 tablespoons all-purpose flour
- 1 teaspoon ground cinnamon
- ¼ teaspoon ground nutmeg
- 1 tablespoon lemon juice
- 1 cup old-fashioned rolled oats
- ½ cup all-purpose flour
- ½ cup packed light brown sugar
- 1 teaspoon ground cinnamon
- ¼ teaspoon salt
- ½ cup unsalted butter, cold and cut into small cubes
Instructions
- Preheat your oven to 350°F (175°C).
- Wash apples thoroughly, cut in half, then into quarters. Remove core and seeds, then slice each quarter into 3-4 pieces about ¼-inch thick. Toss sliced apples into a large mixing bowl.
- To the bowl of sliced apples, add granulated sugar, 2 tablespoons all-purpose flour, 1 teaspoon cinnamon, nutmeg, and lemon juice. Toss until every apple slice is coated. Set aside.
- In a medium mixing bowl, combine old-fashioned oats, ½ cup all-purpose flour, brown sugar, 1 teaspoon cinnamon, and salt. Whisk together. Add cold, cubed butter. Use a pastry cutter, two forks, or your fingertips to work the butter into the dry mixture until it looks like coarse sand with some pea-sized butter pieces remaining.
- Lightly grease a 9×13-inch baking dish. Pour the apple mixture into the dish and spread into an even layer. Sprinkle the oat crumble evenly over the top.
- Bake on the middle rack for 40-45 minutes, until the topping is golden brown and the apple filling is bubbling around the edges. If topping browns too quickly, tent with foil for the last 10 minutes.
- Let the crisp cool on a wire rack for at least 10-15 minutes before serving.
Notes
For best results, use a mix of Honeycrisp and Granny Smith apples. Old-fashioned rolled oats are essential; quick oats will make the topping soggy. Cold butter is crucial for a crunchy crumble. Let the crisp rest before serving to allow the filling to set.
Nutrition
- Serving Size: 1 serving
- Calories: 310
- Sugar: 32
- Sodium: 95
- Fat: 12
- Saturated Fat: 7
- Carbohydrates: 50
- Fiber: 5
- Protein: 3
Keywords: apple crisp, cinnamon sugar, oat crumble, easy dessert, fall dessert, kid-friendly


