My mother-in-law had claimed to hate meringues for forty-three years. Forty-three years of side-eyeing any dessert that dared to be light and airy, of declaring that “a cookie should have some heft,” of treating whipped egg whites like they were a personal betrayal. Then last spring, I found her standing at the kitchen counter, reaching for a third one of these forgotten cookies with this look on her face—half guilty, half thrilled, like she’d been caught sneaking a cigarette in high school.
I didn’t say a word. I just handed her the plate.
Here’s the thing about these no-bake meringues. They’re called forgotten cookies because you literally put them in a turned-off oven overnight and forget about them until morning. No standing over a hot stove, no complicated piping bags, no fussing with a candy thermometer. You mix four ingredients, drop them on a baking sheet, close the oven door, and go to bed. By breakfast, you’ve got these pillowy little clouds that shatter when you bite into them—crisp on the outside, chewy in the middle, with tiny chocolate chips scattered throughout like buried treasure.
My kids call them “the cookies that disappear.” And honestly? They’re not wrong. I made a batch for a playdate last Tuesday, and by the time the second episode of Bluey was over, the entire tray was gone. One of the moms asked for the recipe before she even put her shoes back on.
Maybe you’ve been there—trying to find a dessert that doesn’t require a trip to the store for seventeen specialty ingredients, that doesn’t heat up your whole kitchen, that doesn’t make you want to throw a spatula across the room. These forgotten cookies are that recipe. They’re the kind of thing you make when you need a win in the kitchen without working for it. And honestly? That’s the best kind of win.
Why You’ll Love This Recipe
I’ve tested this recipe six times to get it exactly right. The first batch was too sticky. The second one was too dry. The third one—well, let’s just say I learned that parchment paper matters more than you’d think. But by batch four, I had it dialed in, and by batch six, I was eating one for breakfast and pretending it was a balanced meal. Here’s why this version is worth your time:
- Quick & Easy: Active prep time is maybe ten minutes. That’s it. The oven does the rest while you sleep.
- Simple Ingredients: Eggs, sugar, vanilla, and chocolate chips. You probably have all of them right now.
- Perfect for Busy Families: Make them on a Sunday night, and they’ll last all week—if your kids don’t find them first.
- Crowd-Pleaser: I’ve watched toddlers, teenagers, and grandparents fight over the last one. They’re that good.
- Unbelievably Delicious: The texture is what gets everyone. Crispy edges, soft centers, melty chocolate in every bite.
What makes these different from other meringue recipes? Two things. First, I add a tiny splash of vinegar to the egg whites before whipping. It stabilizes the meringue so it holds its shape better and doesn’t deflate. Second, I let them rest in the oven overnight—not just the standard hour. That extra time gives them that perfect texture that’s crisp all the way through but still tender. It’s a small tweak, but it makes all the difference.
This isn’t just another cookie recipe. It’s the kind that makes you close your eyes after the first bite. It’s comfort food without the effort, dessert without the drama, and honestly? It’s the recipe that finally proved my mother-in-law wrong after forty-three years.
What Ingredients You Will Need
This recipe uses simple, wholesome ingredients to create something that tastes far more complicated than it is. Most of these are pantry staples, which means you can whip up a batch whenever the craving strikes.
- 2 large egg whites, room temperature (cold eggs don’t whip as high; let them sit out for 30 minutes)
- 2/3 cup granulated sugar (white sugar works best; don’t substitute brown sugar—it’s too heavy)
- 1 teaspoon vanilla extract (I prefer pure vanilla, but imitation works fine here)
- 1/2 teaspoon white vinegar (this stabilizes the meringue; you won’t taste it)
- 1/2 cup mini chocolate chips (mini chips distribute better than regular-sized ones; regular chips work too, they just sink more)
A few notes on ingredient selection. For the egg whites, fresh eggs whip up better than older ones. If you’re not sure how old your eggs are, do the float test—fresh eggs sink, old eggs float. For the chocolate chips, I like Ghirardelli mini chips because they’re small enough to stay suspended in the meringue without sinking to the bottom. But honestly, any brand will work. You can also swap in white chocolate chips, butterscotch chips, or even chopped nuts if that’s your thing.
One substitution tip: if you need these to be dairy-free, use dairy-free chocolate chips. The meringue itself has no dairy. And if you’re avoiding refined sugar, you can try coconut sugar, but be warned—it changes the color and texture. The cookies won’t be as white, and they’ll be a little denser. Still tasty, just different.
Equipment Needed
You don’t need much for these cookies, which is part of their charm. Here’s what you’ll need:
- Electric mixer (hand mixer or stand mixer both work; you need to whip the egg whites to stiff peaks, and doing that by hand is a workout)
- Large mixing bowl (make sure it’s completely clean and dry; any grease will ruin the meringue)
- Baking sheet (a standard half-sheet pan works great)
- Parchment paper (don’t skip this—the cookies will stick to foil or a greased pan)
- Rubber spatula (for folding in the chocolate chips gently)
- Cookie scoop or two spoons (for dropping the meringue onto the baking sheet)
If you don’t have an electric mixer, you can whip the egg whites by hand with a whisk, but be prepared for about 10-15 minutes of vigorous arm work. I did it once when my mixer broke, and honestly? My arm was sore the next day. But it worked. If you’re looking for budget-friendly options, a $15 hand mixer from a big box store will do the job just fine. You don’t need a fancy KitchenAid for this.
One tip: wipe your bowl and beaters with a little lemon juice or vinegar before you start. Any trace of grease will keep the egg whites from whipping properly. I learned this the hard way when I used a bowl that had a tiny bit of butter residue, and my meringue never got stiff. A whole batch wasted.
Preparation Method
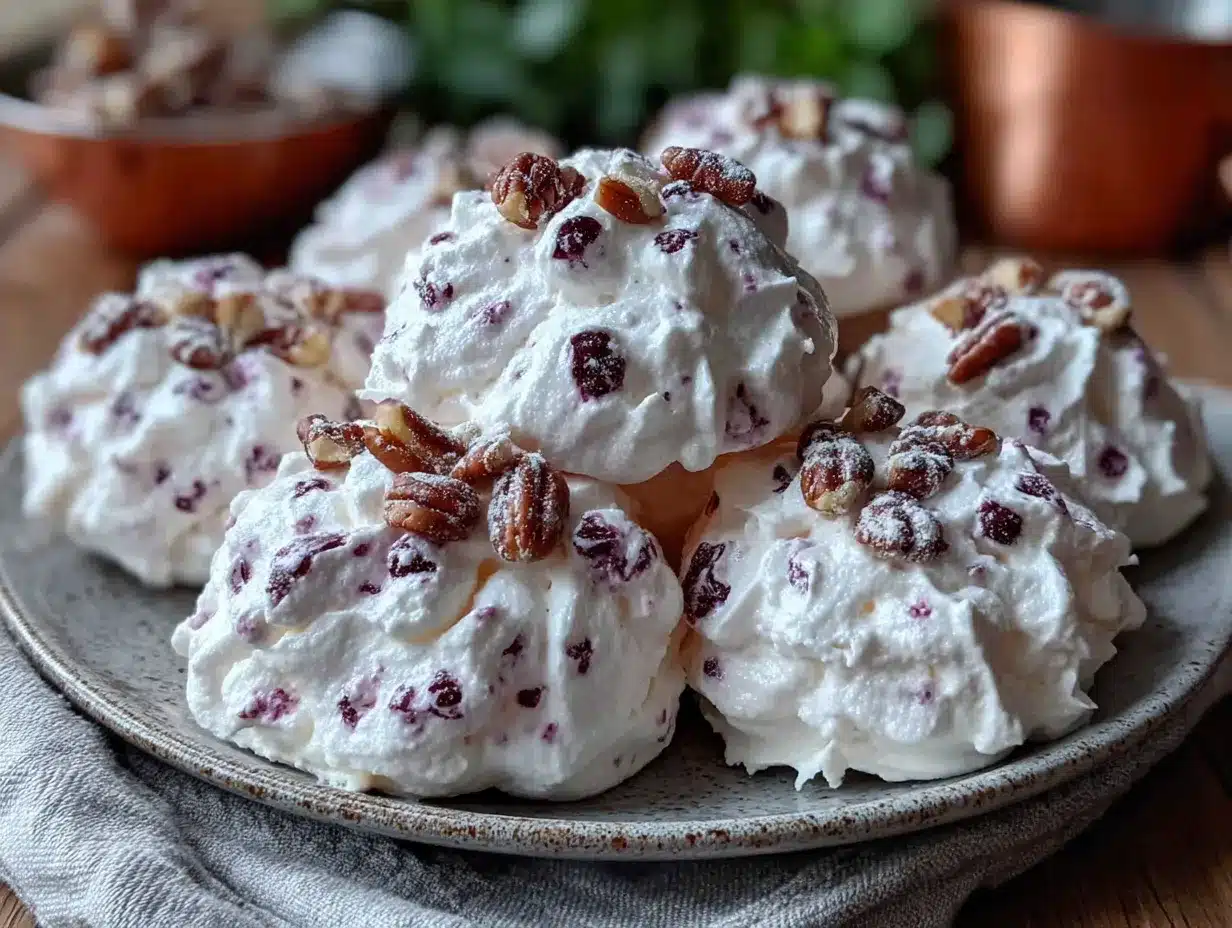
This is the easy part. Follow these steps, and you’ll have perfect forgotten cookies every time.
- Preheat your oven to 350°F (175°C). Wait—I know that sounds hot for meringues. Stick with me. You’re going to turn it off in a minute.
- Line a baking sheet with parchment paper. Don’t skip this. Trust me on this one.
- Separate your eggs. Make sure not a speck of yolk gets into the whites. If it does, start over. The fat in the yolk will ruin the meringue. I use the three-bowl method: crack each egg over a small bowl, check for yolk, then transfer the white to your mixing bowl. That way, if you mess up one egg, you haven’t wasted all of them.
- Add the vinegar to the egg whites. Yes, vinegar. It sounds weird, but it stabilizes the egg whites and helps them hold their shape. You won’t taste it, I promise.
- Beat the egg whites on medium speed until they’re frothy and start to look like foam. This takes about 30 seconds.
- Gradually add the sugar, about a tablespoon at a time, while continuing to beat on medium-high speed. Don’t dump it all in at once—it’ll deflate the egg whites. Add it slowly, letting each spoonful incorporate before adding the next.
- Continue beating until stiff peaks form. This means when you lift the beaters, the meringue stands up in peaks that don’t flop over. It should look glossy and smooth, not grainy. This usually takes 5-7 minutes total. If you rub a little between your fingers, it should feel smooth, not gritty. If it feels gritty, keep beating.
- Beat in the vanilla extract on low speed, just until combined. Don’t overmix at this point.
- Gently fold in the chocolate chips using a rubber spatula. Use a gentle, sweeping motion—fold the meringue over the chips, not stir them in. Overmixing will deflate the meringue and make your cookies flat.
- Drop spoonfuls of meringue onto the prepared baking sheet. Use a cookie scoop or two spoons to make even-sized drops. They don’t spread, so you can place them close together—about an inch apart. I usually get about 24 cookies from one batch.
- Put the baking sheet in the oven, then turn the oven OFF. Yes, off. Close the door and walk away. Do not open the oven for at least 6 hours, preferably overnight.
- Leave them in the oven overnight (or at least 6-8 hours). The residual heat slowly dries them out, creating that perfect crisp exterior with a soft, chewy center.
One thing I learned the hard way: if you open the oven too early, the cookies will deflate and get chewy and weird. I did this once at hour four because I couldn’t wait, and they came out flat and sticky. Not great. Just leave them alone. Go to bed. Trust the process.
Cooking Tips & Techniques
After making these cookies more times than I care to count, I’ve picked up a few tricks that make a real difference.
Room temperature eggs are non-negotiable. Cold egg whites don’t whip as high, and they take forever to reach stiff peaks. Set your eggs out on the counter for at least 30 minutes before you start. If you forgot to do that, put them in a bowl of warm water for 5 minutes. It’s not as good as room temperature, but it helps.
Make sure your bowl is spotless. Any grease—even a tiny smear of butter from a previous recipe—will keep your egg whites from whipping properly. I wipe my bowl and beaters with a paper towel dipped in lemon juice before I start, just to be safe.
Don’t overbeat the meringue. Stiff peaks are what you want, but if you keep going past that point, the meringue will start to look dry and curdled. It’ll separate and get watery. When you lift the beaters and the peaks stand up straight without flopping, stop. You’re done.
Humidity is your enemy. Meringues are basically dried egg whites and sugar, so they absorb moisture from the air. If you’re making these on a rainy or humid day, they might come out chewy instead of crisp. Save this recipe for a dry day, or plan to eat them within 24 hours. They’ll still taste good, just not as crispy.
I once made these on a humid August afternoon, and they never fully dried out. They were still tasty—my kids ate them all anyway—but they were more like marshmallows than cookies. Lesson learned.
Variations & Adaptations
This recipe is incredibly flexible. Here are some variations I’ve tried and loved:
Peppermint Chocolate: Substitute the vanilla extract with 1/2 teaspoon peppermint extract and use crushed candy canes instead of chocolate chips. Great for Christmas cookie exchanges.
Lemon Blueberry: Add 1 teaspoon lemon zest and 1/2 teaspoon lemon extract instead of vanilla. Fold in dried blueberries instead of chocolate chips. The tartness of the lemon balances the sweetness beautifully.
Nutty Coconut: Fold in 1/4 cup toasted shredded coconut and 1/4 cup chopped pecans along with the chocolate chips. Toast the coconut first in a dry pan for 2-3 minutes until it’s golden brown—it makes a huge difference in flavor.
Dairy-Free Version: Use dairy-free chocolate chips. Everything else in the recipe is already dairy-free. My sister-in-law is lactose intolerant, and she devoured an entire batch of these at a family gathering.
For Picky Eaters: Leave out the chocolate chips entirely and add sprinkles instead. My nephew won’t touch anything with “chunks” in it, but he loves these with rainbow sprinkles folded in. They come out looking like little confetti clouds.
One personal variation I love: add 1/4 teaspoon almond extract along with the vanilla. It gives the cookies this subtle, almost marzipan-like flavor that’s absolutely addictive. My husband says they taste like fancy bakery cookies when I do this.
Serving & Storage Suggestions
These cookies are best served at room temperature. They’re perfect as-is, but you can also crumble them over ice cream for a quick sundae, or dip them in melted chocolate for an extra-indulgent treat.
For storage, keep them in an airtight container at room temperature. Do not refrigerate them—the moisture in the fridge will make them sticky and soft. They’ll stay fresh for about 3-4 days, but honestly? They never last that long in my house.
If you need to make them ahead, they freeze beautifully. Place them in a single layer in a freezer-safe container with parchment paper between layers. They’ll keep for up to 2 months. To thaw, just let them sit at room temperature for 10-15 minutes. Don’t microwave them—they’ll get chewy and weird.
One thing I love about these cookies: the flavor actually improves after a day or two. The vanilla mellows out, and the chocolate chips seem to get more chocolatey. If you can resist eating them all on day one, you’ll be rewarded on day two.
Nutritional Information & Benefits
Per cookie (based on 24 cookies per batch): approximately 45 calories, 1g fat, 9g carbohydrates, 1g protein, 8g sugar. These are estimates and will vary based on the exact ingredients you use.
These cookies are naturally gluten-free and dairy-free (if you use dairy-free chocolate chips). They’re also low in fat compared to traditional cookies, since the only fat comes from the chocolate chips. The egg whites provide a small amount of protein, and the sugar gives you quick energy—perfect for a little afternoon pick-me-up.
From a wellness perspective, I love that these cookies satisfy a sweet craving without being heavy. They’re light and airy, so you don’t feel weighed down after eating one. And because they’re so simple, you know exactly what’s in them. No preservatives, no artificial ingredients, nothing weird.
Just a heads-up: these are not low-sugar cookies. The sugar is what gives them their structure and texture. If you’re watching your sugar intake, you might want to enjoy these as an occasional treat rather than an everyday snack.
Conclusion
These forgotten cookies have become a staple in my kitchen for one simple reason: they work. Every single time. No fuss, no stress, no complicated techniques. Just four ingredients, ten minutes of work, and a little bit of patience while the oven does its magic.
I love that I can make them with my kids on a Sunday afternoon, pop them in the oven, and forget about them until morning. I love that they make the kitchen smell like vanilla and sugar. And I really love watching people’s faces when they bite into one for the first time—that moment of surprise when they realize something so simple can taste so good.
If you try these, I’d love to hear how they turn out. Did your kids love them? Did you try a fun variation? Drop a comment below and let me know. And if you have a picky eater who swears they don’t like meringues—well, maybe just hand them a plate and see what happens.
Happy baking, friend. Or should I say, happy forgetting.
Frequently Asked Questions
Can I make these forgotten cookies on a humid day?
You can, but they might not get as crispy. The sugar in meringues absorbs moisture from the air, so on humid days, they tend to stay chewy. If you’re set on making them, try leaving them in the turned-off oven for a full 12 hours instead of 6-8. That extra drying time can help compensate for the humidity.
Why did my meringue deflate?
This usually happens for one of three reasons: your bowl had grease on it, a tiny bit of egg yolk got into the whites, or you overmixed when folding in the chocolate chips. Make sure your bowl and beaters are spotless, separate your eggs carefully, and fold gently. If your meringue deflates, you can’t save it—you have to start over.
Can I use liquid egg whites from a carton?
I don’t recommend it. Carton egg whites are pasteurized, which changes their protein structure and makes them harder to whip to stiff peaks. They also don’t hold their shape as well. Fresh egg whites from whole eggs work much better for this recipe.
How do I know when the meringue is done whipping?
Lift the beaters out of the bowl. If the meringue forms peaks that stand up straight without flopping over, you’re done. The meringue should also look glossy and smooth, not grainy or dry. If you rub a little between your fingers, it should feel silky, not gritty.
Can I double this recipe?
Absolutely. I double it all the time for holidays and parties. Just make sure your mixing bowl is big enough—the meringue expands quite a bit as it whips. You might also need to bake in batches or use two baking sheets. If you’re using two sheets, put one on the top rack and one on the middle rack, and rotate them halfway through the initial oven heating time.
Pin This Recipe!
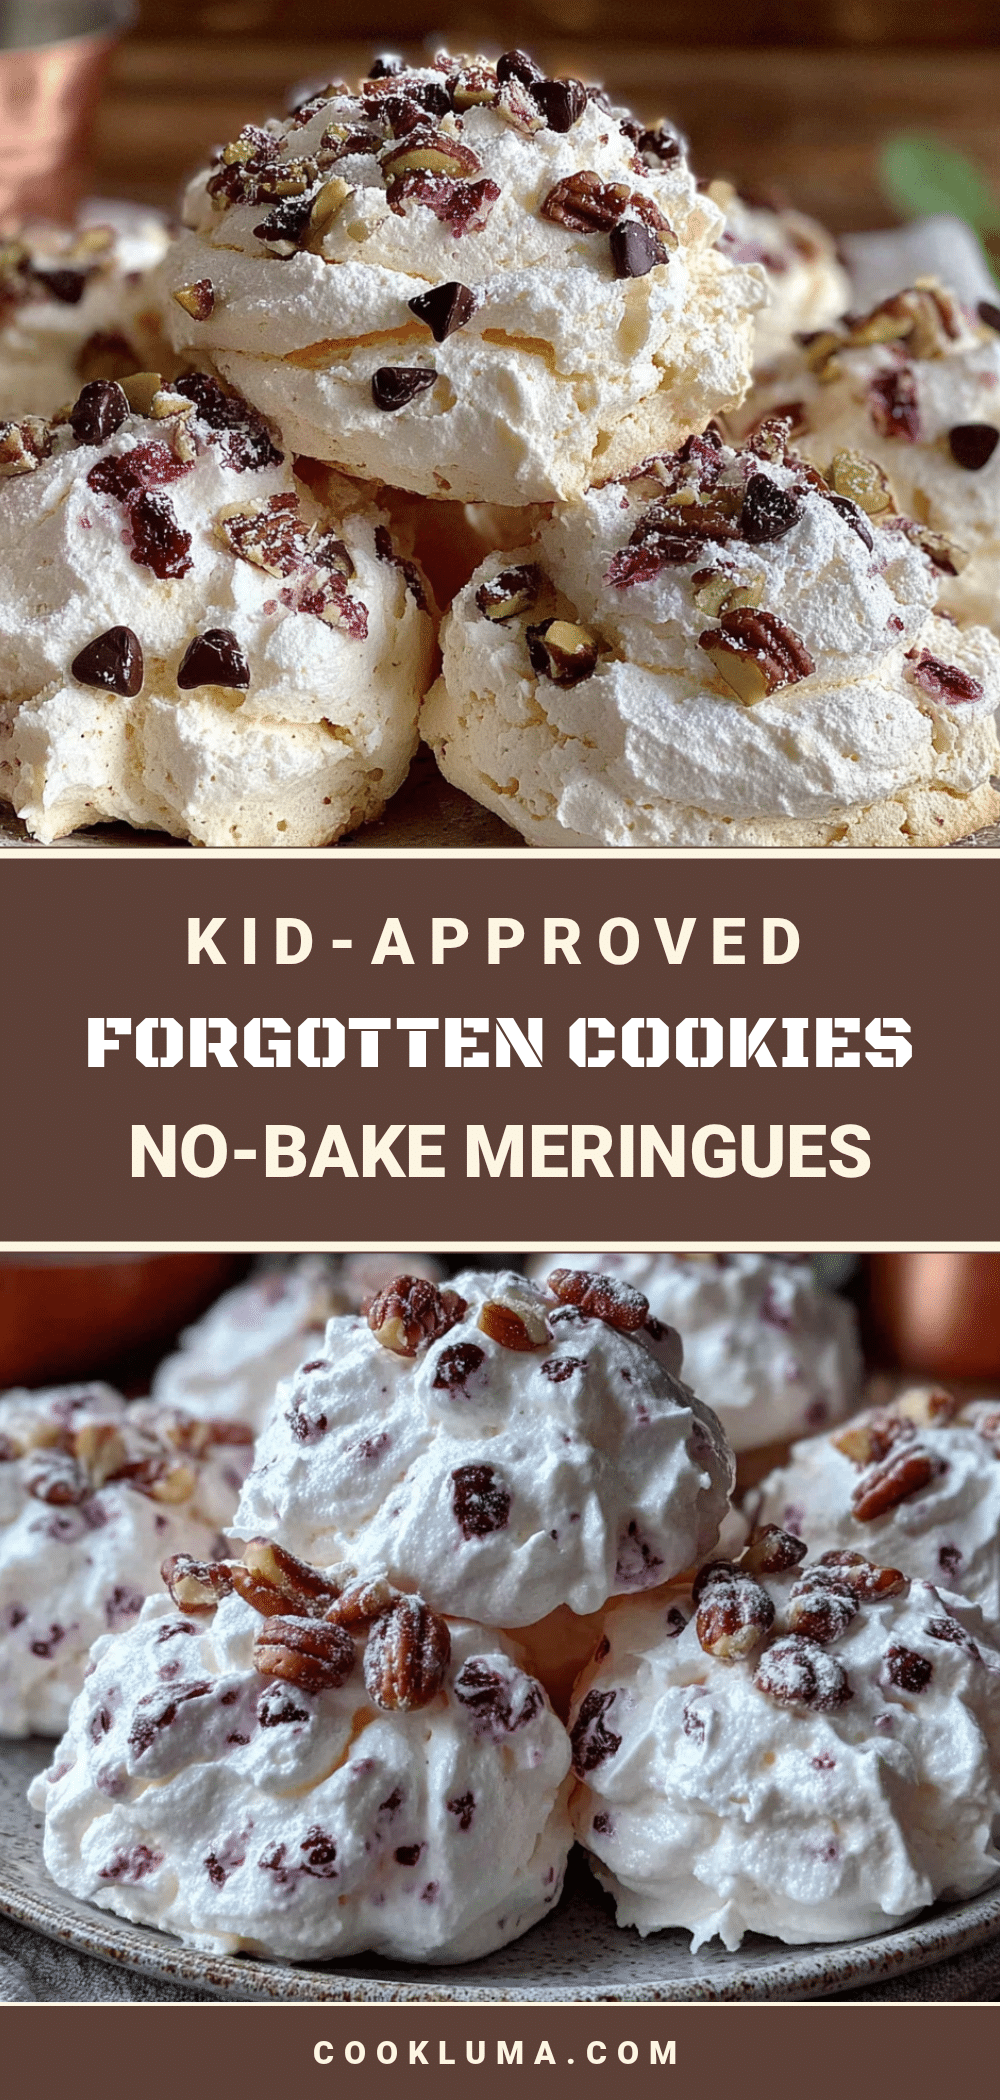
Easy Forgotten Cookies: No-Bake Kid-Approved Meringues

These no-bake meringue cookies are made with just four simple ingredients and require only ten minutes of active prep time. Simply mix, drop on a baking sheet, and leave in a turned-off oven overnight for perfectly crisp-on-the-outside, chewy-on-the-inside cookies with tiny chocolate chips throughout.
- Prep Time: 10 minutes
- Cook Time: 0 minutes (oven is off)
- Total Time: 6-8 hours (overnight)
- Yield: 24 cookies 1x
- Category: Dessert
- Cuisine: American
Ingredients
- 2 large egg whites, room temperature
- 2/3 cup granulated sugar
- 1 teaspoon vanilla extract
- 1/2 teaspoon white vinegar
- 1/2 cup mini chocolate chips
Instructions
- Preheat your oven to 350°F (175°C).
- Line a baking sheet with parchment paper.
- Separate your eggs, ensuring no yolk gets into the whites.
- Add the vinegar to the egg whites.
- Beat the egg whites on medium speed until frothy, about 30 seconds.
- Gradually add the sugar, about a tablespoon at a time, while beating on medium-high speed.
- Continue beating until stiff peaks form, about 5-7 minutes total. The meringue should look glossy and smooth.
- Beat in the vanilla extract on low speed until just combined.
- Gently fold in the chocolate chips using a rubber spatula with a gentle sweeping motion.
- Drop spoonfuls of meringue onto the prepared baking sheet, placing them about an inch apart. You should get about 24 cookies.
- Put the baking sheet in the oven, then turn the oven OFF.
- Leave them in the oven overnight (or at least 6-8 hours). Do not open the oven door during this time.
Notes
Room temperature eggs are essential for proper whipping. Ensure your bowl and beaters are completely clean and grease-free. Humidity can affect the texture; save for dry days or plan to eat within 24 hours. Do not open the oven during the drying process. For best results, use mini chocolate chips as they distribute better.
Nutrition
- Serving Size: 1 cookie
- Calories: 45
- Sugar: 8
- Sodium: 10
- Fat: 1
- Saturated Fat: 0.5
- Carbohydrates: 9
- Protein: 1
Keywords: forgotten cookies, no-bake cookies, meringue cookies, easy cookies, kid-friendly, gluten-free, dairy-free, chocolate chip meringues


