Hand me that pot, my neighbor said, peering over my shoulder as I stared at a sink full of dishes on a Tuesday night. I was attempting to make a proper chicken pot pie, the kind with a from-scratch crust and a filling that simmered for an hour. She didn’t laugh, but her eyes gave her away. “You’re making it harder than it needs to be,” she told me, reaching into my pantry and pulling out a box of puff pastry from my freezer. I remember thinking, that’s cheating. But she just shrugged and said dinner should be on the table before you lose your mind, not after.
That conversation changed how I cook on weeknights. Honestly, I used to think a one-pot chicken pot pie was a fantasy. You know that feeling when you want comfort food but you also want to be done with the kitchen in thirty minutes? Yeah, that was me every single Wednesday. Her version used a single Dutch oven, some leftover chicken, and frozen veggies. The puff pastry went on top, the whole thing went in the oven, and twenty minutes later we were eating something that tasted like it took all afternoon.
I’ve tweaked her method over the years, adding a splash of white wine here and a handful of fresh thyme there. But the soul of the recipe is still hers—quick, forgiving, and built for real life. It stayed with me because it proved that comfort food doesn’t have to be a project. It can be something you throw together on a night when you’re exhausted, and it still feels like a hug in a bowl. Maybe you’ve been there, standing in your kitchen wondering if takeout is the only option. This one-pot chicken pot pie with puff pastry topping is the answer you didn’t know you had.
Why You’ll Love This Recipe
Let’s be real for a second. I’ve tested this recipe about a dozen times, and every single time it delivers the same thing: a creamy, savory filling under a golden, flaky crust that shatters when you tap it with your fork. It’s the kind of dinner that makes your family think you slaved away, when really you just let the pot do the work. Here’s why this one is different from every other pot pie recipe you’ve seen.
- Quick & Easy: From start to table in about 40 minutes. No rolling dough, no blind baking, no separate pots. The puff pastry goes straight on top of the filling, and the oven handles the rest.
- Simple Ingredients: You likely have most of this in your kitchen right now. Rotisserie chicken, frozen peas and carrots, butter, flour, chicken broth, and a sheet of frozen puff pastry. No fancy grocery trips required.
- Perfect for Weeknights: This is the definition of a busy-person dinner. Minimal prep, one pot to wash, and it comes together in the time it takes to unload the dishwasher.
- Crowd-Pleaser: I’ve served this to picky kids, skeptical in-laws, and hungry friends. Every single person went back for seconds. It’s comfort food that everyone agrees on.
- Unbelievably Delicious: The filling is velvety and rich without being heavy, thanks to a simple roux and good-quality broth. The puff pastry gets impossibly flaky and buttery. It’s next-level comfort food that tastes like you spent hours on it.
What makes this recipe different from the rest is the technique. Instead of pre-cooking the pastry separately or dealing with a fussy crust, you let the puff pastry bake right on top of the simmering filling. This traps the steam inside, keeping the chicken moist and the vegetables tender. The bottom of the pastry stays slightly soft from the filling, while the top crisps up into golden perfection. It’s not just another version—it’s the best version for anyone who values their time.
This recipe isn’t just good. It’s the kind that makes you close your eyes after the first bite. It’s comfort food reimagined—faster, simpler, but with the same soul-soothing satisfaction. Perfect for a Tuesday when you have zero energy but still want something that feels like a meal.
What Ingredients You Will Need
This one-pot chicken pot pie uses simple, wholesome ingredients to deliver bold flavor and satisfying texture without the fuss. Most of these are pantry staples, and the ones that aren’t are easy to find at any grocery store. I’ve included my preferred brands and a few substitution notes to make this work for whatever you have on hand.
For the Filling
- 2 tablespoons unsalted butter (I prefer Kerrygold for its rich flavor, but any unsalted butter works fine)
- 1 medium yellow onion, diced (about 1 cup; sweet onion works too if that’s what you have)
- 2 medium carrots, peeled and diced (about 1 cup; add more if you like extra veggies)
- 2 celery stalks, diced (about 1/2 cup; this adds that classic pot pie flavor base)
- 3 cloves garlic, minced (fresh is best, but 1 teaspoon garlic powder works in a pinch)
- 1/3 cup all-purpose flour (this thickens the filling; use a gluten-free all-purpose blend if needed)
- 2 cups low-sodium chicken broth (I recommend Swanson or Kitchen Basics; avoid high-sodium broth or the filling will be too salty)
- 1 cup whole milk (or half-and-half for a richer filling; use oat milk for dairy-free)
- 2 cups cooked chicken, shredded or diced (rotisserie chicken is my go-to for speed; leftover roasted chicken works perfectly too)
- 1 cup frozen peas and carrots mix (no need to thaw; they cook right in the filling)
- 1 teaspoon dried thyme (or 1 tablespoon fresh thyme leaves; I use dried for convenience)
- 1/2 teaspoon dried rosemary (crush it between your fingers to release the oils before adding)
- Salt and black pepper to taste (I start with 1/2 teaspoon salt and 1/4 teaspoon pepper, then adjust at the end)
- 1 tablespoon fresh lemon juice (optional but brightens everything up; add it just before serving)
For the Topping
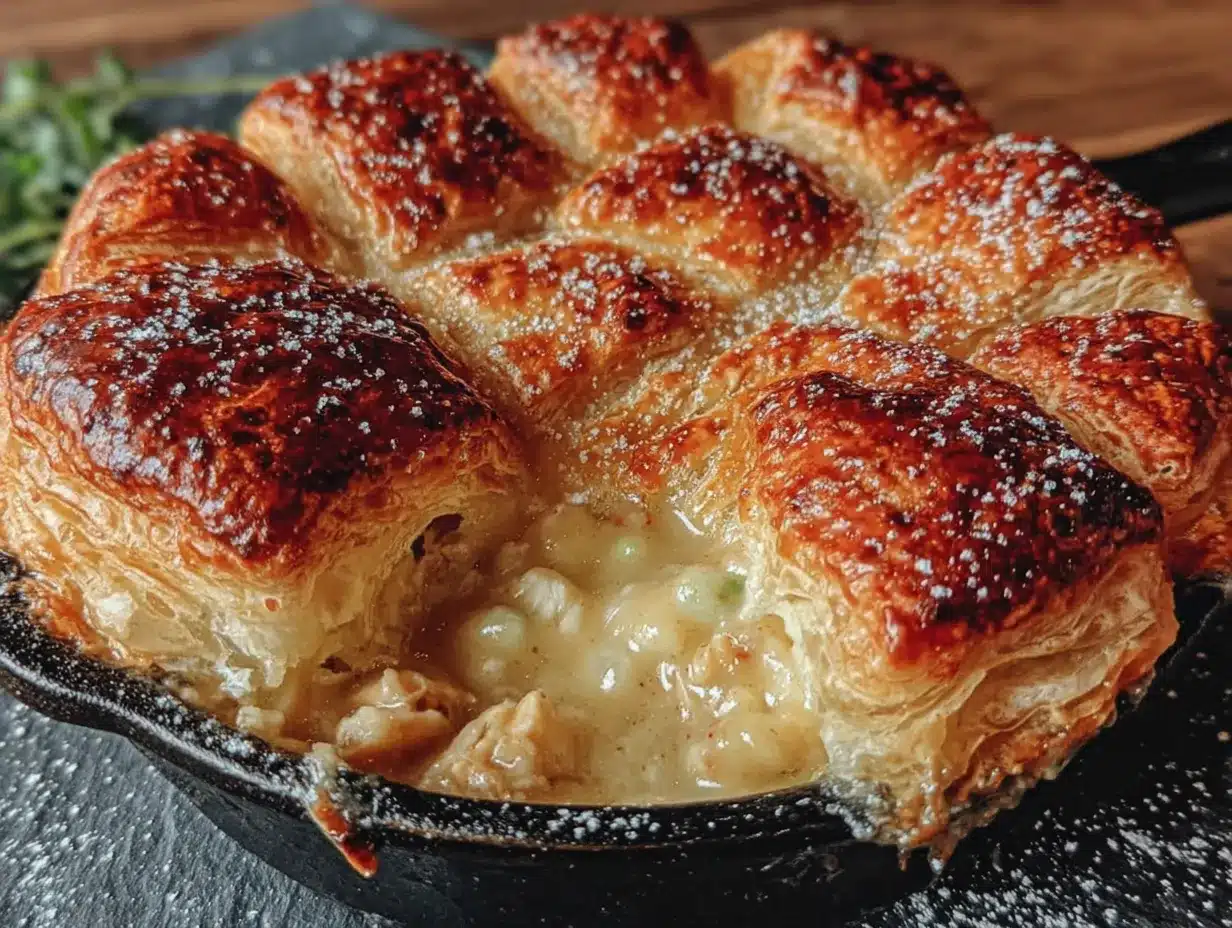
- 1 sheet frozen puff pastry, thawed (Pepperidge Farm is my go-to; it’s reliable and widely available. Thaw in the fridge overnight or on the counter for 30 minutes)
- 1 large egg, beaten with 1 tablespoon water (for the egg wash; this gives the pastry that gorgeous golden color)
- Flaky sea salt for sprinkling (optional but adds a nice crunch and salty hit)
I’ve tested this with different proteins, and leftover turkey works beautifully if you have it. For a vegetarian version, swap the chicken for a can of drained chickpeas and use vegetable broth. The texture will be slightly different, but the flavor is still fantastic. If you don’t have frozen peas and carrots, a bag of frozen mixed vegetables works just as well.
Equipment Needed
You don’t need a lot of fancy equipment for this recipe, which is part of why I love it. Here’s what you’ll need:
- A large Dutch oven or heavy-bottomed pot (5 to 6 quarts is ideal. I use my Le Creuset, but a Lodge enameled cast iron works beautifully at half the price. The key is a pot that can go from stovetop to oven safely)
- A sharp chef’s knife (for dicing the vegetables; a dull knife makes prep take twice as long)
- A wooden spoon or silicone spatula (for stirring the roux and filling; wooden spoons are great for scraping up any browned bits from the bottom of the pot)
- A pastry brush (for the egg wash; if you don’t have one, use a folded paper towel dipped in the egg wash)
- A small bowl (for whisking the egg wash)
- A sharp knife or pizza cutter (for trimming the puff pastry to fit your pot)
If you don’t have a Dutch oven, you can use a large oven-safe skillet or a 9×13-inch baking dish. Just cook the filling on the stovetop in a regular pot, then transfer it to the baking dish before adding the puff pastry. Honestly, I’ve made this in a cast iron skillet and it turned out just as good. The key is using something that holds heat evenly and can handle the oven temperature.
Preparation Method
This comes together faster than you think. Here’s the step-by-step, with all the little details that make a difference.
- Preheat your oven to 400°F (200°C). Make sure your oven rack is in the middle position. While it heats, take your puff pastry out of the fridge if it was thawing there. You want it cold but pliable.
- Melt the butter in your Dutch oven over medium heat. Let it foam and then settle down, about 1 minute. Don’t let it brown—you want it golden and fragrant. Add the diced onion, carrots, and celery. Stir everything together so the vegetables are coated in butter.
- Cook the vegetables for 5 to 7 minutes, stirring occasionally. You’ll know they’re ready when the onions turn translucent and the carrots start to soften. The kitchen should smell amazing at this point. Add the minced garlic and cook for 1 more minute, stirring constantly so it doesn’t burn. Garlic burns fast, so keep an eye on it.
- Sprinkle the flour over the vegetables and stir to coat. Cook this mixture for 2 minutes, stirring constantly. This is called a roux, and it’s what thickens your filling. The flour will look slightly pasty and smell toasty. Don’t skip this step—raw flour taste is not what we’re after.
- Slowly pour in the chicken broth while whisking or stirring vigorously. Pour in a steady stream and keep stirring to prevent lumps. The mixture will thicken almost immediately. Add the milk the same way, stirring until smooth. Let this come to a gentle simmer, which should take about 2 to 3 minutes. You’ll see bubbles around the edges of the pot.
- Add the shredded chicken, frozen peas and carrots, thyme, rosemary, salt, and pepper. Stir everything together until it’s well combined. Let the filling simmer for 3 to 4 minutes, stirring occasionally. It should be thick enough to coat the back of a spoon but still loose enough to bubble. If it seems too thick, add a splash more broth. Too thin? Let it simmer another 2 minutes.
- Taste the filling and adjust the seasoning. This is your moment. Add more salt if it tastes flat, more pepper if you want heat, or a squeeze of lemon juice to brighten it up. I always add a little more black pepper than I think I need—it cuts through the richness beautifully.
- Remove the pot from heat. Let it sit for 2 to 3 minutes. This allows the filling to settle and cool slightly, which prevents the puff pastry from getting soggy on the bottom. While you wait, roll out your puff pastry sheet on a lightly floured surface to about 1/8-inch thickness.
- Place the puff pastry over the top of the filling. It should cover the surface completely, with about 1/2 inch of overhang around the edges. Trim any excess with a sharp knife or pizza cutter. Tuck the overhanging edges into the pot slightly—this creates a sealed edge that traps steam.
- Brush the top of the puff pastry with the egg wash. Be generous but don’t let it pool. Sprinkle with flaky sea salt if you’re using it. Cut 3 to 4 small slits in the top of the pastry with a sharp knife. These vents let steam escape and prevent the pastry from getting soggy.
- Place the pot in the preheated oven, uncovered. Bake for 20 to 25 minutes, until the puff pastry is puffed up and deep golden brown. If your oven runs hot, check at 18 minutes. You’re looking for a color that makes you want to dive in immediately.
- Let the pot pie rest for 5 to 10 minutes before serving. I know this is the hardest part, but it’s important. The filling needs time to set so it doesn’t run all over your plate. Use this time to set the table or pour yourself a glass of wine. You’ve earned it.
Cooking Tips & Techniques
I’ve made this recipe enough times to learn what works and what doesn’t. Here are the things I wish someone had told me from the start.
Don’t skip the roux cooking time. I made this mistake the first time, and the filling had a raw flour taste that ruined the whole dish. Cooking the flour for a full 2 minutes eliminates that raw flavor and gives the filling a silky, smooth texture. Trust me on this one.
Cold puff pastry is your friend. If the pastry gets too warm while you’re working, it won’t puff up as much in the oven. If it feels sticky or soft, pop it in the fridge for 10 minutes while the filling simmers. The contrast between the cold pastry and the hot filling is what creates those beautiful flaky layers.
Let the filling cool slightly before adding the pastry. This was a game-changer for me. If the filling is boiling hot when you put the pastry on, the bottom will turn into a soggy mess. Giving it a few minutes to cool down allows the pastry to bake properly on top while the filling finishes cooking underneath.
Use a heavy-bottomed pot for even heat. Thin pots create hot spots that can burn the roux or scorch the bottom of the filling. A Dutch oven or heavy stainless steel pot distributes heat evenly, which means no burnt bits and a consistently creamy filling.
Don’t over-stir the filling once it’s simmering. I used to stir constantly because I was worried it would stick. But over-stirring can break down the vegetables and make the filling mushy. Stir every minute or so, just enough to keep things moving.
One more thing—taste your broth before you use it. Some store-bought broths are saltier than others. If your broth is high-sodium, cut back on the added salt in the recipe. You can always add more at the end, but you can’t take it out.
Variations & Adaptations
This recipe is endlessly adaptable. Here are a few ways I’ve tweaked it depending on what I had in the fridge or who I was feeding.
Dairy-Free Version: Swap the butter for olive oil or a plant-based butter, and use unsweetened oat milk or cashew milk instead of whole milk. The filling won’t be quite as rich, but it’s still creamy and satisfying. I’ve made this for dairy-free friends and they didn’t miss a thing.
Gluten-Free Adaptation: Use a gluten-free all-purpose flour blend (I like Bob’s Red Mill 1-to-1) for the roux. Make sure your puff pastry is gluten-free—there are a few brands out there, or you can make your own. The texture of the filling will be slightly different, but the flavor holds up beautifully.
Extra-Veggie Version: Add a cup of sliced mushrooms when you cook the onions and carrots. They add an earthy depth that’s fantastic. Chopped green beans or corn also work well. I’ve even thrown in leftover roasted broccoli, and it was surprisingly good.
Herb Swap: If you don’t have thyme and rosemary, use 1 teaspoon of dried sage or a tablespoon of fresh parsley. I once made this with only dried oregano because that’s all I had, and it turned into a kind of Italian-inspired pot pie that my family still talks about.
Spicy Twist: Add a pinch of red pepper flakes or a dash of hot sauce to the filling before baking. The heat cuts through the creaminess and adds a nice kick. I do this when I’m cooking for myself and want something with a little more edge.
Serving & Storage Suggestions
This one-pot chicken pot pie is best served fresh from the oven, but it’s also forgiving enough to handle leftovers. Here’s how to make the most of it.
Serving: Scoop directly from the pot into shallow bowls, making sure each serving gets a good piece of the puff pastry topping. I like to serve it with a simple green salad dressed with lemon vinaigrette—the acidity cuts through the richness of the filling. A side of steamed green beans or roasted asparagus also works beautifully. For a heartier meal, pair it with crusty bread to soak up every last bit of sauce.
Storage: Let the pot pie cool completely before storing. Transfer leftovers to an airtight container and refrigerate for up to 4 days. The puff pastry will soften over time, but the flavor actually gets better as the herbs meld with the filling. If you’re meal-prepping, consider storing the filling and pastry separately, then reheating and topping with fresh pastry.
Reheating: The best way to reheat is in the oven at 350°F (175°C) for about 15 minutes. This helps the pastry crisp back up. If you’re in a hurry, the microwave works, but the pastry will be soft. For single servings, I microwave the filling for 2 minutes and then pop a piece of leftover pastry under the broiler for a minute to crisp it up.
Freezing: You can freeze the filling (without the pastry) for up to 3 months. Thaw in the fridge overnight, then reheat on the stovetop and add fresh puff pastry before baking. I’ve also frozen the entire assembled dish before baking—just wrap the pot tightly in foil and freeze. Bake from frozen at 375°F (190°C) for about 45 minutes, adding the egg wash halfway through.
Flavor Development: Here’s a secret—this pot pie tastes even better the next day. The flavors have time to meld together, and the filling becomes even more cohesive. I’ve been known to make it a day ahead on purpose, just so I can enjoy the leftovers.
Nutritional Information & Benefits
While this is definitely comfort food, it’s not without its redeeming qualities. Here’s a rough breakdown per serving (based on 6 servings):
| Nutrient | Amount per Serving |
|---|---|
| Calories | 420 |
| Protein | 28g |
| Total Fat | 22g |
| Saturated Fat | 10g |
| Carbohydrates | 32g |
| Fiber | 4g |
| Sugar | 6g |
| Sodium | 680mg |
The chicken provides a solid dose of lean protein, which helps keep you full and supports muscle health. Carrots and peas contribute fiber, vitamin A, and antioxidants. The butter and milk add calcium, though you can reduce the saturated fat by using low-fat milk and cutting back on the butter. This isn’t a health food, but it’s a balanced meal that delivers real nutrition alongside serious comfort.
If you’re watching your sodium, use low-sodium broth and skip the added salt until the end. You can also reduce the butter to 1 tablespoon and use olive oil for the rest—it works surprisingly well.
Conclusion
This one-pot chicken pot pie with puff pastry topping is the kind of recipe that earns a permanent spot in your dinner rotation. It’s quick enough for a Tuesday, impressive enough for company, and forgiving enough for a beginner. The filling is creamy and flavorful, the pastry is flaky and golden, and the whole thing comes together in one pot with minimal cleanup.
I love this recipe because it proves that comfort food doesn’t have to be complicated. It’s the dinner I turn to when I’m tired, when I’m short on time, or when I just need something that feels like a hug. And every time I make it, I think of my neighbor standing in my kitchen, showing me that dinner doesn’t have to be a project to be special.
Now it’s your turn. Try this recipe and make it your own—swap the vegetables, add more herbs, or double the garlic. I’d love to hear how it turns out. Drop a comment below with your favorite variation, or share a photo of your pot pie on Pinterest. Happy cooking!
Frequently Asked Questions
Can I use homemade puff pastry instead of store-bought?
Absolutely! Homemade puff pastry will work beautifully here. Just make sure it’s rolled to about 1/8-inch thickness and chilled before baking. Keep in mind that homemade pastry may need an extra 2 to 3 minutes in the oven to achieve the same golden color.
Can I make this with raw chicken instead of cooked?
Yes, but you’ll need to adjust the method. Cut raw chicken breast into small cubes and cook it in the pot after softening the vegetables. Cook for 5 to 6 minutes until no longer pink, then remove it from the pot and set aside. Proceed with the roux and broth, then add the chicken back in step 6. This adds about 10 minutes to the total prep time.
Why is my puff pastry soggy on the bottom?
This usually happens when the filling is too hot when you add the pastry, or when the filling is too thin. Let the filling cool for a few minutes before topping with pastry, and make sure it’s thick enough to coat the back of a spoon. Also, cutting vents in the pastry allows steam to escape, which helps keep the bottom crisp.
Can I use pie crust instead of puff pastry?
You can, but the texture will be different. Pie crust is denser and less flaky than puff pastry. If you use pie crust, roll it to about 1/4-inch thickness and bake at 375°F (190°C) for 30 to 35 minutes. The filling may need an extra 5 minutes to heat through since the crust is thicker.
How do I prevent the pot pie from boiling over in the oven?
Make sure your pot has enough headroom—the filling should come no more than halfway up the sides of the pot. If your pot is too small, transfer the filling to a larger baking dish before adding the pastry. Also, placing a baking sheet on the rack below the pot will catch any drips and save you from a messy oven.
Pin This Recipe!
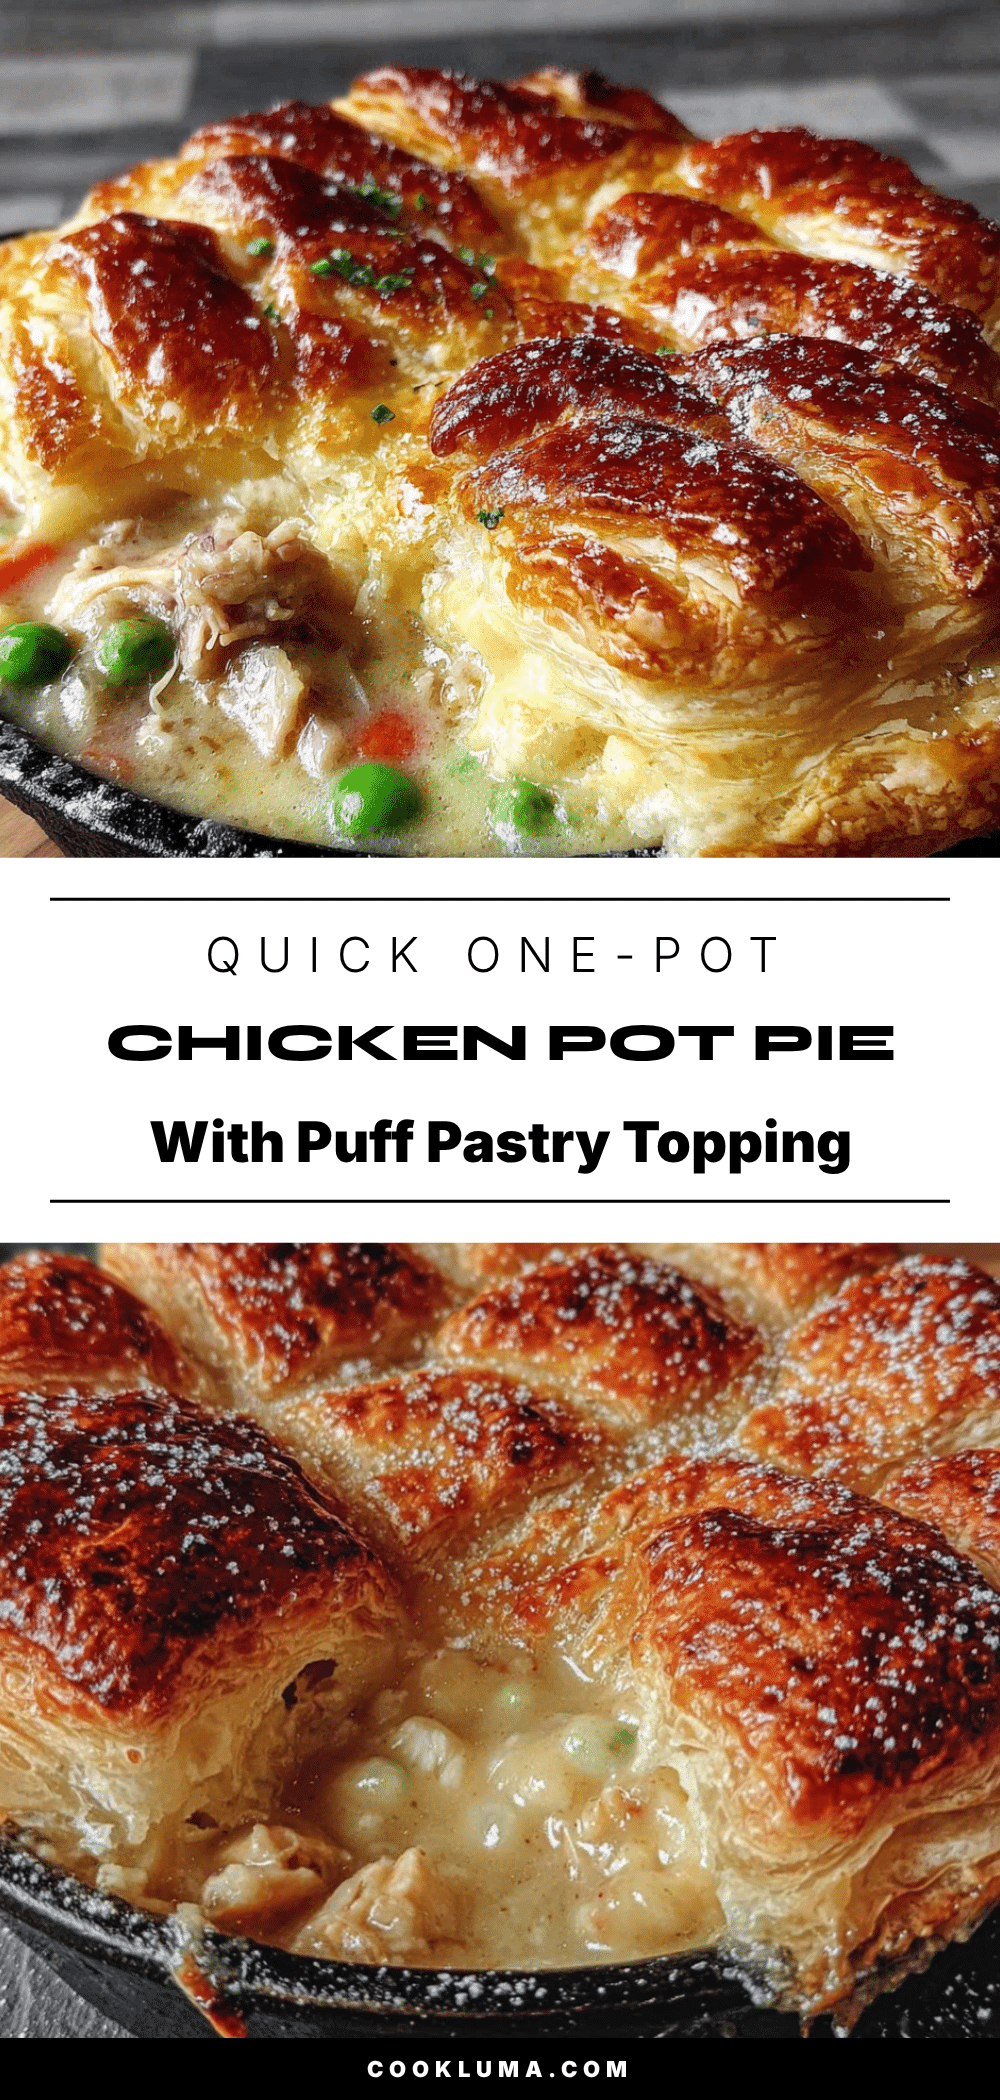
Quick One-Pot Chicken Pot Pie with Puff Pastry

A quick and easy one-pot chicken pot pie with a creamy, savory filling and a golden, flaky puff pastry topping. Perfect for busy weeknights, this comfort food classic comes together in about 40 minutes with minimal cleanup.
- Prep Time: 15 minutes
- Cook Time: 25 minutes
- Total Time: 40 minutes
- Yield: 6 servings 1x
- Category: Main Course
- Cuisine: American
Ingredients
- 2 tablespoons unsalted butter
- 1 medium yellow onion, diced (about 1 cup)
- 2 medium carrots, peeled and diced (about 1 cup)
- 2 celery stalks, diced (about 1/2 cup)
- 3 cloves garlic, minced
- 1/3 cup all-purpose flour
- 2 cups low-sodium chicken broth
- 1 cup whole milk
- 2 cups cooked chicken, shredded or diced
- 1 cup frozen peas and carrots mix
- 1 teaspoon dried thyme
- 1/2 teaspoon dried rosemary
- Salt and black pepper to taste
- 1 tablespoon fresh lemon juice (optional)
- 1 sheet frozen puff pastry, thawed
- 1 large egg, beaten with 1 tablespoon water
- Flaky sea salt for sprinkling (optional)
Instructions
- Preheat your oven to 400°F (200°C). Make sure your oven rack is in the middle position.
- Melt the butter in your Dutch oven over medium heat. Add the diced onion, carrots, and celery. Cook for 5 to 7 minutes, stirring occasionally, until the onions are translucent and the carrots start to soften.
- Add the minced garlic and cook for 1 more minute, stirring constantly.
- Sprinkle the flour over the vegetables and stir to coat. Cook for 2 minutes, stirring constantly.
- Slowly pour in the chicken broth while whisking or stirring vigorously. Add the milk the same way, stirring until smooth. Let this come to a gentle simmer, about 2 to 3 minutes.
- Add the shredded chicken, frozen peas and carrots, thyme, rosemary, salt, and pepper. Stir to combine. Let the filling simmer for 3 to 4 minutes, stirring occasionally.
- Taste the filling and adjust the seasoning. Add lemon juice if desired.
- Remove the pot from heat and let it sit for 2 to 3 minutes.
- Roll out the puff pastry sheet on a lightly floured surface to about 1/8-inch thickness.
- Place the puff pastry over the top of the filling, covering the surface completely with about 1/2 inch of overhang. Trim any excess and tuck the overhanging edges into the pot.
- Brush the top of the puff pastry with the egg wash. Sprinkle with flaky sea salt if using. Cut 3 to 4 small slits in the top of the pastry.
- Place the pot in the preheated oven, uncovered. Bake for 20 to 25 minutes, until the puff pastry is puffed up and deep golden brown.
- Let the pot pie rest for 5 to 10 minutes before serving.
Notes
Let the filling cool slightly before adding the puff pastry to prevent a soggy bottom. Cold puff pastry puffs better. For a dairy-free version, use olive oil and oat milk. For gluten-free, use a gluten-free flour blend and gluten-free puff pastry.
Nutrition
- Serving Size: 1 serving
- Calories: 420
- Sugar: 6
- Sodium: 680
- Fat: 22
- Saturated Fat: 10
- Carbohydrates: 32
- Fiber: 4
- Protein: 28
Keywords: one-pot chicken pot pie, quick chicken pot pie, puff pastry chicken pot pie, easy weeknight dinner, comfort food


