I wasn’t supposed to be at Sarah’s house that Tuesday afternoon. I was just dropping off a casserole dish she’d left at my place after the block party. But the smell—warm, buttery, with a hint of cinnamon—hit me before I even got through the screen door. She was at the kitchen table, hands dusted with flour, completely unbothered by the chaos. Her three-year-old was smearing frosting on the table, and she just laughed, handing him another spoonful. “Oh, we’re just making the turkey cookies for his class party,” she said, like it was the most normal thing in the world. Like she hadn’t just created the cutest thing I’d ever seen.
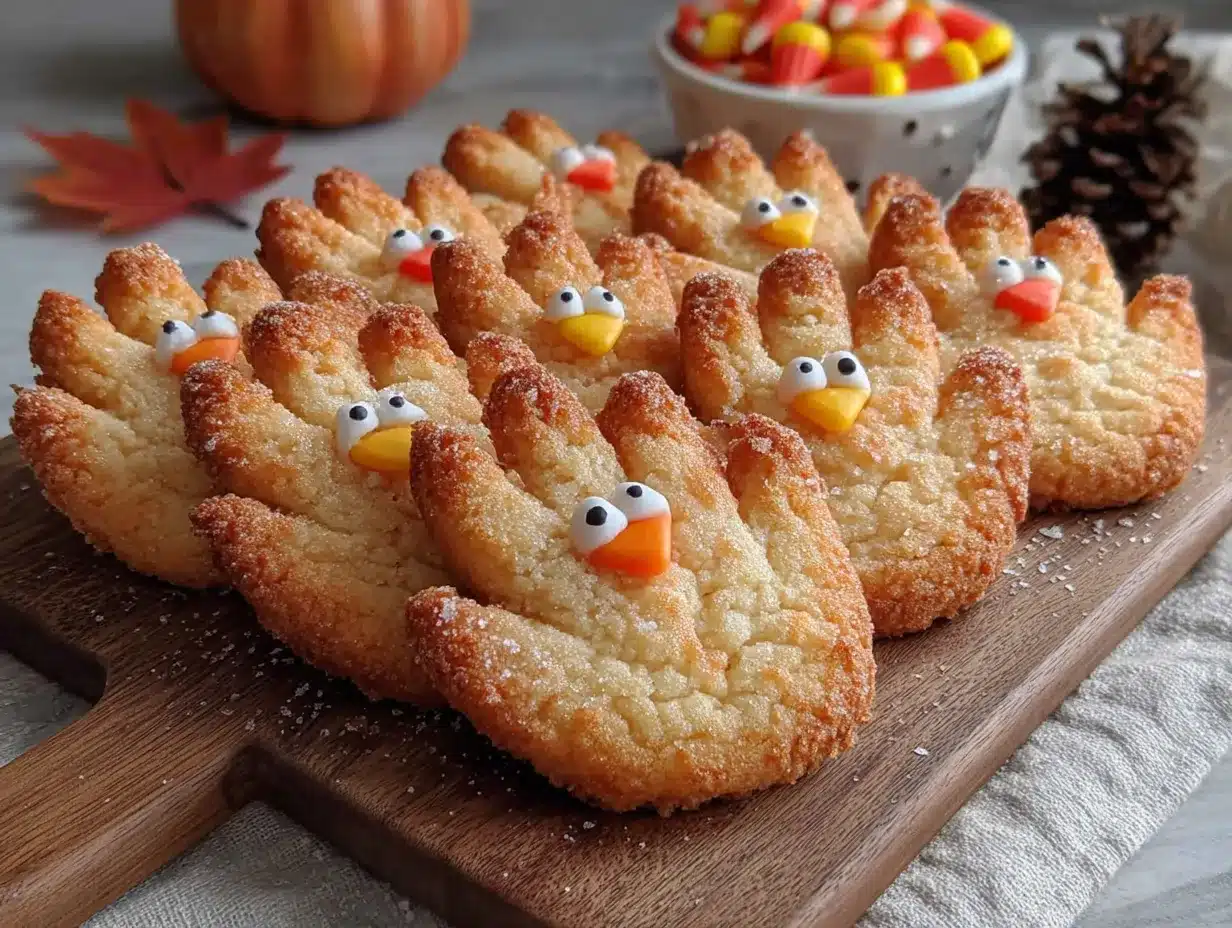
Honestly, I stood there for a solid five minutes before she even offered me a seat. She wasn’t trying to impress me. She wasn’t following some elaborate tutorial. She was just tracing her kid’s hand on a piece of cardboard, cutting out a stencil, and pressing it into sugar cookie dough like it was a craft project. And the results? Let me tell you, they were nothing short of magical. I mean, we’ve all seen those perfectly piped, intricately decorated sugar cookies that look like they belong in a bakery window. These were the opposite of that. They were messy, a little lopsided, and absolutely bursting with personality.
That day, I learned something important. You don’t need a dozen specialty cookie cutters to make a memorable fall treat. You just need a willing hand, a good sugar cookie recipe, and maybe a little bit of frosting. These Easy Turkey Hand Sugar Cookies are the perfect blend of nostalgia and baking fun. They’re the kind of thing you make when you want to get the kids involved without worrying about perfection. Maybe you’ve been there—staring at a Pinterest board full of flawless cookies, feeling a little intimidated. Trust me, this is the recipe that breaks that cycle. It’s about the memory, not the masterpiece. And honestly, that’s why I’ve made them every fall since.
Why You’ll Love This Recipe
Let’s be real for a second. We all want to be the “fun parent” or the “cool aunt” or the “neighbor who brings the best treats,” but we don’t always have the time or the patience for a three-day baking project. That’s where these cookies shine. They are the perfect intersection of adorable and achievable. I’ve tested this recipe about six times now—tweaking the dough, adjusting the baking time, figuring out the best way to get the “turkey feathers” to look right without losing my mind. Here is why I keep coming back to it, and why I think you will too.
- Quick & Easy: From start to finish, you can have these ready in under an hour. No chilling the dough overnight, no complicated piping bags. Just mix, roll, bake, and decorate.
- Simple Ingredients: You probably have everything in your pantry right now. Flour, sugar, butter, eggs, vanilla. The frosting is just powdered sugar and milk. No fancy grocery trips required for this one.
- Perfect for Fall Gatherings: Whether it’s a classroom party, a Friendsgiving potluck, or just a rainy Sunday afternoon, these cookies scream “autumn.” They are the perfect activity for a kids’ baking day.
- Crowd-Pleaser: I’ve brought these to three different events now, and they get devoured every single time. Kids love the handprint shape, and adults love the nostalgic simplicity. It’s a win-win.
- Unbelievably Delicious: Forget the “craft” aspect for a second. The base recipe is a classic, soft sugar cookie with a slight crisp edge. It’s the kind of cookie that disappears from the plate, handprint or not.
What makes this recipe different from all the other “hand turkey” cookies out there? It’s the dough. I spent a lot of time getting the texture just right—soft enough to be tender, but sturdy enough to hold the handprint shape without puffing up into a blob. I also figured out a little trick for the frosting that makes the “feathers” pop without needing a steady hand. This isn’t just another version of the recipe; it’s the version that actually works. It’s the one that won’t make you want to throw your rolling pin across the kitchen. Trust me on that.
What Ingredients You Will Need
This recipe uses simple, wholesome ingredients to deliver that classic sugar cookie flavor and a soft, tender crumb. Most of these are pantry staples, so you can whip up a batch on a whim. Let’s break down what you need and why each one matters.
For the Sugar Cookies
- Unsalted butter, softened (1 cup / 2 sticks / 226g): I always use unsalted butter so I can control the salt level in the dough. Make sure it’s truly softened to room temperature—if you press it with your finger, it should leave an indent without being greasy. This is crucial for creaming it properly with the sugar.
- Granulated sugar (1 cup / 200g): Standard white sugar gives these cookies their structure and that classic sweet flavor. Don’t try to substitute brown sugar here; it will change the texture and make the cookies too dense.
- Large egg (1, room temperature): The egg acts as a binder. If you’re in a rush, you can place the egg in a bowl of warm water for 5 minutes to bring it to room temperature quickly.
- Vanilla extract (1 teaspoon): Pure vanilla extract makes a noticeable difference here. I prefer Nielsen-Massey for its rich flavor, but any good quality brand will work. Avoid imitation vanilla if you can—it has a harsh, chemical aftertaste.
- All-purpose flour (2 ½ cups / 312g): Spoon and level your flour—don’t scoop directly from the bag. Scooping packs the flour down and can result in dry, crumbly cookies. I use Gold Medal unbleached flour for consistent results.
- Baking powder (½ teaspoon): This gives the cookies a little lift. Not too much, just enough to make them tender.
- Salt (¼ teaspoon): Salt balances the sweetness and enhances the overall flavor. Don’t skip it, even if you use salted butter (in which case, skip the added salt).
For the Royal Icing (or Simple Glaze)
- Powdered sugar (2 cups / 240g): Sift it if you want a super smooth icing, but honestly, for these cookies, a few lumps aren’t a big deal.
- Milk (2-3 tablespoons): Whole milk gives the best consistency, but any milk will work. Add it slowly—you want a thick but spreadable glaze.
- Vanilla extract (½ teaspoon): Just a touch for flavor.
- Food coloring (red, orange, yellow, brown): Gel food coloring is best because it doesn’t thin out the icing like liquid drops do. I like the Wilton brand for vibrant colors.
- Candy corn (for the “wattle” and beak): This is the secret weapon. It gives that classic turkey look with zero effort.
- Candy eyes (optional): These are fun for the kids, but you can also just pipe on eyes with chocolate frosting.
Ingredient Substitutions
Need a dairy-free option? You can use vegan butter (like Earth Balance) in the dough, and substitute the milk in the icing with almond milk or oat milk. For a gluten-free version, swap the all-purpose flour with a 1:1 gluten-free baking flour blend—I’ve had good luck with the King Arthur brand. Just know the texture will be slightly more crumbly.
Equipment Needed
You don’t need a lot of fancy gadgets for this recipe, which is part of the appeal. Here is what you’ll need to pull it off:
- Mixing bowls: One large bowl for the dough and one small one for the icing.
- Electric hand mixer or stand mixer: You can cream the butter and sugar by hand, but a mixer makes it much easier and faster. I use my KitchenAid stand mixer for this.
- Rolling pin: A standard rolling pin works fine. If you don’t have one, a clean wine bottle can work in a pinch—just make sure it’s smooth and chilled.
- Baking sheets: Two standard half-sheet pans will do the job. I recommend lining them with parchment paper for easy cleanup.
- Parchment paper: Non-negotiable for preventing sticking and ensuring even baking.
- Sharp knife or pizza cutter: You’ll be cutting the handprint shapes freehand, so a sharp blade is important to get clean edges.
- Cardboard and scissors: To make a simple stencil of your hand. This is a great job for the kids!
- Small piping bags or zip-top bags: For the icing. Snip a tiny corner off the bag to pipe the details.
- Cooling rack: Essential for letting the cookies cool completely before decorating.
If you don’t have a rolling pin, honestly, I’ve used a tall, smooth water bottle before. It works, but you have to be careful not to press too hard. Also, a pizza cutter is my secret weapon for cutting out the hand shapes—it’s so much easier than trying to use a paring knife.
Preparation Method
Alright, let’s get to the fun part. Here is the step-by-step method for making these adorable turkey hand cookies. Take your time, and don’t stress about perfection—the charm is in the imperfections.
- Preheat and Prep (5 minutes): Preheat your oven to 375°F (190°C). Line two baking sheets with parchment paper. Set them aside.
- Cream the Butter and Sugar (3-4 minutes): In a large mixing bowl, beat the softened butter and granulated sugar together until light and fluffy. You want it to look pale yellow and feel airy. This is the stage where you’re incorporating air into the dough, which helps the cookies rise just a little. Scrape down the sides of the bowl halfway through.
- Add the Wet Ingredients (1 minute): Beat in the egg and the vanilla extract until just combined. Don’t overmix here—you just want it to come together.
- Mix the Dry Ingredients (2 minutes): In a separate bowl, whisk together the flour, baking powder, and salt. Gradually add the dry ingredients to the wet mixture, mixing on low speed. Stop as soon as the dough comes together—you don’t want to develop the gluten too much or the cookies will be tough. The dough should be soft but not sticky.
- Make the Handprint Stencil (5 minutes): This is the step that makes the recipe. Trace your child’s hand (or your own!) on a piece of cardboard. Cut it out. This is your stencil. It doesn’t need to be perfect—a wobbly turkey is a happy turkey.
- Roll and Cut (10 minutes): Lightly flour your work surface and your rolling pin. Roll the dough out to about ¼-inch thickness. Place the cardboard handprint stencil on the dough and use a sharp knife or pizza cutter to trace around it. Gently transfer the handprint cookie to the prepared baking sheet. Repeat with the remaining dough. You’ll get about 8-10 cookies, depending on the size of your hand.
- Bake (8-10 minutes): Bake the cookies for 8-10 minutes, or until the edges are just barely golden. The centers should still look a little soft. They will continue to set on the baking sheet. Pro tip: Do not overbake them! Overbaked sugar cookies are dry and crumbly.
- Cool Completely (15-20 minutes): Let the cookies cool on the baking sheet for 5 minutes, then transfer them to a wire rack to cool completely. Do not try to decorate them while they are warm—the icing will just slide right off and make a mess. Trust me, I learned this the hard way.
- Make the Icing (5 minutes): While the cookies cool, make the icing. In a small bowl, whisk together the powdered sugar, 2 tablespoons of milk, and the vanilla extract. Add more milk, one teaspoon at a time, until you reach a thick but spreadable consistency. Divide the icing into small bowls and color each one with your desired fall colors (red, orange, yellow, brown).
- Decorate the Turkeys (20 minutes): Here’s the fun part. Using a small piping bag or a zip-top bag with a tiny corner snipped off, pipe the “feathers” onto the fingers of the handprint. You can do stripes, dots, or just a solid layer—it’s totally up to you. For the body of the turkey (the palm of the hand), pipe a layer of brown icing. Place two candy eyes on the brown icing. For the beak, stick a piece of candy corn (pointy side down) in the center of the face. For the wattle, use another piece of candy corn (pointy side up) just below the beak. Let the icing set for about 10 minutes before serving.
Cooking Tips & Techniques
After making these cookies about a dozen times, I’ve picked up a few tricks that make the process smoother. Let me share them with you so you can avoid my mistakes.
The Dough Temperature Trap: If your dough gets too warm while you’re rolling it out, it will become sticky and impossible to work with. If that happens, just pop it in the fridge for 15 minutes. Cold dough is happy dough. I’ve also found that chilling the cut-out handprints on the baking sheet for 10 minutes before baking helps them hold their shape better.
My First Disaster: The first time I made these, I tried to use a butter knife to cut out the handprints. It was a disaster. The dough stretched and pulled, and the edges were all ragged. The cookies still tasted fine, but they looked like something a toddler made (and not in a cute way). That’s when I switched to a pizza cutter. Game changer. The clean cut helps the cookie hold its shape in the oven.
The Secret to Perfect Icing Consistency: You want the icing to be thick enough that it doesn’t run off the cookie, but thin enough that it’s easy to pipe. If you’re using a zip-top bag, test the consistency on a plate first. If it’s too thick, add a drop of milk. If it’s too thin, add a little more powdered sugar. It’s a delicate balance, but you’ll get a feel for it.
Multitasking Strategy: While the first batch is baking, I roll out and cut the second batch. This keeps the workflow moving. I also make the icing while the cookies are cooling. It saves a lot of time and keeps the kitchen chaos to a minimum.
Storage Tip: If you’re making these for a party the next day, store the undecorated cookies in an airtight container at room temperature. Decorate them the day of the event. The candy corn can get a little sticky if it sits in the icing for too long.
Variations & Adaptations
One of the best things about this recipe is how easy it is to adapt. Here are a few ways you can switch it up depending on your mood or dietary needs.
- Gluten-Free Version: I’ve made these with a 1:1 gluten-free baking flour blend, and they turned out great. The texture is a little more delicate, so be extra gentle when transferring the cut-out handprints to the baking sheet. I recommend Bob’s Red Mill 1-to-1 Baking Flour.
- Chocolate Handprint Cookies: For a richer flavor, replace ¼ cup of the all-purpose flour with unsweetened cocoa powder. You’ll get a chocolate sugar cookie that pairs beautifully with a vanilla or orange-flavored icing. It’s like a chocolate thumbprint cookie, but way cuter.
- Spiced Fall Version: Add 1 teaspoon of pumpkin pie spice and ½ teaspoon of cinnamon to the dry ingredients. This gives the cookies a warm, autumnal flavor that screams “October.” I did this last year for a Friendsgiving party, and they were a huge hit.
- Dairy-Free Adaptation: Use vegan butter (like Earth Balance) and substitute the milk in the icing with oat milk or almond milk. The texture of the cookies will be slightly less tender, but they’ll still taste fantastic.
- No Candy Corn? No Problem: If you’re not a fan of candy corn (I know, it’s divisive), you can pipe a little orange triangle for the beak and a red dot for the wattle. It takes a steady hand, but it works.
Serving & Storage Suggestions
These cookies are best served at room temperature, ideally within a few hours of decorating them. The candy corn stays nice and firm, and the icing sets to a perfect, slightly glossy finish.
How to Serve: Arrange them on a platter with the “feathers” fanning out for maximum visual impact. They look especially cute on a rustic wooden board or a plate lined with fall-themed napkins. I like to serve them alongside a glass of cold milk for the kids or a hot cup of spiced apple cider for the adults. They also pair beautifully with a pumpkin spice latte—honestly, it’s the perfect fall pairing.
Storage Instructions: Store the decorated cookies in a single layer in an airtight container at room temperature. Do not stack them, or the icing will smudge and the candy corn might get crushed. They will stay fresh for up to 3 days, though the texture is best on day one. If you need to store them longer, freeze the undecorated cookies for up to 3 months. Thaw them at room temperature, then decorate as directed.
Reheating Tips: Honestly, these cookies don’t need reheating. But if you want that “fresh from the oven” warmth, pop them in a 300°F (150°C) oven for 3-4 minutes. Let them cool slightly before eating. The flavors actually develop a bit over time—the vanilla becomes more pronounced, and the cookie softens just a touch.
Nutritional Information & Benefits
Let’s be honest—these are a treat, not a health food. But that doesn’t mean they can’t fit into a balanced lifestyle. Here is a rough breakdown per cookie (based on one cookie with icing and candy corn):
| Nutrient | Amount |
|---|---|
| Calories | 285 |
| Fat | 12g |
| Carbohydrates | 42g |
| Protein | 3g |
| Sugar | 28g |
While these aren’t low-calorie, they do offer a little bit of joy and connection—and that counts for something. The butter provides a small amount of vitamin A, and the egg adds a touch of protein. If you want to make them a little more “balanced,” you can use a sugar substitute in the dough, though I haven’t tested that myself. I will say this: baking with my kids is one of my favorite ways to spend a fall afternoon. The mess, the laughter, the tiny flour handprints on the counter—it’s worth every calorie.
Conclusion
These Easy Turkey Hand Sugar Cookies are more than just a recipe; they are an experience. They are the kind of thing you make when you want to slow down and actually enjoy the process of baking. They are forgiving, they are fun, and they are absolutely delicious. I love that they capture the spirit of fall without taking themselves too seriously. The lopsided feathers, the slightly crooked candy corn beak—it all adds up to something genuinely charming.
I really hope you give these a try. Don’t worry about making them perfect. Let the kids get messy. Let the icing drip a little. The best memories are made in the kitchen, not on Pinterest. And if you come up with a fun variation—maybe you add some sprinkles or use a different colored icing—please let me know in the comments. I love hearing how you make these recipes your own. Happy fall baking, friends!
Frequently Asked Questions
Can I use a different type of cookie dough for this recipe?
Absolutely! While I love this sugar cookie base, you can use a gingerbread dough or a shortbread recipe if you prefer. Just keep in mind that different doughs may spread more or less during baking, so you might need to adjust your baking time.
My dough is too sticky to roll out. What should I do?
Don’t panic! This is a common issue. Just wrap the dough in plastic wrap and chill it in the refrigerator for 30 minutes. The cold will firm up the butter and make the dough much easier to handle. You can also dust your rolling pin and work surface with a little extra flour.
Can I freeze these cookies?
Yes! You can freeze the baked, undecorated cookies for up to 3 months. Just place them in a single layer in a freezer-safe container with parchment paper between layers. When you’re ready to serve, thaw them at room temperature and decorate as directed. I would not recommend freezing the decorated cookies, as the icing can get sticky and the candy corn can become rubbery.
How do I get the icing to be the perfect consistency?
The key is to add the milk slowly. Start with 2 tablespoons, then add more a teaspoon at a time. You want the icing to be thick enough that it holds its shape when piped, but thin enough that it spreads slightly. If you accidentally make it too thin, just add more powdered sugar. If it’s too thick, add a drop of milk.
My cookies spread too much in the oven. What went wrong?
This usually happens if the dough was too warm when it went into the oven. Make sure to chill the cut-out handprints on the baking sheet for 10-15 minutes before baking. Also, make sure your butter was softened but not melted—if the butter is too soft, the cookies will spread more. Finally, check your baking powder—if it’s old, it might not work properly, leading to spreading.
Pin This Recipe!
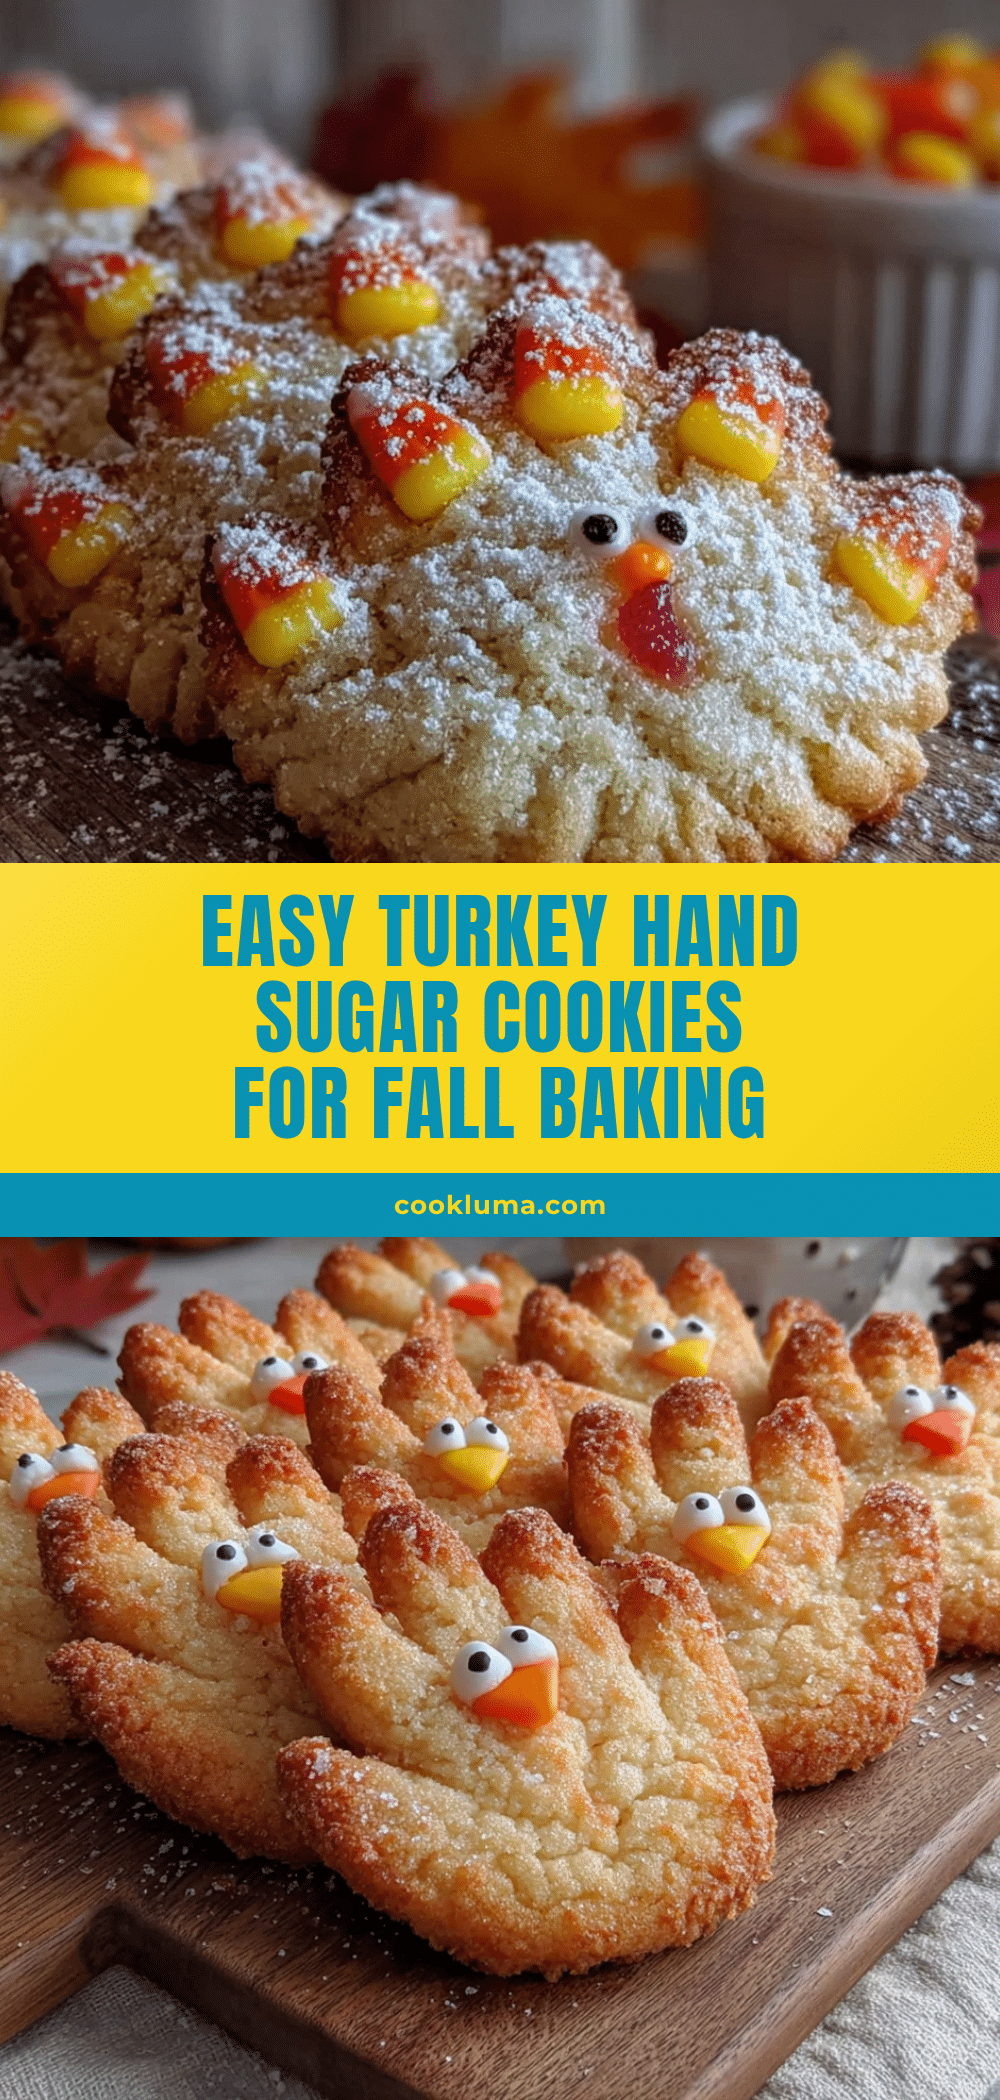
Easy Turkey Hand Cookies: Fun Fall Baking Idea

These adorable turkey hand sugar cookies are a fun and easy fall baking project perfect for kids and adults alike. Made with a simple sugar cookie dough and decorated with colorful icing and candy corn, they capture the spirit of autumn without requiring any special cookie cutters.
- Prep Time: 20 minutes
- Cook Time: 10 minutes
- Total Time: 30 minutes
- Yield: 8-10 servings 1x
- Category: Dessert
- Cuisine: American
Ingredients
- 1 cup (2 sticks / 226g) unsalted butter, softened
- 1 cup (200g) granulated sugar
- 1 large egg, room temperature
- 1 teaspoon vanilla extract
- 2 ½ cups (312g) all-purpose flour
- ½ teaspoon baking powder
- ¼ teaspoon salt
- 2 cups (240g) powdered sugar
- 2–3 tablespoons milk
- ½ teaspoon vanilla extract
- Red, orange, yellow, and brown gel food coloring
- Candy corn (for beak and wattle)
- Candy eyes (optional)
Instructions
- Preheat oven to 375°F (190°C). Line two baking sheets with parchment paper.
- In a large mixing bowl, beat softened butter and granulated sugar together until light and fluffy (3-4 minutes).
- Beat in egg and vanilla extract until just combined.
- In a separate bowl, whisk together flour, baking powder, and salt. Gradually add to wet mixture, mixing on low speed until dough comes together.
- Trace a child’s or adult’s hand on cardboard and cut out to make a stencil.
- On a lightly floured surface, roll dough to ¼-inch thickness. Place handprint stencil on dough and cut around it with a sharp knife or pizza cutter. Transfer to prepared baking sheets. Repeat with remaining dough (makes 8-10 cookies).
- Bake for 8-10 minutes, until edges are just barely golden. Centers should still look soft.
- Cool on baking sheet for 5 minutes, then transfer to a wire rack to cool completely.
- For icing: In a small bowl, whisk together powdered sugar, 2 tablespoons milk, and ½ teaspoon vanilla extract. Add more milk, 1 teaspoon at a time, until thick but spreadable. Divide into small bowls and color with red, orange, yellow, and brown gel food coloring.
- Decorate: Using a small piping bag or zip-top bag with a tiny corner snipped, pipe ‘feathers’ onto the fingers of the handprint. Pipe brown icing on the palm for the turkey body. Place two candy eyes on the brown icing. Insert a piece of candy corn (pointy side down) for the beak and another piece (pointy side up) below the beak for the wattle. Let icing set for 10 minutes before serving.
Notes
Chill cut-out handprints on baking sheet for 10-15 minutes before baking to prevent spreading. For best results, use a pizza cutter for clean edges. Store undecorated cookies in an airtight container at room temperature; decorate the day of serving. If dough becomes sticky, refrigerate for 15 minutes.
Nutrition
- Serving Size: 1 cookie
- Calories: 285
- Sugar: 28
- Sodium: 95
- Fat: 12
- Saturated Fat: 7
- Carbohydrates: 42
- Fiber: 1
- Protein: 3
Keywords: turkey cookies, handprint cookies, fall baking, sugar cookies, Thanksgiving cookies, easy cookies, kids baking


