The preschool fall festival was in six hours and I’d completely forgotten. My son had been talking about it for weeks—the pumpkin decorating, the costume parade, the “healthy snack” table his teacher specifically asked me to bring something for. And I, in a spectacular display of mom-brain, had remembered at 7 AM while pouring my coffee. Everyone else would be bringing Pinterest-perfect veggie trays carved to look like scarecrows, or those adorable apple slices arranged to look like caterpillars. I had a bag of clementines, some grapes, and a vague sense of panic.
Let me tell you, nothing kicks your creativity into gear like a ticking clock and the fear of being the parent who shows up with a sad bag of baby carrots from the gas station. I stood in my kitchen, staring at the fruit bowl, and that’s when I saw the small pumpkin I’d bought for decoration. And honestly? A lightbulb went off. Not a brilliant one, but a flickering, desperate one. What if I didn’t fight the theme—what if I just leaned into it with what I had?
I grabbed a large platter, started peeling clementines, and just started building. I wasn’t trying to be clever. I was just trying to make it look like I had my life together. But something funny happened on the way to the fall festival—the fruit tray looked… good. Really good. The bright orange clementines looked like little pumpkins themselves, the green grapes became vines, and before I knew it, I had a whole pumpkin patch scene made of fruit. It won the snack table. Not because it was fancy, but because it was honest and fresh and kids actually wanted to eat it. Maybe you’ve been there—scrambling, hoping no one notices you forgot, and accidentally making something that becomes the thing everyone talks about. That’s this tray. It’s the happy accident I keep making on purpose.
Why You’ll Love This Recipe
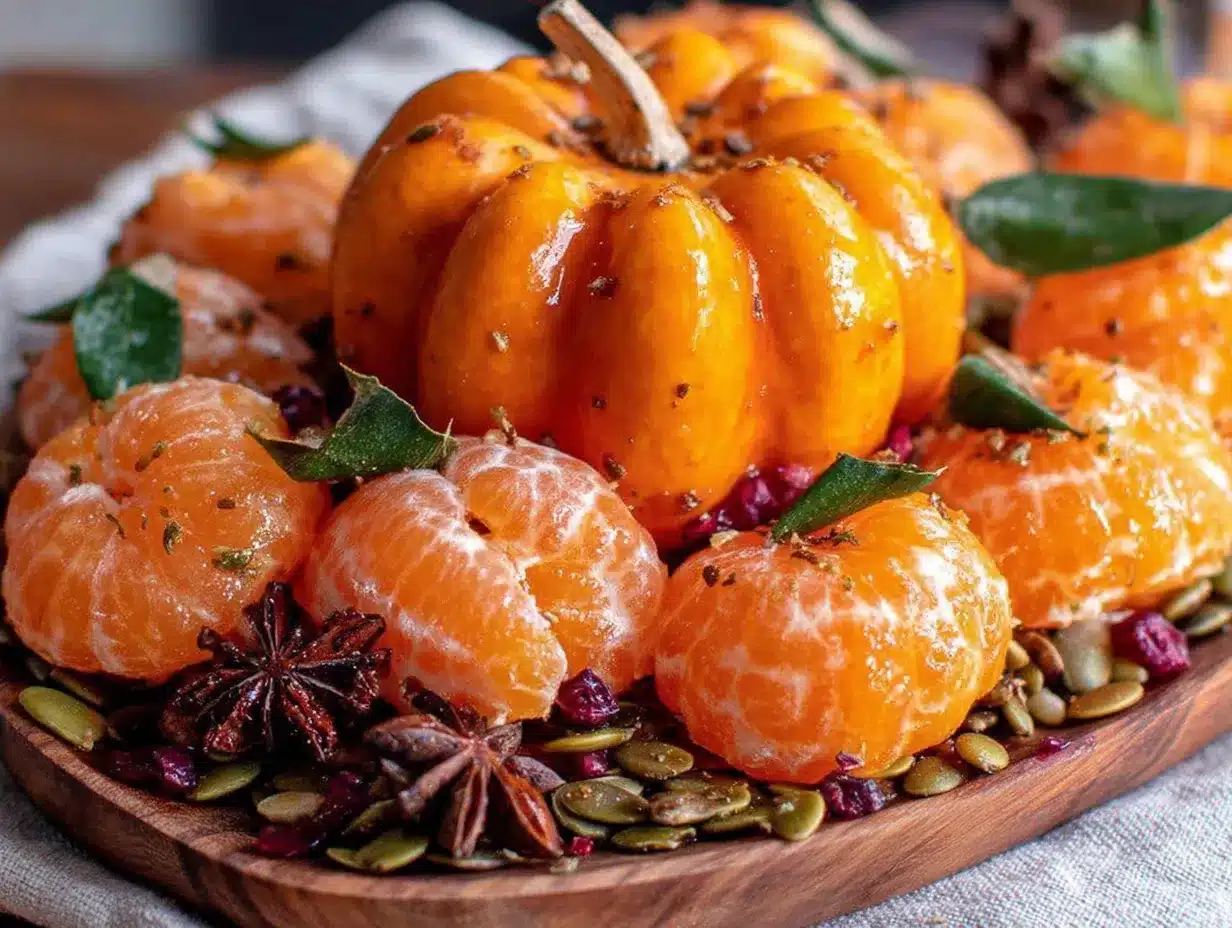
This Light & Festive Pumpkin Patch Fruit Tray with Clementines isn’t just another fruit platter. It’s a conversation starter, a healthy snack option that actually gets devoured, and it takes about fifteen minutes to assemble. I’ve tested this at three different events now—school functions, a neighborhood potluck, and even a family Thanksgiving appetizer table—and it never fails.
- Quick & Easy: From fridge to table in under 20 minutes. No cooking, no complicated knife work, no stress.
- Simple Ingredients: You probably already have most of this in your fridge. Clementines, grapes, kiwi, maybe some berries. That’s it.
- Perfect for Fall Gatherings: Whether it’s a classroom party, a Halloween potluck, or a Friendsgiving appetizer, this tray fits right in.
- Crowd-Pleaser: I’ve watched kids go straight for the clementine “pumpkins” and adults grab the kiwi “leaves.” It’s interactive and fun.
- Unbelievably Delicious: Because it’s just good fruit at peak ripeness. No sugar, no dip needed. Just bright, fresh, seasonal flavor.
What makes this different from every other fruit tray you’ve seen? It’s the visual storytelling. Instead of just dumping fruit on a plate, you’re creating a scene. A pumpkin patch. It makes people smile before they even take a bite. And honestly, in a world of heavy, over-processed party snacks, this feels like a breath of fresh air. It’s healthy without being preachy, festive without being fussy. That first bite of a cold, juicy clementine segment? Pure joy. This is the kind of recipe that makes you feel good about what you’re serving—and what you’re eating.
What Ingredients You Will Need
This recipe uses simple, wholesome ingredients to create a beautiful fall display. The key is choosing fruit that’s ripe but still firm enough to hold its shape when arranged. Here’s what you’ll need:
For the Pumpkin Patch Scene
- Clementines (10-12): These are your “pumpkins.” Look for ones with bright orange skin and no soft spots. They should feel heavy for their size. I personally prefer Cuties or Halos for their consistent sweetness and easy peeling.
- Green Grapes (2 cups): These become the “vines” crawling across your patch. Seedless, firm grapes work best. Red grapes can work too, but green gives that fresh vine look.
- Kiwi (3-4): Sliced into rounds or half-moons, kiwi becomes the “leaves” of your pumpkin patch. The bright green color pops beautifully against the orange clementines. Look for kiwis that yield slightly to pressure but aren’t mushy.
- Fresh Blueberries (1/2 cup): These act as “dirt” or “soil” accents. They also add a pop of deep color that anchors the scene. Any brand works—just make sure they’re dry and not moldy.
- Pear (1, optional): Sliced thin, a pear can become a “scarecrow” body or a fence post. Bosc or Anjou pears hold their shape well. (I’ve also used apple slices in a pinch.)
- Pretzel Sticks (4-6): These become the “fence posts” or “scarecrow arms.” They add a salty crunch that contrasts the sweet fruit. Gluten-free pretzels work fine if needed.
For the Dip (Optional but Recommended)
- Greek Yogurt (1 cup, plain): A creamy, tangy base. I like Fage 2% for its thickness. Use dairy-free coconut yogurt for a vegan option.
- Honey or Maple Syrup (2 tablespoons): Adds natural sweetness. Local honey is my go-to for flavor.
- Vanilla Extract (1/2 teaspoon): Enhances the sweetness without extra sugar.
- Ground Cinnamon (1/4 teaspoon): Ties it all back to fall flavors. (Optional, but highly recommended.)
Ingredient Selection Tips: For the best visual effect, choose clementines that are uniform in size—this makes them look like a row of mini pumpkins. If clementines aren’t in season, mandarin oranges or tangerines work as substitutes. For the grapes, try to find a bunch that still has a bit of stem attached; it makes arranging the “vines” easier. And don’t skip the kiwi—it’s the secret to making the scene look like an actual garden.
Equipment Needed
You don’t need much for this recipe, which is part of its charm. Here’s what I use:
- Large Serving Platter or Cutting Board: A white or wooden surface works best to make the colors pop. I use a 16-inch round wooden board from IKEA—it was under $15 and has held up for years. A rimmed baking sheet lined with parchment paper also works in a pinch.
- Sharp Paring Knife: For slicing kiwi, pears, and any precision cuts. A dull knife will bruise the fruit. I use a Victorinox paring knife—affordable and stays sharp.
- Cutting Board: Dedicate one for fruit to avoid cross-contamination.
- Small Mixing Bowl: For the dip, if you’re making it. Any small bowl works.
- Whisk or Fork: For stirring the dip ingredients together.
- Paper Towels: For drying the fruit. Wet fruit makes the platter slippery and can cause grapes to roll.
- Toothpicks (optional): For securing pretzel sticks or holding shapes in place. I’ve used them to make a tiny scarecrow face on a pear slice.
Budget-Friendly Tip: If you don’t have a large platter, use a clean pizza pan or a large baking sheet. Line it with a fall-themed paper napkin or a piece of parchment for a festive touch. I’ve done this more times than I can count—no one notices the pan when the fruit looks this good.
Preparation Method
Let’s build this pumpkin patch. I’ll walk you through it step by step, with all the little tricks I’ve learned from making this about a dozen times now.
- Prep the Clementine “Pumpkins” (5 minutes): Peel all the clementines. Try to keep the segments intact—don’t pull them apart yet. You want whole, peeled clementines that look like little orange globes. If a clementine has a particularly thick pith (the white part), you can gently remove some of it, but don’t stress. Set them aside.
- Create the “Vines” (3 minutes): Rinse the green grapes and pat them completely dry with paper towels. Leave about 4-5 grapes still attached to a small piece of stem—this makes them look like actual vines trailing across your board. The rest can be separated into individual grapes. Place the stem-attached clusters aside.
- Make the “Leaves” (4 minutes): Peel the kiwis. Slice each kiwi into rounds about 1/4-inch thick. Then, cut each round in half to create half-moon shapes. These will look like little leaves scattered around the pumpkins. For a more realistic look, you can cut a few into thin, elongated ovals. Set them aside.
- Prepare the Scarecrow (Optional, 5 minutes): If you’re using a pear, slice it in half lengthwise, then cut one half into thin, fan-shaped slices. Arrange 3-4 slices in a fan pattern at the top of the board to look like a scarecrow’s hat or body. Use one pretzel stick as the “post” and another as the “arms.” Secure with toothpicks if needed. I’ve also used a small apple slice with a raisin face—get creative.
- Assemble the Pumpkin Patch (5 minutes): Start with your largest platter. Place the clementines in a loose cluster in the center—this is your pumpkin patch. Don’t line them up perfectly; stagger them like real pumpkins in a field. Arrange the green grape “vines” to trail out from the clementines, winding around them. Scatter the kiwi “leaves” around the base of the clementines and along the vines. Sprinkle the blueberries around the edges to look like soil or small stones.
- Add the Fence (2 minutes): Take 4-5 pretzel sticks and gently press them into the fruit at the back or side of the tray to create a “fence.” You can also lay them flat at the edge of the board to look like a split-rail fence. Be gentle—pretzels break easily. I’ve snapped more than a few in my day.
- Make the Dip (3 minutes): In a small bowl, combine the Greek yogurt, honey or maple syrup, vanilla extract, and cinnamon. Whisk until smooth. Taste and adjust sweetness. Place the bowl in the center of the tray or off to one side. I like to nestle it among the fruit so it looks like a little pond in the patch.
- Final Touches (2 minutes): Step back and look at your tray. Fill any empty gaps with extra grapes or kiwi slices. If the clementines look too uniform, rotate a few so their natural shape shows. Add a few whole blueberries on top of the dip bowl for a pop of color. Serve immediately or refrigerate until ready.
Sensory Cues: The clementines should feel cool and slightly firm to the touch. The grapes should glisten but not be wet. When you arrange the kiwi leaves, you should smell that bright, tropical kiwi scent mixing with the sweet citrus of the clementines. The dip should be thick enough to coat the back of a spoon but thin enough to drizzle.
Cooking Tips & Techniques
I’ve made this tray enough times to know exactly where things can go wrong—and how to fix them. Here are my hard-earned lessons.
Don’t Overthink the Arrangement. My first attempt looked like a fruit explosion. I tried to make every clementine face the same direction and it looked robotic. Real pumpkin patches are messy. Embrace staggered, organic placement. Your tray will look more inviting.
Dry the Fruit Thoroughly. This is non-negotiable. Wet fruit slides around, makes the board slippery, and causes grapes to roll off the edge. I pat each piece of fruit dry with a paper towel before arranging. It takes an extra two minutes but saves you from a fruit avalanche.
Use the Dip as an Anchor. Place the dip bowl in the center of the tray before you add the fruit. Then build the scene around it. This keeps the bowl from sliding around and gives you a natural focal point. I learned this the hard way after my dip bowl tipped over and turned the whole tray into a weird yogurt soup.
Prep Everything Before You Start Arranging. Have all your fruit washed, peeled, and sliced before you touch the platter. Once you start arranging, you don’t want to stop to peel another kiwi. It breaks your flow and the final look suffers. I keep everything in separate bowls on the counter.
Make It Ahead, But Not Too Far Ahead. You can assemble this tray up to 4 hours before serving. Keep it covered with plastic wrap in the fridge. But don’t add the pretzel sticks until right before serving—they get soggy. And if you’re using a pear for the scarecrow, brush it with a little lemon juice to prevent browning. I forgot once and ended up with a brown scarecrow that looked more like a zombie.
Multitasking Strategy: While you’re peeling clementines, have the grapes draining in a colander. While you’re slicing kiwi, have the dip ingredients measured out. This cuts total prep time to about 15 minutes. I’ve timed myself.
Variations & Adaptations
This recipe is endlessly adaptable. Here are some variations I’ve tried and loved.
Seasonal Berry Swap: In late summer, swap the blueberries for blackberries or raspberries. They add a different color and a slightly tart pop. I made this version for a September picnic and it was gone in ten minutes.
Halloween Spooky Patch: Add a few “ghosts” by using small dollops of the Greek yogurt dip on the board and placing a single blueberry on each for eyes. Use black grapes instead of green for a darker, spookier vine look. My son’s classmates went crazy for this version.
Vegan & Dairy-Free Version: Use a store-bought vegan yogurt for the dip, or skip it entirely. The fruit is sweet enough on its own. For a nut-free option, avoid any cross-contamination with pretzels—use carrot sticks as fence posts instead.
Low-Sugar Option: Skip the dip or use a plain yogurt with a pinch of stevia. The fruit itself has natural sugars. This is my go-to for health-conscious gatherings where people are watching their intake.
Mini Individual Servings: Instead of one large tray, make individual pumpkin patches in small cups or mason jars. Layer clementine segments, grapes, and kiwi, and top with a dollop of dip. Perfect for kids’ lunchboxes or party favors. I did this for a classroom party and the teacher asked for the recipe.
Citrus Twist: If clementines aren’t available, use halved mandarin oranges or even small tangerines. The shape changes slightly, but the visual effect is similar. I’ve also used blood oranges for a dramatic red-orange color—gorgeous, but messy.
Serving & Storage Suggestions
This tray is best served cold, straight from the fridge. The contrast between the cool, crisp fruit and the creamy dip is part of the experience. I like to place the tray on the table about 10 minutes before guests arrive to let it lose the chill slightly—fruit has more flavor when it’s not ice-cold.
What to Serve Alongside: This tray pairs beautifully with a warm apple cider or a pumpkin spice latte. For a savory contrast, add a small bowl of spiced nuts or cheese cubes. I’ve also served it next to a plate of cinnamon-sugar pita chips—the sweet and salty combo is addictive.
Storage Instructions: Leftover fruit can be stored in an airtight container in the fridge for up to 2 days. The dip keeps for 3 days in a separate container. Do not store assembled—the fruit will release moisture and make everything soggy. If you have leftover pretzels, store them in a ziplock bag at room temperature.
Reheating? There’s no reheating here—this is a cold dish. But if the fruit has been sitting out for more than 2 hours, discard any leftovers for food safety. I usually just eat the leftovers for breakfast the next day. No judgment.
Flavor Development: The dip actually gets better after a few hours in the fridge as the flavors meld. If you’re making the dip ahead, do it the night before. The fruit, however, is best fresh. The clementines start to dry out after a day in the fridge.
Nutritional Information & Benefits
This tray is packed with vitamins and antioxidants. Clementines are loaded with Vitamin C—a single clementine provides about 40% of your daily needs. Grapes are rich in resveratrol, an antioxidant that supports heart health. Kiwi is a powerhouse of Vitamin K and fiber, which aids digestion. Blueberries are famous for their brain-boosting properties.
Estimated Nutritional Values (per serving, about 1 cup of fruit with 2 tablespoons of dip):
- Calories: 120-150
- Carbohydrates: 28g
- Fiber: 4g
- Sugar: 20g (natural)
- Protein: 4g
- Fat: 1g
Dietary Considerations: This recipe is naturally gluten-free, nut-free, and soy-free. The dip can be made dairy-free with plant-based yogurt. It’s also low in fat and contains no added refined sugar—the sweetness comes entirely from fruit and a touch of honey. For anyone watching their sugar intake, the dip can be omitted entirely.
Personal Wellness Perspective: I love that this recipe makes healthy eating feel like a celebration. It’s not about deprivation—it’s about enjoying whole foods in a way that feels indulgent. When I serve this, I feel good knowing I’m offering something that nourishes both the body and the spirit. And honestly? It’s just fun to eat.
Conclusion
This Light & Festive Pumpkin Patch Fruit Tray with Clementines is proof that you don’t need elaborate recipes or hours in the kitchen to create something memorable. It started as a desperate scramble to save face at a preschool event, and now it’s a fall tradition in my house. It’s healthy, it’s beautiful, and it takes almost no effort—which is exactly what we all need during the chaos of the holiday season.
I encourage you to make this your own. Swap in your favorite fruits, build a different scene, or let your kids help arrange the “pumpkins.” It’s forgiving and fun. And if you forget the dip or break a pretzel stick? Don’t worry. It’ll still be delicious.
I’d love to hear how your pumpkin patch turns out! Leave a comment below with your variations or tag me in your photos. Did you add a scarecrow? Use different fruit? Let me know—I’m always looking for new ideas. And if you’re looking for another easy fall snack, you might also enjoy this crispy garlic chicken for a savory option. Happy snacking!
Frequently Asked Questions
Can I make this fruit tray the night before?
I don’t recommend assembling it more than 4-6 hours ahead. The fruit will release moisture and the pretzels will get soft. But you can prep all the fruit the night before—peel clementines, wash grapes, slice kiwi—and store them separately in airtight containers in the fridge. Assemble the tray the next day. It takes less than 10 minutes.
What if I can’t find clementines?
No problem! Use mandarin oranges, tangerines, or even small navel oranges cut into wedges. The look will change slightly, but the concept remains the same. I’ve also used halved kumquats for a more tart, tiny pumpkin look. Just adjust the quantity based on size.
How do I keep the fruit from browning?
Most of the fruit in this recipe doesn’t brown easily—clementines, grapes, and blueberries are fine. If you use pears or apples for the scarecrow, brush them with a little lemon juice or pineapple juice to prevent oxidation. Kiwi can sometimes brown if cut too far in advance, so slice it just before assembling.
Can I use a different dip?
Absolutely! A caramel dip, a chocolate ganache, or even a simple peanut butter sauce would work. I’ve served it with a pumpkin spice dip (cream cheese, powdered sugar, and pumpkin pie spice) for a more decadent option. The fruit tray is versatile—the dip is just a bonus.
Is this recipe kid-friendly for making together?
Yes, and I highly recommend it! Kids can help wash the fruit, peel clementines (with supervision), and arrange the pieces on the tray. It’s a great way to get them excited about eating fruit. My five-year-old loves placing the “pumpkins” and pretending the grapes are snakes. Just keep the knife work for the adults.
Pin This Recipe!
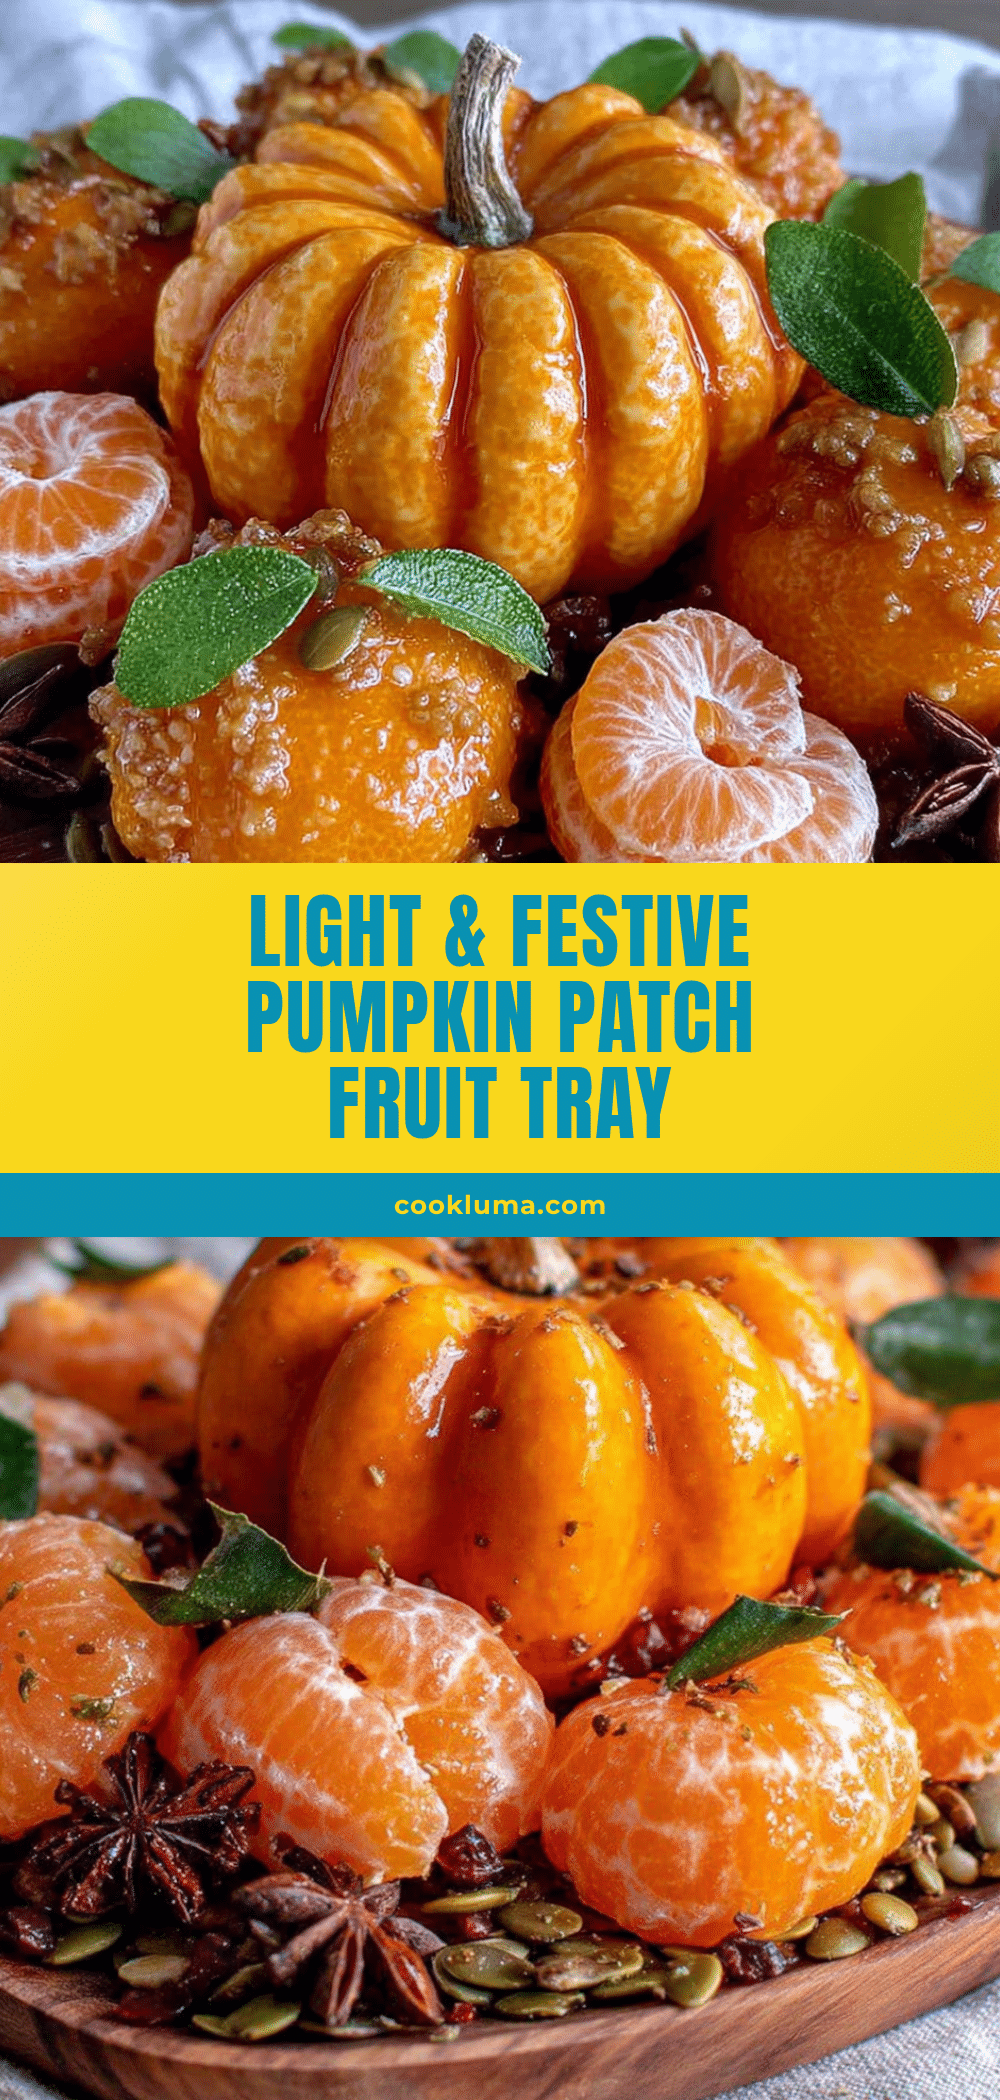
Healthy Pumpkin Patch Fruit Tray with Easy Clementines
A quick and festive fruit tray that turns clementines into mini pumpkins, grapes into vines, and kiwi into leaves. Perfect for fall gatherings, school parties, or Thanksgiving appetizers.
- Prep Time: 15 minutes
- Cook Time: 0 minutes
- Total Time: 15 minutes
- Yield: 8 servings 1x
- Category: Appetizer
- Cuisine: American
Ingredients
- 10–12 clementines
- 2 cups green grapes
- 3–4 kiwi
- 1/2 cup fresh blueberries
- 1 pear (optional)
- 4–6 pretzel sticks
- 1 cup plain Greek yogurt
- 2 tablespoons honey or maple syrup
- 1/2 teaspoon vanilla extract
- 1/4 teaspoon ground cinnamon
Instructions
- Peel all clementines, keeping segments intact. Set aside.
- Rinse green grapes and pat dry. Leave 4-5 grapes attached to a small piece of stem for vine clusters; separate the rest.
- Peel kiwis and slice into 1/4-inch rounds, then cut each round in half to create half-moon leaves.
- If using a pear, slice it in half lengthwise, then cut one half into thin, fan-shaped slices for a scarecrow. Use pretzel sticks as post and arms, securing with toothpicks if needed.
- On a large platter, arrange clementines in a loose cluster in the center. Trail grape vines around them. Scatter kiwi leaves around the base and along vines. Sprinkle blueberries around edges.
- Press 4-5 pretzel sticks into the fruit at the back or side to create a fence, or lay them flat at the edge.
- In a small bowl, combine Greek yogurt, honey or maple syrup, vanilla extract, and cinnamon. Whisk until smooth. Place bowl in the center or off to one side of the tray.
- Fill any empty gaps with extra grapes or kiwi slices. Serve immediately or refrigerate until ready.
Notes
Assemble up to 4 hours before serving. Keep covered in fridge. Add pretzel sticks just before serving to prevent sogginess. Brush pear slices with lemon juice to prevent browning. For vegan option, use dairy-free yogurt.
Nutrition
- Serving Size: 1 cup of fruit with
- Calories: 120150
- Sugar: 20
- Sodium: 30
- Fat: 1
- Carbohydrates: 28
- Fiber: 4
- Protein: 4
Keywords: pumpkin patch fruit tray, clementine fruit tray, fall fruit platter, healthy snack, kid-friendly fruit tray, Halloween fruit tray, Thanksgiving appetizer


