This was supposed to be a batch of shortbread. I had the butter sitting out, the flour measured, and my four-year-old perched on a stool with her little rolling pin, ready to “help.” But somewhere between answering the phone and wiping up a spilled cup of milk, I grabbed the wrong bag from the pantry. Confectioners’ sugar instead of granulated. I realized it about three seconds after the paddle started mixing, and I just stood there, staring at the dough. It looked too soft, almost fluffy. I was already running late for a playdate, and I thought I had ruined everything.
You know that sinking feeling when you’ve wasted good butter? Honestly, I almost cried. But I figured, well, the kids won’t care if the cookies look weird. So I scooped the dough, rolled it into little balls, and baked them anyway. What came out of the oven was nothing like the shortbread I planned — and better. These little cookies were tender, almost melt-in-your-mouth, with a delicate sweetness that made my daughter’s eyes go wide. She grabbed one, took a bite, and said, “Mommy, these taste like snowballs.” I had to laugh. She wasn’t wrong.
That’s how these Russian tea cookies — or snowball cookies, or Mexican wedding cookies, depending on who you ask — became our family’s accidental favorite. They’re the kind of cookie that feels fancy but is secretly one of the easiest things you can bake. And the best part? Kids absolutely love rolling them in powdered sugar. It’s messy, it’s fun, and it’s a guaranteed win. So if you’ve ever had a kitchen disaster that turned into something wonderful, you’re in good company. Let’s make some.
Why You’ll Love This Recipe
I’ve tested this recipe more times than I can count, and I can honestly say it’s the most forgiving cookie dough I’ve ever worked with. Here’s why it belongs in your regular rotation:
- Simple Ingredients: You probably have everything in your pantry right now. No fancy extracts, no chilled butter, no weird flours.
- Quick & Easy: From start to finish, these cookies take about 25 minutes. That’s faster than a trip to the store.
- Kid-Approved: My kids fight over who gets to roll the warm cookies in sugar. It’s a whole event in our kitchen.
- Perfect for Busy Families: They keep well for days, freeze beautifully, and don’t require any special equipment.
- Crowd-Pleaser: I’ve brought these to playgroups, school bake sales, and holiday parties. They disappear every single time.
What makes this version different from the rest? It’s the ratio. I spent weeks tweaking the butter-to-flour balance so the cookies hold their shape but still crumble the moment you bite into them. A lot of recipes end up too dry or too greasy. This one hits that sweet spot where the cookie feels light and rich at the same time. Plus, the double dusting of powdered sugar gives them that snowy look that kids find irresistible.
Honestly, this is the kind of cookie that makes you close your eyes after the first bite. It’s comfort food reimagined — simple, fast, but with the same soul-soothing satisfaction as something you’d slave over for hours. Perfect for when you need a quick win in the kitchen.
What Ingredients You Will Need
This recipe uses simple, wholesome ingredients to deliver that signature tender crumb and buttery flavor. Most of these are pantry staples, which means you can whip up a batch anytime the craving hits.
For the Cookies
- 1 cup (226g) unsalted butter, softened (I prefer Land O’Lakes for consistent results; let it sit out for about 30 minutes)
- ½ cup (60g) powdered sugar, sifted (sifting prevents lumps and gives a smoother dough)
- 1 teaspoon vanilla extract (pure vanilla makes a difference, but imitation works fine too)
- 2 ¼ cups (280g) all-purpose flour (spoon and level — don’t scoop directly from the bag)
- ¼ teaspoon salt (fine sea salt or table salt both work)
- 1 cup (120g) finely chopped pecans or walnuts (optional but highly recommended for texture)
For the Coating
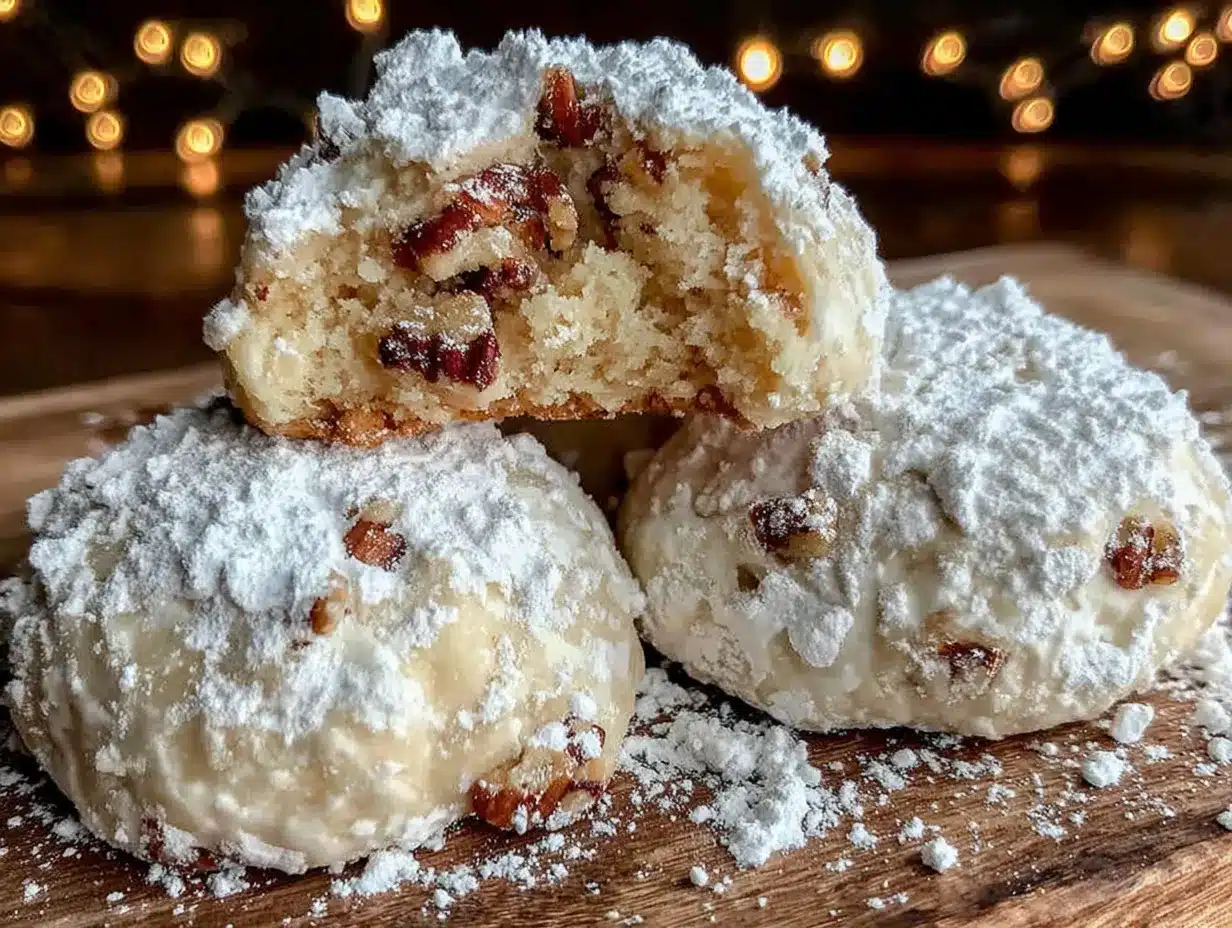
- 1 cup (120g) powdered sugar (for rolling — you’ll use more than you think)
Ingredient Tips: The butter needs to be soft but not melted. If you forget to take it out ahead of time, cut it into small cubes and microwave in 5-second bursts until it’s pliable but not shiny. For the nuts, I’ve used both pecans and walnuts, and honestly, pecans give a slightly sweeter, more buttery flavor. If you’re baking for someone with nut allergies, just leave them out — the cookies will still be delicious. I’ve also made these with almond flour instead of all-purpose flour for a gluten-free version, and they turned out surprisingly good, though the texture is a bit more delicate.
Sourcing Note: I buy my powdered sugar in bulk at Costco because we go through so much of it. The generic store brand works just as well as the name brand, so don’t stress about that.
Equipment Needed
You don’t need a fancy kitchen for these cookies. Here’s what I use:
- Electric mixer (handheld or stand mixer both work; I’ve made these with a hand mixer for years)
- Large mixing bowl
- Measuring cups and spoons
- Sifter or fine-mesh strainer (for the powdered sugar)
- Baking sheet (I use a light-colored metal sheet for even browning)
- Parchment paper or silicone baking mat
- Cooling rack
- Shallow bowl (for rolling the cookies in sugar)
If you don’t have an electric mixer, you can cream the butter and sugar by hand with a wooden spoon. It takes a little more elbow grease, but it’s totally doable. I’ve done it when my mixer was broken, and the cookies still came out great. Just make sure the butter is really soft. For the baking sheet, avoid dark nonstick pans — they can cause the bottoms to brown too quickly. My favorite budget-friendly option is the Nordic Ware aluminum half-sheet pan. It’s under $20 and lasts forever.
Preparation Method
Let’s get baking. This recipe comes together fast, so read through the steps once before you start.
- Preheat your oven to 350°F (175°C). Line a baking sheet with parchment paper or a silicone mat. This prevents sticking and makes cleanup a breeze.
- Cream the butter and powdered sugar. In a large mixing bowl, beat the softened butter and ½ cup sifted powdered sugar together on medium speed until light and fluffy. This takes about 2-3 minutes. Scrape down the sides of the bowl once or twice. The mixture should look pale and smooth, not grainy.
- Add the vanilla. Mix in the vanilla extract on low speed until just combined. Don’t overmix here — you just want it incorporated.
- Combine the dry ingredients. In a separate bowl, whisk together the flour and salt. If you’re using nuts, stir them into the flour mixture now. This helps distribute them evenly without sinking to the bottom.
- Add the flour mixture to the butter mixture. Add it in two additions, mixing on low speed after each until just combined. The dough will look crumbly at first, but keep mixing — it will come together. Stop as soon as there are no visible streaks of flour. Overmixing makes the cookies tough.
- Chill the dough (optional but helpful). If your kitchen is warm or the dough feels sticky, pop it in the fridge for 15 minutes. This makes rolling easier. I usually skip this step in winter but do it in summer.
- Shape the cookies. Scoop about 1 tablespoon of dough and roll it between your palms into a 1-inch ball. Place the balls on the prepared baking sheet, spacing them about 2 inches apart. They don’t spread much, so you can fit about 12 on a standard sheet.
- Bake. Bake for 10-12 minutes, or until the bottoms are lightly golden and the tops look set but not brown. The cookies should feel firm to the touch. Don’t overbake — they continue cooking on the sheet after you pull them out.
- Cool slightly. Let the cookies rest on the baking sheet for 5 minutes. They’re very fragile when hot, so don’t try to move them right away.
- First dusting. While the cookies are still warm, gently roll each one in a bowl of powdered sugar. The sugar will stick to the warm surface and create that first snowy layer. Place the coated cookies on a cooling rack.
- Second dusting. Once the cookies are completely cool (about 20 minutes), roll them in powdered sugar again. This second coat gives them that signature snowy look and adds sweetness. Don’t skip this step — it makes them look professional.
Sensory cues: When you cream the butter and sugar, you’re looking for a texture that feels like thick frosting. The dough should hold together when pinched but not feel greasy. When the cookies are done, the bottoms will be a pale golden color, and the tops will look dry, not shiny.
Cooking Tips & Techniques
I’ve made these cookies at least fifty times, and I’ve learned a few things the hard way. Here are my best tips:
Don’t skip sifting the powdered sugar. I know it feels like an extra step, but lumps in the sugar will create little white spots in the dough that don’t mix out. Your cookies will look speckled instead of smooth. I learned this when I was in a rush and my cookies came out looking like they had dandruff. Not cute.
Keep the nuts small. If you’re adding nuts, chop them finely. Big chunks make it hard to roll the dough into smooth balls, and they can cause the cookies to crumble. I pulse the nuts in a food processor for about 5 seconds — just until they’re the size of small peas.
Watch the baking time. My biggest failure with these cookies was leaving them in the oven an extra two minutes while I folded laundry. They came out dry and crumbly instead of tender. Set a timer, seriously. Every oven runs a little different, so check at 10 minutes. You want the bottoms to be just barely golden.
Use a cookie scoop for uniform size. A small 1-tablespoon scoop makes the process faster and ensures all the cookies bake evenly. If you don’t have one, just eyeball it — it doesn’t have to be perfect.
Multitask the rolling. I like to set up an assembly line: warm cookies on one side, bowl of powdered sugar in the middle, cooling rack on the other side. My kids help with the rolling, and honestly, it’s the messiest part of the whole process. Embrace the powdered sugar cloud. It washes off.
Variations & Adaptations
This recipe is incredibly flexible. Here are some ways I’ve changed it up over the years:
Chocolate Snowballs
Replace ¼ cup of the flour with ¼ cup of unsweetened cocoa powder. The cookies will have a rich chocolate flavor that pairs beautifully with the powdered sugar coating. My kids call these “dirt clods,” which is adorable.
Gluten-Free Version
Use a 1:1 gluten-free flour blend (I like King Arthur Measure for Measure). The dough will be a bit more delicate, so chill it for 20 minutes before rolling. The texture won’t be exactly the same, but they’re still delicious.
Vegan Adaptation
Substitute the butter with a high-quality vegan butter stick (not margarine). I’ve used Miyoko’s and it worked perfectly. The cookies are slightly less tender but still very good.
Citrus Twist
Add 1 teaspoon of lemon or orange zest to the dough along with the vanilla. It brightens the flavor and makes them feel more like a spring cookie. I did this once when I had a lemon sitting on the counter, and it was a happy accident.
Spiced Version
Add ½ teaspoon of cinnamon and ¼ teaspoon of nutmeg to the flour mixture. This turns them into a cozy holiday cookie that smells amazing while baking.
Serving & Storage Suggestions
These cookies are best served at room temperature. The powdered sugar coating looks most dramatic when they’re fresh, but they taste great for days. I like to arrange them on a pretty plate with a dusting of extra sugar on top — it makes them look like little snowballs.
Storage: Keep the cookies in an airtight container at room temperature for up to 5 days. Layer them between sheets of parchment paper to prevent the sugar from rubbing off. Pro tip: don’t stack them too high, or the bottom ones might get crushed.
Freezing: These freeze beautifully. You can freeze the baked cookies (without the final sugar dusting) for up to 3 months. When you’re ready to serve, thaw them at room temperature, then roll them in fresh powdered sugar. Alternatively, you can freeze the unbaked dough balls on a sheet pan, then transfer them to a freezer bag. Bake from frozen, adding 2-3 minutes to the baking time.
Reheating: I don’t recommend reheating these — they’re meant to be eaten at room temperature. But if you like a warm cookie, pop one in the microwave for 5 seconds. The sugar will melt slightly, which is actually kind of nice.
Flavor development: Honestly, these cookies taste even better the next day. The flavors meld together, and the texture becomes even more tender. So don’t be afraid to make them a day ahead.
Nutritional Information & Benefits
Let’s be real — these are cookies, not health food. But here’s the breakdown for one cookie (based on 24 cookies):
| Nutrient | Amount per Cookie |
|---|---|
| Calories | 145 |
| Total Fat | 9g |
| Saturated Fat | 5g |
| Carbohydrates | 15g |
| Sugar | 7g |
| Protein | 2g |
The pecans add a small amount of healthy fats and fiber, which helps slow down the sugar absorption. If you use walnuts, you’ll get a dose of omega-3s. The butter provides vitamin A. But honestly, I make these because they make my kids happy, not because they’re nutritious. Everything in moderation, right?
Dietary considerations: This recipe contains dairy (butter), gluten (flour), and nuts (if you add them). For a nut-free version, simply omit the pecans. For a dairy-free version, use vegan butter. For a gluten-free version, use a 1:1 gluten-free flour blend.
Conclusion
These Russian tea cookies have become a staple in our house, and I think they’ll become one in yours too. They’re the kind of recipe that makes you look like a hero with almost no effort. The kids get to help with the messy part, the cookies taste amazing, and you don’t have to spend hours in the kitchen. What’s not to love?
I’d love to hear how yours turn out. Did your kids go wild for the powdered sugar rolling? Did you try a fun variation? Drop a comment below and let me know. And if you share a photo on Pinterest, tag me — I love seeing these little snowballs in other people’s kitchens. Happy baking, friend. You’ve got this.
Frequently Asked Questions
Can I make these cookies without nuts?
Absolutely. The nuts are optional. Just leave them out and the cookies will still be tender and delicious. You might want to add an extra tablespoon of flour to compensate for the lost volume.
Why did my cookies come out flat?
This usually happens when the butter is too soft or the dough wasn’t chilled. If your kitchen is warm, pop the dough in the fridge for 20 minutes before baking. Also, make sure you’re measuring the flour correctly — spoon it into the cup and level it off.
Can I use salted butter instead of unsalted?
Yes, but reduce the added salt to just a pinch. Salted butter has about ¼ teaspoon of salt per stick, so you don’t want to overdo it.
How do I get the powdered sugar to stick better?
The key is the double dusting. Roll the cookies while they’re still warm for the first coat — the heat helps the sugar adhere. Then let them cool completely before the second coat. If you skip the warm roll, the sugar will just fall off.
Can I double this recipe?
Yes, it doubles beautifully. Just make sure your mixing bowl is big enough, and bake in batches. The dough keeps well in the fridge for up to 3 days, so you can bake fresh cookies whenever you want.
Pin This Recipe!
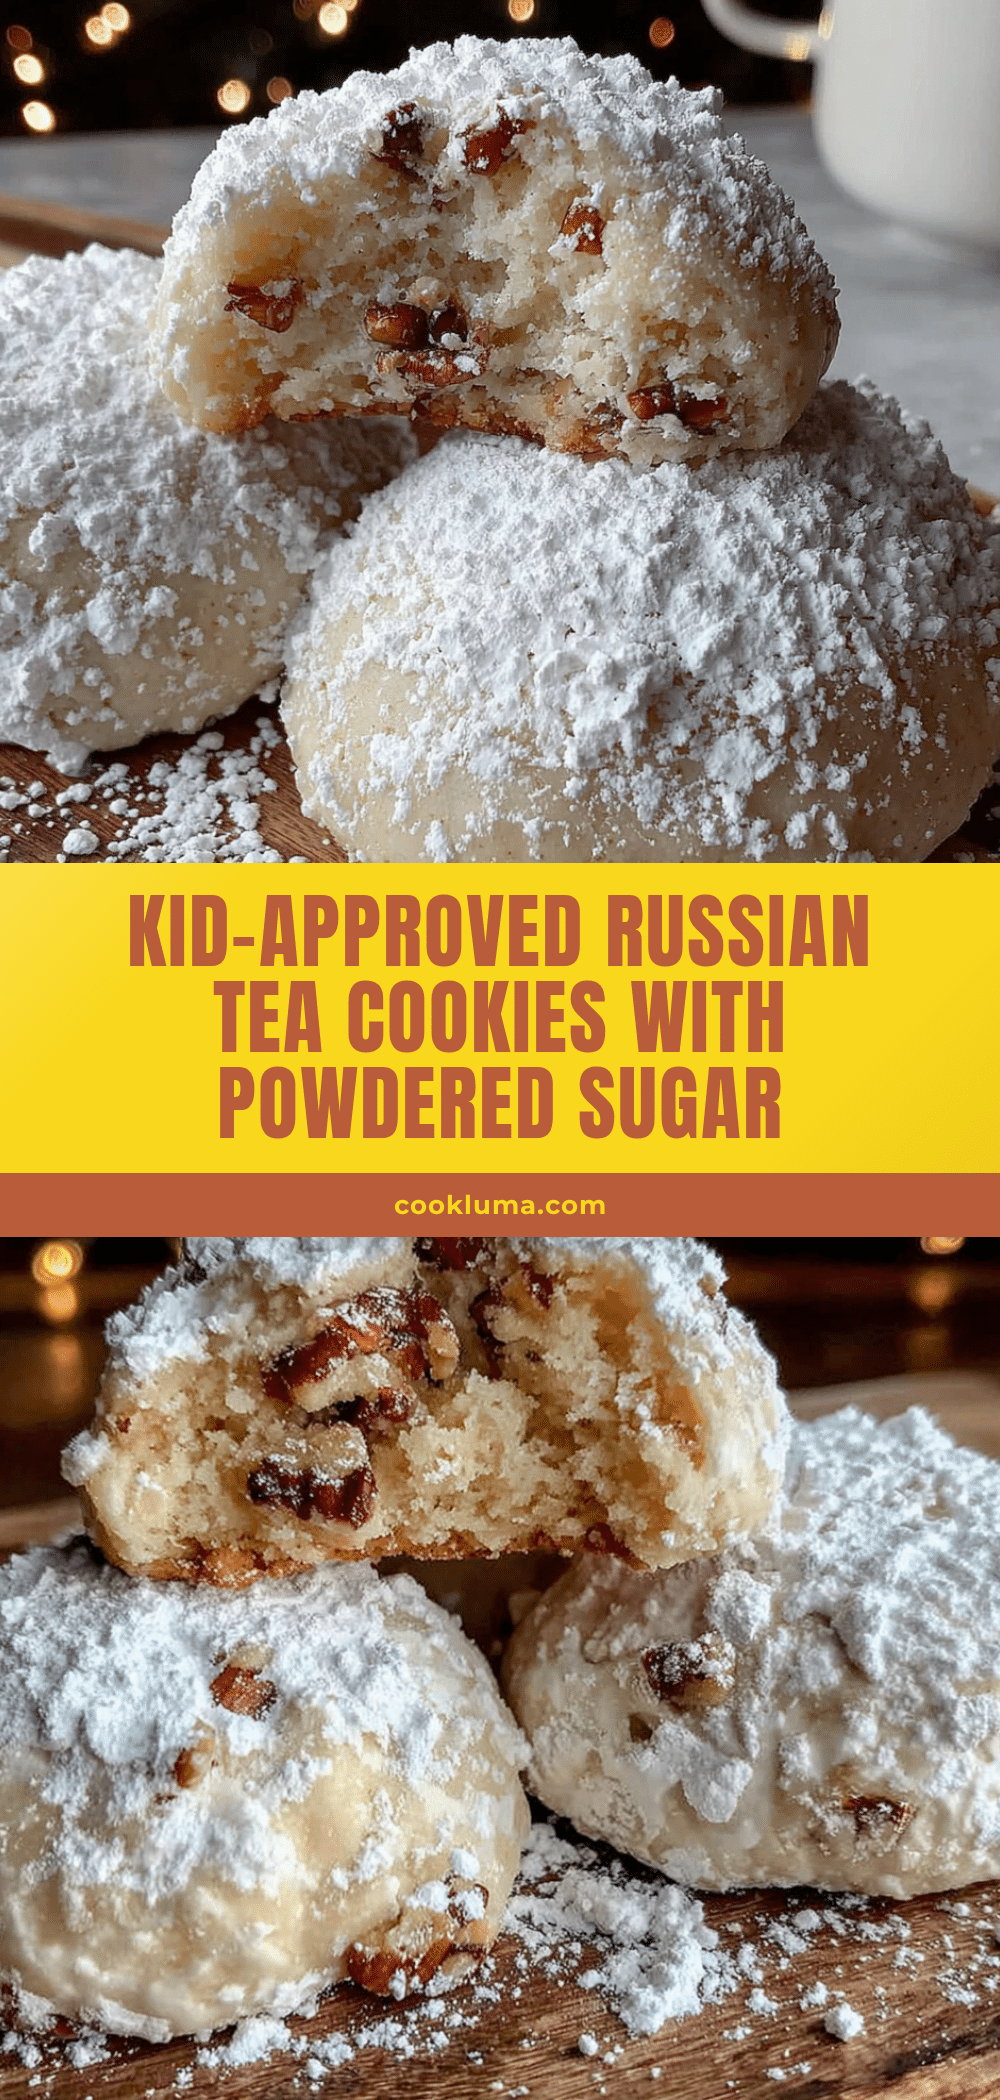
Easy Russian Tea Cookies with Powdered Sugar for Kids

These tender, melt-in-your-mouth cookies are a happy accident turned family favorite. Kids love rolling them in powdered sugar, and they come together in just 25 minutes with simple pantry ingredients.
- Prep Time: 15 minutes
- Cook Time: 12 minutes
- Total Time: 27 minutes
- Yield: 24 cookies 1x
- Category: Dessert
- Cuisine: Russian
Ingredients
- 1 cup (226g) unsalted butter, softened
- ½ cup (60g) powdered sugar, sifted
- 1 teaspoon vanilla extract
- 2 ¼ cups (280g) all-purpose flour
- ¼ teaspoon salt
- 1 cup (120g) finely chopped pecans or walnuts (optional)
- 1 cup (120g) powdered sugar (for coating)
Instructions
- Preheat your oven to 350°F (175°C). Line a baking sheet with parchment paper or a silicone mat.
- In a large mixing bowl, beat the softened butter and ½ cup sifted powdered sugar together on medium speed until light and fluffy, about 2-3 minutes. Scrape down the sides once or twice.
- Mix in the vanilla extract on low speed until just combined.
- In a separate bowl, whisk together the flour and salt. If using nuts, stir them into the flour mixture.
- Add the flour mixture to the butter mixture in two additions, mixing on low speed after each until just combined. The dough will look crumbly at first but will come together. Stop as soon as there are no visible streaks of flour.
- If the dough feels sticky, chill it in the fridge for 15 minutes.
- Scoop about 1 tablespoon of dough and roll it between your palms into a 1-inch ball. Place the balls on the prepared baking sheet, spacing them about 2 inches apart.
- Bake for 10-12 minutes, or until the bottoms are lightly golden and the tops look set but not brown.
- Let the cookies rest on the baking sheet for 5 minutes.
- While the cookies are still warm, gently roll each one in a bowl of powdered sugar. Place the coated cookies on a cooling rack.
- Once the cookies are completely cool (about 20 minutes), roll them in powdered sugar again.
Notes
For best results, use a light-colored metal baking sheet to prevent over-browning. The double dusting of powdered sugar is key for the snowy look. These cookies taste even better the next day. Store in an airtight container at room temperature for up to 5 days, or freeze for up to 3 months.
Nutrition
- Serving Size: 1 cookie
- Calories: 145
- Sugar: 7
- Sodium: 35
- Fat: 9
- Saturated Fat: 5
- Carbohydrates: 15
- Protein: 2
Keywords: Russian tea cookies, snowball cookies, Mexican wedding cookies, easy cookie recipe, kid-friendly cookies, powdered sugar cookies, butter cookies, holiday cookies


