My husband claimed he hated charcuterie boards for years. “It’s just cold meat on a plank,” he’d say every time I mentioned making one for a gathering. For a solid three years, I’d watch him bypass the beautiful boards at parties, heading straight for the chip dip instead. Then last November, two days before Thanksgiving, I threw together this Easy Thanksgiving Charcuterie Board with Brie and Fall Fruit purely as a snack for myself while I prepped the turkey brine. I came back from washing my hands to find him standing at the counter, silent, having already demolished half the Brie and a stack of fig crackers. He didn’t even try to look innocent—just pointed at the board and mumbled, “Okay, this is different.”
That moment caught me off guard, honestly. Here was a man who had spent years dismissing the entire concept of a grazing board, caught red-handed with a smear of honey on his chin. And you know what? I get it now. So many charcuterie boards feel complicated—fancy cured meats you’ve never heard of, cheeses that cost as much as a tank of gas, garnishes that require a specialty grocery run. This one is none of that. It’s built around a single, affordable wheel of Brie, some seasonal fruit you can grab at any grocery store, and a handful of pantry staples you probably already have. It’s the kind of board that proves someone wrong without even trying.
I keep making this board every Thanksgiving because it solves a very real problem. You’re busy. The turkey is in the oven, the pies are cooling, and people are hovering in the kitchen asking if they can help. This board takes fifteen minutes to assemble and keeps everyone happy—and out of your way—until dinner is ready. Maybe you’ve been there, standing over a hot stove while guests circle like sharks. This is your lifeline. Let me show you exactly how to build it.
Why You’ll Love This Recipe
I’ve tested this board at three different Thanksgiving gatherings, two Friendsgivings, and one very chaotic Tuesday night when I just needed a pretty snack. Every single time, it disappears faster than the actual appetizers I spent more time on. Here is why this particular board works so well:
- Quick & Easy : Comes together in under 15 minutes with zero cooking required. Unwrap the Brie, wash the fruit, arrange everything on a board. That’s it.
- Simple Ingredients : No fancy Italian prosciutto or aged Gouda needed. Your grocery store’s cheese section has everything you need, and the fruit is whatever looks best in the produce aisle.
- Perfect for Thanksgiving : This board acts as a beautiful, low-stress appetizer that keeps guests grazing while you finish the turkey. It also works as a light lunch option before the big meal.
- Crowd-Pleaser : The creamy Brie paired with sweet, tart fall fruit and salty crackers gets rave reviews from kids, picky eaters, and even people who “don’t like cheese boards.”
- Unbelievably Delicious : The combination of warm honey drizzled over room-temperature Brie with a slice of crisp apple is the kind of bite that makes you close your eyes. It’s simple, but it hits every single note.
What makes this board different from the hundreds of charcuterie boards you see on Pinterest is the focus on fall fruit as the star, not just a garnish. Most boards treat fruit like an afterthought—a few sad grapes thrown on the side. Here, the apples, pears, and pomegranate seeds are intentional components that balance the richness of the Brie and the saltiness of the meats. It’s a board that actually makes sense to eat together, not just a pretty arrangement of random ingredients.
This recipe is the kind that makes you feel like you’ve got it together, even when you’re running on three hours of sleep and coffee. It’s stress-free entertaining at its finest.
What Ingredients You Will Need
This recipe uses simple, seasonal ingredients to create a stunning board that tastes as good as it looks. Everything is easy to find at any standard grocery store, and most of it can be prepped a day ahead.
- 1 wheel of Brie cheese (8 ounces) — Look for a double-cream Brie for the creamiest texture. I personally prefer the Président brand for consistent quality, but any brand works fine. Let it sit at room temperature for 30 minutes before serving for the best flavor and spreadability.
- 2 medium Honeycrisp apples — Their sweet-tart flavor and crunchy texture hold up beautifully on a board. Slice them right before serving and toss with a squeeze of lemon juice to prevent browning. Fuji or Gala also work well.
- 2 ripe Bartlett pears — Choose pears that yield slightly to pressure at the stem for optimal sweetness. Bosc pears are a great alternative with a firmer texture. Slice them thin and fan them out for a pretty presentation.
- 1/2 cup pomegranate seeds — These little jewels add a pop of color and a burst of tartness. You can buy them pre-seeded in most grocery stores to save time. If you can’t find them, dried cranberries make an excellent substitute.
- 1 cup seedless red grapes — Wash and leave them in small clusters for a natural look. They add sweetness and a refreshing bite between richer elements.
- 1/2 cup dried figs or dates — Their chewy texture and intense sweetness contrast beautifully with the creamy Brie and sharp cheese. Medjool dates are my go-to because they’re soft and caramel-like.
- 4 ounces sharp white cheddar — A firm, aged cheese that provides a textural and flavor contrast to the soft Brie. I recommend Cabot Seriously Sharp for its bold, crumbly texture.
- 4 ounces salami or soppressata — Choose a dry-cured salami that slices easily. I like to buy a pre-sliced salami log and fold the slices into ribbons for visual appeal. Prosciutto or prosciutto-wrapped mozzarella bites also work beautifully.
- 1 cup assorted crackers — Go with a mix of buttery rounds, whole wheat crisps, and gluten-free options if needed. I love the Raincoast Crisps for their texture and flavor.
- 1/2 cup toasted walnuts or pecans — These add crunch and a warm, nutty flavor. Toast them in a dry pan over medium heat for 3-4 minutes until fragrant—it makes a huge difference.
- 1/4 cup honey — A good-quality honey is essential for drizzling over the Brie. Local honey adds a lovely floral note, but any honey works. For a savory twist, try hot honey.
- Fresh rosemary or thyme sprigs — For garnish only, but they add a beautiful, festive look and a subtle herbal aroma. Plus, they make the board look intentional and polished.
Optional add-ins: A small bowl of fig jam or apple butter adds a sweet, spreadable element. Dark chocolate squares are a decadent addition that pairs surprisingly well with Brie and fruit.
Equipment Needed
You don’t need anything fancy to build a stunning charcuterie board. Here is what I use and what you can substitute if you’re improvising.
- Large wooden cutting board or serving platter — A 12×16 inch board is ideal for this amount of food. If you don’t have a wooden board, a large ceramic platter or even a rimmed baking sheet lined with parchment paper works perfectly. I’ve used a clean pizza peel in a pinch!
- Small bowls or ramekins — You’ll need 2-3 small bowls for the honey, pomegranate seeds, and any jam or spread. I love using mismatched vintage ramekins for a rustic look.
- Cheese knife or spreader — A dedicated cheese knife with a forked tip makes serving Brie much easier. A butter knife works in a pinch, but a cheese knife really does help.
- Sharp paring knife — For slicing apples and pears. A serrated knife works best for cutting Brie if you want to portion it.
- Cutting board for prep — You’ll need a separate board for slicing fruit and cheese. Trust me, you don’t want apple juice on your beautiful serving board.
- Small saucepan (optional) — If you want to warm the honey slightly for drizzling, a small saucepan does the job in 30 seconds. You can also microwave it for 10 seconds.
My biggest tip here is to use what you have. The first time I made this board, I used a large baking sheet and a few cereal bowls. It looked rustic and charming. Don’t let the lack of a fancy board stop you.
Preparation Method
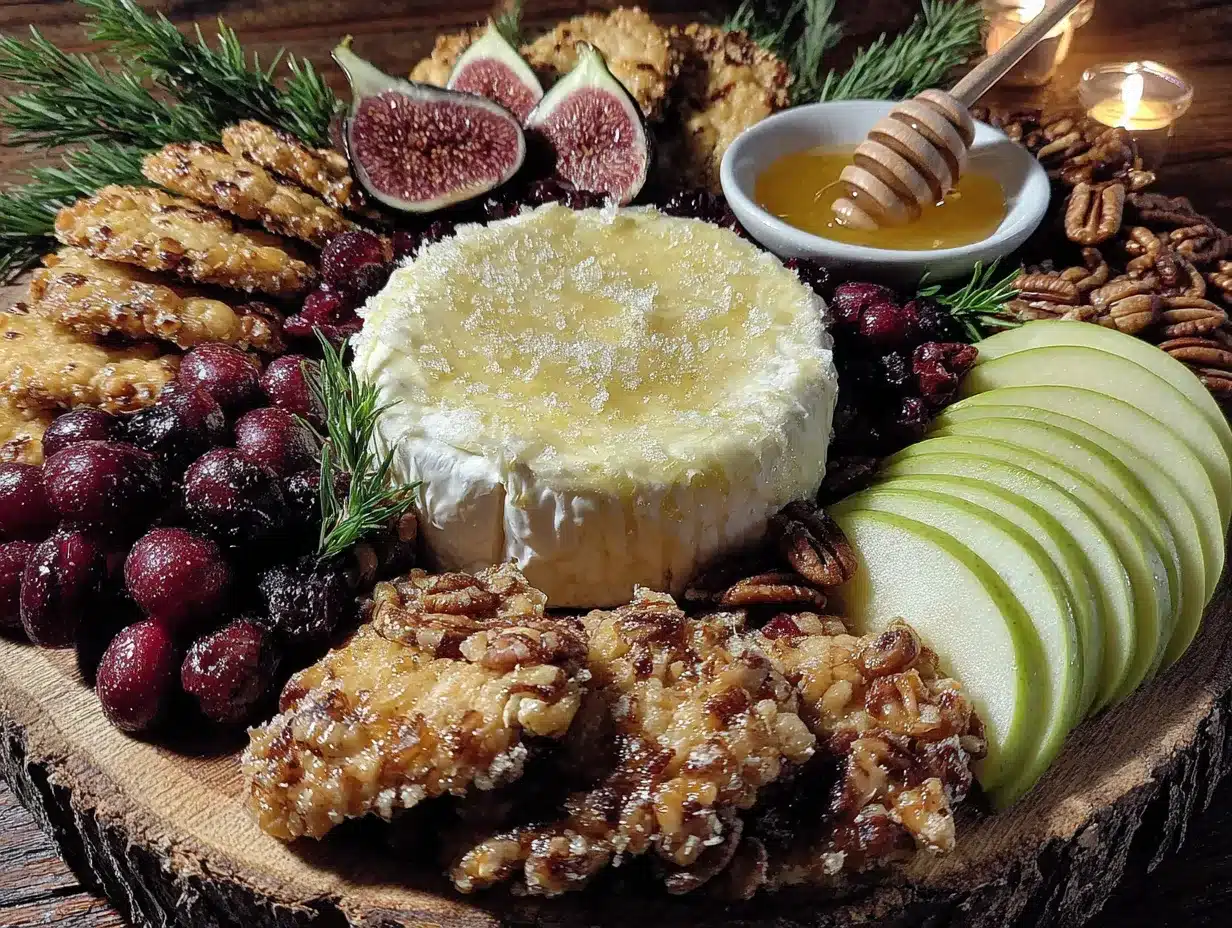
Building this board is more about thoughtful arrangement than actual cooking. Follow these steps, and you’ll have a stunning board in under 15 minutes.
- Prep your Brie (5 minutes before serving). Remove the Brie from the refrigerator at least 30 minutes before you plan to serve it. This is non-negotiable for the best texture. Unwrap it and place it on the board where you want it to sit. If you want to get fancy, score the top in a crosshatch pattern with a sharp knife. This allows the honey to soak in slightly.
- Wash and slice the fruit (5 minutes). Rinse the apples, pears, and grapes under cold water and pat them dry. Core the apples and pears, then slice them thin—about 1/4 inch thick. Toss the apple slices with a squeeze of lemon juice to keep them from browning. Cut the grapes into small clusters of 3-4 grapes each. If using fresh pomegranate, cut it in half and tap the seeds out over a bowl. Set everything aside.
- Slice the cheddar and salami (3 minutes). Cut the sharp cheddar into thin triangles or small cubes. For the salami, if it’s pre-sliced, fold each slice in half, then in half again to create a small ribbon. If it’s a whole salami, slice it into thin rounds and then cut those rounds into quarters. This makes it easy to grab and eat.
- Arrange the cheese (2 minutes). Place the Brie wheel slightly off-center on your board. It should be the focal point. Arrange the cheddar slices in a neat pile or fan shape opposite the Brie. This creates visual balance and makes it clear where each cheese is.
- Add the fruit (3 minutes). Place the small bowl of pomegranate seeds near the Brie. Fan out the apple and pear slices in a curved line along one side of the board. Scatter the grape clusters in the gaps. Arrange the dried figs or dates in a small pile next to the cheddar. The goal is to create color contrast and fill empty spaces.
- Add the meats and nuts (2 minutes). Pile the salami ribbons in a spot that’s easy to reach. Sprinkle the toasted walnuts or pecans in small clusters around the board, filling any remaining gaps. This step is where the board starts to look full and abundant.
- Fill in with crackers (2 minutes). Arrange the crackers in small stacks or fan patterns around the edges of the board. Don’t worry about being perfect—a slightly messy, organic look is more inviting. Make sure crackers are within easy reach of both cheeses.
- Drizzle and garnish (1 minute). Drizzle the honey generously over the top of the Brie, letting some pool around the base. Tuck fresh rosemary or thyme sprigs into the gaps for color and aroma. Step back and look at your board—add a few more nuts or fruit slices to any bare spots. Serve immediately.
Pro tip: If you’re making this ahead, prep all the ingredients individually and store them in the fridge. Assemble the board no more than 30 minutes before serving. The Brie needs to come to room temperature, and the fruit stays fresher if it’s sliced last-minute.
Cooking Tips & Techniques
I have made this board at least a dozen times, and I have definitely learned a few things the hard way. Here are my best tips to make yours perfect.
Let the Brie breathe. I cannot stress this enough. Cold Brie is rubbery and bland. Room temperature Brie is creamy, buttery, and absolutely dreamy. Set it out at least 30 minutes before serving. If you forget, place it in a warm spot near the oven for 15 minutes—but watch it carefully so it doesn’t melt.
Prevent apple browning. I once made a board two hours before guests arrived and the apples looked like sad, brown messes. Now I always toss sliced apples in a little lemon juice. You can also use a solution of water and a pinch of citric acid if you have it. The lemon flavor is barely noticeable and keeps them looking fresh for hours.
Toast your nuts. Raw nuts are fine, but toasted nuts are a game-changer. Spread walnuts or pecans on a baking sheet and toast at 350°F for 5-7 minutes, shaking halfway through. They become fragrant, warm, and incredibly flavorful. I’ve had guests eat the nuts straight off the board like candy.
Don’t overcrowd the board. It’s tempting to pile everything on, but a crowded board is hard to eat from and looks messy. Leave a little negative space around the edges so people can actually grab things. You can always refill the board as it gets eaten.
Think about texture variety. The best boards have a mix of creamy (Brie), firm (cheddar), crunchy (nuts and crackers), chewy (dried fruit), and fresh (apples and grapes). If you’re missing one of these textures, the board feels flat. I always double-check that I have at least four different textures before serving.
Use small bowls strategically. Anything wet or sticky—pomegranate seeds, honey, jam—needs a bowl. I learned this the hard way when honey leaked all over my board and made everything sticky. Small ramekins or pinch bowls are your friends.
Variations & Adaptations
This board is incredibly flexible. Here are some of my favorite ways to change it up.
Dietary adaptations: For a vegetarian version, skip the salami and add marinated artichoke hearts, roasted red peppers, or a second type of cheese like a nutty Gruyère. For a gluten-free board, use gluten-free crackers or replace crackers with cucumber rounds and bell pepper slices. For a dairy-free option, use a plant-based Brie alternative and cashew-based cheese. The fruit and nuts carry the board beautifully.
Seasonal swaps: In the fall, stick with apples, pears, pomegranate, and figs. In summer, swap in fresh berries, peaches, and nectarines. In winter, use citrus segments, dried apricots, and persimmons. In spring, try fresh strawberries, rhubarb compote, and edible flowers. The board adapts to whatever looks best at the market.
Flavor variations: For a savory twist, drizzle the Brie with balsamic glaze instead of honey and add a sprinkle of flaky sea salt and cracked black pepper. For a spicy version, use hot honey and add pepper jack cheese and spicy salami. For a sweeter board, add dark chocolate squares, honeycomb, and candied pecans.
Different cooking methods: For a warm Brie variation, place the whole wheel in a small cast iron skillet, top with honey and chopped pecans, and bake at 350°F for 10-12 minutes until soft and gooey. Serve it warm with the rest of the board arranged around the skillet. It’s absolutely decadent and perfect for colder weather.
I personally love the warm Brie version on Christmas Eve. It feels extra special and the gooey cheese is irresistible with crisp apple slices.
Serving & Storage Suggestions
This board is best served at room temperature, so let it sit out for about 20 minutes after assembling before guests dig in. The Brie will be perfectly soft, and the flavors will have melded together beautifully.
Presentation tips: Place the board in the center of your table or on a coffee table for easy grazing. I like to put out small plates and napkins so people can build their own little snacks. If you’re serving this as a pre-Thanksgiving dinner appetizer, keep it on the kitchen island so guests can graze while you finish cooking.
What to serve with it: This board pairs beautifully with a crisp Sauvignon Blanc or a dry Riesling. For non-alcoholic options, sparkling apple cider or a cranberry spritzer is perfect. If you’re serving it as part of a larger Thanksgiving spread, it works wonderfully alongside a simple arugula salad with lemon vinaigrette.
Storage instructions: If you have leftovers (which is rare in my house), store components separately. Wrap the Brie tightly in plastic wrap and refrigerate for up to 5 days. Store sliced fruit in an airtight container with a squeeze of lemon juice—they’ll last about 1-2 days. Crackers and nuts can be stored in airtight containers at room temperature. Salami and cheddar should be wrapped and refrigerated.
Reheating tips: If you made the warm Brie version, you can reheat it in the oven at 300°F for 5-7 minutes or in the microwave for 30 seconds. Just know it won’t be quite as gooey the second time. The cold version of the board doesn’t need reheating at all—just let the Brie come to room temperature again before serving.
The flavors actually develop nicely over a few hours on the board. The honey seeps into the Brie, the fruit releases a little juice, and everything starts to taste like it belongs together. That’s the magic of a good charcuterie board.
Nutritional Information & Benefits
While this board is definitely a treat, it also offers some surprising nutritional benefits thanks to the fruit and nuts.
Estimated values per serving (assuming 8 servings): Approximately 350 calories, 18g fat, 35g carbohydrates, 12g protein, 5g fiber, 15g sugar. These values will vary based on specific ingredients and portion sizes.
Health benefits: Apples and pears are excellent sources of fiber and vitamin C. Pomegranate seeds are packed with antioxidants and anti-inflammatory compounds. Walnuts provide omega-3 fatty acids, which support heart health. Brie cheese offers calcium and protein, though it is higher in saturated fat, so enjoy it in moderation.
Dietary considerations: This board is naturally vegetarian if you omit the salami. It contains gluten from the crackers, so use gluten-free crackers for a gluten-free version. It contains dairy from the cheeses, so use dairy-free alternatives if needed. The nuts are optional but add healthy fats.
I personally love that this board lets people customize their own portions. If someone wants more fruit and less cheese, they can do that. It’s flexible, which makes it work for almost any dietary preference.
Conclusion
This Easy Thanksgiving Charcuterie Board with Brie and Fall Fruit has become my secret weapon for stress-free entertaining. It takes fifteen minutes to assemble, uses ingredients from any grocery store, and somehow manages to impress everyone who sees it. My husband—the former charcuterie hater—now requests it for every holiday gathering. He even helps me build it sometimes, carefully arranging the apple slices in a fan pattern like he’s been doing it his whole life.
What I love most about this board is how forgiving it is. You don’t need perfect knife skills or expensive ingredients. You just need a few good things that taste wonderful together, arranged with a little care. That’s it. That’s the whole secret.
I would love to hear how your board turns out. Did you try the warm Brie version? Did you swap in something seasonal? Drop a comment below and let me know—I read every single one and I genuinely love hearing about your kitchen wins. And if you found this helpful, share it with a friend who needs a low-stress appetizer idea for their holiday gathering.
Now go build yourself a beautiful board. You’ve got this.
Frequently Asked Questions
Can I make this charcuterie board ahead of time?
Yes, you can prep all the ingredients up to 24 hours in advance. Wash and slice the fruit, toast the nuts, and portion out the cheeses and meats. Store everything separately in the fridge. Assemble the board no more than 30 minutes before serving to keep the fruit fresh and the Brie at room temperature.
What if I can’t find Brie cheese?
Camembert is the closest substitute and works beautifully. You can also use a soft goat cheese log or a triple-cream cheese like Brillat-Savarin. The key is to use a soft, spreadable cheese that pairs well with sweet fruit and honey.
How do I keep the apple slices from turning brown?
Toss the sliced apples in a bowl with a squeeze of fresh lemon juice—about one tablespoon per apple. The citric acid in the lemon juice prevents oxidation without adding a strong lemon flavor. You can also use a commercial fruit preservative like Fruit-Fresh if you prefer.
Can I serve this board as a main course?
Absolutely. For a light lunch or dinner, this board works beautifully as a main dish. Simply double the portions of cheese, meat, and crackers, and add some crusty bread or a simple green salad to round it out. It’s perfect for a casual weeknight meal.
What wine pairs best with this board?
A crisp, dry white wine like Sauvignon Blanc or Pinot Grigio pairs wonderfully with the creamy Brie and fresh fruit. For red wine lovers, a light-bodied Pinot Noir or a Beaujolais works well. Sparkling wine or Champagne is always a fantastic choice for holiday entertaining.
Pin This Recipe!
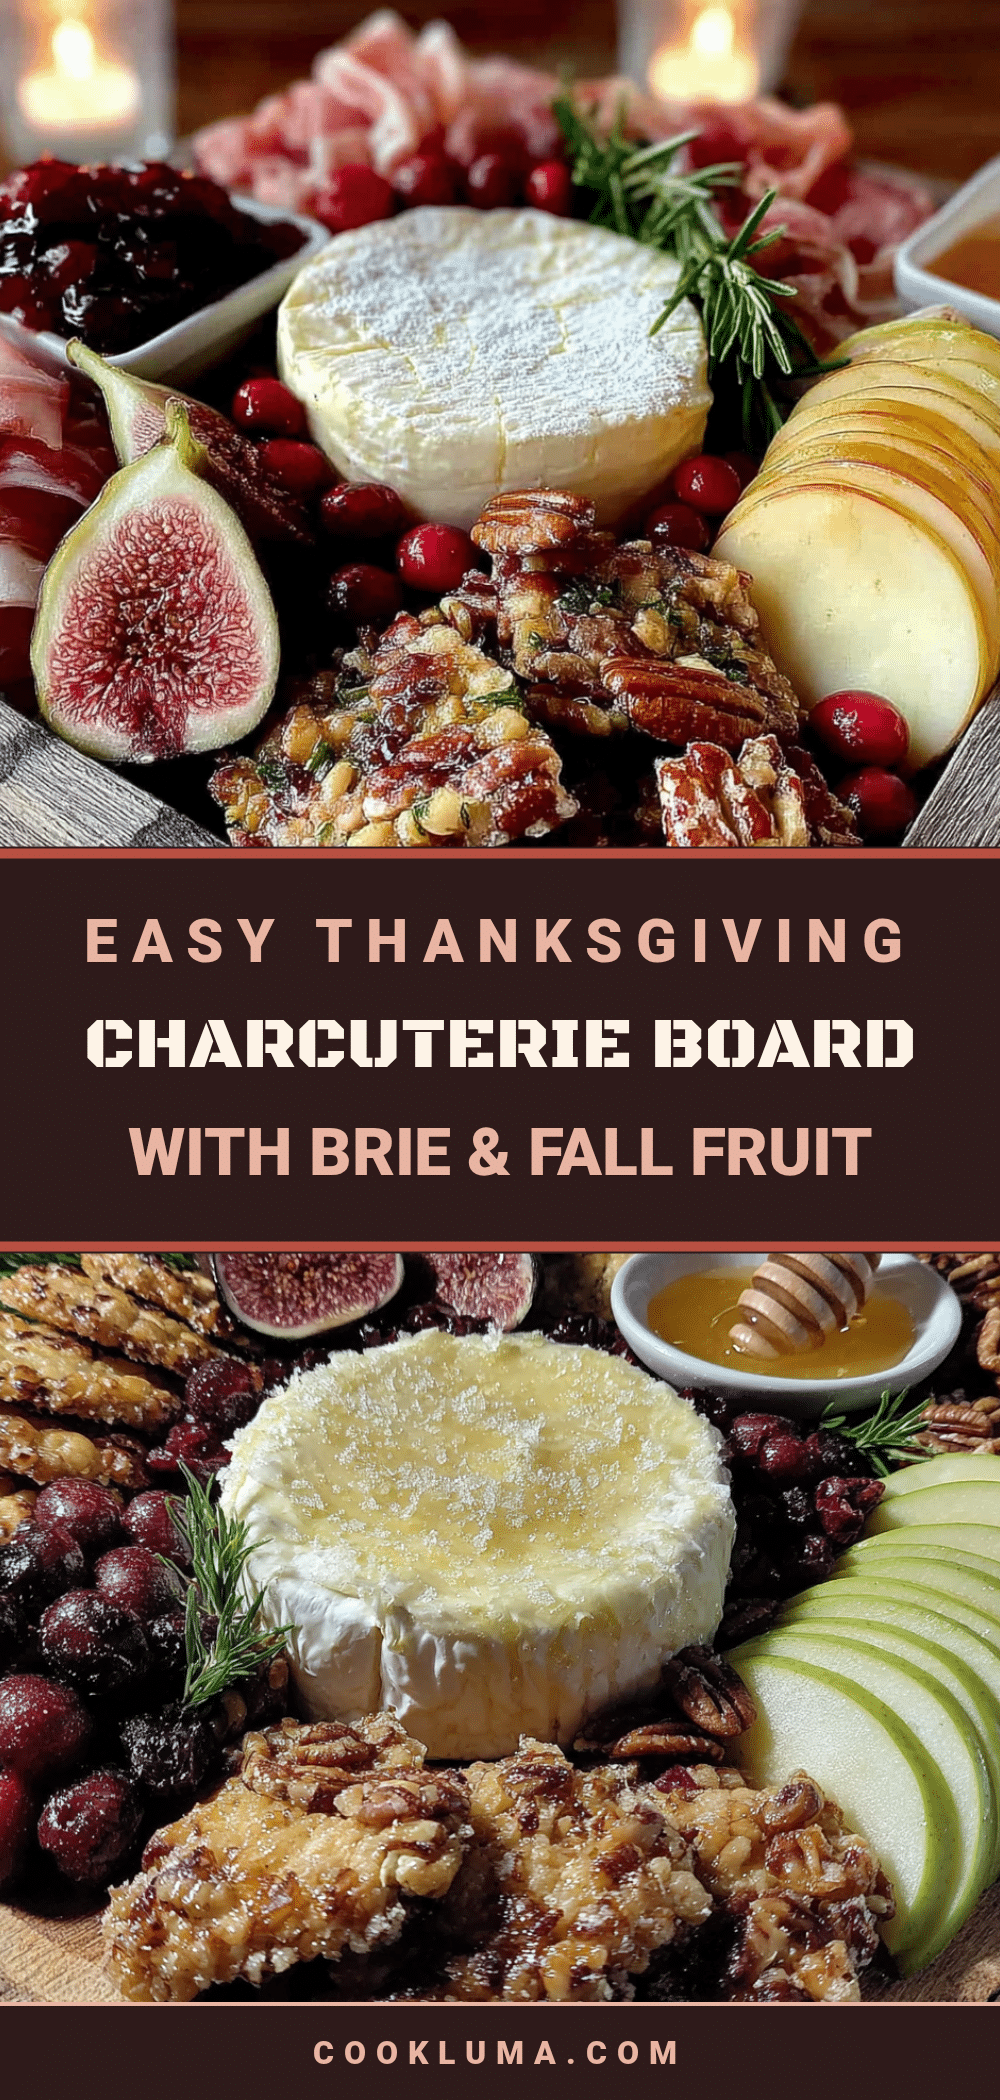
Easy Thanksgiving Charcuterie Board with Brie and Fall Fruit

A stunning, low-stress appetizer board featuring creamy Brie, seasonal fall fruit, and simple pantry staples. Perfect for Thanksgiving entertaining, it comes together in under 15 minutes and keeps guests happy while you finish cooking.
- Prep Time: 15 minutes
- Cook Time: 0 minutes
- Total Time: 15 minutes
- Yield: 8 servings 1x
- Category: Appetizer
- Cuisine: American
Ingredients
- 1 wheel of Brie cheese (8 ounces)
- 2 medium Honeycrisp apples
- 2 ripe Bartlett pears
- 1/2 cup pomegranate seeds
- 1 cup seedless red grapes
- 1/2 cup dried figs or dates
- 4 ounces sharp white cheddar
- 4 ounces salami or soppressata
- 1 cup assorted crackers
- 1/2 cup toasted walnuts or pecans
- 1/4 cup honey
- Fresh rosemary or thyme sprigs for garnish
- Optional: fig jam or apple butter, dark chocolate squares
Instructions
- Prep your Brie (5 minutes before serving): Remove Brie from refrigerator at least 30 minutes before serving. Unwrap and place on board. Optionally score the top in a crosshatch pattern.
- Wash and slice the fruit (5 minutes): Rinse apples, pears, and grapes; pat dry. Core and slice apples and pears thinly (about 1/4 inch). Toss apple slices with lemon juice to prevent browning. Cut grapes into small clusters. If using fresh pomegranate, remove seeds.
- Slice the cheddar and salami (3 minutes): Cut cheddar into thin triangles or small cubes. Fold pre-sliced salami into ribbons, or slice whole salami into thin rounds and quarter them.
- Arrange the cheese (2 minutes): Place Brie wheel slightly off-center on board. Arrange cheddar slices in a neat pile or fan shape opposite the Brie.
- Add the fruit (3 minutes): Place pomegranate seeds in a small bowl near the Brie. Fan out apple and pear slices along one side. Scatter grape clusters in gaps. Arrange dried figs or dates near the cheddar.
- Add the meats and nuts (2 minutes): Pile salami ribbons in an easy-to-reach spot. Sprinkle toasted walnuts or pecans in small clusters around the board, filling gaps.
- Fill in with crackers (2 minutes): Arrange crackers in small stacks or fan patterns around the edges of the board, ensuring they are near both cheeses.
- Drizzle and garnish (1 minute): Drizzle honey generously over the Brie, letting some pool around the base. Tuck fresh rosemary or thyme sprigs into gaps for color. Serve immediately.
Notes
Let Brie come to room temperature for at least 30 minutes before serving for best texture. Toss apple slices with lemon juice to prevent browning. Toast nuts for enhanced flavor. Assemble board no more than 30 minutes before serving. For warm Brie, bake at 350°F for 10-12 minutes.
Nutrition
- Serving Size: 1 serving (approxima
- Calories: 350
- Sugar: 15
- Sodium: 450
- Fat: 18
- Saturated Fat: 8
- Carbohydrates: 35
- Fiber: 5
- Protein: 12
Keywords: Thanksgiving charcuterie board, easy appetizer, Brie cheese, fall fruit, holiday entertaining, grazing board


