I’m not supposed to play favorites with recipes, but let’s be real—we all have that one dessert we’d pick over everything else. For me, it’s always been chocolate chip cookies. But here’s the thing I never admitted: I’ve had a complicated relationship with them for years.
See, I used to think chocolate chip cookies were a production. You know the drill—mixing up a huge batch, scooping what feels like fifty cookies, and then staring at the mountain of leftovers wondering who’s going to eat them all. I mean, I’d eat them all, obviously. But that’s the problem, isn’t it?
Last Tuesday changed everything. I was home alone, it was pouring rain, and I had this unbearable craving for something warm and sweet. The kind of craving that makes you open every cabinet twice hoping cookies will magically appear. I had all the ingredients, but I didn’t want to make thirty cookies. I just wanted six. Perfect, warm, gooey six.
So I did something I’d never done before. I scaled down my favorite recipe to make exactly six cookies. And honestly? It felt like I’d discovered a secret. No massive bowl to wash. No dough sitting in the fridge for days. Just butter, sugar, chocolate, and twenty minutes of pure cozy satisfaction.
That night, curled up on the couch with a plate of warm cookies and a cup of tea, I realized something. Sometimes the best recipes aren’t the ones that feed a crowd. They’re the ones that feed you, right when you need it most.
Why You’ll Love This Recipe
These small-batch chocolate chip cookies are everything you want from a cookie without the commitment of a full batch. They’re proof that you don’t need a dozen eggs and a pound of butter to get that perfect cookie experience.
- Quick & Easy : From start to warm cookie in your hand, we’re talking about 25 minutes. No chilling required, no complicated techniques. Just mix, scoop, bake, and enjoy.
- Simple Ingredients : You probably have everything in your kitchen right now. Butter, sugar, an egg (you’ll use just the yolk), flour, and chocolate chips. That’s it.
- Perfect for Cozy Nights : This is the cookie for rainy evenings, solo movie nights, or when you just need something warm and comforting without going overboard.
- No Leftover Temptation : Six cookies. That’s exactly enough for one person to feel satisfied, or two people to share without fighting over the last one.
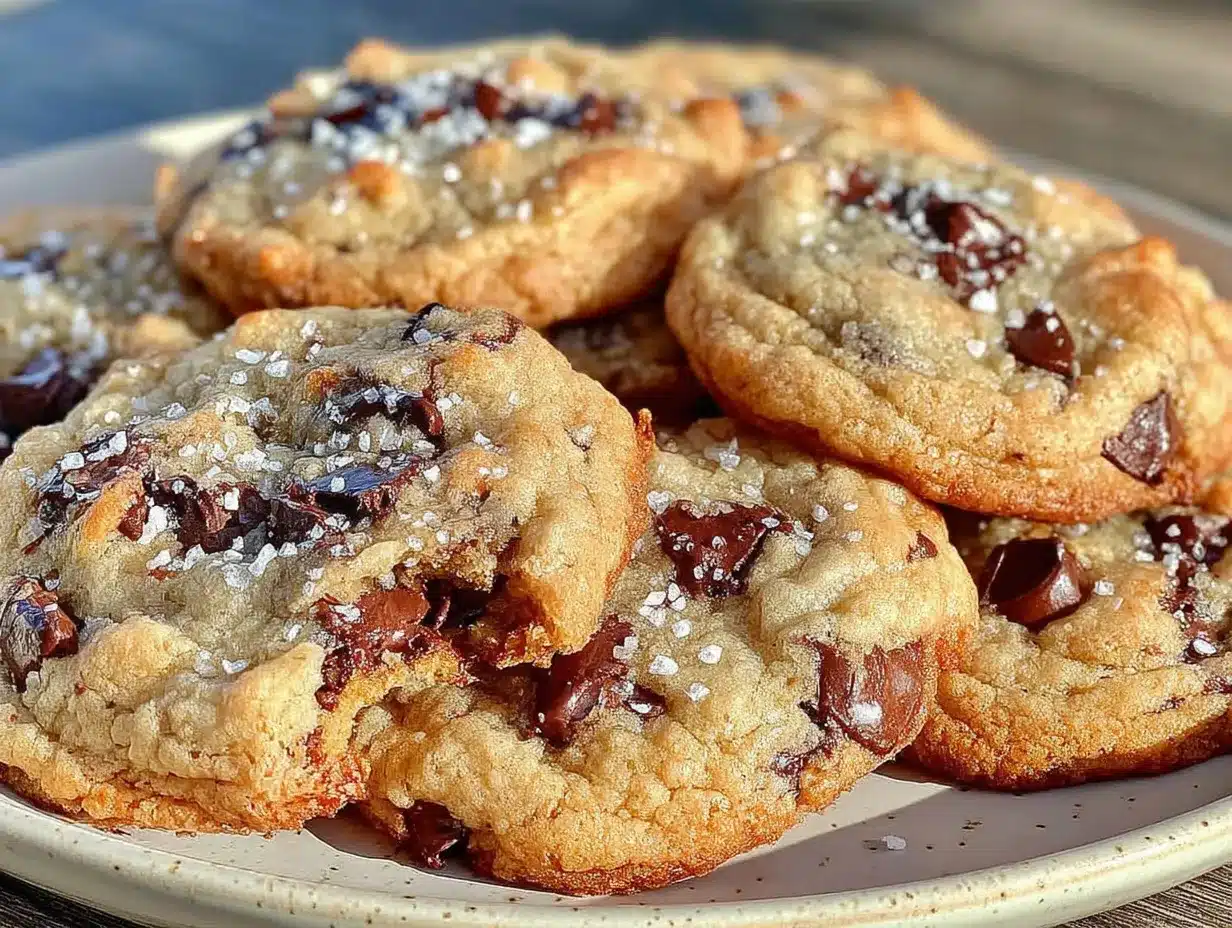
- Unbelievably Delicious : These aren’t just “good for a small batch.” They’re genuinely perfect cookies—crispy edges, soft centers, melty chocolate in every bite.
What makes these different from every other cookie recipe? It’s the ratio. By using just an egg yolk instead of a whole egg, you get that chewy texture that big batches struggle to achieve. And the butter-to-sugar balance is dialed in perfectly for six cookies. I tested this recipe four times in one week to get it right. My neighbors thought I’d lost my mind. Worth it.
This is the kind of cookie that makes you close your eyes after the first bite. It’s comfort in its purest form—warm, familiar, and exactly what you need right now.
What Ingredients You Will Need
This recipe uses simple, pantry-friendly ingredients to create cookies that taste anything but basic. Every ingredient has a job, and together they create that perfect cookie texture we’re all chasing.
- Unsalted butter (3 tablespoons, softened to room temperature) — I use Kerrygold for its richness, but any good unsalted butter works. The butter needs to be soft enough to cream with sugar, so take it out 20 minutes before starting.
- Granulated sugar (3 tablespoons) — This gives the cookies their structure and helps create those crispy edges. Regular white sugar is perfect here.
- Light brown sugar (2 tablespoons, packed) — This is where the magic happens. Brown sugar adds moisture and that deep, caramel-like flavor that makes cookies taste homemade. Make sure it’s packed firmly into the measuring spoon.
- Egg yolk (1 large yolk, room temperature) — Using just the yolk instead of the whole egg gives you a richer, chewier cookie. Save the white for scrambled eggs tomorrow.
- Vanilla extract (½ teaspoon, pure) — Please use pure vanilla extract, not imitation. It makes a real difference in a small batch where every flavor counts. I like Nielsen-Massey.
- All-purpose flour (½ cup plus 1 tablespoon, about 75g) — Spoon and level your flour for the best results. Scooping directly from the bag packs in too much flour and gives you dry cookies.
- Baking soda (¼ teaspoon) — Just enough to give the cookies a slight lift without making them cakey. We want chewy, not fluffy.
- Salt (¼ teaspoon fine sea salt, plus flaky salt for finishing) — Salt isn’t optional here. It balances the sweetness and makes the chocolate taste more chocolatey. Trust me on this.
- Semi-sweet chocolate chips (⅓ cup, about 60g) — I prefer Ghirardelli or Guittard for their melt quality. You can also chop up a good chocolate bar for those beautiful pools of chocolate.
That’s literally everything. No weird ingredients, no specialty store trips. Just honest, good baking ingredients that come together into something special.
Equipment Needed
You don’t need fancy equipment for these cookies. Here’s what you’ll actually use:
- Medium mixing bowl — Any bowl works, but a medium one gives you enough room to mix without flour flying everywhere.
- Small bowl — For whisking your dry ingredients together. Separating wet and dry ingredients makes for better mixing.
- Hand mixer or whisk — A hand mixer makes creaming butter and sugar effortless, but a strong arm and a whisk work fine too. I’ve done both.
- Rubber spatula — For scraping down the bowl and folding in chocolate chips. A wooden spoon works in a pinch.
- Baking sheet — A half-sheet pan is ideal. No need to line it with parchment if you don’t have it, but parchment makes cleanup easier.
- Cookie scoop or tablespoon — A 1.5-tablespoon cookie scoop gives you perfectly uniform cookies. Otherwise, just use a regular tablespoon and your hands.
- Cooling rack — Optional but helpful. You can also just slide cookies onto a plate.
That’s it. If you’ve got a bowl and a spoon, you’re basically ready to go.
Preparation Method
- Preheat your oven to 350°F (175°C). Position the rack in the middle of the oven. While it’s heating, line your baking sheet with parchment paper if you have it. No parchment? No problem—just use an ungreased sheet.
- Cream the butter and sugars together. In your medium bowl, combine the softened butter, granulated sugar, and brown sugar. Beat with your hand mixer on medium speed for about 2-3 minutes, until the mixture looks light and fluffy. Scrape down the sides of the bowl with your spatula halfway through. You’re looking for a texture that’s almost paste-like, with the sugar mostly dissolved into the butter.
- Add the egg yolk and vanilla. Drop in your room-temperature egg yolk and the vanilla extract. Mix on low speed just until combined—about 15 seconds. Don’t overmix here, or your cookies will be tough. The mixture might look a little curdled at this point, and that’s totally fine.
- Whisk the dry ingredients separately. In your small bowl, whisk together the flour, baking soda, and salt. This ensures the baking soda is evenly distributed so you don’t end up with one cookie that tastes metallic.
- Combine wet and dry ingredients. Add the flour mixture to the butter mixture. Mix on low speed or fold with your spatula until just combined. You’ll see a few streaks of flour remaining—that’s your cue to stop mixing. Overmixing develops gluten and makes cookies tough.
- Fold in the chocolate chips. Use your rubber spatula to gently fold the chocolate chips into the dough. Don’t overwork it. Just fold until the chips are evenly distributed. The dough will be soft and slightly sticky—that’s exactly what you want.
- Scoop and shape the cookies. Using your cookie scoop or a tablespoon, scoop six equal portions of dough onto your prepared baking sheet. Space them about 2 inches apart—they’ll spread but not too much. Gently press each dough ball down slightly with your palm to flatten it just a bit. This helps them bake evenly.
- Bake for 9-11 minutes. Here’s the important part: bake until the edges are golden brown but the centers still look slightly underdone and puffy. At 9 minutes, check them. The tops should look set but soft. If you see the centers are still glossy and wet-looking, give them another minute.
- Add flaky salt immediately. As soon as the cookies come out of the oven, sprinkle a tiny pinch of flaky sea salt on top of each one. This step is optional but transforms these cookies into something next-level.
- Cool on the baking sheet for 5 minutes. This is crucial. The cookies continue to bake from the heat of the pan, setting their centers perfectly. If you move them too soon, they’ll fall apart.
- Transfer to a cooling rack. After 5 minutes, use a spatula to move the cookies to a cooling rack or plate. Let them cool for another 2-3 minutes if you can resist. But honestly? I eat mine warm with a glass of cold milk.
Cooking Tips & Techniques
I’ve made more batches of cookies than I can count, and I’ve learned some things the hard way. Let me save you the trouble.
Room temperature ingredients matter. I know, I know—every recipe says this. But here’s why: cold butter doesn’t cream properly with sugar, and cold egg yolk can seize the butter mixture. Take your butter and egg out 20 minutes before starting. Set a timer if you’re forgetful like me.
Don’t skip the rest on the pan. The first time I made these, I was so excited I tried to move them after two minutes. Total disaster. That 5-minute rest on the hot baking sheet is what gives you those perfectly set centers. Trust the process.
Use a kitchen scale if you have one. Flour is tricky to measure by volume. One cup of flour can weigh anywhere from 120g to 150g depending on how you scoop it. For this recipe, 75g of flour (which is about half a cup plus a tablespoon) is perfect. If you’re measuring by cups, spoon the flour into your measuring cup and level it off with a knife.
Check your baking soda freshness. Baking soda loses its potency over time. If your baking soda has been sitting in the back of your cabinet for two years, it’s not going to work well. Drop a pinch into some vinegar—if it fizzes vigorously, you’re good.
One batch I messed up by using cold butter straight from the fridge. The cookies spread into flat, greasy discs that looked more like lace than cookies. They still tasted good (fried butter usually does), but they weren’t the cookies I wanted. Lesson learned.
Variations & Adaptations
This recipe is forgiving and flexible. Here are some ways to make it your own:
Double Chocolate Version: Replace 1 tablespoon of flour with 1 tablespoon of unsweetened cocoa powder. Use dark chocolate chips instead of semi-sweet. You’ll get a rich, fudgy chocolate cookie that’s dangerously good.
Gluten-Free Option: Swap the all-purpose flour for a 1:1 gluten-free baking flour blend. I’ve tested this with King Arthur Measure for Measure, and it works beautifully. The texture is slightly more delicate, but the flavor is spot on.
Vegan Adaptation: Use vegan butter (I like Miyoko’s) and replace the egg yolk with 1 tablespoon of aquafaba (the liquid from a can of chickpeas) mixed with 1 teaspoon of cornstarch. The cookies will be slightly less chewy but still delicious.
Add-In Variations: Swap half the chocolate chips for chopped walnuts or pecans. Add 2 tablespoons of shredded coconut for a tropical twist. Or fold in 1 tablespoon of peanut butter along with the egg yolk for peanut butter chocolate chip cookies.
Flavor Twists: Add ¼ teaspoon of cinnamon or espresso powder along with the dry ingredients. The espresso doesn’t make the cookies taste like coffee—it just makes the chocolate taste more chocolatey. Trust me on this one.
My Personal Favorite Variation: I sometimes press a few extra chocolate chips onto the tops of the dough balls before baking. It makes the cookies look bakery-style and ensures every bite has visible chocolate. It’s a small thing, but it makes me happy.
Serving & Storage Suggestions
These cookies are best served warm, about 10 minutes after they come out of the oven. The edges are crisp, the centers are soft, and the chocolate is still melty. Pair them with a cold glass of milk, a hot cup of coffee, or a mug of tea for the ultimate cozy experience.
For a next-level presentation, serve them on a small plate with a scoop of vanilla ice cream. Drizzle with a little caramel sauce if you’re feeling fancy. Or just eat them straight from the cooling rack like a normal person.
Storage: Store leftover cookies in an airtight container at room temperature for up to 3 days. But honestly, leftovers? With only six cookies? I doubt you’ll have any.
Reheating: To bring back that fresh-from-the-oven warmth, microwave a cookie for 10-15 seconds. Or pop them in a 300°F oven for 3-4 minutes if you want the edges to crisp up again.
Freezing: You can freeze the unbaked dough balls on a baking sheet until solid, then transfer them to a freezer bag. Bake directly from frozen, adding 1-2 minutes to the baking time. This way, you can have fresh cookies whenever the craving hits—and you know it will.
One thing I love about this recipe is that the flavors actually get better after a day. The brown sugar and vanilla deepen overnight, giving you a more complex cookie on day two. If you can resist eating them all immediately, that is.
Nutritional Information & Benefits
Let’s be honest—cookies aren’t health food. But knowing what’s in them helps you enjoy them mindfully. Here’s the approximate breakdown per cookie:
| Nutrient | Amount per Cookie |
|---|---|
| Calories | 195 |
| Total Fat | 11g |
| Saturated Fat | 7g |
| Carbohydrates | 24g |
| Sugar | 14g |
| Protein | 2g |
| Sodium | 135mg |
These cookies use butter, which provides vitamin A and healthy fats. The dark chocolate chips offer antioxidants and a small amount of iron. And because this recipe makes just six cookies, portion control is built right in. You’re not staring down a container of thirty cookies wondering how many is too many.
For dietary considerations: This recipe contains gluten, dairy, and eggs. For allergen-friendly versions, check the variations section above.
My personal take? Life is too short to skip cookies. But having a small-batch recipe means I can enjoy them without feeling like I need to share with the whole neighborhood. Sometimes self-care looks like six perfect cookies and zero guilt.
Conclusion
These small-batch chocolate chip cookies have become my go-to for those moments when only something warm and sweet will do. They’re proof that you don’t need a complicated recipe or a full pantry to create something genuinely satisfying. Just butter, sugar, chocolate, and twenty minutes of your time.
What I love most about this recipe is how personal it feels. It’s not about feeding a crowd or impressing anyone. It’s about giving yourself permission to enjoy something simple and good, exactly when you need it. Whether it’s a rainy Tuesday, a quiet Sunday afternoon, or a late-night craving that won’t quit, these cookies are here for you.
I’d love to hear how these turn out for you. Did you add any fun mix-ins? Did you manage to save any for day two? Drop a comment below and let me know. And if you’re looking for more cozy baking inspiration, don’t forget to check out our no-knead crusty bread for another simple, soul-warming treat.
Happy baking, friends. May your cookies always be warm and your chocolate always melty.
Frequently Asked Questions
Can I double this recipe to make 12 cookies?
Absolutely. Just double every ingredient exactly. Use a whole egg instead of two yolks for the doubled version—it gives better texture at a larger scale. Bake time stays about the same.
Why did my cookies spread too much?
Most likely your butter was too soft or your dough was too warm. Make sure your butter is softened but not melted. If your kitchen is hot, pop the dough balls in the fridge for 15 minutes before baking.
Can I use margarine instead of butter?
You can, but the cookies won’t be as flavorful or have the same texture. Butter gives you that rich taste and crispy edge that margarine can’t replicate. If you must substitute, use a high-quality stick margarine, not the spreadable kind in a tub.
How do I know when the cookies are done baking?
Look for golden brown edges with centers that still look slightly underdone and puffy. The centers will continue to set as they cool on the pan. If the centers look completely set in the oven, you’ve overbaked them.
Can I make the dough ahead of time?
Yes! You can refrigerate the dough for up to 48 hours. Just cover the bowl tightly. Let the dough sit at room temperature for 10 minutes before scooping and baking. The flavor actually improves with a little rest in the fridge.
Pin This Recipe!
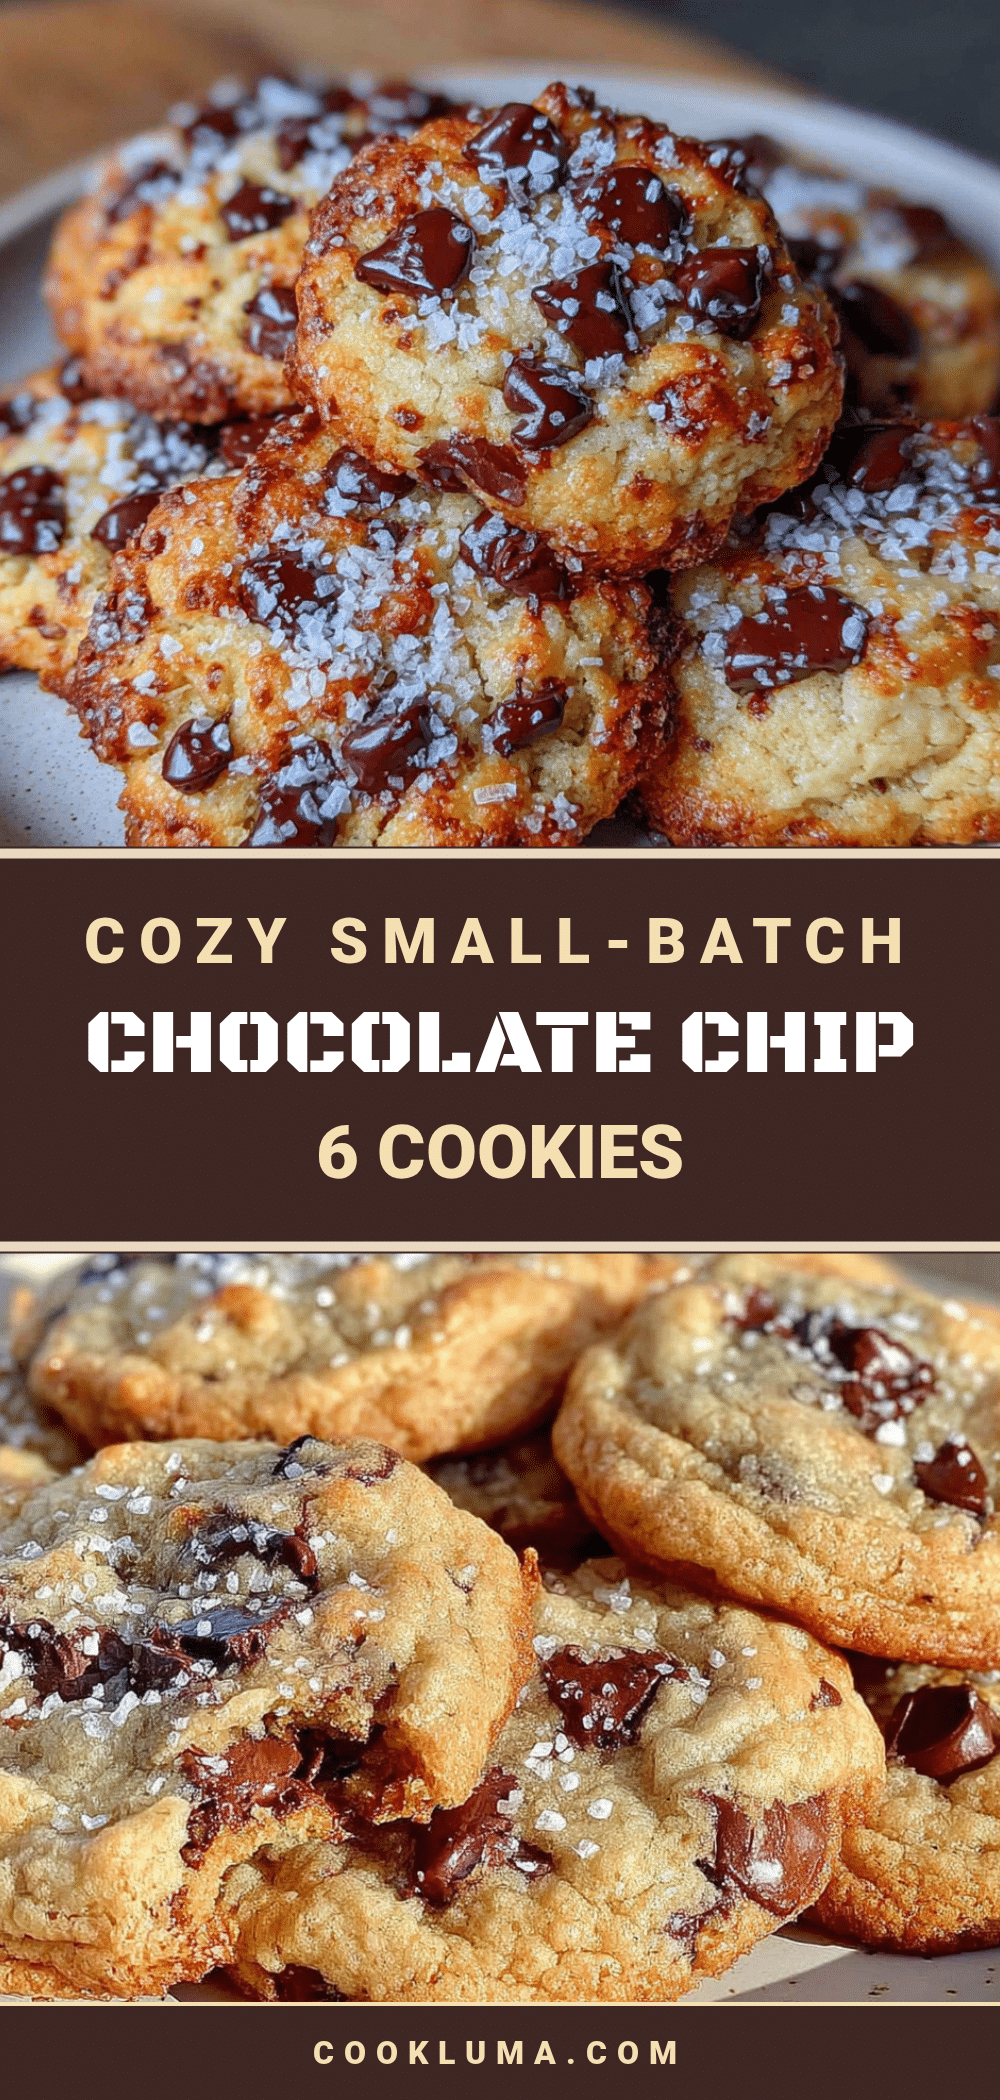
Cozy Small-Batch Chocolate Chip Cookies (Easy 6-Cookie Recipe)

These small-batch chocolate chip cookies are everything you want from a cookie without the commitment of a full batch. They’re proof that you don’t need a dozen eggs and a pound of butter to get that perfect cookie experience.
- Prep Time: 10 minutes
- Cook Time: 10 minutes
- Total Time: 25 minutes
- Yield: 6 cookies 1x
- Category: Dessert
- Cuisine: American
Ingredients
- 3 tablespoons unsalted butter, softened to room temperature
- 3 tablespoons granulated sugar
- 2 tablespoons light brown sugar, packed
- 1 large egg yolk, room temperature
- 1/2 teaspoon pure vanilla extract
- 1/2 cup plus 1 tablespoon all-purpose flour (about 75g)
- 1/4 teaspoon baking soda
- 1/4 teaspoon fine sea salt, plus flaky salt for finishing
- 1/3 cup semi-sweet chocolate chips (about 60g)
Instructions
- Preheat your oven to 350°F (175°C). Position the rack in the middle of the oven. Line your baking sheet with parchment paper if desired.
- In a medium bowl, combine the softened butter, granulated sugar, and brown sugar. Beat with a hand mixer on medium speed for about 2-3 minutes until light and fluffy. Scrape down the sides of the bowl halfway through.
- Add the room-temperature egg yolk and vanilla extract. Mix on low speed just until combined, about 15 seconds.
- In a small bowl, whisk together the flour, baking soda, and salt.
- Add the flour mixture to the butter mixture. Mix on low speed or fold with a spatula until just combined. A few streaks of flour should remain.
- Gently fold in the chocolate chips with a rubber spatula until evenly distributed.
- Scoop six equal portions of dough onto the prepared baking sheet, spacing them about 2 inches apart. Gently press each dough ball down slightly with your palm.
- Bake for 9-11 minutes, until the edges are golden brown but the centers still look slightly underdone and puffy.
- Immediately sprinkle a tiny pinch of flaky sea salt on top of each cookie.
- Cool on the baking sheet for 5 minutes, then transfer to a cooling rack or plate. Let cool for another 2-3 minutes before serving.
Notes
Room temperature ingredients matter. Don’t skip the 5-minute rest on the pan. Use a kitchen scale for best results. Check baking soda freshness. For gluten-free, use a 1:1 gluten-free flour blend. For vegan, use vegan butter and replace egg yolk with 1 tablespoon aquafaba mixed with 1 teaspoon cornstarch.
Nutrition
- Serving Size: 1 cookie
- Calories: 195
- Sugar: 14
- Sodium: 135
- Fat: 11
- Saturated Fat: 7
- Carbohydrates: 24
- Fiber: 1
- Protein: 2
Keywords: small-batch chocolate chip cookies, easy cookie recipe, 6 cookies, chewy cookies, no chill cookies


