My neighbor Gina wasn’t trying to impress anyone. I’d stopped by to borrow a ladder—mine had mysteriously vanished after a garage sale—and the smell hit me before I even got through her screen door. It was sharp and sweet, like sunshine had been distilled into something you could almost taste in the air. She was standing at her counter, zesting lemons with a casual flick of her wrist, like she was just making a cup of tea. “Grab a glass,” she said, not even looking up. “You’re gonna want to try this.”
Honestly, I thought she was making lemonade at first. But then she pulled out a giant jar of something glowing and golden from under her sink—not even the fridge, mind you—and poured me a tiny sip. That first taste was a punch of bright, sweet lemon that somehow wasn’t sour or bitter. It was smooth, almost velvety, and it warmed my chest going down. I stood there in her kitchen, holding this little glass of liquid gold, and she shrugged and said, “Oh, it’s just my homemade limoncello. My grandma’s recipe.”
You know that feeling when someone casually reveals they can do something extraordinary, like it’s nothing? That was the moment. I begged her for the recipe, and she scribbled it on the back of an old grocery list. I’ve been making it ever since, and let me tell you—this guest-favorite homemade limoncello recipe has become my secret weapon for dinner parties. It’s the one thing that makes people lean in and ask, “Wait, you made this?” And the best part? It’s deceptively simple. You just need patience, good lemons, and a little bit of faith. Let me show you how it’s done.
Why You’ll Love This Recipe
I’ve tested this recipe more times than I can count, tweaking the sugar ratio and the steeping time until it was absolutely perfect. What I love most is that it’s practically foolproof. You don’t need to be a mixologist or a professional chef to nail it. Here’s why this one stands out:
- Simple Ingredients: You only need four things—lemons, alcohol, sugar, and water. That’s it. No fancy syrups or obscure liqueurs.
- Perfect for Hosting: This is the ultimate dinner party trick. Serve it chilled after a meal, and your guests will think you spent hours in the kitchen. Little do they know, the alcohol does all the work.
- Make-Ahead Magic: It needs to steep for at least a week, which means you can prep it well before your guests arrive. No last-minute scrambling.
- Crowd-Pleaser: I’ve yet to meet someone who doesn’t love a good limoncello. It’s sweet, tangy, and dangerously easy to drink.
- Customizable: You can adjust the sweetness, the proof, or even swap in other citrus fruits for a fun twist.
What makes this recipe different from the dozens you’ll find online is the technique. Most recipes rush the steeping process or use too much sugar to mask the bitterness. I’ve found the sweet spot—literally—by using a specific alcohol-to-sugar ratio and a steeping time that extracts the lemon oil without pulling out the harsh pith flavors. It’s the kind of recipe that makes you close your eyes after the first sip and think, Yeah, I made this.
What Ingredients You Will Need
This recipe relies on a handful of simple, high-quality ingredients. The magic happens when you let them sit together and do their thing. Here’s what you’ll need:
For the Limoncello Base
- 10 large organic lemons: Organic is non-negotiable here. You’re using the zest, so you want lemons that haven’t been treated with wax or pesticides. Look for firm, bright yellow lemons with smooth skin. The thinner the skin, the more oil you’ll extract.
- 1 liter of high-proof vodka (80 to 100 proof): I prefer a neutral vodka like Smirnoff or Tito’s for a clean flavor. You can also use Everclear (151 proof) for a stronger kick, but you’ll need to adjust the steeping time. Stick with vodka for a classic result.
- 3 cups (600g) granulated sugar: Regular white sugar works best. Don’t substitute with honey or maple syrup—it changes the flavor and clarity.
- 4 cups (960ml) filtered water: Tap water can introduce off-flavors, so use filtered or bottled water for the syrup.
Ingredient Selection Tips
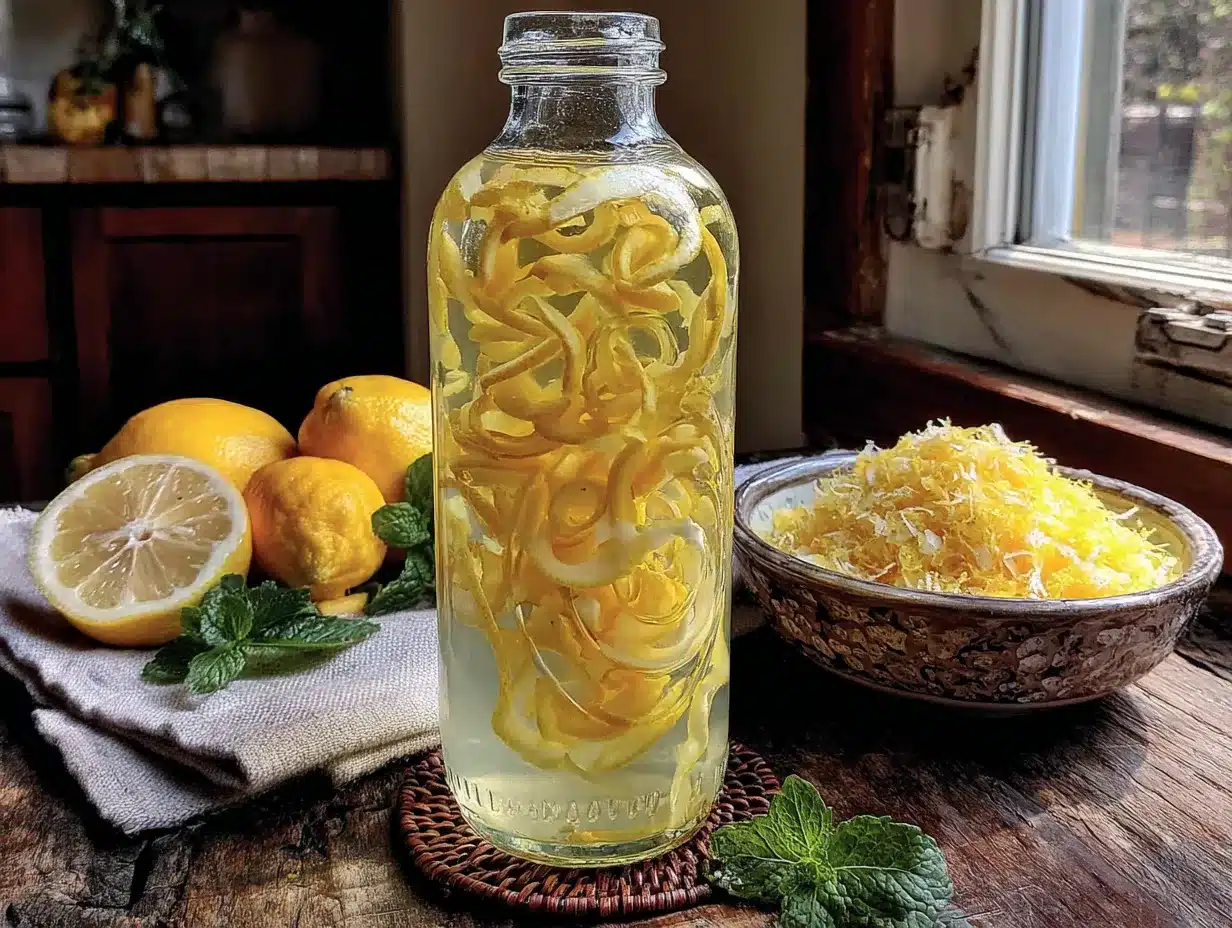
When I’m at the store, I always give the lemons a gentle squeeze. They should feel heavy for their size—that means they’re juicy. I also give them a quick sniff; if they smell intensely lemony, they’re perfect. For the vodka, don’t go for the cheapest bottle on the shelf, but you don’t need top-shelf either. A mid-range vodka works beautifully because the lemon flavor does the heavy lifting.
If you’re feeling adventurous, you can swap out half the vodka for grain alcohol to boost the proof, but I’ve found that straight vodka gives the smoothest finish. And if you’re hosting a crowd that prefers a less sweet digestif, you can reduce the sugar to 2 cups (400g) for a more tart, traditional Italian-style limoncello.
Equipment Needed
- Vegetable peeler or sharp paring knife: For removing the lemon zest without the bitter white pith. I prefer a Y-peeler—it’s fast and gives you thin strips.
- Large glass jar (2-quart capacity): A mason jar or a glass pitcher with a tight-fitting lid works perfectly. Avoid plastic, as it can absorb flavors.
- Fine-mesh strainer or cheesecloth: For filtering out the zest after steeping. Cheesecloth gives you a clearer result, but a fine-mesh strainer works in a pinch.
- Medium saucepan: For making the simple syrup.
- Glass bottles for storage: Swing-top bottles or decorative decanters are ideal. I’ve picked up a few from IKEA that look fancy but cost next to nothing.
- Measuring cups and spoons: Precision matters here, especially with the sugar.
One tip I learned the hard way: don’t use a metal bowl or container for steeping. The alcohol can react with certain metals and leave a weird taste. Stick with glass all the way.
Preparation Method
This is where the patience pays off. The process is simple, but it requires time. Plan ahead, and you’ll be rewarded with a limoncello that tastes like a million bucks.
- Zest the lemons (15 minutes): Wash and dry your lemons thoroughly. Using a vegetable peeler, remove the yellow zest in wide strips. Be careful to avoid the white pith—it’s bitter and will ruin the flavor. You want just the bright yellow part. If you get some pith, trim it off with a knife. Place the zest strips into your large glass jar.
- Combine with alcohol (5 minutes): Pour the entire liter of vodka over the lemon zest. Make sure all the zest is submerged. Seal the jar tightly and give it a gentle shake. Store it in a cool, dark place—like a pantry or a cupboard—for at least 7 days. I’ve let mine go for 14 days, and the flavor deepens beautifully. Shake the jar gently every couple of days to agitate the zest.
- Make the simple syrup (10 minutes): After the steeping period, it’s time to make the syrup. In a medium saucepan, combine the sugar and filtered water. Heat over medium heat, stirring occasionally, until the sugar is completely dissolved. Don’t let it boil—you just want it hot enough to dissolve. Remove from heat and let it cool to room temperature.
- Strain the alcohol (10 minutes): Place your fine-mesh strainer or cheesecloth over a large bowl or another clean jar. Pour the alcohol-zest mixture through the strainer, discarding the zest. You should have a clear, intensely yellow liquid. If it looks cloudy, strain it again through fresh cheesecloth.
- Combine and bottle (10 minutes): Pour the strained alcohol into a large pitcher or bowl. Slowly add the cooled simple syrup, stirring gently to combine. At this point, taste it. If you want it sweeter, make a little more syrup and add it in. If it’s too sweet, add a splash more vodka. Once you’re happy, pour the limoncello into your glass bottles using a funnel.
- Chill and wait (24 hours minimum): Seal the bottles and place them in the refrigerator. The limoncello needs at least 24 hours to chill and marry the flavors. It will keep in the fridge for up to 6 months—though I doubt it’ll last that long.
Sensory Cue: When you first combine the alcohol and zest, it will smell sharp and boozy. After a week, that sharpness mellows, and the lemon scent becomes rich and almost floral. When you add the syrup, the liquid turns from clear to a milky, opaque yellow—that’s the essential oils emulsifying. It should look like liquid sunshine.
Cooking Tips & Techniques
I’ve made a few batches that didn’t turn out quite right, and I’ve learned from every mistake. Here’s what I wish someone had told me:
- Don’t rush the steeping. I once tried to speed things up by using a warm water bath, thinking it would extract the flavor faster. It didn’t—it just made the alcohol evaporate and the zest turn bitter. Patience is your friend here.
- Watch the pith. The number one mistake is leaving too much white pith on the zest. It makes the limoncello taste like a lemon peel you accidentally chewed on. Take your time with the peeler.
- Temperature matters. When you add the simple syrup, make sure it’s completely cool. If it’s warm, it can cause the alcohol to evaporate and the limoncello to turn cloudy. Cloudy isn’t the end of the world—it still tastes fine—but it looks less impressive in a fancy bottle.
- Scale for a crowd. If you’re hosting a big party, you can easily double or triple this recipe. Just make sure you have a large enough jar for steeping. I’ve used a half-gallon mason jar for double batches, and it works perfectly.
- Serve it ice-cold. Limoncello is meant to be served chilled. I keep my bottles in the freezer for an hour before guests arrive—it gets slightly syrupy and incredibly smooth.
Variations & Adaptations
This recipe is a fantastic base, but don’t be afraid to play around. Here are some variations I’ve tried and loved:
- Citrus Medley: Swap half the lemons for oranges or limes. Orangecello is a thing, and it’s absolutely divine. I made a batch with blood oranges last winter, and the color was stunning—deep ruby red.
- Herb-Infused Limoncello: Add a few sprigs of fresh rosemary or thyme to the jar during the steeping process. It adds an unexpected savory note that pairs beautifully with the lemon. I’ve served this at summer barbecues, and it’s always a conversation starter.
- Spiced Version: Toss in a cinnamon stick or a few cloves with the zest. It gives the limoncello a warm, holiday feel. Perfect for Christmas parties.
- Lower-Sugar Option: For a less sweet version, reduce the sugar to 2 cups (400g). The result is more tart and boozy—closer to the traditional Italian limoncello you’d get in Sorrento.
- Dairy-Free Creamy Limoncello: After straining, stir in a can of full-fat coconut milk for a creamy, dairy-free version. It’s like a boozy lemon milkshake. Serve it over ice.
Serving & Storage Suggestions
This is where you get to shine as a host. Presentation matters, and limoncello is naturally photogenic.
Serving Temperature: Serve it straight from the freezer or over crushed ice. The cold temperature mellows the alcohol burn and brings out the sweetness. I like to pour it into small, chilled shot glasses or cordial glasses. It’s meant to be sipped slowly, not chugged.
What to Serve Alongside: Limoncello is a classic digestif, so serve it after a meal. It pairs beautifully with light desserts like panna cotta, almond biscotti, or fresh fruit tarts. If you’re hosting a cocktail party, use it as a base for a limoncello spritz—just add prosecco and a splash of soda water.
Storage: Keep the bottles in the refrigerator or freezer. The alcohol content is high enough that it won’t freeze solid—it will just get thick and syrupy. Properly stored, it will last for 6 months. I’ve had a bottle in my fridge for 8 months, and it was still perfect.
Reheating (Not Applicable): You don’t reheat limoncello, but if you’re using it in a cocktail or dessert, let it come to room temperature for easier mixing.
Flavor Development: The flavor actually improves after a week or two in the fridge. The harsh edges smooth out, and the lemon becomes more rounded. So don’t drink it all the first night—save some for later.
Nutritional Information & Benefits
Let’s be real—limoncello isn’t a health drink. But it does have some surprising benefits, and knowing what’s in it helps you enjoy it mindfully.
Estimated Nutritional Values (per 1.5 oz serving):
- Calories: 115
- Carbohydrates: 17g
- Sugar: 17g
- Alcohol: 14g
Health Benefits: Lemons are packed with vitamin C and antioxidants, which support immune health. The alcohol itself, in moderation, has been linked to improved heart health and relaxation. Plus, serving limoncello after a meal can aid digestion—it’s a traditional Italian digestif for a reason.
Dietary Considerations: This recipe is naturally gluten-free, dairy-free, and vegan. The only potential allergen is the alcohol itself, so if you’re avoiding alcohol, this isn’t for you. But for everyone else, it’s a guilt-free indulgence (in moderation, of course).
My Take: I love that I control the sugar content. Store-bought limoncellos are often cloyingly sweet. Making it at home means I can tailor it to my taste and know exactly what’s in it.
Conclusion
This guest-favorite homemade limoncello recipe has become my go-to for every gathering. It’s one of those rare recipes that looks impressive but requires almost no actual cooking skill. You just need time, good ingredients, and a little bit of patience. Honestly, the hardest part is waiting for the week to pass.
I love how versatile it is—you can tweak the sweetness, experiment with different citrus, or even turn it into a creamy cocktail. It’s the kind of recipe that makes you feel like a culinary genius, even though the alcohol does all the heavy lifting. And the look on your guests’ faces when you tell them you made it yourself? Priceless.
So go ahead, grab some lemons and a bottle of vodka, and give it a shot. I promise you won’t regret it. And when you do, come back and tell me how it turned out! I’d love to hear about your variations and serving ideas. Drop a comment below, share a photo, or tag me on social media—I’m always thrilled to see your creations. Cheers to good food, good friends, and a little bit of homemade magic!
Frequently Asked Questions
Can I use bottled lemon juice instead of fresh lemons?
No, please don’t. Bottled lemon juice lacks the essential oils from the zest, which is where all the flavor comes from. You need fresh lemons for the real deal.
How long does homemade limoncello last?
Stored in a sealed bottle in the refrigerator or freezer, it will last for up to 6 months. The flavor actually gets smoother over time.
Can I use a different alcohol besides vodka?
Absolutely. Grain alcohol like Everclear works well for a stronger version, but you’ll need to adjust the steeping time (3-4 days is usually enough). You can also try a neutral white rum for a slightly different flavor profile.
Why is my limoncello cloudy?
Cloudiness usually happens when the simple syrup is added while it’s still warm, or if you didn’t strain it thoroughly enough. It’s still perfectly safe to drink—it just won’t look as clear. Next time, let the syrup cool completely and strain through cheesecloth.
Can I make limoncello without sugar?
You can, but it won’t taste like traditional limoncello. The sugar balances the acidity and alcohol. If you’re reducing sugar, try using a sugar substitute like allulose or monk fruit, but start with a smaller amount and adjust to taste.
Pin This Recipe!
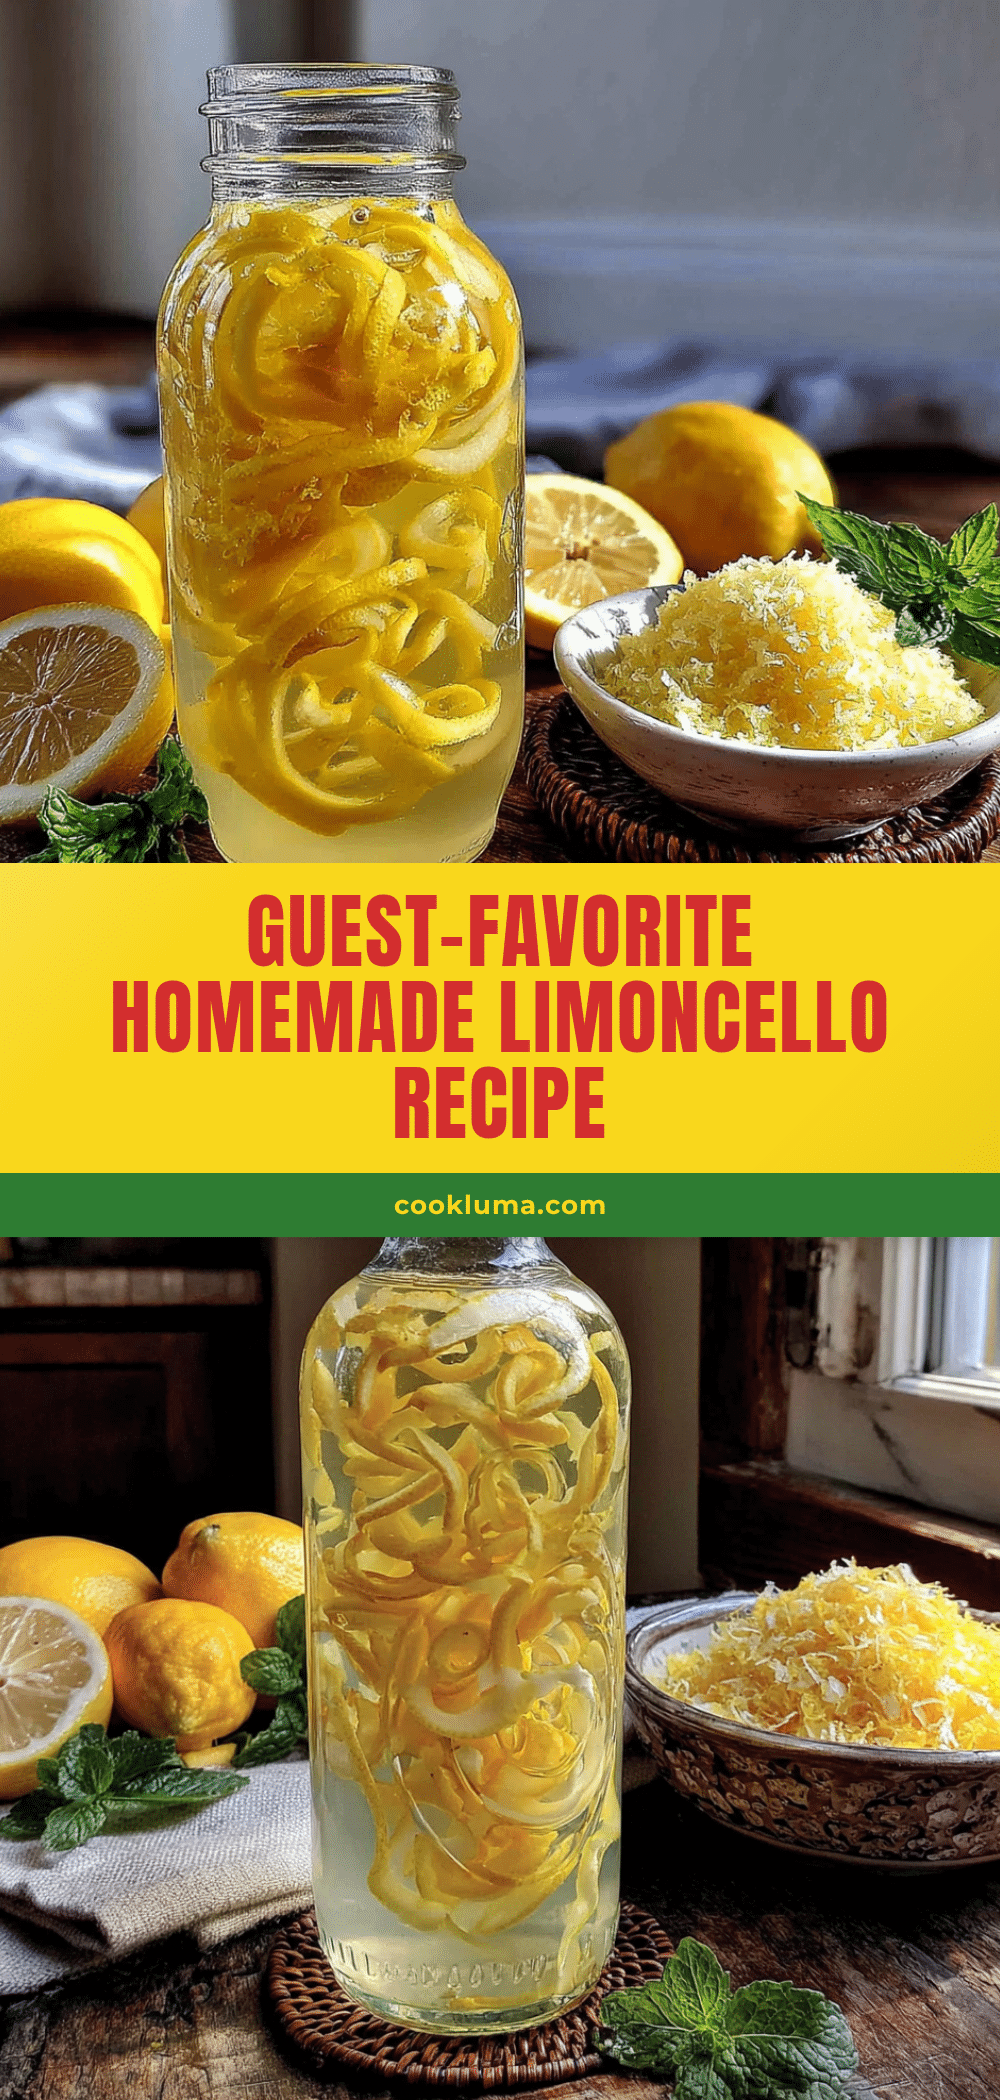
Best Homemade Limoncello Recipe (Simple & Perfect)
This guest-favorite homemade limoncello is deceptively simple to make, requiring just four ingredients and a little patience. It’s the perfect after-dinner digestif that will impress your guests.
- Prep Time: 15 minutes
- Cook Time: 10 minutes
- Total Time: 7 days (including steeping and chilling)
- Yield: Approximately 6 cups (48 servings of 1.5 oz each) 1x
- Category: Beverage
- Cuisine: Italian
Ingredients
- 10 large organic lemons
- 1 liter high-proof vodka (80 to 100 proof)
- 3 cups (600g) granulated sugar
- 4 cups (960ml) filtered water
Instructions
- Zest the lemons: Wash and dry the lemons thoroughly. Using a vegetable peeler, remove the yellow zest in wide strips, avoiding the white pith. Place the zest strips into a large glass jar.
- Combine with alcohol: Pour the entire liter of vodka over the lemon zest, ensuring all zest is submerged. Seal the jar tightly and shake gently. Store in a cool, dark place for at least 7 days (up to 14 days), shaking gently every couple of days.
- Make the simple syrup: After the steeping period, combine the sugar and filtered water in a medium saucepan. Heat over medium heat, stirring occasionally, until the sugar is completely dissolved. Do not let it boil. Remove from heat and let cool to room temperature.
- Strain the alcohol: Place a fine-mesh strainer or cheesecloth over a large bowl or clean jar. Pour the alcohol-zest mixture through the strainer, discarding the zest. If cloudy, strain again through fresh cheesecloth.
- Combine and bottle: Pour the strained alcohol into a large pitcher or bowl. Slowly add the cooled simple syrup, stirring gently. Taste and adjust sweetness if desired. Pour into glass bottles using a funnel.
- Chill and wait: Seal the bottles and refrigerate for at least 24 hours to allow flavors to marry. The limoncello will keep in the fridge for up to 6 months.
Notes
Use organic lemons to avoid wax and pesticides. Avoid the white pith when zesting to prevent bitterness. Let the simple syrup cool completely before adding to the alcohol to prevent cloudiness. For a stronger version, use Everclear (151 proof) and steep for 3-4 days. Serve ice-cold from the freezer or over crushed ice.
Nutrition
- Serving Size: 1.5 oz
- Calories: 115
- Sugar: 17
- Carbohydrates: 17
Keywords: limoncello, homemade limoncello, lemon liqueur, Italian digestif, easy limoncello recipe