My sister asked why I couldn’t just use chicken thighs instead of breasts. I was in the middle of explaining—very patiently, I thought—that the whole point of this dish was lightness, and dark meat would ruin the whole concept. She just shrugged and said, “But they stay juicier. Less oil.” I started to explain why that wouldn’t work. Then I stopped. She wasn’t wrong.
Honestly, I’d spent years perfecting my garlic butter chicken recipe, and it was good. But it was also the kind of good that came with a side of guilt. Butter, cream, heavy rice—you know the drill. I’d been trying to lighten it up for months, swapping things in and out, and the results were always just okay. Never the kind of okay that made you want to write it down. My sister, who barely cooks, took one look at my frustrated face and suggested the swap. I almost laughed. But that night, I tried it. And let me tell you, I ate my words with every single forkful.
The chicken was absurdly tender. The rice soaked up all that garlicky, buttery goodness without feeling heavy. I used a little less butter than usual, a splash of broth, and suddenly—there it was. A lighter version that didn’t taste like a compromise. It felt like a cheat code, honestly. I mean, who knew the secret to a healthier comfort food was just asking someone who didn’t overthink things? Maybe you’ve been there—stuck on a recipe, convinced your way is the only way, until someone casually suggests the obvious. That was my moment. And now, I can’t go back.
Why You’ll Love This Recipe
This Lightened-Up Garlic Butter Chicken and Rice isn’t just another weeknight dinner. It’s the kind of meal that makes you feel good about eating well—without feeling like you’re missing out. I’ve tested this one more times than I care to admit, tweaking the butter-to-broth ratio, testing different rice varieties, and even convincing my skeptical neighbor to give it a try. She asked for the recipe before she finished her plate.
- Quick & Easy: Comes together in about 40 minutes, and most of that is hands-off simmering. Perfect for those evenings when you need dinner on the table without a fuss.
- Simple Ingredients: No fancy grocery trips needed. Chicken, rice, garlic, butter, broth—you probably have most of this in your kitchen right now.
- Perfect for Meal Prep: This dish actually gets better as it sits. The flavors meld together overnight, making it a dream for lunches or busy weeknights.
- Crowd-Pleaser: My kids devour it, my husband asks for seconds, and even my mom—who is suspicious of any “light” recipe—gave it her stamp of approval.
- Unbelievably Delicious: The garlic butter flavor is rich and satisfying, but the lighter touch means you won’t feel weighed down. It’s comfort food, reimagined.
What makes this recipe different from the rest? It’s the technique. By using a mix of butter and broth, you get all the rich, savory flavor with about half the fat. And the chicken thighs? They stay incredibly moist, so you don’t need extra oil or heavy sauces. This isn’t just another version of garlic butter chicken—it’s the version that finally worked for me. The one that makes you close your eyes after the first bite and think, “Okay, this is it.”
What Ingredients You Will Need
This recipe relies on simple, wholesome ingredients that work together to deliver bold flavor and satisfying texture without the fuss. Most are pantry staples, and I’ve included a few substitution notes to make it work for whatever you have on hand.
For the Chicken
- 1.5 pounds boneless, skinless chicken thighs (about 4-6 thighs) — I prefer thighs for their tenderness and flavor. If you only have chicken breasts, they’ll work, but reduce the cooking time by about 5 minutes to avoid dryness.
- 1 teaspoon salt — I use fine sea salt for even seasoning.
- ½ teaspoon black pepper — Freshly ground is always best.
- ½ teaspoon garlic powder — Adds a subtle garlic base that complements the fresh garlic later.
- 1 tablespoon olive oil — Just enough to sear the chicken without sticking. You can use avocado oil if preferred.
For the Rice
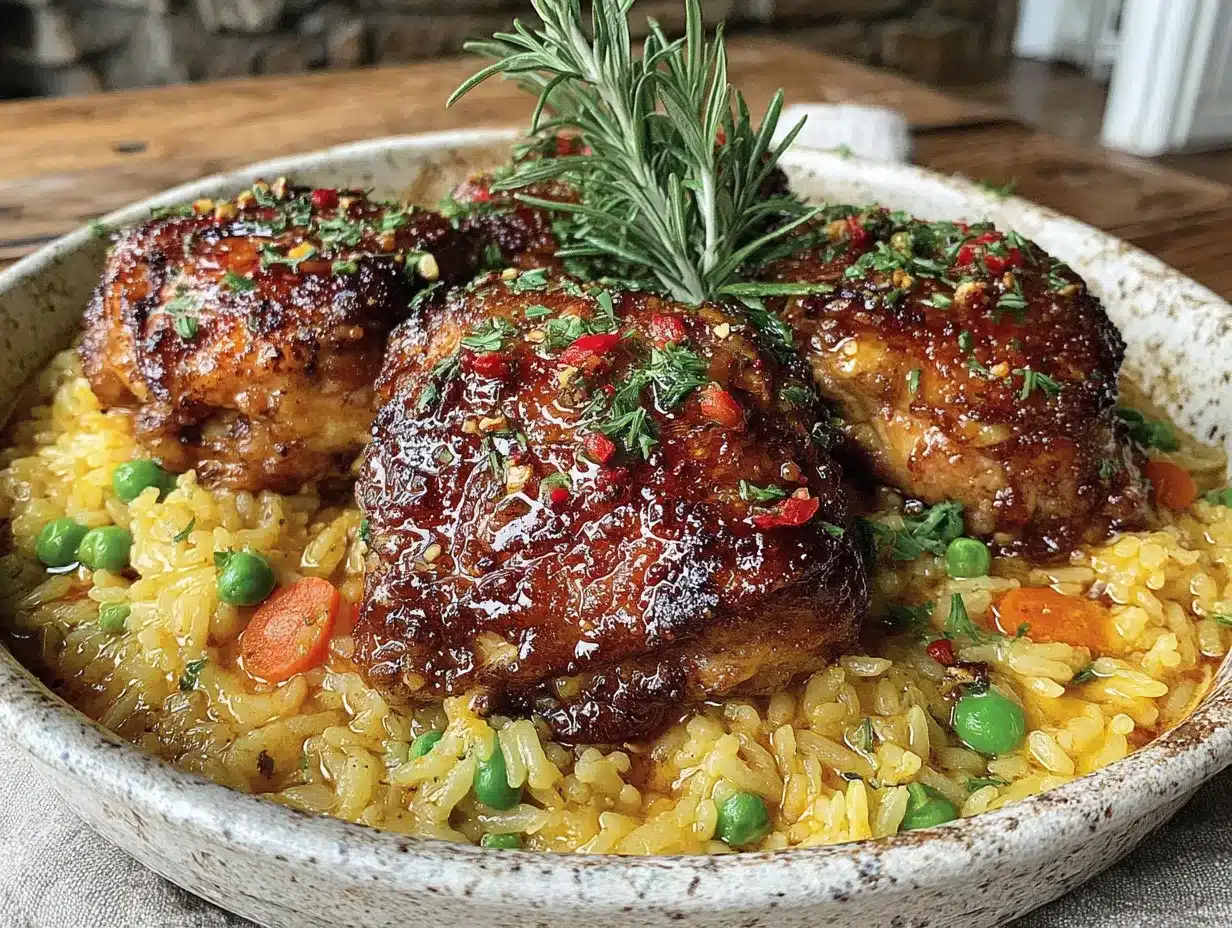
- 1 cup long-grain white rice — Basmati or jasmine work beautifully here. Avoid short-grain rice, which can get too sticky. For a whole-grain option, use brown rice, but increase the broth to 2 ¼ cups and simmer for 40-45 minutes.
- 1 ½ cups low-sodium chicken broth — The key to keeping this dish light. I love Swanson or Kitchen Basics for consistent flavor. You can also use vegetable broth for a slightly different taste.
- ½ cup water — Helps the rice cook evenly without needing extra fat.
For the Garlic Butter Base
- 2 tablespoons unsalted butter — Yes, real butter. It’s not a lot, but it goes a long way when paired with broth. Use a high-quality brand like Kerrygold for the best flavor.
- 5 cloves garlic, minced — Fresh garlic is non-negotiable here. Pre-minced jarred garlic won’t give you the same depth. If you love garlic, feel free to add an extra clove or two.
- 1 small onion, finely diced — About ½ cup. Adds sweetness and depth. Shallots work well too.
For Finishing
- 2 tablespoons fresh parsley, chopped — Adds a pop of color and freshness. Flat-leaf or curly both work.
- 1 tablespoon fresh lemon juice — This is the secret ingredient. It brightens the whole dish and cuts through the richness. Don’t skip it.
- Optional: red pepper flakes — For a tiny kick of heat. I add a pinch most of the time.
Equipment Needed
You don’t need a lot of fancy tools for this one, which is part of why I love it. Here’s what you’ll need:
- Large, deep skillet or Dutch oven — A 12-inch skillet with a tight-fitting lid is ideal. I use my trusty Lodge enameled Dutch oven, which distributes heat evenly. If you’re using a regular skillet, make sure it has a lid—or you can use foil in a pinch.
- Wooden spoon or spatula — For stirring the rice and scraping up any browned bits from the chicken. A silicone spatula works too.
- Chef’s knife and cutting board — For mincing garlic and dicing the onion. A sharp knife makes all the difference.
- Measuring cups and spoons — Accuracy matters for the rice-to-liquid ratio. I learned that the hard way.
- Tongs — For flipping the chicken without piercing it. This keeps the juices locked in.
If you don’t have a Dutch oven, any heavy-bottomed pot with a lid will work. Just keep an eye on the heat to prevent sticking. And honestly? I’ve made this in a nonstick skillet before, and it turned out fine—just be gentle when stirring the rice.
Preparation Method
- Season the chicken. Pat the chicken thighs dry with paper towels. This is important—dry chicken sears better. Season both sides with salt, pepper, and garlic powder. Let them sit at room temperature for about 10 minutes while you prep the other ingredients.
- Sear the chicken. Heat the olive oil in your skillet over medium-high heat. When it’s shimmering, add the chicken thighs in a single layer (work in batches if needed). Cook for 4-5 minutes per side, until golden brown and crispy on the edges. Don’t crowd the pan—you want that crust, not steamed chicken. Transfer the chicken to a plate and set aside. It won’t be cooked through yet, and that’s okay.
- Cook the aromatics. Reduce the heat to medium. Add the butter to the same skillet. Once it melts, toss in the diced onion and cook for 2-3 minutes, until softened and translucent. Add the minced garlic and cook for another 30 seconds—just until fragrant. Be careful not to burn the garlic; it turns bitter fast. If the pan looks dry, add a splash of broth.
- Toast the rice. Add the rice to the skillet and stir it around for about 1 minute. This step is easy to skip, but it makes a difference. Toasting the rice gives it a nutty flavor and helps it stay fluffy instead of mushy. You’ll see the grains turn slightly opaque at the edges.
- Add the liquids. Pour in the chicken broth and water, scraping the bottom of the pan with your wooden spoon to release any browned bits. That’s where all the flavor lives. Bring the liquid to a gentle boil.
- Return the chicken. Nestle the seared chicken thighs into the rice mixture, pushing them down slightly so they’re partially submerged. Any juices that collected on the plate go in too—don’t waste them.
- Simmer and cover. Reduce the heat to low, cover the skillet with a tight-fitting lid, and let it cook undisturbed for 18-20 minutes. I know it’s tempting to peek, but try not to. Every time you lift the lid, steam escapes, and the rice needs that steam to cook evenly.
- Rest and fluff. After 20 minutes, turn off the heat but keep the lid on. Let it rest for 5 minutes. This allows the rice to finish absorbing the liquid and the chicken to relax. Then remove the lid, fluff the rice gently with a fork, and check the chicken—it should be tender and reach an internal temperature of 165°F.
- Finish and serve. Sprinkle the fresh parsley and squeeze the lemon juice over everything. Add a pinch of red pepper flakes if you like heat. Give it a gentle stir to combine, then serve immediately.
Cooking Tips & Techniques
I’ve made this dish enough times to know where things can go sideways. Here are the lessons I learned the hard way—so you don’t have to.
- Don’t skip the sear. I once tried to save time by just dumping everything in the pot raw. The result? Pale, sad chicken and rice that tasted like nothing. That golden crust isn’t just for looks—it’s pure flavor. Take the extra 8 minutes.
- Watch your heat. When you add the garlic and onion, keep the heat at medium. High heat will burn the garlic before the onion even softens. I’ve had to start over because I got impatient. Low and slow for the aromatics—it’s worth it.
- Measure your liquid carefully. The rice-to-liquid ratio is crucial. Too much liquid, and you’ll end up with mushy rice. Too little, and it’ll be crunchy. I use 1 ½ cups broth and ½ cup water for 1 cup of rice, and it’s never failed me. If you’re at a higher altitude, you might need an extra tablespoon or two of water.
- Let it rest. That 5-minute rest after cooking isn’t optional. I know you’re hungry, but the rice needs that time to finish absorbing the liquid. If you dig in right away, you’ll get a gummy texture. Trust me on this one.
- Use fresh garlic. I know it’s tempting to use the pre-minced stuff from a jar, but it just doesn’t have the same punch. Fresh garlic is one of the stars here—don’t shortchange it. I mince mine by hand, but a garlic press works too.
Variations & Adaptations
One of the best things about this recipe is how flexible it is. Here are some ways I’ve adapted it for different moods and diets:
- Make it dairy-free: Swap the butter for a high-quality vegan butter or use an extra tablespoon of olive oil. I’ve tried both, and the olive oil version is actually lovely—just a little less rich. Add a splash of coconut milk (the canned kind) at the end for creaminess without dairy.
- Go gluten-free: This recipe is naturally gluten-free as written, as long as you use certified gluten-free broth. Double-check your broth label—some brands sneak in wheat. Rice is naturally GF, so you’re good there.
- Add vegetables: I sometimes toss in a cup of frozen peas and carrots during the last 5 minutes of cooking. They add color, sweetness, and a little extra nutrition. Chopped green beans or spinach also work well. Just stir them in when you add the parsley.
- Try different proteins: Boneless chicken breasts work, but reduce the simmer time to 15 minutes. I’ve also made this with turkey cutlets and even firm tofu (press it first, then sear it). Each version has its own charm.
- Spice it up: Add a teaspoon of smoked paprika or a pinch of cayenne with the garlic. I tried this on a whim one rainy Sunday, and it turned into my new favorite version. The smokiness pairs beautifully with the garlic butter.
Serving & Storage Suggestions
This dish is best served warm, straight from the skillet. The rice is fluffy, the chicken is tender, and that garlic butter aroma is just irresistible. I like to serve it in shallow bowls with a wedge of lemon on the side—extra brightness if you want it.
For sides, a simple green salad with a lemon vinaigrette is perfect. The acidity cuts through the richness and keeps the meal feeling light. Steamed broccoli or roasted asparagus also work beautifully. If you’re feeling indulgent, a slice of crusty bread to soak up the juices is never a bad idea.
As for beverages, a crisp white wine like Sauvignon Blanc or a light lager pairs wonderfully. For a non-alcoholic option, sparkling water with a slice of lemon is refreshing and complements the dish without overwhelming it.
Storage: Let the dish cool completely, then transfer it to an airtight container. It will keep in the refrigerator for up to 4 days. The flavors actually deepen overnight, so leftovers are a treat.
Reheating: The best way is on the stovetop over medium-low heat, with a splash of broth or water to loosen the rice. Cover and heat for 5-7 minutes, stirring occasionally. You can use the microwave in a pinch—cover the bowl and heat in 1-minute increments, stirring between each. The rice might dry out a bit, so add a little water.
Freezing: This freezes well for up to 3 months. Portion it into freezer-safe containers, leaving a little room for expansion. Thaw overnight in the refrigerator before reheating. The texture of the rice will be slightly softer after freezing, but the flavor remains excellent.
Nutritional Information & Benefits
Here’s the thing—I’m not a nutritionist, and I don’t pretend to be one. But I do care about what I put in my body, and this recipe makes me feel good. It’s packed with protein (about 35 grams per serving), thanks to the chicken thighs. The rice provides steady energy, and the garlic and onions are loaded with antioxidants.
One of the best things about this dish is how balanced it feels. You get the satisfaction of butter and garlic without the heaviness of a cream-based sauce. The chicken broth adds flavor without excess calories, and the lemon juice brightens everything without adding sugar. It’s the kind of meal that leaves you satisfied, not stuffed.
If you’re watching your sodium, use low-sodium broth and go easy on the added salt. You can also swap the white rice for brown rice or quinoa for extra fiber. And if you’re counting calories, this clocks in at around 420 calories per serving—which leaves room for a glass of wine or a small dessert.
Conclusion
This Lightened-Up Garlic Butter Chicken and Rice has become a regular in my kitchen, and I have a feeling it will in yours too. It’s proof that eating well doesn’t mean eating boring. The garlic butter flavor is rich and satisfying, the chicken is tender, and the rice is perfectly fluffy—all without the heavy cream or excessive butter that usually weighs down this kind of dish.
I love how forgiving this recipe is. You can tweak it based on what you have in your fridge, add vegetables you need to use up, or swap the protein entirely. It’s a template for good eating, not a rigid set of rules. And honestly? That’s what cooking should be.
If you give this recipe a try, I’d love to hear about it. Leave a comment below and let me know how it turned out—did you add any twists? Did your family ask for seconds? Share your photos and tag me on social media. I’m always inspired by how you all make these recipes your own. Happy cooking, friends!
Frequently Asked Questions
Can I use chicken breasts instead of thighs?
Absolutely. Chicken breasts will work, but they cook faster and can dry out more easily. Reduce the simmer time to about 15 minutes, and check the internal temperature—165°F is your target. I still prefer thighs for their tenderness, but breasts are a fine substitute.
Can I make this in an Instant Pot or slow cooker?
Yes, with adjustments. For the Instant Pot, sear the chicken using the sauté function, then add the rice and liquids. Pressure cook on high for 6 minutes, then let the pressure release naturally for 10 minutes. For a slow cooker, sear the chicken first, then add all ingredients and cook on low for 4-5 hours. The rice will be softer in the slow cooker version.
How do I prevent the rice from getting mushy?
The key is the right rice-to-liquid ratio and not stirring too much. Use 1 cup of rice to 2 cups of liquid (broth + water). Once you add the liquid and cover the pot, don’t stir again until after the rest time. Stirring releases starch and makes the rice gummy. Also, make sure your lid fits tightly so steam doesn’t escape.
Can I use brown rice instead of white rice?
Yes, but you’ll need to adjust the liquid and cooking time. Use 2 ¼ cups of broth (no water), and simmer for 40-45 minutes instead of 20. Brown rice also benefits from a longer rest—10 minutes off the heat. The texture will be chewier and nuttier, which I personally love.
Is this recipe freezer-friendly?
It freezes well for up to 3 months. Let the dish cool completely, then portion it into freezer-safe containers. Leave a little room for expansion. Thaw overnight in the fridge before reheating. The rice will be slightly softer after freezing, but the flavor remains delicious. I often double the batch just to have freezer meals ready.
Pin This Recipe!
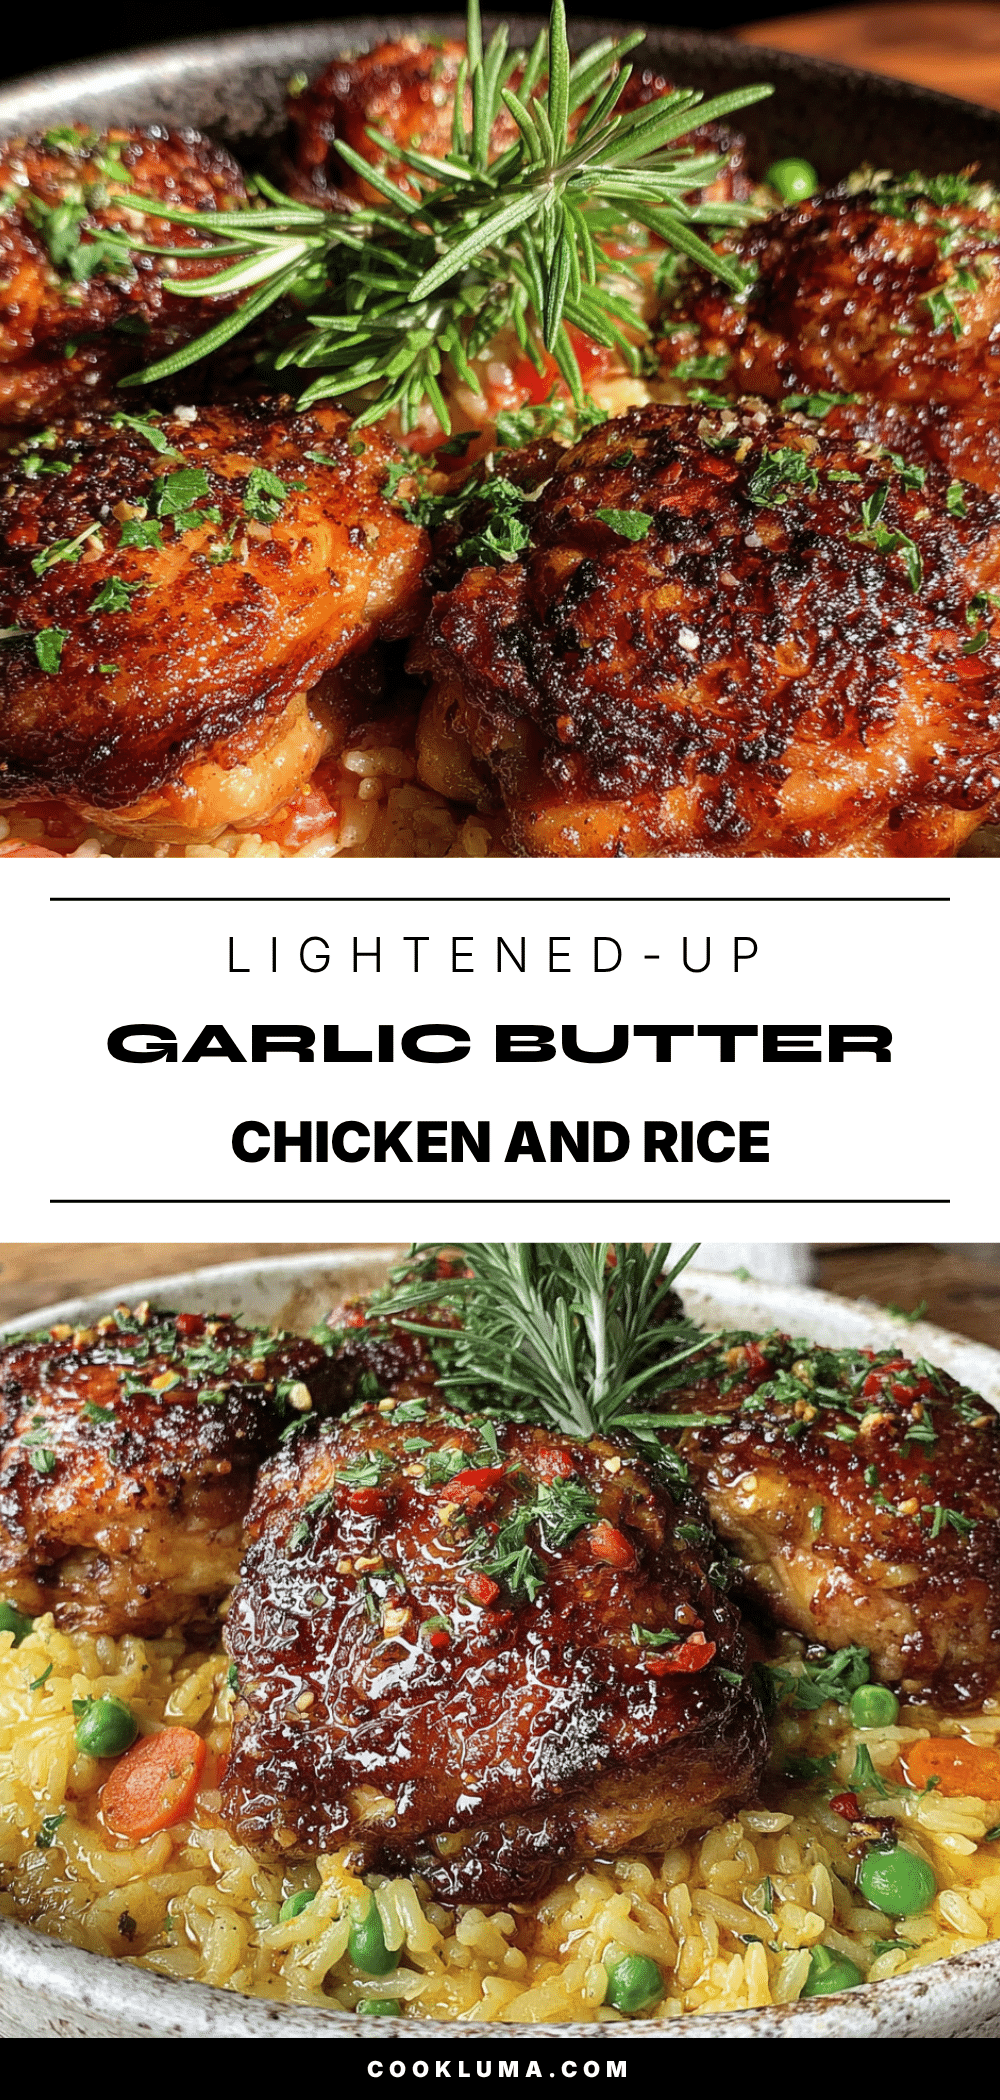
Lightened-Up Garlic Butter Chicken and Rice: Easy One-Pot Dinner

A lighter version of classic garlic butter chicken and rice, made with tender chicken thighs, fluffy rice, and a rich garlic butter broth. This one-pot meal is quick, easy, and perfect for weeknight dinners or meal prep.
- Prep Time: 10 minutes
- Cook Time: 30 minutes
- Total Time: 40 minutes
- Yield: 4 servings 1x
- Category: Main Course
- Cuisine: American
Ingredients
- 1.5 pounds boneless, skinless chicken thighs (about 4–6 thighs)
- 1 teaspoon salt
- ½ teaspoon black pepper
- ½ teaspoon garlic powder
- 1 tablespoon olive oil
- 1 cup long-grain white rice (basmati or jasmine)
- 1 ½ cups low-sodium chicken broth
- ½ cup water
- 2 tablespoons unsalted butter
- 5 cloves garlic, minced
- 1 small onion, finely diced (about ½ cup)
- 2 tablespoons fresh parsley, chopped
- 1 tablespoon fresh lemon juice
- Optional: red pepper flakes
Instructions
- Season the chicken. Pat the chicken thighs dry with paper towels. Season both sides with salt, pepper, and garlic powder. Let them sit at room temperature for about 10 minutes while you prep the other ingredients.
- Sear the chicken. Heat the olive oil in your skillet over medium-high heat. When it’s shimmering, add the chicken thighs in a single layer (work in batches if needed). Cook for 4-5 minutes per side, until golden brown and crispy on the edges. Transfer the chicken to a plate and set aside.
- Cook the aromatics. Reduce the heat to medium. Add the butter to the same skillet. Once it melts, toss in the diced onion and cook for 2-3 minutes, until softened and translucent. Add the minced garlic and cook for another 30 seconds—just until fragrant.
- Toast the rice. Add the rice to the skillet and stir it around for about 1 minute. You’ll see the grains turn slightly opaque at the edges.
- Add the liquids. Pour in the chicken broth and water, scraping the bottom of the pan with your wooden spoon to release any browned bits. Bring the liquid to a gentle boil.
- Return the chicken. Nestle the seared chicken thighs into the rice mixture, pushing them down slightly so they’re partially submerged. Any juices that collected on the plate go in too.
- Simmer and cover. Reduce the heat to low, cover the skillet with a tight-fitting lid, and let it cook undisturbed for 18-20 minutes.
- Rest and fluff. After 20 minutes, turn off the heat but keep the lid on. Let it rest for 5 minutes. Then remove the lid, fluff the rice gently with a fork, and check the chicken—it should be tender and reach an internal temperature of 165°F.
- Finish and serve. Sprinkle the fresh parsley and squeeze the lemon juice over everything. Add a pinch of red pepper flakes if you like heat. Give it a gentle stir to combine, then serve immediately.
Notes
Don’t skip the sear—it adds flavor. Use fresh garlic for best results. Let the rice rest after cooking to avoid gummy texture. For dairy-free, swap butter for vegan butter or olive oil. For gluten-free, ensure broth is certified gluten-free.
Nutrition
- Serving Size: 1 serving (about 1 ½
- Calories: 420
- Sugar: 2
- Sodium: 680
- Fat: 14
- Saturated Fat: 5
- Carbohydrates: 38
- Fiber: 1
- Protein: 35
Keywords: garlic butter chicken, one-pot chicken and rice, lightened-up chicken recipe, easy weeknight dinner, healthy comfort food


