It was 11:47 PM on a rainy Tuesday in late October, and I was craving something that tasted like the inside of a sweater. Not an actual sweater, you know—that feeling when you’re wrapped in something soft, holding something warm, and the world outside is damp and dark. The craving was specific: pumpkin, but not pie. Maple, but not syrup. Something that crumbled and melted at the same time. I didn’t have the patience for a full pie crust or the energy for layer cake, but I had a half-can of pumpkin puree from last week’s soup experiment and a bag of pecans I’d been hoarding for no good reason. Honestly, that’s how most of my best recipes start—not with a plan, but with a fridge inventory at an hour when sensible people are asleep. I wanted scones, but I wanted them to taste like autumn had personally shown up at my door with a gift basket. So I started pulling butter out of the fridge, and somewhere between the first sprinkle of cinnamon and the last drizzle of maple glaze, these scones became the thing I didn’t know I was looking for. Maybe you’ve been there—standing in your kitchen at a weird hour, convinced that if you can just make the right thing, everything will feel a little more okay. That’s these scones. They’re not fancy. They’re not complicated. But they taste like the season wrapping its arms around you, and honestly, that’s exactly what I needed that night.
Why You’ll Love This Recipe
Let me tell you why these scones have become my go-to for every fall gathering and lazy weekend morning. I’ve tested this recipe about seven times—yes, seven—to get the texture just right. The first batch was too dry. The second was too flat. The third was perfect, but I forgot the glaze. The fourth through seventh were just me being extra sure. So trust me when I say this version delivers every single time.
- Quick & Easy: From start to finish, you’re looking at about 35 minutes. That’s faster than driving to the bakery and way more satisfying.
- Simple Ingredients: No weird specialty flours or exotic extracts. Pumpkin puree, butter, flour, maple syrup, pecans—you probably have most of this already.
- Perfect for Fall Mornings: These scones were made for crisp October Saturdays, Thanksgiving brunch, or that cozy moment when you want to feel like autumn is happening right in your kitchen.
- Crowd-Pleaser: I brought these to a neighborhood potluck and three people asked for the recipe before I’d even put the plate down. Kids love them. Adults love them. Even my friend who claims she doesn’t like pumpkin scones ate two.
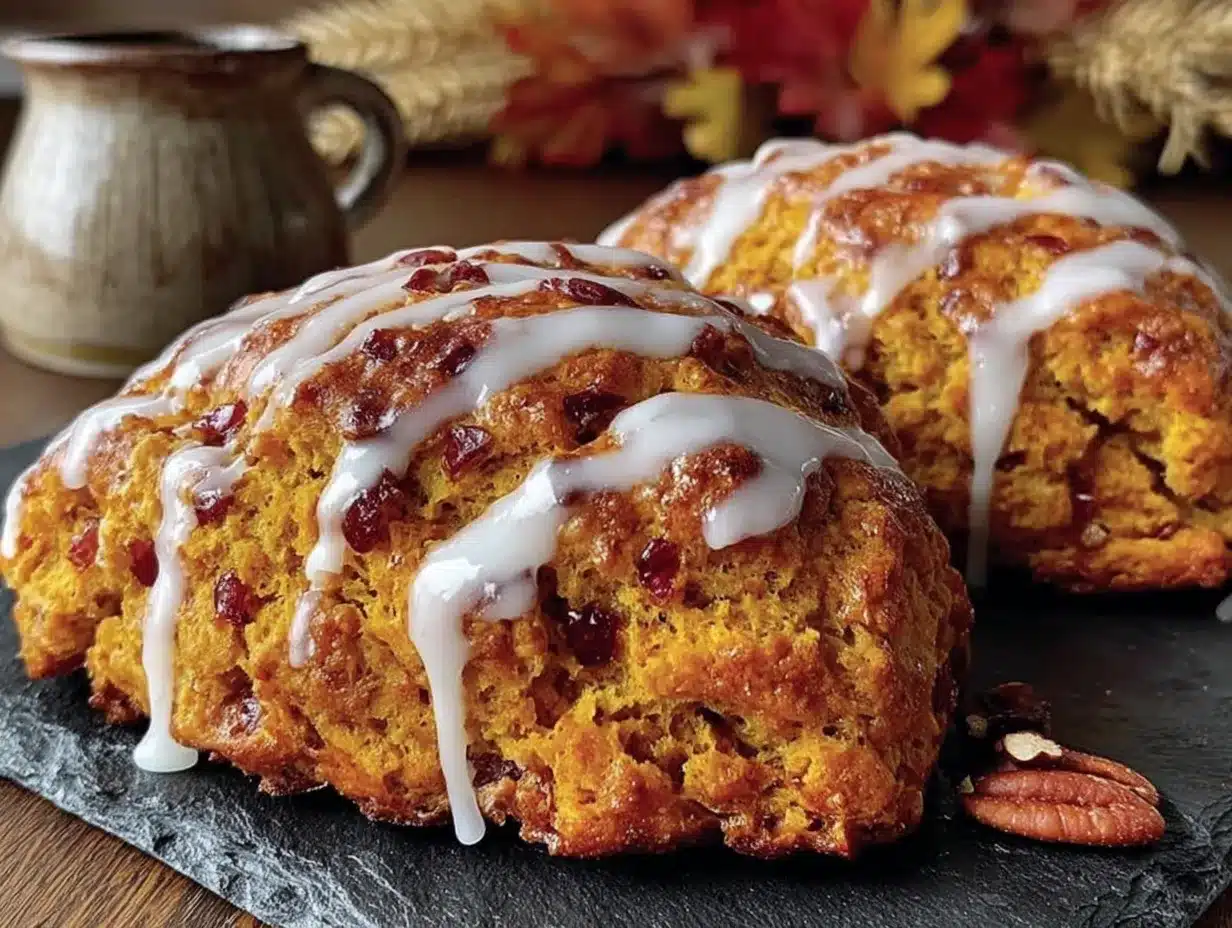
- Unbelievably Delicious: The edges are slightly crisp, the inside is tender and flaky, and the maple glaze soaks into the top just enough to make every bite feel like a treat.
What makes these different from every other pumpkin scone recipe out there? Two things. First, I use cold butter cut into the flour mixture until it looks like coarse peas—that’s the secret to that perfect flaky texture. Second, the maple pecan combination isn’t just on top; it’s mixed right into the dough, so every bite has that nutty, sweet, earthy flavor. This isn’t just another pumpkin scone. This is the one you’ll make again and again until the recipe falls apart from use.
These scones are the kind that make you close your eyes after the first bite. They’re comfort food reimagined—faster than a pie, simpler than a cake, but with the same soul-soothing satisfaction. Perfect for impressing guests without stress, or turning a simple Saturday morning into something memorable.
What Ingredients You Will Need
This recipe uses simple, wholesome ingredients that come together to create something truly special. Most of these are pantry staples, especially if you’re a fall baking enthusiast like me. Here’s what you’ll need and why each ingredient matters.
For the Scones
- All-purpose flour, 2 cups (240g) – I use King Arthur Flour for consistent results, but any brand works. The protein content gives structure without making the scones tough.
- Granulated sugar, 1/3 cup (66g) – Just enough sweetness to balance the pumpkin and maple. Don’t skip it—the glaze alone won’t be enough.
- Baking powder, 1 tablespoon – Fresh baking powder is crucial here. If yours has been sitting in the cabinet for a year, go buy a new can. Trust me.
- Pumpkin pie spice, 2 teaspoons – You can use store-bought or make your own with cinnamon, nutmeg, ginger, and cloves. I prefer the homemade version for a bolder flavor.
- Ground cinnamon, 1 teaspoon – Because you can never have too much cinnamon in a pumpkin recipe.
- Salt, 1/2 teaspoon – Don’t skip this. Salt makes the sweetness pop and balances the pumpkin’s earthiness.
- Unsalted butter, 1/2 cup (113g), cold and cubed – Cold butter is non-negotiable. It creates steam pockets as it melts in the oven, giving you those flaky layers. I cut mine into small cubes and pop them back in the fridge while I measure everything else.
- Pumpkin puree, 1/2 cup (120g) – Make sure it’s pumpkin puree, not pumpkin pie filling. The filling has added sugar and spices that will throw off the balance. I prefer Libby’s brand for consistent texture.
- Maple syrup, 1/4 cup (60ml) – Real maple syrup, please. Not pancake syrup. The flavor difference is huge. Grade A dark amber works beautifully here.
- Heavy cream, 1/4 cup (60ml) – This adds richness and helps bind the dough. You can substitute whole milk in a pinch, but the scones won’t be quite as tender.
- Vanilla extract, 1 teaspoon – Pure vanilla extract, not imitation. It rounds out all the warm spices.
- Pecans, 1/2 cup (60g), chopped – Toast them first if you have time. It takes five minutes and makes a huge difference in flavor. I chop mine into small pieces so they distribute evenly.
For the Maple Glaze
- Powdered sugar, 1 cup (120g) – Sift it if you want a super smooth glaze, but I’m usually too impatient and it still turns out fine.
- Maple syrup, 2 tablespoons (30ml) – Again, real maple syrup. This is the star of the glaze, so don’t skimp.
- Heavy cream or milk, 1-2 tablespoons – Start with one tablespoon and add more until you reach your desired consistency. I prefer a thicker glaze that sets up nicely.
- Vanilla extract, 1/2 teaspoon – Just a touch to deepen the flavor.
Equipment Needed
You don’t need a fancy kitchen to make these scones. Here’s what I use and what you can substitute if needed.
- Large mixing bowl – Any bowl works. I use a ceramic one because it feels nice, but glass or metal is fine.
- Pastry cutter or two forks – A pastry cutter makes quick work of cutting butter into flour, but two forks work perfectly. You can even use your hands if they’re cold—just work quickly so the butter doesn’t soften.
- Baking sheet – I line mine with parchment paper for easy cleanup. Silicone baking mats work too.
- Parchment paper – Not strictly necessary, but it prevents sticking and makes cleanup so much easier.
- Measuring cups and spoons – For accuracy, especially with the baking powder and spices.
- Kitchen scale – Optional but helpful. Weighing ingredients gives more consistent results, especially with flour.
- Whisk – For mixing dry ingredients and the glaze.
- Sharp knife or bench scraper – For cutting the scones into wedges. A bench scraper is my favorite tool for this—it cuts cleanly without squishing the dough.
- Cooling rack – Helps the glaze set properly. If you don’t have one, you can let the scones cool on the baking sheet, but the bottoms might get a bit soggy.
I bought my pastry cutter for about eight dollars at a kitchen supply store, and it’s one of those tools I use more than I expected. But honestly, I’ve made these scones with just a fork and a butter knife, and they turned out great. Don’t let equipment stop you.
Preparation Method
Let’s get baking. I’ll walk you through every step, including what things should look and feel like along the way. Because nothing is worse than wondering if your dough is supposed to look like that.
- Preheat your oven to 400°F (200°C) and line a baking sheet with parchment paper. I always preheat first so the oven is ready when I am. Scones need that initial blast of heat to rise properly.
- Toast the pecans. Spread the chopped pecans on a small baking sheet and toast for 3-4 minutes, until fragrant. Watch them closely—they burn fast. I learned this the hard way when I made my first batch and ended up with smoky pecans. Let them cool while you prepare the dough.
- Mix the dry ingredients. In a large bowl, whisk together the flour, sugar, baking powder, pumpkin pie spice, cinnamon, and salt. Make sure everything is evenly distributed. I whisk for about 30 seconds to incorporate air and break up any clumps.
- Cut in the butter. Add the cold, cubed butter to the flour mixture. Using a pastry cutter or two forks, cut the butter into the flour until the mixture resembles coarse meal with pea-sized butter pieces. Some pieces will be smaller, some larger—that’s perfect. The larger pieces will create those flaky layers. Work quickly so the butter stays cold. If your hands are warm, run them under cold water first.
- Combine the wet ingredients. In a separate bowl, whisk together the pumpkin puree, maple syrup, heavy cream, and vanilla extract until smooth. The mixture will be thick and slightly orange. Give it a taste—it should be sweet and slightly spiced from the pumpkin.
- Bring it together. Pour the wet ingredients into the dry ingredients and stir with a fork or spatula until just combined. Don’t overmix. The dough will look shaggy and a little dry in spots—that’s okay. Fold in the toasted pecans gently. If the dough feels too dry to come together, add a teaspoon of cream at a time. If it feels too sticky, add a tablespoon of flour. The dough should hold together when pressed but not be wet or sticky.
- Shape the dough. Turn the dough out onto a lightly floured surface. Gently bring it together with your hands, handling it as little as possible. Pat it into a circle about 3/4-inch thick and 8 inches in diameter. Don’t use a rolling pin—your hands work better here and you’ll avoid overworking the dough. The edges will be a little ragged, which adds to the homemade look.
- Cut the scones. Using a sharp knife or bench scraper, cut the circle into 8 wedges like you’re cutting a pizza. Cut straight down without twisting—twisting seals the edges and prevents them from rising properly. I usually cut the circle in half, then each half in half, then each quarter in half. Eight perfect wedges every time.
- Bake. Place the scones on the prepared baking sheet, spacing them about 2 inches apart. They won’t spread much, so you can fit all eight on a standard sheet. Bake for 14-16 minutes, until the edges are golden brown and the tops are set. The centers should spring back when lightly touched. My oven runs hot, so I check at 12 minutes and rotate the pan if needed. You’ll know they’re done when your kitchen smells like autumn heaven.
- Cool. Let the scones cool on the baking sheet for 5 minutes, then transfer them to a cooling rack. This step matters—if you leave them on the hot sheet, the bottoms will continue cooking and might dry out. Let them cool completely before glazing, about 20 minutes. Warm scones will absorb the glaze instead of letting it set on top.
- Make the glaze. While the scones cool, whisk together the powdered sugar, maple syrup, 1 tablespoon of cream, and vanilla extract. Start with one tablespoon of cream and add more until the glaze is thick but pourable. It should coat the back of a spoon but still drip off. If it’s too thick, add a drop more cream. Too thin, add a little more powdered sugar.
- Glaze the scones. Once the scones are completely cool, drizzle the glaze over the top using a spoon or a small whisk. I like to let it drip down the sides a little—it looks more rustic and inviting. Let the glaze set for about 10 minutes before serving. If you’re impatient like me, you can eat them right away with a little glaze dripping on your fingers. No judgment.
Cooking Tips & Techniques
After seven batches of these scones, I’ve collected a few hard-won lessons. Let me save you the trouble.
Keep everything cold. This is the number one rule of scone-making. Cold butter creates steam pockets that give you flaky layers. If your kitchen is warm, pop the butter in the freezer for 10 minutes before cutting it in. I’ve even chilled my flour and bowl on hot summer days. It makes a difference.
Don’t overmix the dough. I know it’s tempting to keep stirring until everything looks smooth, but stop as soon as the dough comes together. Overmixing develops gluten, which makes scones tough and dense. You want tender, not tough. A few dry spots are totally fine.
Use a light hand. When shaping the dough, handle it as little as possible. I pat it into a circle with my fingertips, not the palms of my hands. The less you touch it, the more tender the final scone will be.
Toast your pecans. I mentioned this before, but it’s worth repeating. Toasting brings out the natural oils and deepens the flavor. Raw pecans are fine, but toasted pecans take these scones from good to unforgettable. Just watch them closely—pecans go from perfectly toasted to burnt in about 30 seconds.
Check your baking powder. If your scones come out flat and dense instead of tall and fluffy, your baking powder might be old. Test it by dropping a teaspoon into hot water—if it fizzes vigorously, it’s good. If it barely bubbles, get a new can.
Let them cool completely before glazing. I know, I know—you want that glaze now. But warm scones will absorb the glaze instead of letting it sit on top. You’ll end up with sticky, melted glaze instead of that beautiful white drizzle. Patience pays off here.
One batch I made, I forgot the pecans entirely. They were still delicious—just maple pumpkin scones without the crunch. So if you’re out of pecans or someone in your house has a nut allergy, don’t stress. The scones will still be amazing.
Variations & Adaptations
This recipe is flexible, and I’ve tried several variations over the past few weeks. Here are some of my favorites.
Gluten-Free Version: Substitute the all-purpose flour with a 1:1 gluten-free baking flour blend. I’ve used Bob’s Red Mill and King Arthur’s gluten-free blends with good results. Add an extra tablespoon of cream since gluten-free flours tend to absorb more liquid. The texture will be slightly more tender and less flaky, but still delicious.
Dairy-Free Version: Use cold vegan butter or coconut oil instead of regular butter. Replace the heavy cream with full-fat coconut cream or oat milk. I made a batch with coconut oil and oat milk, and honestly, they were almost better than the original. The coconut oil gave them a subtle richness that worked beautifully with the pumpkin.
Pecan-Free Option: Swap the pecans for toasted walnuts, chopped hazelnuts, or even pumpkin seeds for a nut-free version. If you want to keep the crunch without nuts, try chopped crystallized ginger for a spicy-sweet kick. I made a batch with crystallized ginger and it was incredible—the heat from the ginger balanced the sweet maple perfectly.
Extra Spiced Version: Add 1/4 teaspoon of ground ginger, 1/4 teaspoon of ground cloves, and a pinch of cardamom to the dry ingredients. This makes the scones taste even more like fall. I sometimes add a pinch of black pepper too—it sounds weird, but it brings out the warmth of the other spices.
Chocolate Lover’s Version: Fold in 1/3 cup of dark chocolate chips along with the pecans. The chocolate and pumpkin combination is underrated. My husband, who claims he doesn’t like pumpkin desserts, ate three of these in one sitting.
Serving & Storage Suggestions
These scones are best served slightly warm, with the glaze just set. The contrast between the tender interior and the sweet, crackly glaze is pure magic. I like to serve them with a cup of hot coffee or chai tea in the morning, or as an afternoon treat with a mug of apple cider. If you’re feeling extra indulgent, split a scone in half and spread a little butter or cream cheese on it before warming it in the toaster oven. Yes, it’s decadent. Yes, it’s worth it.
For a fall brunch spread, arrange the scones on a wooden board with sliced apples, a bowl of whipped cream, and a pitcher of hot cider. They also pair beautifully with a pumpkin spice latte or a simple vanilla latte.
Storage: Store leftover scones in an airtight container at room temperature for up to 3 days. The glaze will soften slightly, but they’ll still be delicious. If you live in a humid climate, add a paper towel to the container to absorb excess moisture. I learned this after a batch got a little sticky on a rainy day.
Freezing: You can freeze the unbaked scones for up to 3 months. Cut them into wedges, place them on a baking sheet, and freeze until solid. Then transfer to a freezer bag. When you’re ready to bake, place the frozen scones on a parchment-lined sheet and bake at 400°F for 16-18 minutes, adding a couple of minutes to the baking time. No need to thaw first. You can also freeze baked, unglazed scones for up to 1 month. Thaw at room temperature, then glaze and serve.
Reheating: To refresh day-old scones, warm them in a 300°F oven for 5-7 minutes. The microwave works in a pinch, but it makes them a little chewy. The oven restores that crisp exterior and tender interior. If you’ve already glazed them, reheat gently so the glaze doesn’t melt completely.
The flavors actually develop overnight. I’ve found that day-old scones taste even more pumpkin-y and spiced than fresh ones. So if you can resist eating them all on day one, you’re in for a treat on day two.
Nutritional Information & Benefits
Let’s be real—these are scones, not health food. But they do have some redeeming qualities. Here’s the estimated nutritional breakdown per scone (based on 8 servings):
| Nutrient | Amount |
|---|---|
| Calories | 320 |
| Total Fat | 16g |
| Saturated Fat | 8g |
| Cholesterol | 35mg |
| Sodium | 280mg |
| Total Carbohydrates | 42g |
| Dietary Fiber | 2g |
| Sugars | 20g |
| Protein | 4g |
Pumpkin is packed with vitamin A and fiber, which supports eye health and digestion. Pecans are rich in healthy fats and antioxidants that support heart health. Maple syrup contains antioxidants and minerals like zinc and manganese. So while these scones are definitely a treat, they’re not empty calories. They’re made with real, whole ingredients that your body can recognize and use.
For those watching their sugar intake, you can reduce the sugar in the scones to 1/4 cup and use a lighter hand with the glaze. The pumpkin and maple provide natural sweetness, so you won’t miss the extra sugar as much as you think.
These scones are vegetarian-friendly. For a vegan version, use the dairy-free substitutions mentioned in the variations section. They are not gluten-free unless you use the gluten-free flour blend. They contain dairy, gluten, and tree nuts (pecans).
Conclusion
These cozy maple pecan pumpkin scones are everything I want autumn to taste like—warm, spiced, slightly sweet, and completely comforting. They’re the kind of recipe that makes you slow down and actually enjoy the moment, whether you’re baking them at 11 PM on a rainy Tuesday or serving them to friends on a crisp Saturday morning.
What I love most about this recipe is how forgiving it is. You can tweak the spices, swap the nuts, change the glaze, and it still works. It’s a recipe that invites you to make it your own. Maybe you’ll add extra cinnamon like I do when I’m feeling nostalgic. Maybe you’ll skip the glaze entirely and eat them plain with butter. Maybe you’ll double the batch because one round of scones never feels like enough.
I’d love to hear how these turn out for you. Did you try a variation? Did you eat three in one sitting? (No judgment here—I’ve been there.) Drop a comment below and let me know. And if you share them on social media, tag me so I can see your beautiful scones. Happy baking, friends. Here’s to cozy mornings, warm kitchens, and the simple joy of a really good scone.
Frequently Asked Questions
Can I use canned pumpkin pie filling instead of pumpkin puree?
No, I wouldn’t recommend it. Pumpkin pie filling has added sugar and spices that will throw off the balance of this recipe. Stick with plain pumpkin puree for the best results. If you only have pie filling, reduce the sugar in the recipe by half and skip the pumpkin pie spice, but honestly, it’s easier to just buy the right ingredient.
Why did my scones turn out dry?
Dry scones usually come from one of three things: too much flour, overmixing, or overbaking. Make sure you measure your flour correctly (spoon it into the measuring cup and level it off, don’t scoop directly). Mix just until combined, and check your scones a minute or two before the recommended baking time. Every oven is different, so get to know yours.
Can I make the dough ahead of time?
Absolutely. You can prepare the dough, shape it into wedges, and refrigerate them on a baking sheet for up to 24 hours before baking. You can also freeze the unbaked wedges for up to 3 months. Bake from frozen, adding 2-3 minutes to the baking time. This is my favorite trick for having fresh scones on busy mornings.
How do I get the glaze to look like the pictures?
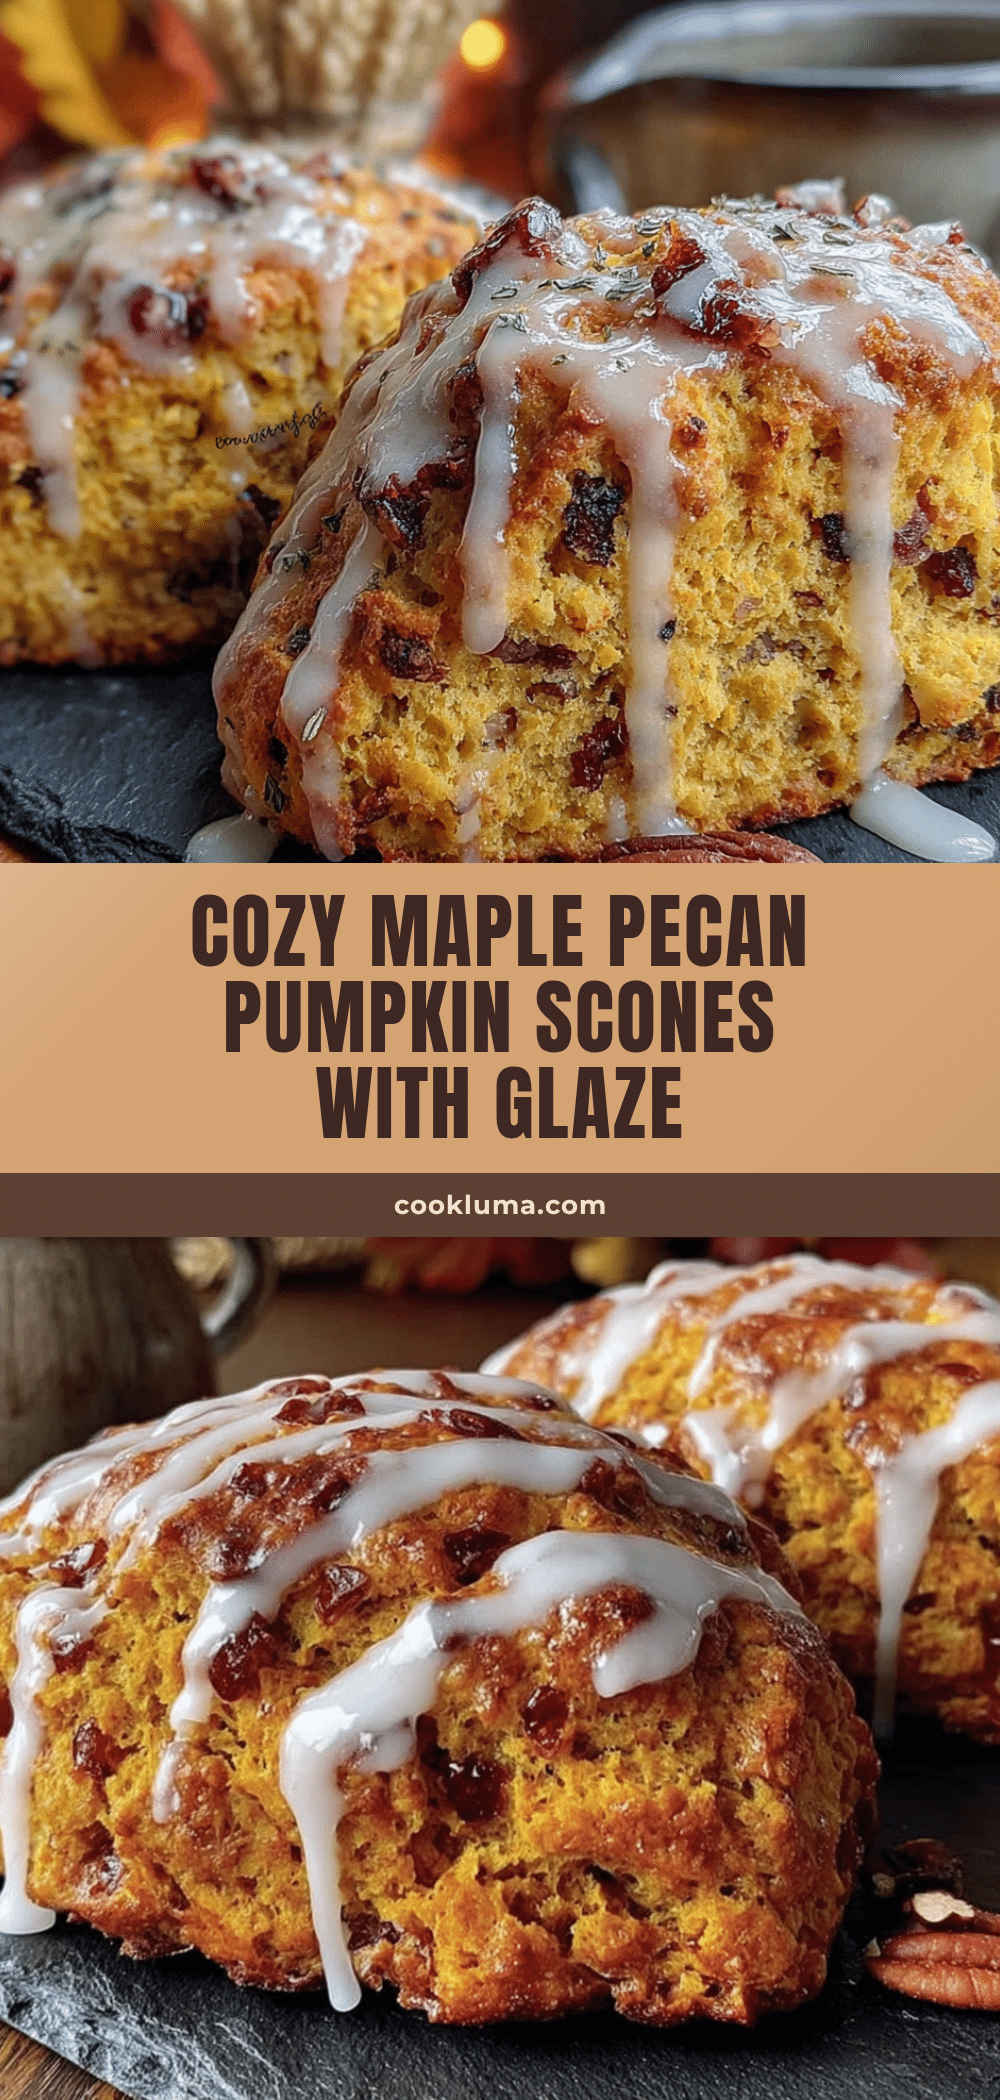
The key is letting the scones cool completely before glazing. Warm scones will absorb the glaze instead of letting it sit on top. Also, make sure your glaze is the right consistency—thick enough to coat the back of a spoon but thin enough to drizzle. If it’s too thick, add a drop of cream. Too thin, add more powdered sugar. Drizzle with a spoon or a small whisk for that rustic look.
Can I make these scones without a pastry cutter?
Yes, absolutely. Two forks work perfectly—just use them to cut the butter into the flour in a crisscross motion. You can also use your hands if they’re cold, working quickly so the butter doesn’t soften. Some people even use a food processor, pulsing in short bursts until the mixture looks like coarse meal. Whatever works for you.
Pin This Recipe!
Cozy Maple Pecan Pumpkin Scones with Easy Glaze

These tender, flaky scones combine pumpkin, maple, and toasted pecans for the perfect fall treat. Topped with a simple maple glaze, they’re quick to make and guaranteed to impress.
- Prep Time: 15 minutes
- Cook Time: 16 minutes
- Total Time: 35 minutes
- Yield: 8 servings 1x
- Category: Breakfast, Dessert
- Cuisine: American
Ingredients
- 2 cups (240g) all-purpose flour
- 1/3 cup (66g) granulated sugar
- 1 tablespoon baking powder
- 2 teaspoons pumpkin pie spice
- 1 teaspoon ground cinnamon
- 1/2 teaspoon salt
- 1/2 cup (113g) unsalted butter, cold and cubed
- 1/2 cup (120g) pumpkin puree
- 1/4 cup (60ml) maple syrup
- 1/4 cup (60ml) heavy cream
- 1 teaspoon vanilla extract
- 1/2 cup (60g) pecans, chopped and toasted
- 1 cup (120g) powdered sugar
- 2 tablespoons (30ml) maple syrup
- 1–2 tablespoons heavy cream or milk
- 1/2 teaspoon vanilla extract
Instructions
- Preheat oven to 400°F (200°C) and line a baking sheet with parchment paper.
- Toast the chopped pecans on a small baking sheet for 3-4 minutes until fragrant; let cool.
- In a large bowl, whisk together flour, sugar, baking powder, pumpkin pie spice, cinnamon, and salt.
- Cut cold butter into the flour mixture using a pastry cutter or two forks until it resembles coarse meal with pea-sized butter pieces.
- In a separate bowl, whisk together pumpkin puree, 1/4 cup maple syrup, 1/4 cup heavy cream, and 1 teaspoon vanilla extract until smooth.
- Pour wet ingredients into dry ingredients and stir until just combined. Fold in toasted pecans gently. Dough should be shaggy but hold together when pressed.
- Turn dough onto a lightly floured surface and pat into a 3/4-inch thick, 8-inch circle. Cut into 8 wedges.
- Place wedges on prepared baking sheet, spacing 2 inches apart. Bake for 14-16 minutes until edges are golden and tops are set.
- Cool on baking sheet for 5 minutes, then transfer to a cooling rack to cool completely (about 20 minutes).
- For the glaze: whisk together powdered sugar, 2 tablespoons maple syrup, 1 tablespoon cream, and 1/2 teaspoon vanilla. Add more cream if needed until thick but pourable.
- Drizzle glaze over cooled scones. Let set for 10 minutes before serving.
Notes
Keep butter and ingredients cold for flaky layers. Do not overmix dough. Toast pecans for best flavor. Let scones cool completely before glazing. Scones can be frozen unbaked for up to 3 months.
Nutrition
- Serving Size: 1 scone
- Calories: 320
- Sugar: 20
- Sodium: 280
- Fat: 16
- Saturated Fat: 8
- Carbohydrates: 42
- Fiber: 2
- Protein: 4
Keywords: pumpkin scones, maple pecan scones, fall baking, pumpkin recipes, scone recipe, maple glaze, autumn breakfast


