It was 11:47 PM on a random Wednesday, and I had that familiar ache for something deeply, ridiculously chocolate. You know the one — where a simple brownie just won’t cut it. I wanted molten lava cake. The real deal. But here’s the thing: I didn’t have a full stick of butter or a mountain of sugar left in my pantry. What I did have was a half-empty jar of unsweetened applesauce, a single egg, and this stubborn idea that maybe, just maybe, I could make it work without all the guilt.
I stood there in my pajamas, staring at the dark chocolate bar I’d been saving for a rainy day, and decided to just go for it. The batter came together in one bowl — no fuss, no mixer, no fanfare. I poured it into two little ramekins, popped them in the oven, and held my breath. When I pulled them out and flipped one onto a plate, the center wobbled. I cut into it with a spoon, and honestly, I let out a little gasp. That dark, glossy lava spilled out like it was proud of itself. It tasted rich, fudgy, and completely satisfying — without that heavy, over-the-top sweetness that usually sends me into a sugar coma.
I ate mine standing at the counter, no judgment, just pure chocolate bliss. And I knew right then that this wasn’t a fluke. This was a keeper. Maybe you’ve been there too — craving something indulgent but wanting to feel good about it after. This recipe is for those nights. It’s for when you want the lava, but not the regret.
Why You’ll Love This Recipe
Let me be real with you — I’ve tested a lot of lava cake recipes over the years. Some were too sweet, some were too dense, and most left me feeling like I’d just run a marathon through a candy shop. This one is different. It’s the kind of recipe that makes you wonder why you ever needed a whole stick of butter in the first place.
- Quick & Easy: From craving to plate in under 20 minutes. Seriously. By the time your oven preheats and you mix the batter, you’re almost done.
- Simple Ingredients: You probably have everything in your kitchen right now. Applesauce, cocoa powder, a little butter, and an egg. No weird specialty items.
- Perfect for Date Night: Whether you’re cooking for someone special or just treating yourself (no judgment), these little cakes feel fancy without any of the stress.
- Crowd-Pleaser: I’ve served these to friends who swore they didn’t like “healthy desserts,” and they went back for seconds. The secret? It doesn’t taste lightened-up at all.
- Unbelievably Delicious: The texture is spot-on — a tender, cakey exterior with that warm, gooey center that oozes out like liquid gold. It’s comfort food, reimagined.
What makes this recipe stand out from the dozens of others out there? It’s the applesauce trick. Swapping half the butter for unsweetened applesauce cuts the fat and calories dramatically without sacrificing moisture or richness. I’ve tried it with Greek yogurt too, but applesauce gives a cleaner, more neutral sweetness that lets the dark chocolate shine. Plus, using high-quality dark chocolate (70% or higher) means you get that intense cocoa flavor without needing piles of sugar. It’s not just another version — it’s my best version, tested on tired weeknights and special occasions alike.
This is the kind of dessert that makes you close your eyes after the first bite. It’s indulgent, it’s satisfying, and it fits right into a balanced lifestyle. No guilt, just pure chocolate happiness.
What Ingredients You Will Need
This recipe uses simple, wholesome ingredients to deliver that rich, molten chocolate experience without the heavy feeling afterward. Most of these are pantry staples, so you can whip these up whenever the craving hits.
- Dark chocolate (70% cocoa), chopped — 2 oz (about 55g). I prefer Ghirardelli or Lindt for smooth melting. The higher the cocoa percentage, the richer the flavor and the less sugar you’ll need. Don’t use milk chocolate here — it won’t give you that deep, lava-worthy taste.
- Unsalted butter — 1 tablespoon (14g). Just enough for richness. Use a good quality brand like Kerrygold for extra creaminess.
- Unsweetened applesauce — 2 tablespoons (30g). This is the magic ingredient. It replaces most of the butter while keeping the cake incredibly moist. Make sure it’s unsweetened — you want control over the sweetness level.
- Large egg — 1 whole egg + 1 egg yolk, at room temperature. The yolk adds richness and helps create that lava center. Room temperature eggs blend more smoothly into the batter.
- Granulated sugar — 2 tablespoons (25g). Just enough to balance the dark chocolate’s bitterness. You can swap in coconut sugar for a slightly lower glycemic option, but the color will be a bit darker.
- All-purpose flour — 2 tablespoons (16g). A small amount gives the cake structure without making it dense. For a gluten-free version, use a 1:1 gluten-free flour blend.
- Unsweetened cocoa powder — 1 tablespoon (5g). Adds an extra chocolate punch. I love using Dutch-processed cocoa for a smoother, more intense flavor, but natural cocoa works fine too.
- Vanilla extract — 1/2 teaspoon. Pure vanilla, not imitation. It rounds out the chocolate flavor beautifully.
- Pinch of salt — Just a tiny pinch. Don’t skip this — salt makes chocolate taste more chocolatey.
- Optional: Powdered sugar for dusting — A light sprinkle on top makes them look bakery-worthy. You can also use a dusting of cocoa powder if you prefer less sugar.
Ingredient Substitution Notes: If you’re dairy-free, use a high-quality vegan butter stick (like Miyoko’s) and ensure your dark chocolate is dairy-free. For a lower-sugar option, swap the granulated sugar with monk fruit sweetener or erythritol. And if you’re out of applesauce, mashed ripe banana works in a pinch — though it will add a subtle banana flavor that pairs surprisingly well with chocolate.
Equipment Needed
You don’t need a fancy kitchen to make these lava cakes. Here’s what you’ll need:
- Two 6-ounce (180ml) ramekins — These are the classic lava cake vessels. If you don’t have ramekins, you can use a muffin tin (just grease the wells well) or small oven-safe bowls. The baking time will vary slightly with different sizes.
- Small microwave-safe bowl — For melting the chocolate and butter together. You can also use a double boiler if you prefer stovetop melting.
- Medium mixing bowl — For whisking the egg, sugar, and vanilla.
- Whisk — A simple wire whisk works perfectly. No electric mixer needed.
- Rubber spatula — For folding the batter and scraping every last bit of chocolate goodness.
- Baking sheet — Place the ramekins on a baking sheet for easy handling in and out of the oven.
- Small fine-mesh sieve — Optional, but great for dusting powdered sugar or cocoa powder on top.
- Cooking spray or butter for greasing — Don’t skip this, or your cakes will stick.
I’ve made these in cheap ramekins from the dollar store and in high-end stoneware ones — both work fine. Just make sure they’re oven-safe up to 400°F. If you’re new to lava cakes, I recommend using clear glass ramekins so you can see the edges set and know when they’re ready.
Preparation Method
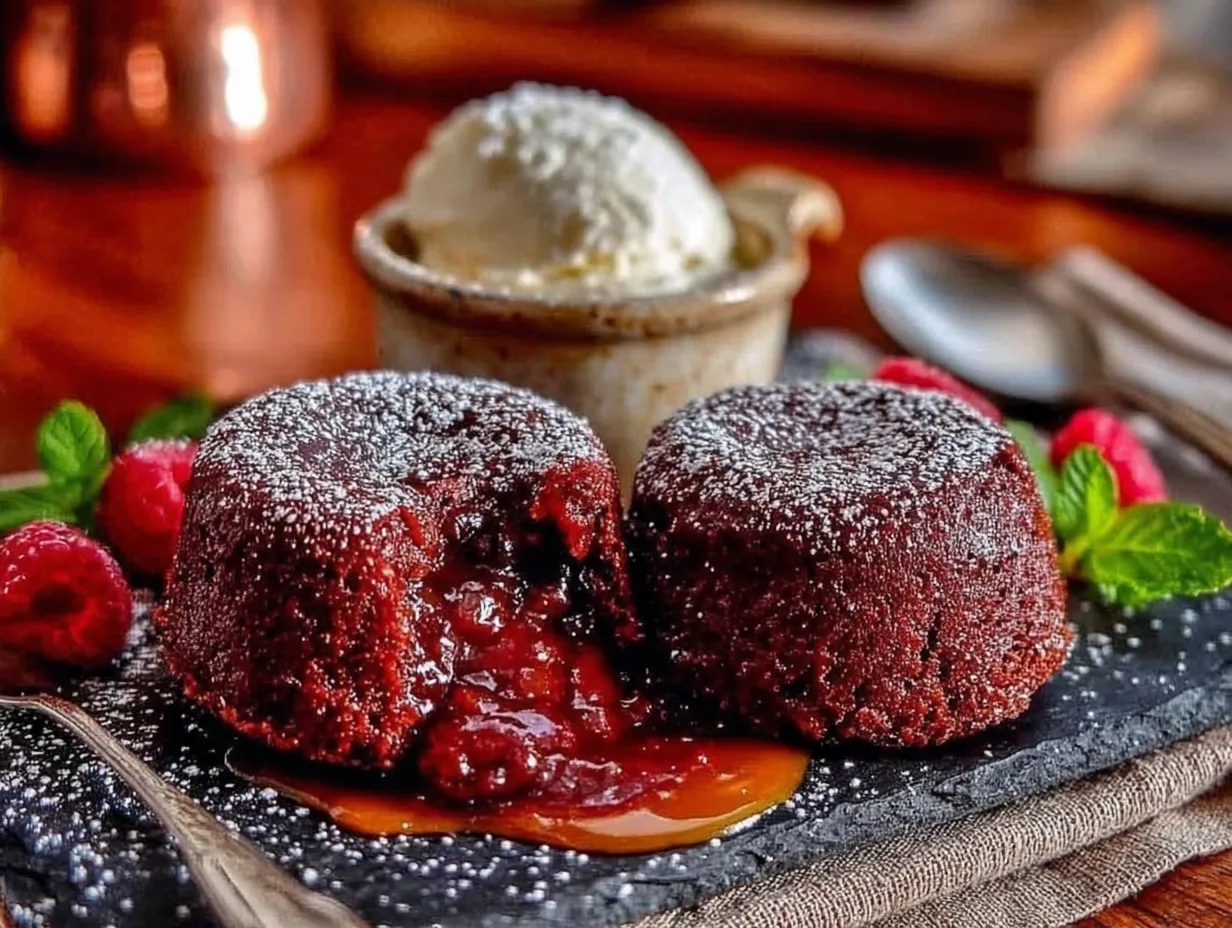
Let’s get to the good part. Follow these steps carefully, and you’ll have perfect molten lava cakes every time.
- Preheat your oven to 425°F (220°C). Place a baking sheet on the middle rack to heat up. This helps the cakes bake evenly from the bottom.
- Grease your ramekins generously. Use butter or cooking spray, making sure to coat every nook and cranny. Then dust the inside with a little cocoa powder (not flour — cocoa keeps it chocolatey). Tap out the excess. This step is non-negotiable for clean release.
- Melt the chocolate and butter together. In a small microwave-safe bowl, combine the chopped dark chocolate and 1 tablespoon of butter. Microwave in 20-second bursts, stirring between each, until smooth and glossy. It took me about 40-50 seconds total. Stir in the applesauce until fully combined. Set aside to cool slightly while you prepare the rest.
- Whisk the egg and sugar. In a medium bowl, whisk together the whole egg, egg yolk, granulated sugar, and vanilla extract. Whisk vigorously for about 1 minute until the mixture becomes pale, thick, and slightly frothy. This incorporates air and helps create that tender cake structure. You should see ribbons form when you lift the whisk.
- Combine the mixtures. Pour the slightly cooled chocolate mixture into the egg mixture. Fold gently with a rubber spatula until just combined — don’t overmix, or the cakes will be tough.
- Add the dry ingredients. Sift the flour, cocoa powder, and salt directly over the batter. Fold again gently, just until no streaks of flour remain. The batter should be thick, shiny, and smell intensely chocolatey.
- Divide the batter. Spoon the batter evenly into the two prepared ramekins. Smooth the tops gently with the back of a spoon. At this point, you can refrigerate them for up to 24 hours if you want to bake later — just add 1-2 minutes to the baking time.
- Bake immediately. Place the ramekins on the preheated baking sheet in the oven. Bake for exactly 12-14 minutes. The edges should look set and slightly puffed, but the center should still jiggle when you gently shake the ramekin. This is the crucial moment — overbaking turns lava into cake, underbaking gives you chocolate soup. Trust the jiggle.
- Cool for 1 minute. Remove from the oven and let the ramekins sit on a wire rack for exactly 60 seconds. This allows the cakes to pull away from the sides slightly, making them easier to unmold.
- Unmold and serve. Run a thin knife around the edge of each ramekin to loosen the cake. Place a small plate upside down on top of the ramekin, then carefully flip it over. Lift the ramekin off gently — the cake should release cleanly with the lava center intact. If it sticks, give it another 10 seconds of cooling time.
- Dust and serve immediately. Dust with powdered sugar or cocoa powder if desired. Serve right away — lava cakes wait for no one. The center will continue to set as they cool, so eat them within 5 minutes for the full molten effect.
Pro tip from my kitchen: The first time I made these, I baked them for 15 minutes because I got distracted by a phone call. The centers were barely molten — more like warm pudding than lava. Don’t be like me. Set a timer and watch that jiggle like a hawk.
Cooking Tips & Techniques
After making these lava cakes more times than I can count (including some epic failures), I’ve learned a few things that make all the difference.
Room temperature eggs matter. I learned this the hard way when I used a cold egg straight from the fridge. The batter seized up and didn’t mix smoothly. Let your egg sit out for 15-20 minutes before starting, or place it in a bowl of warm water for 5 minutes if you’re in a hurry.
Don’t overmix the batter. I know it’s tempting to keep stirring until everything looks perfectly uniform, but overmixing develops gluten and makes the cakes tough. Stop folding as soon as the flour disappears. A few tiny lumps are okay — they’ll bake out.
The jiggle test is your best friend. Every oven runs a little differently. My friend’s oven runs hot and her cakes are done at 11 minutes. Mine takes the full 14. The visual cue is more reliable than the timer: the edges should be set and pulling away from the ramekin slightly, while the center jiggles like a relaxed water bed. If the whole thing is firm, you’ve gone too far.
Chill the batter for a cleaner lava. If you have time, refrigerate the filled ramekins for 20 minutes before baking. This firms up the center slightly, giving you a more dramatic lava flow when you cut into the cake. It also makes them more forgiving if you’re a few seconds late pulling them out.
Multitask wisely. While the cakes bake, prepare your plates, dusting sugar, and maybe some fresh berries or a dollop of yogurt. These cakes are best eaten within seconds of coming out of the oven, so have everything ready before you unmold them.
Variations & Adaptations
One of the best things about this recipe is how flexible it is. Here are some ways I’ve adapted it over the years:
- Gluten-Free Version: Swap the all-purpose flour with a 1:1 gluten-free flour blend. I’ve used Bob’s Red Mill and King Arthur’s measure-for-measure blends with great results. The texture is slightly more delicate, but the lava center still works perfectly.
- Dairy-Free Version: Use a high-quality vegan butter stick (not margarine) and dairy-free dark chocolate. I love Enjoy Life’s dark chocolate chips for this. The applesauce helps keep it moist, so you won’t miss the dairy at all.
- Peppermint Lava Cakes: Add 1/4 teaspoon of peppermint extract along with the vanilla. Top with crushed sugar-free peppermint candies for a festive twist. This is my go-to during the holidays.
- Peanut Butter Swirl: Drop a small teaspoon of natural peanut butter into the center of each ramekin before baking. The peanut butter melts into the lava and creates a gorgeous flavor combo. I’ve also used almond butter and tahini — both are delicious.
- Spiced Chocolate: Add 1/4 teaspoon of cinnamon and a tiny pinch of cayenne pepper to the dry ingredients. The warmth of the spices complements the dark chocolate beautifully and adds a surprising little kick.
- Single-Serving Option: Halve the recipe to make just one cake. Use one egg yolk (no whole egg) and scale everything else down. Bake for 10-11 minutes. Perfect for those solo craving nights.
I once tried a version with coconut oil instead of butter, and honestly, it wasn’t my favorite. The texture was a bit greasy, and the coconut flavor overpowered the chocolate. Stick with butter or vegan butter for the best results.
Serving & Storage Suggestions
These lava cakes are best served warm, straight from the oven. The contrast between the warm, fudgy cake and the molten center is the whole point. But here’s how to make them shine:
- Serving Temperature: Serve immediately while the center is still warm and liquid. If you wait more than 5 minutes, the lava will start to set into a pudding-like consistency. Still delicious, but not as dramatic.
- Presentation: Place the unmolded cake on a small plate. Dust with powdered sugar through a fine-mesh sieve. Add a few fresh raspberries or strawberries on the side — their tartness cuts through the chocolate richness beautifully. A small dollop of Greek yogurt or a scoop of vanilla ice cream (light, if you’re keeping it healthy) takes it over the top.
- Complementary Beverages: A small cup of strong black coffee or espresso is my favorite pairing. The bitterness balances the sweetness. For a non-caffeine option, a glass of cold almond milk or a warm cup of mint tea works wonderfully.
- Storage: These are truly best fresh, but if you have leftovers (unlikely, but possible), you can store the baked cakes in the refrigerator for up to 2 days. Reheat them in the microwave for 15-20 seconds — the center won’t be as lava-like, but it’ll still be deliciously gooey.
- Make-Ahead Option: You can prepare the batter in the ramekins, cover them with plastic wrap, and refrigerate for up to 24 hours. When ready to bake, add 1-2 minutes to the baking time. This is perfect for date nights when you want to minimize last-minute prep.
- Freezing: I don’t recommend freezing the baked cakes — the texture changes too much. But you can freeze the unbaked batter in the ramekins (well-wrapped) for up to 1 month. Thaw overnight in the refrigerator and bake as directed, adding 2-3 minutes.
Nutritional Information & Benefits
Here’s the honest breakdown for one lava cake (using the ingredients listed, without optional toppings):
| Nutrient | Amount per Serving |
|---|---|
| Calories | 245 |
| Total Fat | 12g |
| Saturated Fat | 7g |
| Cholesterol | 105mg |
| Sodium | 85mg |
| Total Carbohydrates | 28g |
| Dietary Fiber | 3g |
| Sugars | 18g |
| Protein | 6g |
Compared to a traditional lava cake (which can clock in at 400-500 calories and 30g of fat per serving), this lightened-up version saves you about 200 calories and cuts the fat in half. The applesauce replaces most of the butter, adding a touch of fiber and natural sweetness without the saturated fat.
Dark chocolate is actually a surprising source of antioxidants, particularly flavonoids, which support heart health. It also contains iron, magnesium, and zinc — not that we’re eating this for the nutrients, but it’s nice to know there’s some goodness hidden in that chocolatey decadence.
This recipe is naturally vegetarian and can be made gluten-free, dairy-free, and lower in sugar with simple swaps. It’s a dessert that fits into a balanced, health-conscious lifestyle without feeling like a compromise.
Conclusion
This lightened-up molten chocolate lava cake recipe is proof that you don’t need a ton of butter and sugar to create something truly indulgent. It’s quick, it’s simple, and it delivers that dramatic lava effect that makes you feel like a pastry chef — even if you’re just wearing pajamas in your own kitchen.
I love this recipe because it meets me where I am. Some nights I want dessert without the guilt. Other nights I want to impress someone with minimal effort. And sometimes, honestly, I just want chocolate, and I want it now. This recipe does all of that without fuss, without a long ingredient list, and without making me feel heavy afterward.
I encourage you to make it your own. Add a pinch of cinnamon, swirl in some peanut butter, or serve it with a scoop of your favorite light ice cream. The base is forgiving and the possibilities are endless.
If you try these lava cakes, I’d love to hear how they turned out. Drop a comment below and let me know your favorite variation, or tag me in your photos. And if you’re craving more chocolate inspiration, don’t miss my flourless chocolate cookies — they’re another guilt-free favorite that comes together in minutes.
Now go ahead — treat yourself. You deserve it.
Frequently Asked Questions
Can I make these lava cakes without ramekins?
Yes! You can use a standard muffin tin — just grease the wells well and fill them about 3/4 full. The baking time will be slightly shorter, around 10-12 minutes. You can also use small oven-safe bowls or even a large coffee mug for a single serving.
Why did my lava cake not have a liquid center?
This usually happens when the cake is overbaked. The center should still jiggle when you gently shake the ramekin. Every oven is different, so start checking at 11 minutes. Also, make sure your ramekins are the right size — 6-ounce ramekins are standard. Larger ramekins will bake faster and may not develop a proper lava center.
Can I use milk chocolate instead of dark chocolate?
You can, but I don’t recommend it. Milk chocolate has more sugar and less cocoa butter, which changes the texture and makes the lava center too sweet and thin. If you only have milk chocolate, reduce the sugar in the recipe to 1 tablespoon and expect a less dramatic lava flow.
How do I know when the lava cakes are done without cutting into them?
Use the jiggle test. Gently shake the ramekin — the edges should be set and firm, while the center wobbles like a water balloon. You can also insert a toothpick about 1/2 inch from the edge; it should come out clean or with a few moist crumbs. If you insert it in the center, it will come out wet — that’s the lava, and that’s what you want.
Can I double this recipe for a crowd?
Absolutely! This recipe scales beautifully. Just multiply the ingredients by the number of servings you need. Use a large bowl for mixing, and bake in batches if your oven can’t fit all the ramekins at once. Keep the unbaked ramekins in the refrigerator while the first batch bakes. Each batch bakes in about 12-14 minutes, so you can serve them fresh and hot in waves.
Pin This Recipe!
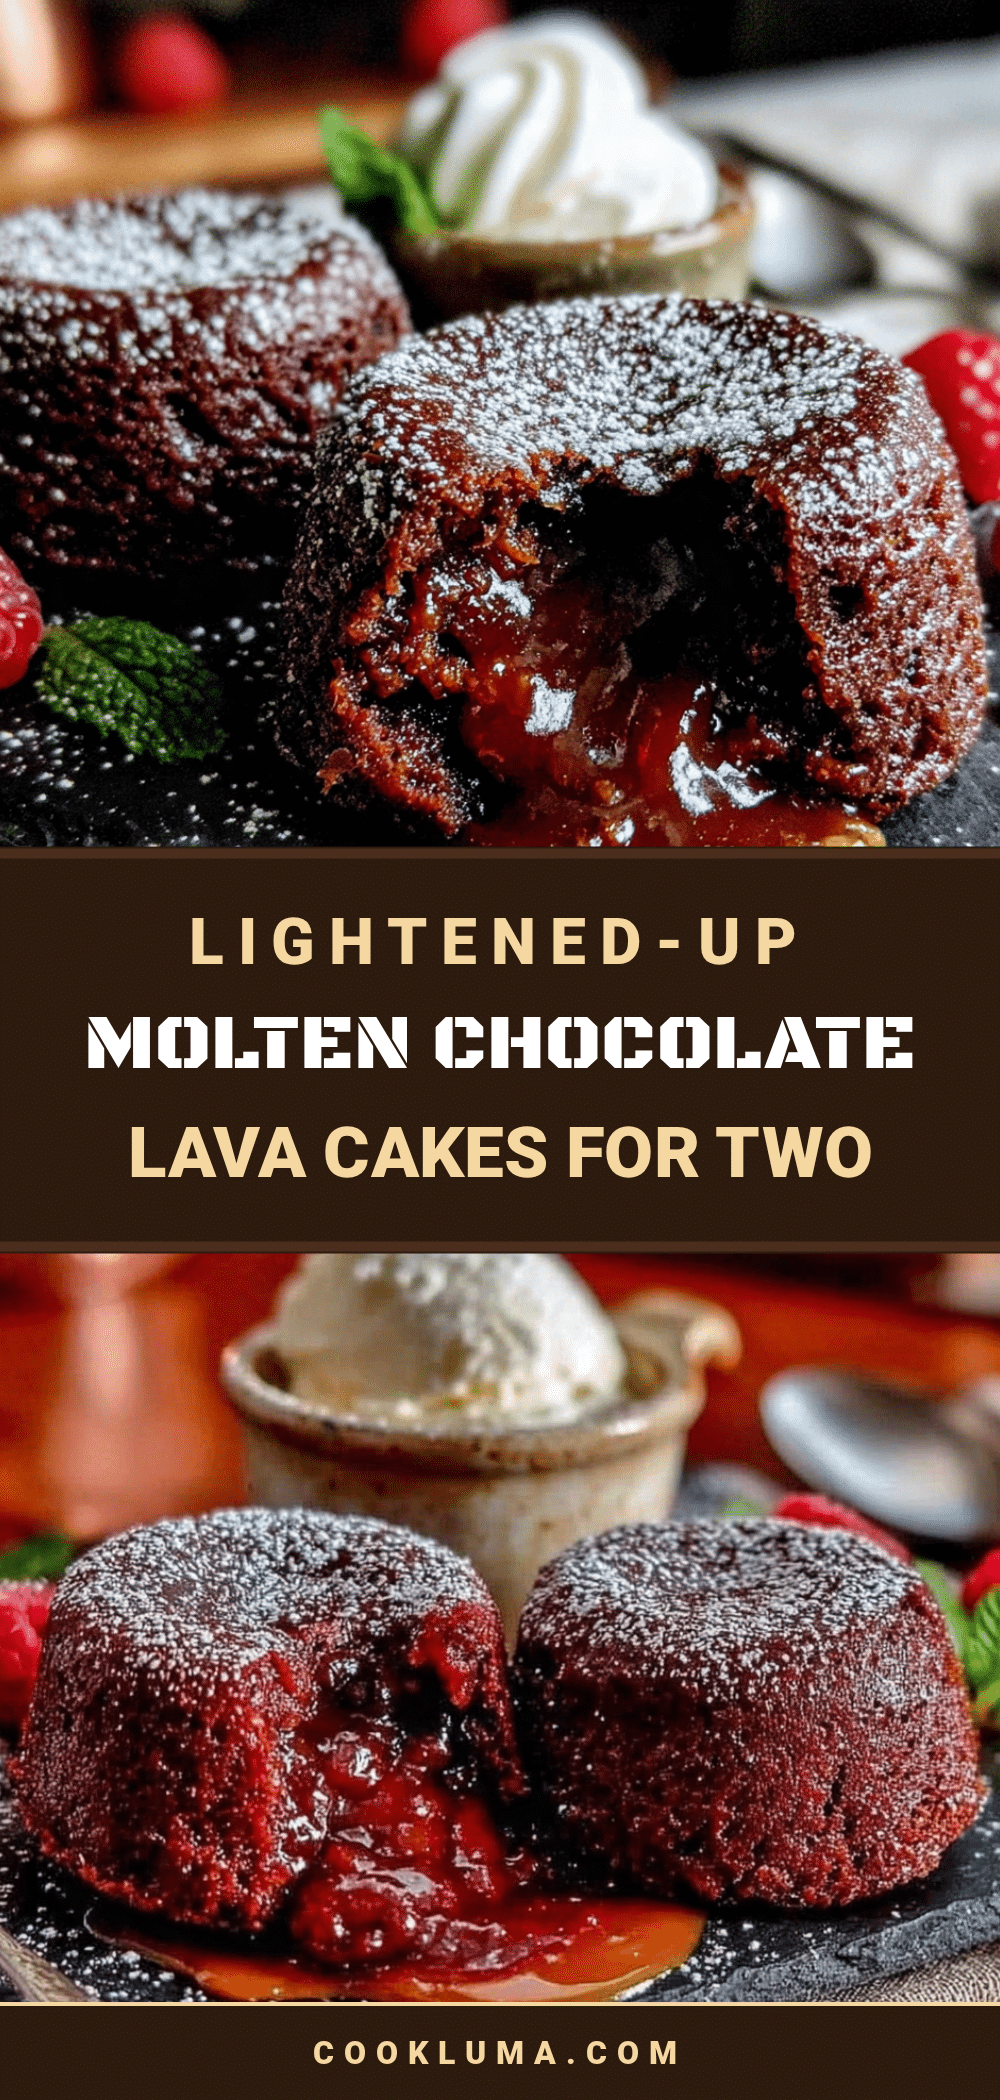
Lightened-Up Molten Chocolate Lava Cakes for Two
Rich, fudgy molten chocolate lava cakes made with applesauce to cut the fat and calories, perfect for a guilt-free indulgence. Ready in under 20 minutes with simple ingredients.
- Prep Time: 10 minutes
- Cook Time: 12-14 minutes
- Total Time: 22-24 minutes
- Yield: 2 servings 1x
- Category: Dessert
- Cuisine: American
Ingredients
- 2 oz (about 55g) dark chocolate (70% cocoa), chopped
- 1 tablespoon (14g) unsalted butter
- 2 tablespoons (30g) unsweetened applesauce
- 1 large egg + 1 egg yolk, at room temperature
- 2 tablespoons (25g) granulated sugar
- 2 tablespoons (16g) all-purpose flour
- 1 tablespoon (5g) unsweetened cocoa powder
- 1/2 teaspoon vanilla extract
- Pinch of salt
- Optional: Powdered sugar for dusting
Instructions
- Preheat your oven to 425°F (220°C). Place a baking sheet on the middle rack to heat up.
- Grease two 6-ounce ramekins generously with butter or cooking spray, then dust with cocoa powder and tap out excess.
- In a small microwave-safe bowl, combine chopped dark chocolate and 1 tablespoon butter. Microwave in 20-second bursts, stirring between each, until smooth and glossy (about 40-50 seconds). Stir in applesauce until combined. Set aside to cool slightly.
- In a medium bowl, whisk together whole egg, egg yolk, granulated sugar, and vanilla extract for about 1 minute until pale, thick, and slightly frothy.
- Pour the slightly cooled chocolate mixture into the egg mixture. Fold gently with a rubber spatula until just combined.
- Sift flour, cocoa powder, and salt over the batter. Fold gently until no streaks of flour remain.
- Divide the batter evenly between the two prepared ramekins. Smooth the tops gently.
- Place ramekins on the preheated baking sheet and bake for exactly 12-14 minutes. The edges should be set and slightly puffed, but the center should jiggle when shaken.
- Remove from oven and let cool on a wire rack for exactly 60 seconds.
- Run a thin knife around the edge of each ramekin to loosen. Place a small plate upside down on top, flip carefully, and lift off the ramekin.
- Dust with powdered sugar or cocoa powder if desired. Serve immediately.
Notes
Room temperature eggs are important for smooth mixing. Don’t overmix the batter to avoid tough cakes. Use the jiggle test to check doneness: edges set, center jiggles. For a cleaner lava, refrigerate filled ramekins for 20 minutes before baking. Serve within 5 minutes for best molten effect.
Nutrition
- Serving Size: 1 lava cake
- Calories: 245
- Sugar: 18
- Sodium: 85
- Fat: 12
- Saturated Fat: 7
- Carbohydrates: 28
- Fiber: 3
- Protein: 6
Keywords: molten lava cake, lightened-up, healthy dessert, chocolate lava cake, applesauce, dark chocolate, quick dessert, date night dessert


