I wasn’t expecting cooking advice from my plumber, but there I was, standing in my kitchen with a dripping pipe, listening to Frank describe exactly how to make salted caramel hot cocoa. It was a Tuesday morning, the kind where everything that could go wrong already had. The kids were off school for a snow day, the heat was acting up, and now water was pooling under the sink. Frank, a burly guy with a thick mustache and a gentle voice, had just finished tightening a joint when he noticed the cocoa powder on my counter.
“You making hot chocolate for those little ones?” he asked, wiping his hands on a rag.
I nodded, already reaching for the instant packets.
“Let me tell you something,” he said, leaning against the counter like he had all the time in the world. “My wife makes this salted caramel hot cocoa that costs next to nothing, and our kids go crazy for it. She uses stuff you probably already have.”
Honestly, I was skeptical. A plumber’s wife’s recipe? But Frank was so earnest, so genuinely excited about this drink, that I grabbed a sticky note and jotted down what he said. It was scribbled and messy, with measurements like “a good glug” and “until it tastes right.” I almost threw it away, but something made me tuck it into my cookbook. Maybe it was the way he smiled when he talked about his kids’ faces lighting up.
That afternoon, when the chaos settled and the kids were bundled in blankets watching a movie, I tried it. And let me tell you, it was a total game-changer. This isn’t some fancy coffee shop concoction that costs six bucks a cup. This is real, honest-to-goodness hot cocoa that tastes like a million bucks but costs pennies. You know that feeling when you find something so good and so simple that you can’t believe you didn’t know about it before? That’s this recipe.
I’ve been making it ever since, and it’s become our official snow day tradition. The best part? It uses ingredients I always have on hand, so there are no last-minute grocery runs. And the kids? They think I’m some kind of kitchen wizard. Little do they know, I just listened to my plumber.
Why You’ll Love This Recipe
This isn’t just another hot cocoa recipe. After countless batches and a few happy accidents (like the time I added too much salt and learned the perfect balance), I can tell you exactly why this one works. I’ve tested it with whole milk, 2%, even almond milk, and it delivers every single time. Here’s what makes it special:
- Budget-Friendly: No fancy caramel sauce or expensive chocolate bars needed. You probably have everything in your pantry right now.
- Kid-Approved: My kids beg for this, and I’ve had friends text me saying their picky eaters asked for seconds. That’s a win in my book.
- Quick & Easy: From start to cup in under 10 minutes. Perfect for those hectic mornings or spontaneous snow days.
- Simple Ingredients: Just milk, cocoa powder, sugar, butter, and salt. That’s it. No weird additives or hard-to-find items.
- Customizable: Want it dairy-free? Use oat milk. Need it less sweet? Cut the sugar. This recipe bends to your family’s needs.
- Better Than Store-Bought: Once you taste homemade, those packets will taste like cardboard. I’m not kidding.
What really sets this apart is the technique. Most recipes just dump everything in a pot and hope for the best. But here’s the secret: you bloom the cocoa powder in a little hot water first, just like you would with good coffee. It wakes up the chocolate flavor and makes it richer without needing expensive ingredients. It’s a simple trick that makes all the difference.
This recipe is the kind that makes you close your eyes after that first sip. It’s comfort in a mug, the kind that warms you from the inside out. Perfect for after school, movie nights, or just because it’s Tuesday and you need a little joy. And honestly, seeing my kids’ faces when they take that first sip? Worth every penny I saved.
What Ingredients You Will Need
This recipe uses simple, everyday ingredients to create something that tastes anything but ordinary. Most of these are pantry staples, so you can whip this up without a special trip to the store. Here’s what you’ll need and why each one matters.
- 2 cups whole milk (or any milk you prefer): Whole milk gives the creamiest result, but 2% works fine too. For a dairy-free version, oat milk is my go-to—it’s naturally sweet and thick. Avoid skim milk unless you’re in a pinch; it can turn out a little thin.
- 2 tablespoons unsweetened cocoa powder: This is the heart of the drink. I prefer Hershey’s or Ghirardelli for consistent results, but any brand works. Dutch-process cocoa gives a deeper, more mellow flavor if you have it on hand.
- 2 tablespoons granulated sugar: Adjust this to your family’s sweetness preference. My kids like it on the sweeter side, so I sometimes add an extra teaspoon. You can also use brown sugar for a hint of molasses flavor.
- 1 tablespoon salted butter: This is the magic ingredient. It adds richness and a silky mouthfeel that makes this taste like a fancy café drink. If you only have unsalted butter, add an extra pinch of salt later.
- 1/4 teaspoon sea salt: The salt is what makes this “salted caramel.” It balances the sweetness and deepens the chocolate flavor. I use fine sea salt for the base and a flaky salt like Maldon for garnish—it makes the kids feel extra special.
- 1/2 teaspoon vanilla extract: Pure vanilla is best, but imitation works in a pinch. It rounds out the flavors and adds that warm, cozy note.
- 2 tablespoons hot water: This is for blooming the cocoa powder. Don’t skip this step—it’s the secret to a rich, non-lumpy drink.
- Optional toppings: Mini marshmallows, whipped cream, or a drizzle of store-bought caramel sauce. My kids love a sprinkle of crushed pretzels for that sweet-salty crunch.
A quick note on the butter: I know it sounds weird in hot cocoa, but trust me on this. It’s the same trick used in some chocolate cake recipes to make the flavor deeper and more luxurious. You won’t taste the butter directly, but you’ll notice the difference in texture.
For the salt, start with the 1/4 teaspoon and taste. If you want a more pronounced salted caramel flavor, add another pinch. I’ve learned the hard way that it’s easier to add salt than to fix an overly salty drink. Been there, done that, ended up making a second batch.
Equipment Needed
You don’t need any fancy equipment for this recipe, which is part of why I love it. Here’s what you’ll need:
- Small saucepan: A 2-quart saucepan works perfectly. I use an old stainless steel one that’s seen better days, but it does the job. Non-stick works too, just be careful not to scratch it with your whisk.
- Whisk: A balloon whisk is ideal for getting rid of lumps. In a pinch, a fork works, but you’ll have to work a little harder. I’ve used a fork on camping trips and it’s doable.
- Measuring cups and spoons: For accuracy. I’ve eyeballed it before and it’s never quite as good. Trust me on this one.
- Mugs: Any mugs will do, but I love using clear glass ones so the kids can see the rich, dark color. It adds to the excitement.
- Rubber spatula: Not essential, but helpful for scraping every last bit of that buttery cocoa mixture into the milk. Waste not, want not.
If you don’t have a whisk, you can use a fork or even a small blender bottle. I’ve made this in a microwave before (just heat the milk, then whisk in the cocoa mixture), but the stovetop version is creamier and more consistent. The microwave tends to scald the milk if you’re not careful.
Preparation Method
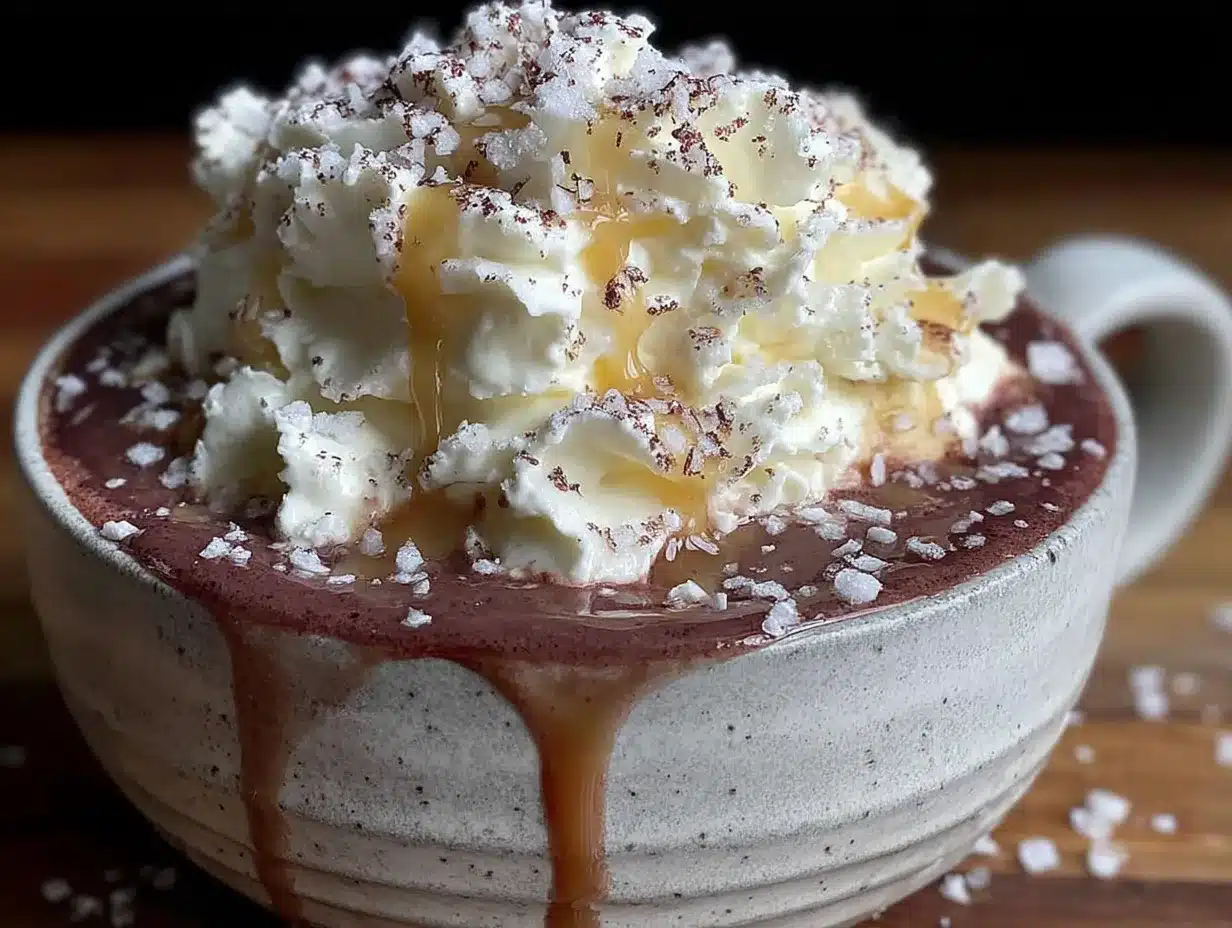
This comes together in about 10 minutes, start to finish. Here’s exactly how I do it, with all the little tricks I’ve picked up along the way.
- Bloom the cocoa powder. In your small saucepan, whisk together the cocoa powder and hot water until you have a smooth, thick paste. It should look like dark chocolate pudding. This step wakes up the cocoa flavor and prevents lumps later. Let it sit for 30 seconds while you gather the rest of your ingredients.
- Add the milk. Pour in the milk slowly while whisking. Start with a slow stream so the paste incorporates evenly. If you dump it all in at once, you’ll end up with cocoa clumps floating around. I learned this the hard way on a particularly rushed morning.
- Add the sugar and salt. Whisk in the sugar and sea salt until dissolved. Don’t worry if the salt seems like a lot—it’s what gives this drink its salted caramel identity. The sweetness of the sugar balances it perfectly.
- Heat gently. Place the saucepan over medium heat. Whisk occasionally as the milk warms up. You want it hot but not boiling—look for small bubbles around the edges of the pan. This usually takes about 3-4 minutes. If you see steam rising, you’re close.
- Add the butter. Once the milk is hot, drop in the butter and whisk until it’s completely melted and incorporated. This is where the magic happens. The butter swirls through the cocoa and gives it that silky, luxurious texture. You’ll see the color change slightly—it gets a little glossier.
- Remove from heat. Take the saucepan off the burner. Stir in the vanilla extract. Give it one final whisk to make sure everything is combined. Taste it and adjust if needed—a little more sugar if your kids have a sweet tooth, or an extra pinch of salt if you want more of that salted caramel kick.
- Pour and serve. Divide the hot cocoa between your mugs. Top with mini marshmallows, a dollop of whipped cream, or a sprinkle of flaky sea salt. My kids love when I add a drizzle of store-bought caramel sauce—it makes them feel like they’re at a fancy café.
A few notes from my kitchen to yours: If you’re making this for a crowd, you can double or triple the recipe. Just use a larger pot and give it a little more time to heat through. Also, if you’re using a dairy-free milk like almond or oat, keep the heat on the lower side. They can scorch more easily than cow’s milk.
One time, I got distracted by a phone call and let the milk get too hot. It formed a skin on top and the texture was off. Now I set a timer on my phone for 4 minutes, just to keep myself honest. Works like a charm.
Cooking Tips & Techniques
After making this more times than I can count, I’ve picked up a few tricks that make a real difference. Here are the ones I swear by.
Don’t skip the blooming step. I know it seems like an extra, unnecessary step, but it’s the key to a smooth, rich cocoa. When you mix the cocoa powder with hot water first, it releases the chocolate’s natural oils and deepens the flavor. It’s the same technique baristas use for hot chocolate in fancy coffee shops. Without it, you’ll end up with a thin, slightly grainy drink.
Watch your heat. Medium heat is your friend. High heat can scorch the milk, leaving you with a burnt taste that no amount of sugar can fix. If you’re in a hurry, medium-high is okay, but stay close and whisk constantly. I ruined a batch last winter when I walked away to answer the door. The smell of burnt milk lingered for hours.
Salt is your secret weapon. Don’t be shy with it. The salt doesn’t make the cocoa salty—it makes it taste more like chocolate. It’s the same principle as salted caramel or salted chocolate chip cookies. The salt amplifies the sweetness and adds complexity. Start with 1/4 teaspoon and adjust from there.
Make it ahead for busy mornings. You can make a big batch of the cocoa base (without the milk) and store it in the fridge. When you’re ready for a cup, just heat up some milk and whisk in a spoonful of the paste. It’s a game-changer for school mornings. I keep a small jar in my fridge labeled “Cocoa Magic.”
Temperature matters. Serve this hot, not lukewarm. Cold cocoa just doesn’t hit the same. If it cools down while the kids are playing, pop it in the microwave for 20 seconds and give it a stir. It’s not quite as good as fresh, but it’s close enough.
One last thing: If you’re making this for little kids, you might want to go easy on the salt. My youngest prefers it with just a pinch, while my older one loves the full salted caramel experience. It’s easy to adjust per cup.
Variations & Adaptations
This recipe is wonderfully flexible. Here are some ways I’ve adapted it for different needs and cravings.
Dairy-Free Version: Swap the whole milk for oat milk or full-fat coconut milk. Oat milk is my favorite because it’s naturally creamy and doesn’t overpower the chocolate. Use a plant-based butter like Miyoko’s or Earth Balance. The result is just as rich and satisfying. My dairy-sensitive niece loves this version.
Spiced Hot Cocoa: Add 1/4 teaspoon of cinnamon and a pinch of nutmeg to the cocoa paste before adding the milk. It gives the drink a cozy, holiday vibe without any extra cost. I do this during the winter months and the kids think it’s a special treat.
Peppermint Twist: Swap the vanilla extract for 1/4 teaspoon of peppermint extract. Top with crushed candy canes if you have them. This is our Christmas morning tradition. The mint pairs beautifully with the salted caramel.
Extra Chocolatey: Melt a handful of chocolate chips into the milk along with the butter. Semi-sweet or dark chocolate chips work best. It pushes this from a kid’s drink to something adults will crave too. I do this when I need a little extra comfort.
Low-Sugar Option: Use a sugar substitute like monk fruit or stevia. Start with half the amount and adjust to taste. The salted caramel flavor is still there, just less sweet. My husband prefers this version.
For Picky Eaters: If your kids are skeptical about the salt, start with just a tiny pinch and gradually increase it over time. My youngest didn’t like it at first, but after a few tries, she now asks for “the salty one.” Kids’ taste buds change, so don’t give up after one try.
Serving & Storage Suggestions
This hot cocoa is best served immediately, while it’s hot and creamy. But I’ve got a few tips for making it work for your family’s schedule.
Serving: Pour into your favorite mugs and top with mini marshmallows, whipped cream, or a sprinkle of flaky sea salt. For a fun presentation, rim the mugs with caramel sauce and dip them in crushed pretzels or toffee bits. My kids love this for movie nights—it makes them feel like they’re at a fancy café.
What to serve with it: This pairs beautifully with buttery shortbread cookies, graham crackers, or a simple slice of banana bread. For a cozy afternoon, I’ll make a batch and set out a plate of cookies. It’s an easy way to turn an ordinary day into something special.
Storage: Leftover hot cocoa can be stored in an airtight container in the refrigerator for up to 3 days. The butter might solidify, but don’t worry—it will melt back in when you reheat it. Give it a good whisk or shake before reheating.
Reheating: Pour the cold cocoa into a saucepan and warm it over medium-low heat, whisking occasionally. You can also microwave it in 30-second bursts, stirring between each. The texture won’t be quite as silky as fresh, but it’s still delicious. Add a splash of milk if it seems too thick.
Freezing: Yes, you can freeze this! Pour cooled cocoa into ice cube trays and freeze. Pop a few cubes into a mug of hot milk for an instant hot cocoa fix. It’s my secret for busy mornings. The kids think it’s magic.
Flavor development: Honestly, this tastes best fresh. The butter and cocoa are at their peak right after you make it. But if you have leftovers, the flavors do meld together overnight, and some people prefer it that way. Give it a try and see what your family thinks.
Nutritional Information & Benefits
Here’s an approximate nutritional breakdown per serving (one cup, made with whole milk and without toppings):
- Calories: 220
- Fat: 12g
- Carbohydrates: 24g
- Protein: 8g
- Sugar: 20g
- Sodium: 320mg
This hot cocoa offers more than just comfort. The milk provides calcium and vitamin D, essential for growing bones. Cocoa powder is rich in antioxidants called flavanols, which can support heart health and improve mood. The butter adds a touch of healthy fat that helps your body absorb the fat-soluble vitamins in the milk.
For a lighter option, use 2% milk and reduce the butter to 1/2 tablespoon. You’ll save about 60 calories per serving. If you’re watching your sugar intake, you can cut the sugar to 1 tablespoon and rely on the natural sweetness of the milk. The salted caramel flavor is still there, just more subtle.
This recipe is naturally vegetarian and can be made gluten-free with certified gluten-free vanilla extract. It contains dairy and may contain traces of gluten depending on your cocoa powder brand. Always check labels if you have allergies.
I’m not a nutritionist, but I feel good about serving this to my family. It’s made with real ingredients, not artificial flavors or preservatives. And honestly, the joy it brings is worth every calorie.
Conclusion
This salted caramel hot cocoa has become a staple in our home, and I hope it becomes one in yours too. It’s proof that you don’t need fancy ingredients or expensive coffee shop trips to create something truly special. With just a few pantry staples and 10 minutes, you can give your family a moment of pure, cozy happiness.
What I love most about this recipe is how adaptable it is. Make it your own—add a pinch of cinnamon, swap the milk, or load it up with toppings. The base is forgiving and always delicious. And if your kids are anything like mine, they’ll be asking for it every snowy day from now on.
I’d love to hear how it turns out for you. Did your kids love it? Did you try a fun variation? Drop a comment below and let me know. And if you share a photo on Pinterest, tag me—I love seeing your cozy creations. Until next time, stay warm and keep making memories in the kitchen. You’ve got this.
Frequently Asked Questions
Can I make this salted caramel hot cocoa ahead of time?
Yes, you can make a big batch and store it in the fridge for up to 3 days. Reheat gently on the stovetop or in the microwave. The texture might change slightly, but it’s still delicious. For the best results, make the cocoa paste ahead and add fresh milk when you’re ready to serve.
Can I use hot chocolate mix instead of cocoa powder?
You can, but the flavor won’t be as rich. Hot chocolate mix already has sugar and milk powder, so you’ll need to adjust the other ingredients. If you’re in a pinch, use 3 tablespoons of mix and skip the sugar. The butter and salt are still essential for that salted caramel taste.
How do I make this dairy-free?
Swap the whole milk for oat milk or full-fat coconut milk. Use a plant-based butter like Miyoko’s or Earth Balance. The result is just as creamy and delicious. My dairy-sensitive niece loves this version, and she can’t tell the difference.
Why did my hot cocoa turn out lumpy?
Lumps usually happen when you skip the blooming step or add the milk too quickly. Make sure you whisk the cocoa powder with hot water first until it’s completely smooth. Then add the milk slowly while whisking. If you still get lumps, you can strain the cocoa through a fine-mesh sieve before serving.
Can I make this in a slow cooker for a party?
Absolutely! Combine all the ingredients in a small slow cooker and heat on low for 2 hours, whisking occasionally. Keep it on the “warm” setting for serving. This is perfect for holiday parties or playdates. Just remember to stir it every 30 minutes or so to prevent a skin from forming.
Pin This Recipe!
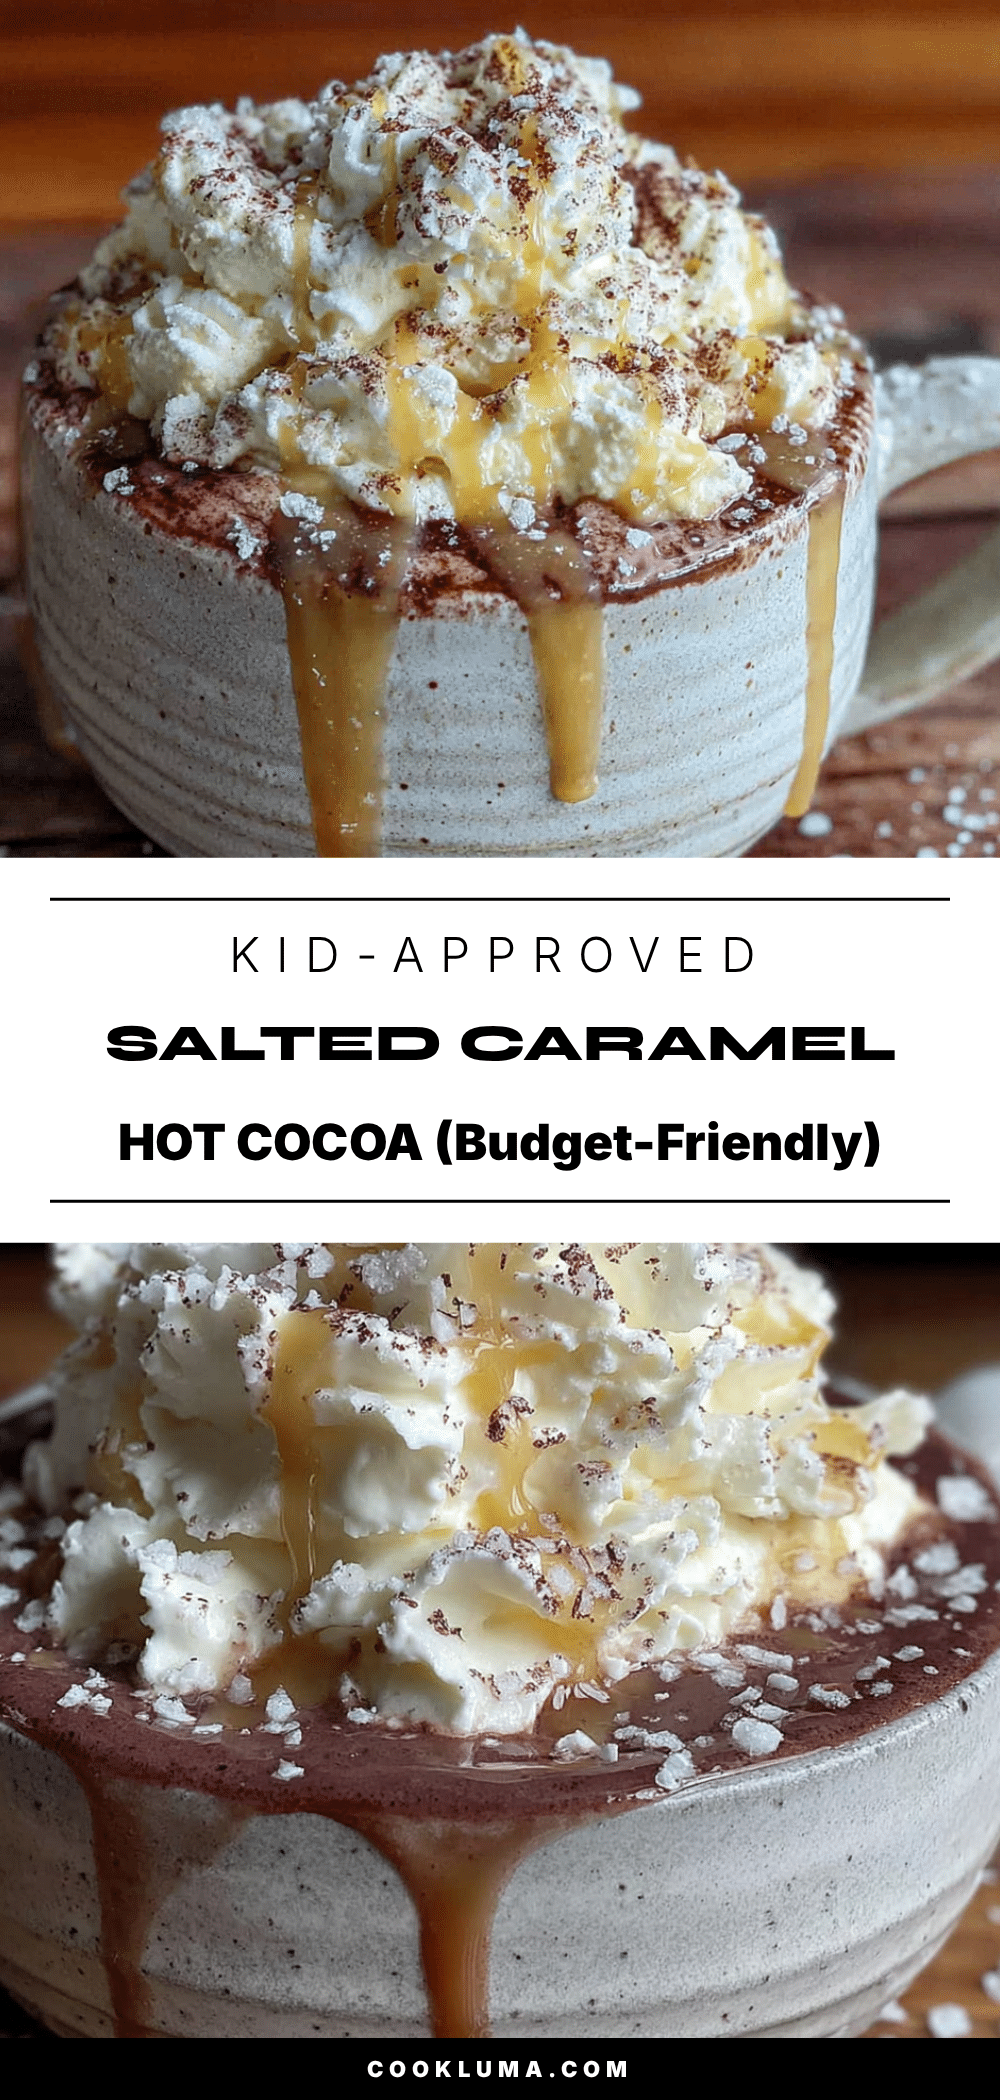
Easy Budget-Friendly Salted Caramel Hot Cocoa Recipe

This salted caramel hot cocoa is a budget-friendly, kid-approved treat made with simple pantry staples. It comes together in under 10 minutes and delivers a rich, creamy flavor that tastes like a million bucks but costs pennies.
- Prep Time: 5 minutes
- Cook Time: 5 minutes
- Total Time: 10 minutes
- Yield: 2 servings 1x
- Category: Beverage
- Cuisine: American
Ingredients
- 2 cups whole milk (or any milk you prefer)
- 2 tablespoons unsweetened cocoa powder
- 2 tablespoons granulated sugar
- 1 tablespoon salted butter
- 1/4 teaspoon sea salt
- 1/2 teaspoon vanilla extract
- 2 tablespoons hot water
- Optional toppings: mini marshmallows, whipped cream, or a drizzle of store-bought caramel sauce
Instructions
- In a small saucepan, whisk together the cocoa powder and hot water until you have a smooth, thick paste. Let it sit for 30 seconds.
- Pour in the milk slowly while whisking to incorporate the paste evenly.
- Whisk in the sugar and sea salt until dissolved.
- Place the saucepan over medium heat. Whisk occasionally until the milk is hot but not boiling (small bubbles around the edges). This takes about 3-4 minutes.
- Once the milk is hot, add the butter and whisk until completely melted and incorporated.
- Remove from heat and stir in the vanilla extract. Taste and adjust sweetness or salt if needed.
- Pour into mugs and top with desired toppings.
Notes
Don’t skip blooming the cocoa powder in hot water—it deepens the flavor and prevents lumps. Use medium heat to avoid scorching the milk. Adjust salt to taste; start with 1/4 teaspoon and add more if desired. For dairy-free, use oat milk and plant-based butter. Leftovers can be stored in the fridge for up to 3 days and reheated gently.
Nutrition
- Serving Size: 1 cup
- Calories: 220
- Sugar: 20
- Sodium: 320
- Fat: 12
- Saturated Fat: 7
- Carbohydrates: 24
- Fiber: 2
- Protein: 8
Keywords: salted caramel hot cocoa, hot chocolate, budget-friendly, easy, kid-friendly, snow day, homemade


