There used to be a tiny café tucked behind a hardware store on Main Street that made the most incredible banana bread. It wasn’t fancy—no glaze, no fuss, just this perfectly domed loaf with a tender crumb and walnuts in every single bite. When they closed abruptly two winters ago, I honestly felt a little lost. I mean, that bread had gotten me through early mornings, rainy afternoons, and a dozen housewarming parties where I showed up empty-handed because I’d forgotten to bake something. The loss hit harder than I expected, you know?
After about seven tries—including one that turned out so dense I could have used it as a doorstop—I finally got it. This wholesome one-bowl banana nut bread is the exact replica of that café loaf, maybe even better. The secret? Using really ripe bananas (the spotty ones nobody wants to eat) and a trick I learned from a pastry chef friend about resting the batter for ten minutes before baking. It makes the crumb so tender, let me tell you.
What I love most about this recipe is that it doesn’t pretend to be health food, but it also doesn’t make you feel guilty about having a second slice. It’s that perfect middle ground—wholesome enough for breakfast, indulgent enough for dessert. Maybe you’ve been chasing a memory like this too, a specific flavor from a place that no longer exists. Well, this one’s for you.
Why You’ll Love This Recipe
I’ve tested this wholesome one-bowl banana nut bread more times than I care to admit, and every single batch has taught me something new. Here’s why this version stands out from the dozens of banana bread recipes floating around the internet.
- Quick & Easy : Comes together in under 15 minutes of active prep, then the oven does the rest. Perfect for those mornings when you realize you have company coming in two hours.
- Simple Ingredients : No fancy grocery trips needed. You likely already have everything in your kitchen—flour, sugar, eggs, butter, and those sad bananas on your counter.
- Perfect for Everyday Indulgence : Great for breakfast with coffee, an afternoon snack, or a late-night treat that won’t leave you feeling heavy.
- Crowd-Pleaser : I’ve brought this to book club, potlucks, and family dinners. It disappears every single time, and people always ask for the recipe.
- Unbelievably Delicious : The texture is what gets you—moist but not gummy, tender but with structure, and those toasted walnuts add the perfect crunch.
What makes this recipe different from the rest is the resting technique. Most banana bread recipes tell you to mix and bake immediately. But letting the batter sit for ten minutes allows the flour to fully hydrate, which creates a more tender crumb without overmixing. It’s a tiny step that makes a huge difference.
This isn’t just another banana bread recipe—it’s the kind that makes you close your eyes after the first bite. It’s comfort food reimagined: a little healthier, a lot more flavorful, but with the same soul-soothing satisfaction you remember from that café or your grandma’s kitchen.
What Ingredients You Will Need
This wholesome one-bowl banana nut bread uses simple, wholesome ingredients to deliver that perfect balance of sweetness, moisture, and crunch. Most of these are pantry staples, which makes this recipe perfect for spontaneous baking sessions.
For the batter:
- 3 large ripe bananas, mashed (about 1½ cups) — the spottier the better, honestly. Overripe bananas are sweeter and easier to mash.
- ⅓ cup unsalted butter, melted (or coconut oil for a dairy-free option) — I prefer Kerrygold butter for its rich flavor, but any unsalted butter works.
- ¾ cup coconut sugar (or brown sugar) — coconut sugar gives a deeper, more caramel-like flavor, but brown sugar works beautifully too.
- 1 large egg, room temperature — this helps everything emulsify smoothly.
- 1 teaspoon vanilla extract — pure vanilla extract makes a noticeable difference here.
- 1 teaspoon baking soda — make sure it’s fresh; test it by dropping a bit in vinegar to see if it fizzes.
- ¼ teaspoon salt — just enough to balance the sweetness.
- 1½ cups whole wheat flour (or all-purpose flour) — whole wheat flour adds fiber and a nutty flavor that pairs perfectly with the bananas and walnuts.
For the add-ins:
- ¾ cup walnuts, roughly chopped — toast them lightly first for extra flavor. I buy raw walnuts and toast them in a dry pan for about 3 minutes.
For the topping (optional but recommended):
- ¼ cup walnut halves — arrange these on top before baking for a beautiful presentation.
- 1 tablespoon turbinado sugar — sprinkle on top for a lovely crunchy crust.
Ingredient selection tip: Look for bananas that are heavily spotted with brown—almost black is even better. They should be soft to the touch and smell sweet. If your bananas aren’t ripe enough, you can speed things up by baking them at 300°F for 15-20 minutes until the skins turn black, then letting them cool before using.
For the walnuts, I recommend buying raw nuts and toasting them yourself. Pre-toasted walnuts can sometimes taste stale or rancid. Just spread them on a baking sheet and toast at 350°F for 5-7 minutes, watching carefully so they don’t burn.
If you need a nut-free version, simply omit the walnuts and add ½ cup of dark chocolate chips or dried fruit instead. The recipe works perfectly without the nuts—it just won’t be banana nut bread anymore!
Equipment Needed
One of the best things about this wholesome one-bowl banana nut bread is how little equipment you need. Here’s what you’ll need:
- 9×5-inch loaf pan — a standard size works best. If you use an 8×4-inch pan, you’ll need to increase the baking time by about 10 minutes.
- Large mixing bowl — any bowl works, but a wide one makes mashing the bananas easier.
- Fork or potato masher — for mashing those bananas. A fork works perfectly; you don’t need anything fancy.
- Wooden spoon or rubber spatula — for mixing the batter. A spatula helps scrape the sides clean.
- Measuring cups and spoons — accurate measurements matter in baking.
- Parchment paper — for lining the pan. This makes cleanup so much easier and prevents sticking.
- Cooling rack — essential for even cooling. If you don’t have one, you can use the oven rack turned upside down.
- Wire whisk — optional but helpful for mixing the dry ingredients evenly.
I’ve made this recipe with a cheap loaf pan from the dollar store and it turned out fine. The key is lining it well with parchment paper. My personal favorite is a USA Pan loaf pan—it distributes heat evenly and the non-stick coating actually works. But honestly, any pan will do.
Preparation Method
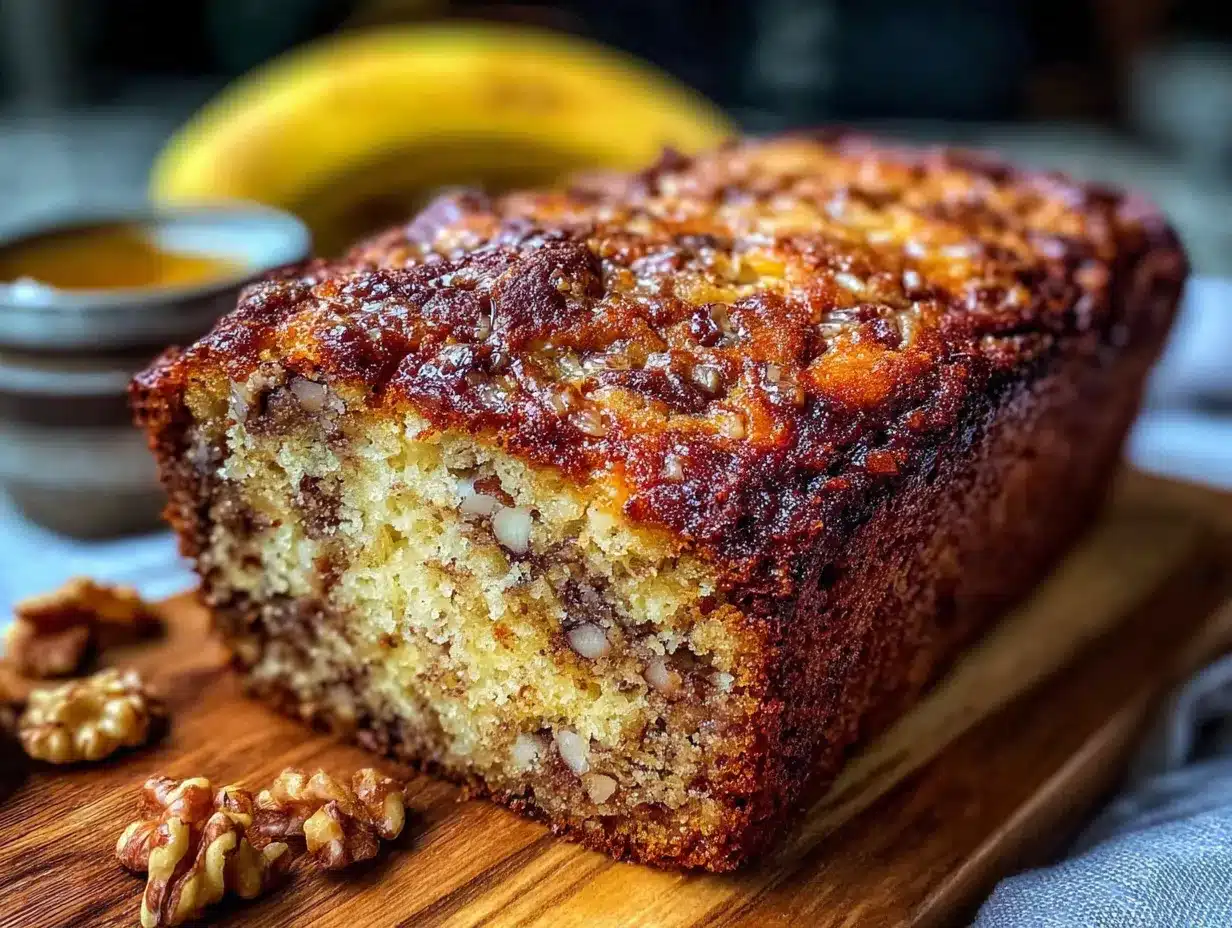
Follow these steps carefully, and you’ll have the most tender, flavorful wholesome one-bowl banana nut bread you’ve ever made.
- Preheat your oven to 350°F (175°C). Position the rack in the center of the oven. Line your 9×5-inch loaf pan with parchment paper, leaving some overhang on the long sides for easy removal. Spray lightly with cooking spray if you’re nervous about sticking.
- Mash the bananas. In your large mixing bowl, add the three ripe bananas. Mash them with a fork until mostly smooth—a few small chunks are fine and actually add nice texture to the finished bread. You should have about 1½ cups of mashed banana.
- Add the wet ingredients. To the mashed bananas, add the melted butter (make sure it’s not hot, just warm), coconut sugar, egg, and vanilla extract. Stir with your wooden spoon or spatula until everything is well combined. The mixture should look smooth and glossy.
- Add the dry ingredients. Sprinkle the baking soda and salt over the wet mixture, then add the flour. Stir gently until just combined—about 15 strokes. You want to see a few streaks of flour still visible. Overmixing at this stage will make your bread tough.
- Fold in the walnuts. Add the chopped walnuts and fold them in with just a few more strokes. The batter will be thick and slightly lumpy—that’s exactly right.
- Rest the batter. Here’s the crucial step: let the batter sit in the bowl for 10 minutes. I know it’s tempting to skip this, but trust me. During this time, the flour absorbs the moisture, which creates a more tender crumb. Set a timer and walk away.
- Transfer to the pan. After the rest, give the batter one gentle stir and scrape it into your prepared loaf pan. Spread it evenly with your spatula. If you’re using the walnut halves for topping, arrange them on top in a single layer. Sprinkle with turbinado sugar if desired.
- Bake. Place the pan in the preheated oven and bake for 50-60 minutes. At the 30-minute mark, check the bread—if the top is browning too quickly, tent it loosely with aluminum foil. The bread is done when a toothpick inserted into the center comes out clean or with a few moist crumbs (not wet batter).
- Cool properly. Let the bread cool in the pan on a wire rack for 15 minutes. Then use the parchment overhang to lift it out and transfer it directly to the cooling rack. Let it cool completely before slicing—about 1 hour. I know it’s hard to wait, but slicing while warm will make the bread crumble.
Sensory cue: Your kitchen should smell like caramelized bananas and toasted nuts. The top should be a deep golden brown, and the loaf should feel firm but spring back slightly when you press the center.
Cooking Tips & Techniques
After making this wholesome one-bowl banana nut bread more times than I can count, I’ve collected a few tricks that make the difference between good banana bread and unforgettable banana bread.
The banana ripeness rule. I cannot stress this enough: use bananas that are almost black. The browner the better. Green or yellow bananas won’t give you that intense banana flavor or the moisture you need. If your bananas aren’t ripe enough, you can microwave them for 30 seconds to soften them, but the flavor won’t be as developed.
Don’t overmix the batter. This is the most common mistake I see. When you overmix, you develop the gluten too much, and your bread turns out tough and dense. Mix until the flour is just incorporated—a few lumps are fine. The batter should look slightly shaggy, not perfectly smooth.
The toothpick test can lie. Sometimes a toothpick comes out clean but the center is still underbaked. The better test? Use an instant-read thermometer inserted into the center of the loaf. It should read 200-205°F (93-96°C). This is especially helpful if you’re using a dark pan that browns the outside faster than the inside cooks.
Room temperature ingredients matter. Cold eggs or butter can cause the batter to seize up, leading to uneven baking. Let your egg sit on the counter for 30 minutes before starting. If you forgot, place it in a bowl of warm water for 5 minutes.
The resting trick. I mentioned this earlier, but it deserves repeating. That 10-minute rest after mixing is non-negotiable if you want a tender crumb. I learned this the hard way after making three loaves that were perfectly edible but not quite right. That tiny pause changed everything.
Baking for altitude. If you live above 3,000 feet, reduce the sugar by 1 tablespoon and increase the flour by 1 tablespoon. You may also need to reduce the baking soda to ¾ teaspoon. This prevents the bread from rising too quickly and collapsing.
Variations & Adaptations
This wholesome one-bowl banana nut bread is incredibly versatile. Here are some variations I’ve tried and loved.
Chocolate Chip Banana Bread. Swap the walnuts for ½ cup of dark chocolate chips. The combination of banana and chocolate is classic for a reason. I like using 60% cacao chips for a more adult flavor. This version is always a hit with kids.
Gluten-Free Version. Use a 1:1 gluten-free flour blend (I recommend Bob’s Red Mill or King Arthur). Add 1 teaspoon of xanthan gum if your blend doesn’t already include it. The texture will be slightly more delicate, so let it cool completely before slicing—seriously, don’t rush this.
Vegan Adaptation. Replace the egg with a flax egg (1 tablespoon ground flaxseed mixed with 3 tablespoons water, let sit for 5 minutes). Use coconut oil instead of butter, and maple syrup instead of honey if you’re using any. The bread will be a bit denser but still delicious. I’ve made this version for vegan friends and they raved about it.
Spiced Banana Bread. Add 1 teaspoon of cinnamon, ½ teaspoon of nutmeg, and ¼ teaspoon of ground ginger to the flour mixture. This gives the bread a warm, cozy flavor that’s perfect for fall. Sometimes I add a pinch of cardamom too—it’s unexpected but amazing.
Blueberry Banana Bread. Fold in 1 cup of fresh or frozen blueberries (don’t thaw if frozen) along with the walnuts. Toss the blueberries in a tablespoon of flour first to prevent them from sinking to the bottom. This version is perfect for summer when berries are in season.
Nut-Free Option. Simply omit the walnuts and add ½ cup of unsweetened shredded coconut or pumpkin seeds instead. The texture will still be great, and it’s perfect for school lunches or nut-free households.
Serving & Storage Suggestions
This wholesome one-bowl banana nut bread is delicious at any temperature, but here’s how to serve and store it for the best experience.
Serving temperature: I actually prefer this bread at room temperature rather than warm. The flavors have time to meld, and the texture is more even. If you want to warm it up, pop a slice in the toaster for about 30 seconds or microwave for 10 seconds. A thin spread of salted butter on a warm slice is pure heaven.
Presentation ideas: For a casual breakfast, serve thick slices on a wooden board with fresh fruit and coffee. For dessert, drizzle slices with a simple glaze made from ½ cup powdered sugar mixed with 2 tablespoons of milk and ½ teaspoon of vanilla. Top with extra toasted walnuts for crunch.
Storage instructions: Store the bread wrapped tightly in plastic wrap or aluminum foil at room temperature for up to 4 days. Do not refrigerate—it will dry out the bread. If you live in a humid climate, store it in an airtight container instead of wrapping it.
Freezing instructions: This bread freezes beautifully. Wrap the completely cooled loaf (or individual slices) tightly in plastic wrap, then in aluminum foil. Freeze for up to 3 months. To thaw, leave at room temperature for 2-3 hours or microwave a slice for 20-30 seconds.
Flavor development: Here’s something interesting—this banana bread actually tastes better on day two. The flavors meld together and the moisture distributes more evenly. So if you can resist, make it a day ahead. I’ve tested this side by side, and day two wins every time.
Nutritional Information & Benefits
This wholesome one-bowl banana nut bread is designed to be a better-for-you treat without sacrificing flavor. Here’s what you’re getting in each slice (based on 10 slices):
| Nutrient | Amount per slice |
|---|---|
| Calories | 245 |
| Total Fat | 12g |
| Saturated Fat | 4.5g |
| Carbohydrates | 32g |
| Fiber | 3g |
| Sugar | 16g |
| Protein | 5g |
The whole wheat flour adds fiber and complex carbohydrates, keeping you fuller longer than refined white flour. Bananas are rich in potassium and vitamin B6, which support heart health and energy metabolism. Walnuts provide omega-3 fatty acids and antioxidants that are great for brain health.
This recipe is naturally vegetarian and can easily be made vegan or gluten-free with the substitutions I mentioned earlier. It contains nuts and gluten in its standard form, so be mindful if you’re serving someone with allergies.
What I love about this bread is that it feels like a treat but gives you real nutritional value. It’s the kind of recipe that fits into a balanced lifestyle without making you feel deprived. One slice with your morning coffee is enough to satisfy that sweet craving without derailing your day.
Conclusion
This wholesome one-bowl banana nut bread is more than just a recipe—it’s a memory I finally managed to recreate, and I’m so happy to share it with you. After that little café closed, I thought I’d never taste that bread again. But now I can have it whenever I want, and honestly, it might even be better than the original.
What I love most about this recipe is how forgiving it is. You can use different flours, swap the nuts, add chocolate chips, or make it vegan. It adapts to what you have in your kitchen and still turns out delicious every time. That’s the mark of a truly great recipe, don’t you think?
I’d love to hear how yours turns out. Did you make any substitutions? Did you add chocolate chips or extra spices? Drop a comment below and let me know—I read every single one. And if you loved this recipe, please share it with a friend who needs a little comfort bread in their life. Happy baking!
Frequently Asked Questions
Can I use frozen bananas for this recipe?
Absolutely! Frozen bananas work great. Thaw them completely at room temperature, then drain off any excess liquid before mashing. The texture might be slightly softer, but the flavor will be even more concentrated. I often freeze bananas that are about to go bad specifically for this recipe.
Why did my banana bread sink in the middle?
This usually happens for one of three reasons: the batter was overmixed, the oven temperature was too low, or the bread was underbaked. Make sure your oven is fully preheated to 350°F and use an instant-read thermometer to check for doneness (200-205°F in the center). Also, don’t open the oven door during the first 30 minutes of baking.
Can I make this recipe into muffins instead of a loaf?
Yes! This batter works perfectly for muffins. Divide the batter among a 12-cup muffin tin lined with paper liners. Bake at 350°F for 18-22 minutes, or until a toothpick comes out clean. The baking time will be much shorter, so start checking at 18 minutes. Muffins are great for portion control and freeze beautifully.
How do I make this banana bread dairy-free?
Simply replace the butter with an equal amount of coconut oil or a neutral vegetable oil. Use dairy-free chocolate chips if you’re adding those. The texture will be slightly different—a bit more tender—but still delicious. I’ve made this version many times for friends with dairy sensitivities.
Can I reduce the sugar in this recipe?
You can reduce the sugar to ½ cup without significantly affecting the texture, especially if your bananas are very ripe and sweet. If you go lower than that, the bread might be less tender and won’t brown as nicely. You can also substitute up to half the sugar with unsweetened applesauce for added moisture and natural sweetness.
Pin This Recipe!
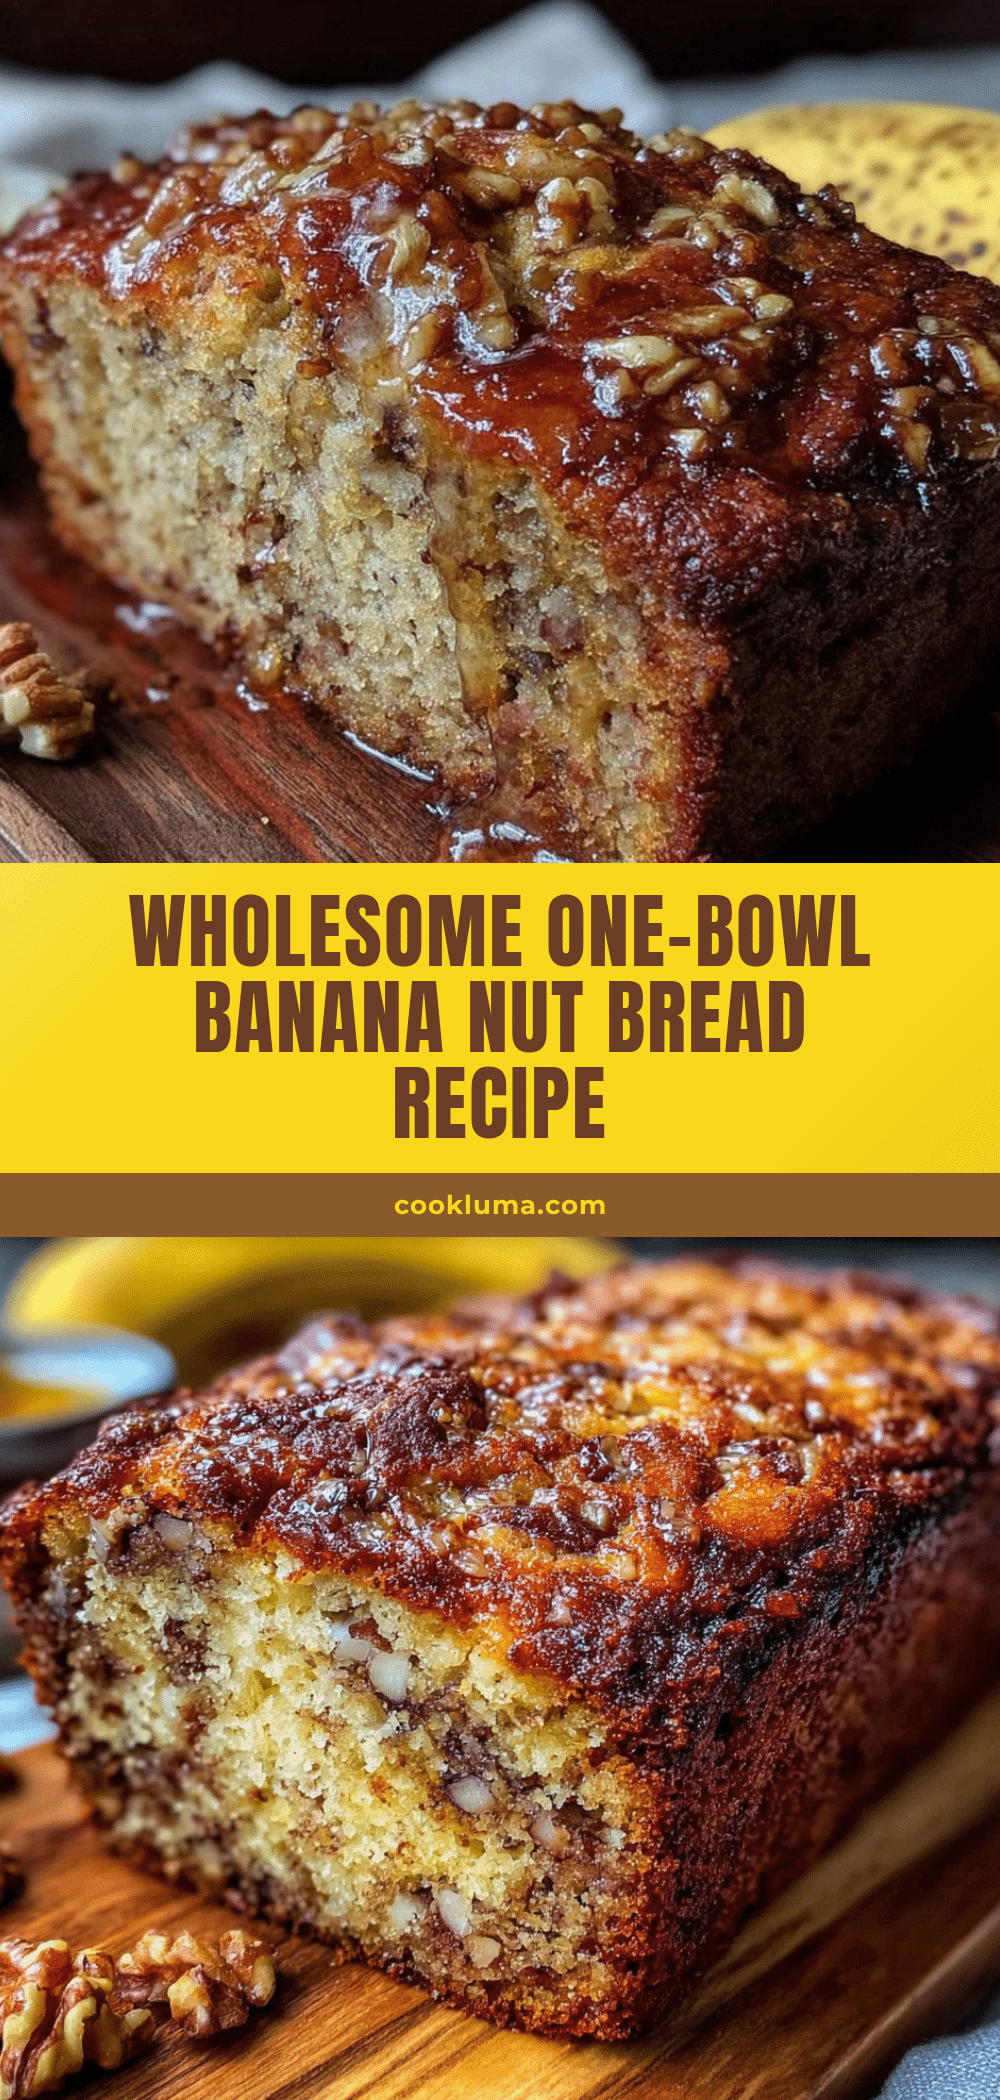
Wholesome One-Bowl Banana Nut Bread: Easy and Perfect
This wholesome one-bowl banana nut bread is the exact replica of a beloved café loaf, featuring a tender crumb and walnuts in every bite. It’s the perfect middle ground—wholesome enough for breakfast, indulgent enough for dessert.
- Prep Time: 15 minutes
- Cook Time: 50-60 minutes
- Total Time: 1 hour 15 minutes
- Yield: 10 servings 1x
- Category: Bread
- Cuisine: American
Ingredients
- 3 large ripe bananas, mashed (about 1½ cups)
- ⅓ cup unsalted butter, melted (or coconut oil for dairy-free)
- ¾ cup coconut sugar (or brown sugar)
- 1 large egg, room temperature
- 1 teaspoon vanilla extract
- 1 teaspoon baking soda
- ¼ teaspoon salt
- 1½ cups whole wheat flour (or all-purpose flour)
- ¾ cup walnuts, roughly chopped
- ¼ cup walnut halves (for topping, optional)
- 1 tablespoon turbinado sugar (for topping, optional)
Instructions
- Preheat your oven to 350°F (175°C). Position the rack in the center of the oven. Line your 9×5-inch loaf pan with parchment paper, leaving some overhang on the long sides for easy removal. Spray lightly with cooking spray if desired.
- In your large mixing bowl, mash the three ripe bananas with a fork until mostly smooth—a few small chunks are fine. You should have about 1½ cups of mashed banana.
- To the mashed bananas, add the melted butter (warm, not hot), coconut sugar, egg, and vanilla extract. Stir with a wooden spoon or spatula until well combined and smooth.
- Sprinkle the baking soda and salt over the wet mixture, then add the flour. Stir gently until just combined—about 15 strokes. A few streaks of flour should still be visible. Do not overmix.
- Fold in the chopped walnuts with just a few more strokes. The batter will be thick and slightly lumpy.
- Let the batter sit in the bowl for 10 minutes. This allows the flour to hydrate, creating a more tender crumb.
- After the rest, give the batter one gentle stir and scrape it into the prepared loaf pan. Spread evenly. If using, arrange walnut halves on top and sprinkle with turbinado sugar.
- Bake for 50-60 minutes. At the 30-minute mark, check the bread—if the top is browning too quickly, tent loosely with aluminum foil. The bread is done when a toothpick inserted into the center comes out clean or with a few moist crumbs (not wet batter).
- Let the bread cool in the pan on a wire rack for 15 minutes. Then use the parchment overhang to lift it out and transfer it directly to the cooling rack. Let it cool completely before slicing—about 1 hour.
Notes
Use heavily spotted, almost black bananas for best flavor and moisture. Do not overmix the batter. The 10-minute rest after mixing is crucial for a tender crumb. For high altitude (above 3,000 feet), reduce sugar by 1 tablespoon, increase flour by 1 tablespoon, and reduce baking soda to ¾ teaspoon. The bread tastes even better on day two.
Nutrition
- Serving Size: 1 slice
- Calories: 245
- Sugar: 16
- Sodium: 200
- Fat: 12
- Saturated Fat: 4.5
- Carbohydrates: 32
- Fiber: 3
- Protein: 5
Keywords: banana nut bread, banana bread, wholesome banana bread, one-bowl banana bread, easy banana bread, walnut banana bread


