There used to be a little diner on the corner of Elm and 4th called Rosie’s that made a baked mac and cheese so creamy, so perfectly crusty on top, that people would drive across town for it. When they closed suddenly two years ago—a “for lease” sign appeared overnight—I actually felt a little pang of grief. I mean, that’s a weird thing to admit about a noodle dish, but it’s true. After about eight tries—some too dry, one that was basically soup—I finally cracked the code. And honestly? This version might even be better than the one I mourned. It’s faster, too, which matters when you’re staring down a 6 PM dinner deadline and a hangry family.
This quick three-cheese baked mac and cheese is my weeknight hero. It comes together in about 20 minutes flat, uses mostly pantry staples, and delivers that golden, bubbly, pull-apart cheese experience without requiring you to stand over a stove making a fussy béchamel. Let me tell you, the first time I made this for my neighbor Jen after a long Tuesday, she actually asked for the recipe before she finished her first helping. That’s the kind of reaction that tells you you’ve got something special.
Maybe you’ve been there—standing in the grocery aisle at 5:30 PM, trying to figure out what to make for dinner that won’t take forever but still feels like comfort food. This recipe is that answer. It’s the kind of dish that makes everyone at the table close their eyes for that first bite, and it’s exactly what I needed after losing my diner fix.
Why You’ll Love This Recipe
I’ve tested this recipe more times than I care to admit—some batches were gluey, others were greasy, and there was that one where I forgot the cheese entirely (don’t ask). But this version? This is the one I keep coming back to, and here’s why it works for real life.
- Quick & Easy: From start to table in about 20 minutes. No complicated roux, no double-boilers, no nonsense. Perfect for those nights when you need dinner on the table before everyone loses their patience.
- Simple Ingredients: You probably already have most of this in your fridge and pantry. No trips to specialty stores or hunting down obscure cheeses. We’re keeping it real here.
- Perfect for Weeknights: This is the definition of a Tuesday night dinner. It’s fast, it’s filling, and it makes everyone happy without making you feel like you spent hours in the kitchen.
- Crowd-Pleaser: Kids love it, adults love it, picky eaters clean their plates. I’ve served this at potlucks and watched it disappear before the main course even got started.
- Unbelievably Delicious: The combination of three cheeses creates this rich, complex flavor that tastes like it simmered for hours. The top gets golden and crispy while the inside stays creamy and indulgent.
What makes this different from every other mac and cheese recipe out there? It’s the technique. Instead of a traditional béchamel that takes forever and can break, we’re using a clever shortcut that creates the same silky texture in half the time. The three cheeses each bring something unique—one for melt, one for flavor, one for that signature stretch. It’s not just another mac and cheese; it’s the one you’ll actually make on a Wednesday when you’re exhausted.
This recipe is the kind that makes you feel like you’ve got dinner handled, even on the hardest days. It’s comfort food that doesn’t require a time machine or a nap first. Honestly, it’s the recipe I turn to when I need something that feels like a hug in a bowl, fast.
What Ingredients You Will Need
This recipe uses simple, honest ingredients to create something that tastes anything but basic. Most of these are probably already hanging out in your kitchen, which is exactly the point.
For the Mac and Cheese Base
- 8 ounces elbow macaroni (or any short pasta—cavatappi, shells, or rotini work great too)
- 2 tablespoons unsalted butter (adds richness and helps create that smooth sauce base)
- 2 tablespoons all-purpose flour (thickens the sauce without making it gluey)
- 1 ½ cups whole milk (room temperature works best for a smoother sauce, but cold is fine in a pinch)
- ½ cup heavy cream (adds that luxurious texture—you can use all milk if needed, but the cream makes a difference)
- ½ teaspoon salt (don’t skip this—cheese needs salt to shine)
- ¼ teaspoon black pepper (freshly ground if you’ve got it)
- ¼ teaspoon garlic powder (optional but highly recommended for depth)
- ¼ teaspoon mustard powder (this is my secret weapon—it brightens the cheese flavor without tasting like mustard)
The Three-Cheese Blend
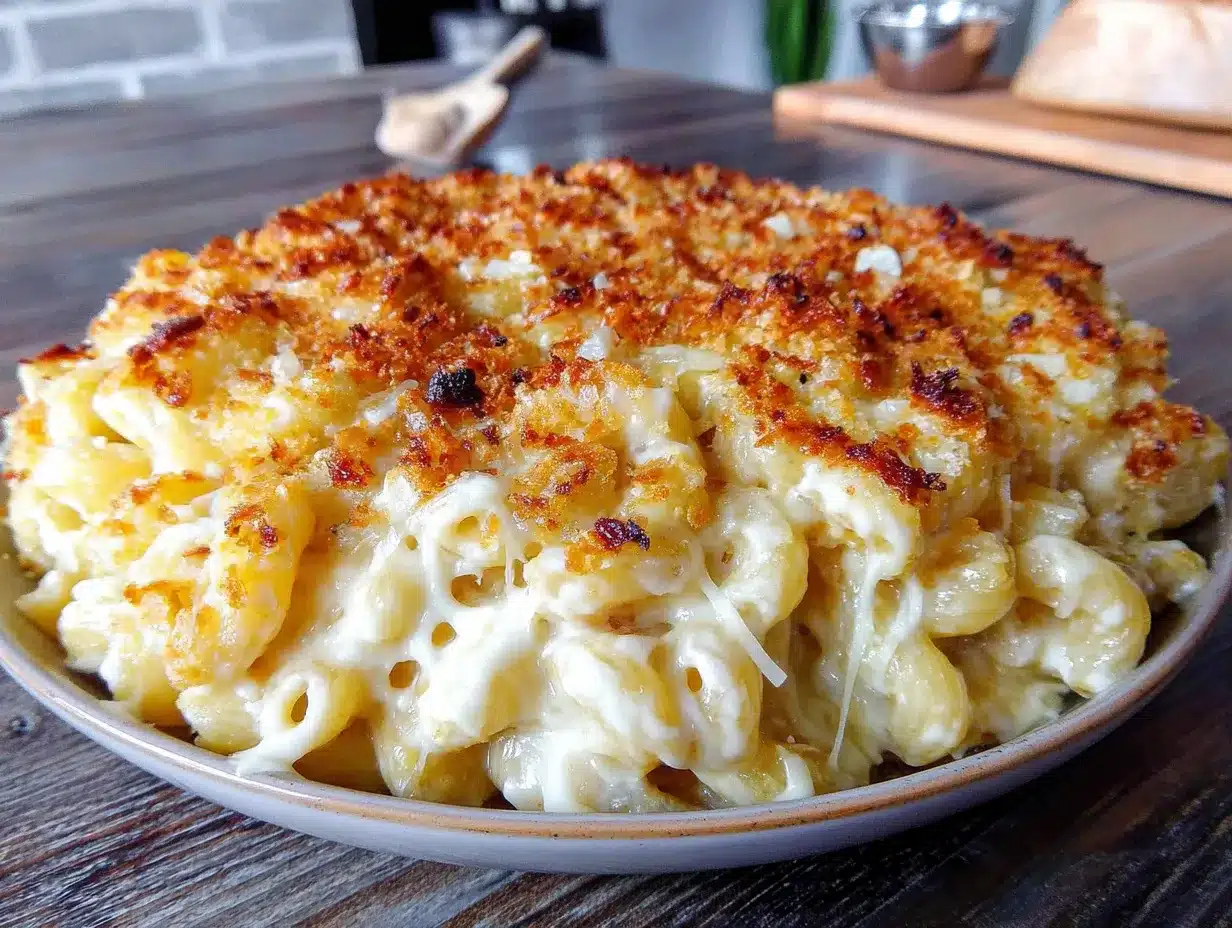
- 1 cup sharp cheddar cheese, shredded (I prefer Tillamook or Cabot for the best melt and flavor—buy a block and shred it yourself, pre-shredded has anti-caking agents that mess with the texture)
- ½ cup Monterey Jack cheese, shredded (this is your stretchy cheese—it melts beautifully and adds that pull-apart goodness)
- ½ cup Gruyère cheese, shredded (adds nutty, complex flavor that takes this from good to memorable—you can substitute with Swiss or Gouda if needed)
For the Topping
- ½ cup panko breadcrumbs (regular breadcrumbs work too, but panko gives that extra-crispy crunch)
- 2 tablespoons butter, melted (helps the breadcrumbs get golden and toasty)
- 2 tablespoons grated Parmesan cheese (adds savory, salty goodness to the topping)
A quick note on cheese selection: I’ve tested this with all sorts of combinations, and this trio really is the sweet spot. The cheddar brings the classic mac and cheese flavor, the Monterey Jack gives you that glorious cheese pull, and the Gruyère adds a sophistication that makes people think you worked way harder than you did. If you’re in a pinch, you can swap the Gruyère for more cheddar, but try it with the real deal at least once—it’s worth it.
For the pasta, I’m partial to elbow macaroni because it’s what mac and cheese is supposed to look like, but honestly, any short pasta works. I’ve made this with shells, rotini, and even bowties when that’s what I had in the pantry. The cooking time stays the same, so feel free to use whatever you’ve got.
Equipment Needed
You don’t need a fancy kitchen to make this recipe work. Here’s what you’ll need:
- Large pot for boiling pasta (4-6 quart works great)
- Medium saucepan for making the cheese sauce
- 8×8 inch baking dish (or similar 2-quart casserole dish—I use a glass one so I can see the bubbles)
- Whisk for smoothing out the sauce (a wooden spoon works in a pinch, but a whisk is better)
- Box grater or food processor for shredding cheese (please, please shred your own—it makes a real difference)
- Measuring cups and spoons
- Colander for draining pasta
- Small bowl for mixing the topping
If you don’t have a baking dish, you can use a cast-iron skillet or even a foil pan in a pinch. I’ve made this in a pie plate before when my good dish was in the sink—it worked fine, just kept an eye on the bake time. And if you don’t have a whisk, honestly, a fork will get the job done, just be prepared to work a little harder at getting the lumps out.
Preparation Method
- Preheat your oven to 400°F (200°C). Get this going first so it’s ready when you are. If your oven runs hot, go with 375°F—we’re just trying to get that topping golden.
- Bring a large pot of salted water to a boil. Add your pasta and cook it for 1-2 minutes less than the package directions say. For elbow macaroni, that’s usually about 6-7 minutes. You want it al dente because it’ll continue cooking in the oven. I’ve made the mistake of cooking it fully before baking, and let me tell you, mushy mac and cheese is a tragedy.
- While the pasta cooks, start your sauce. In a medium saucepan over medium heat, melt the 2 tablespoons of butter. Once it’s bubbling, whisk in the flour. Keep whisking for about 1 minute until it smells slightly nutty and turns a light golden color—this is your roux, and it’s the foundation of everything good about this dish.
- Slowly pour in the milk and cream while whisking constantly. I learned this the hard way—if you dump it all in at once, you’ll get lumps. Add it in a steady stream, whisking the whole time. Keep cooking and stirring until the mixture thickens enough to coat the back of a spoon, about 3-4 minutes. You’ll know it’s ready when you drag your finger across the spoon and it leaves a clean line.
- Remove the saucepan from heat and stir in the salt, pepper, garlic powder, and mustard powder. Then add your shredded cheeses—cheddar, Monterey Jack, and Gruyère—one handful at a time, stirring until each addition is fully melted before adding the next. This prevents the sauce from getting grainy. The sauce should be smooth, glossy, and incredibly cheesy.
- Drain your pasta (don’t rinse it—you want that starch to help the sauce stick) and return it to the pot. Pour the cheese sauce over the top and stir until every piece of pasta is coated. This is where you can taste and adjust seasoning if needed—I sometimes add another pinch of salt here.
- Pour the mac and cheese into your prepared baking dish and spread it into an even layer. In a small bowl, mix the panko breadcrumbs, melted butter, and Parmesan cheese until the breadcrumbs are evenly coated. Sprinkle this mixture over the top of the mac and cheese in an even layer.
- Bake for 10-12 minutes until the topping is golden brown and the edges are bubbly. If you want extra color on top, you can switch the oven to broil for the last 1-2 minutes—but watch it carefully, breadcrumbs burn fast. I may have learned this from personal experience.
- Let it rest for 2-3 minutes before serving. I know it’s hard to wait, but this lets the sauce set up a bit so it’s not runny. Plus, it saves your mouth from that first-degree burn that hot cheese can cause.
Cooking Tips & Techniques
After making this recipe more times than I can count, I’ve picked up a few tricks that make the difference between good mac and cheese and the kind people beg you to bring to parties.
Shred your own cheese. I know, I know, pre-shredded is convenient. But those bags have anti-caking agents that prevent the cheese from melting smoothly. Your sauce will be grainier, and nobody wants grainy mac and cheese. Spend the two minutes shredding a block—it’s worth it.
Don’t overcook your pasta. This is probably the most common mistake I see. If you cook the pasta fully before baking, you’ll end up with mushy noodles that fall apart. Cook it al dente—firm to the bite—and let the oven finish the job. Your texture will be so much better.
Low and slow for the sauce. When you’re making the roux and adding the milk, keep the heat at medium. If you crank it up too high, the milk can scorch and you’ll get brown specks in your beautiful white sauce. I learned this the day I was rushing and ended up with what looked like freckled cheese sauce.
Let the cheese come to room temperature. If you can, take your shredded cheese out of the fridge about 15 minutes before you start cooking. Cold cheese can seize up the sauce and make it clumpy. Room temperature cheese melts like a dream.
Toast your breadcrumbs first. For an extra-crunchy topping, you can toast the panko in a dry skillet for 2-3 minutes before mixing with the butter and Parmesan. It adds another layer of texture that makes the contrast between creamy pasta and crispy top even more dramatic.
Make it ahead. You can assemble the whole dish (without the topping) up to 24 hours in advance. Just cover and refrigerate, then add the topping and bake when you’re ready. Add about 5 minutes to the bake time if it’s going in cold from the fridge.
Variations & Adaptations
One of the things I love about this recipe is how flexible it is. Here are some ways to make it your own:
Add Some Protein: Stir in 1 cup of cooked, crumbled bacon, diced ham, or shredded rotisserie chicken before baking. I made this with leftover pulled pork once, and it was absolutely ridiculous in the best way.
Veggie Boost: Toss in 1 cup of steamed broccoli florets, sautéed mushrooms, or roasted cherry tomatoes. My kids actually eat broccoli when it’s covered in this cheese sauce—don’t tell them it’s healthy.
Spice It Up: Add ½ teaspoon of cayenne pepper or smoked paprika to the cheese sauce for a kick. Or stir in some diced jalapeños for a spicy twist that pairs perfectly with the creamy cheese.
Gluten-Free Version: Use gluten-free pasta and swap the all-purpose flour for a gluten-free all-purpose blend or cornstarch (use 1 tablespoon cornstarch mixed with 2 tablespoons cold water to make a slurry). The texture will be slightly different, but it’s still delicious.
Lighter Option: Substitute the heavy cream with evaporated milk and use reduced-fat cheese. It won’t be quite as luxurious, but it still satisfies that mac and cheese craving without the full calorie load.
Different Cheese Combos: Try smoked gouda, fontina, or pepper jack in place of the Monterey Jack. Each brings a different personality to the dish. I did a batch with smoked gouda and sharp white cheddar that tasted like something from a fancy restaurant.
Extra Crunchy Topping: Crush some potato chips or Ritz crackers and mix them into the breadcrumb topping. It adds salt and crunch that’s absolutely addictive.
Serving & Storage Suggestions
This mac and cheese is best served hot, straight from the oven, when the cheese is still stretchy and the topping is crispy. I like to let it sit for just 2-3 minutes after baking—enough to set up a bit but still piping hot.
For presentation, scoop it onto plates with a large spoon, making sure to get some of that golden topping on each serving. A sprinkle of fresh parsley or chives on top adds a pop of color and freshness that cuts through the richness.
This pairs beautifully with a simple side salad dressed with lemon vinaigrette—the acidity balances the creamy cheese. It’s also fantastic alongside roasted vegetables like asparagus or green beans. And honestly? Sometimes I just eat a bowl of this with a spoon and call it dinner.
Storage: Leftovers can be refrigerated in an airtight container for up to 4 days. The topping will lose some of its crunch, but the flavor will still be there. To reheat, add a splash of milk and microwave in 30-second intervals, stirring between each, or reheat in a 350°F oven for about 10 minutes covered with foil.
Freezing: You can freeze this mac and cheese for up to 3 months. Assemble it without the topping, wrap tightly in foil, and freeze. When you’re ready to eat, thaw overnight in the fridge, add the topping, and bake as directed, adding about 10 minutes to the bake time. I’ve done this for busy weeks and it’s a lifesaver.
The flavors actually develop and deepen overnight, so leftovers the next day are almost better than the fresh version. Not that it usually lasts that long in my house.
Nutritional Information & Benefits
Let’s be real—this is comfort food, not health food. But that doesn’t mean it can’t fit into a balanced diet. Here’s the estimated nutrition per serving (based on 6 servings):
| Nutrient | Amount Per Serving |
|---|---|
| Calories | 420 |
| Protein | 18g |
| Fat | 24g |
| Saturated Fat | 14g |
| Carbohydrates | 35g |
| Fiber | 2g |
| Sugar | 5g |
| Sodium | 520mg |
| Calcium | 350mg (35% DV) |
The cheese provides a good amount of calcium and protein, and the milk adds vitamin D and B vitamins. If you want to boost the nutritional profile, you can mix in some pureed butternut squash or cauliflower—it adds creaminess and nutrients without changing the flavor much. I’ve done this for my kids and they never notice.
This recipe contains dairy and gluten. For a dairy-free version, use plant-based butter, unsweetened almond or oat milk, and dairy-free cheese shreds (the texture will be different, but it still scratches the itch). For gluten-free, use gluten-free pasta and a cornstarch slurry instead of the flour roux.
Conclusion
This quick three-cheese baked mac and cheese is the recipe I turn to when I need dinner to feel special without taking forever. It’s the kind of dish that makes a regular Tuesday feel a little bit like a celebration. After all those attempts to recreate that diner magic, I’ve landed on something that’s honestly better than the original—faster, cheesier, and made in my own kitchen with ingredients I actually have on hand.
I hope you make this your own. Add your favorite mix-ins, swap the cheeses, double the topping—whatever makes you happy. That’s the beauty of a recipe like this: it’s a starting point, not a rulebook. And if you make it and love it, I’d love to hear about it. Drop a comment below and tell me how it turned out, or share your own twist. There’s nothing better than knowing this little recipe is making someone’s dinner a little bit better.
Now go make some mac and cheese. You deserve it.
Frequently Asked Questions
Can I make this mac and cheese without baking it?
Absolutely! If you’re in a real hurry, you can skip the baking step entirely. Just stir the cooked pasta into the cheese sauce, sprinkle the breadcrumb mixture on top, and serve immediately. It won’t have that golden crust, but it’ll still be creamy and delicious.
Why did my cheese sauce turn out grainy?
Grainy cheese sauce usually happens for one of two reasons: the heat was too high when you added the cheese, or you used pre-shredded cheese with anti-caking agents. Keep the heat on low when melting the cheese, and always shred from a block for the smoothest results.
Can I use different types of pasta?
Yes, any short pasta works well here. Shells, rotini, cavatappi, and penne all hold the cheese sauce beautifully. Just adjust the cooking time based on what the package says for that pasta shape.
How do I reheat leftovers without drying them out?
Add a splash of milk (about 1 tablespoon per serving) before reheating. Microwave in 30-second intervals, stirring between each, or reheat in a 350°F oven covered with foil for about 10 minutes. The milk helps restore the creamy texture.
Can I double this recipe for a crowd?
Yes, this recipe doubles beautifully. Use a 9×13 inch baking dish and increase the bake time to about 15-18 minutes. You might need to add a few extra minutes to the stovetop sauce-making as well, since there’s more liquid to thicken.
Pin This Recipe!
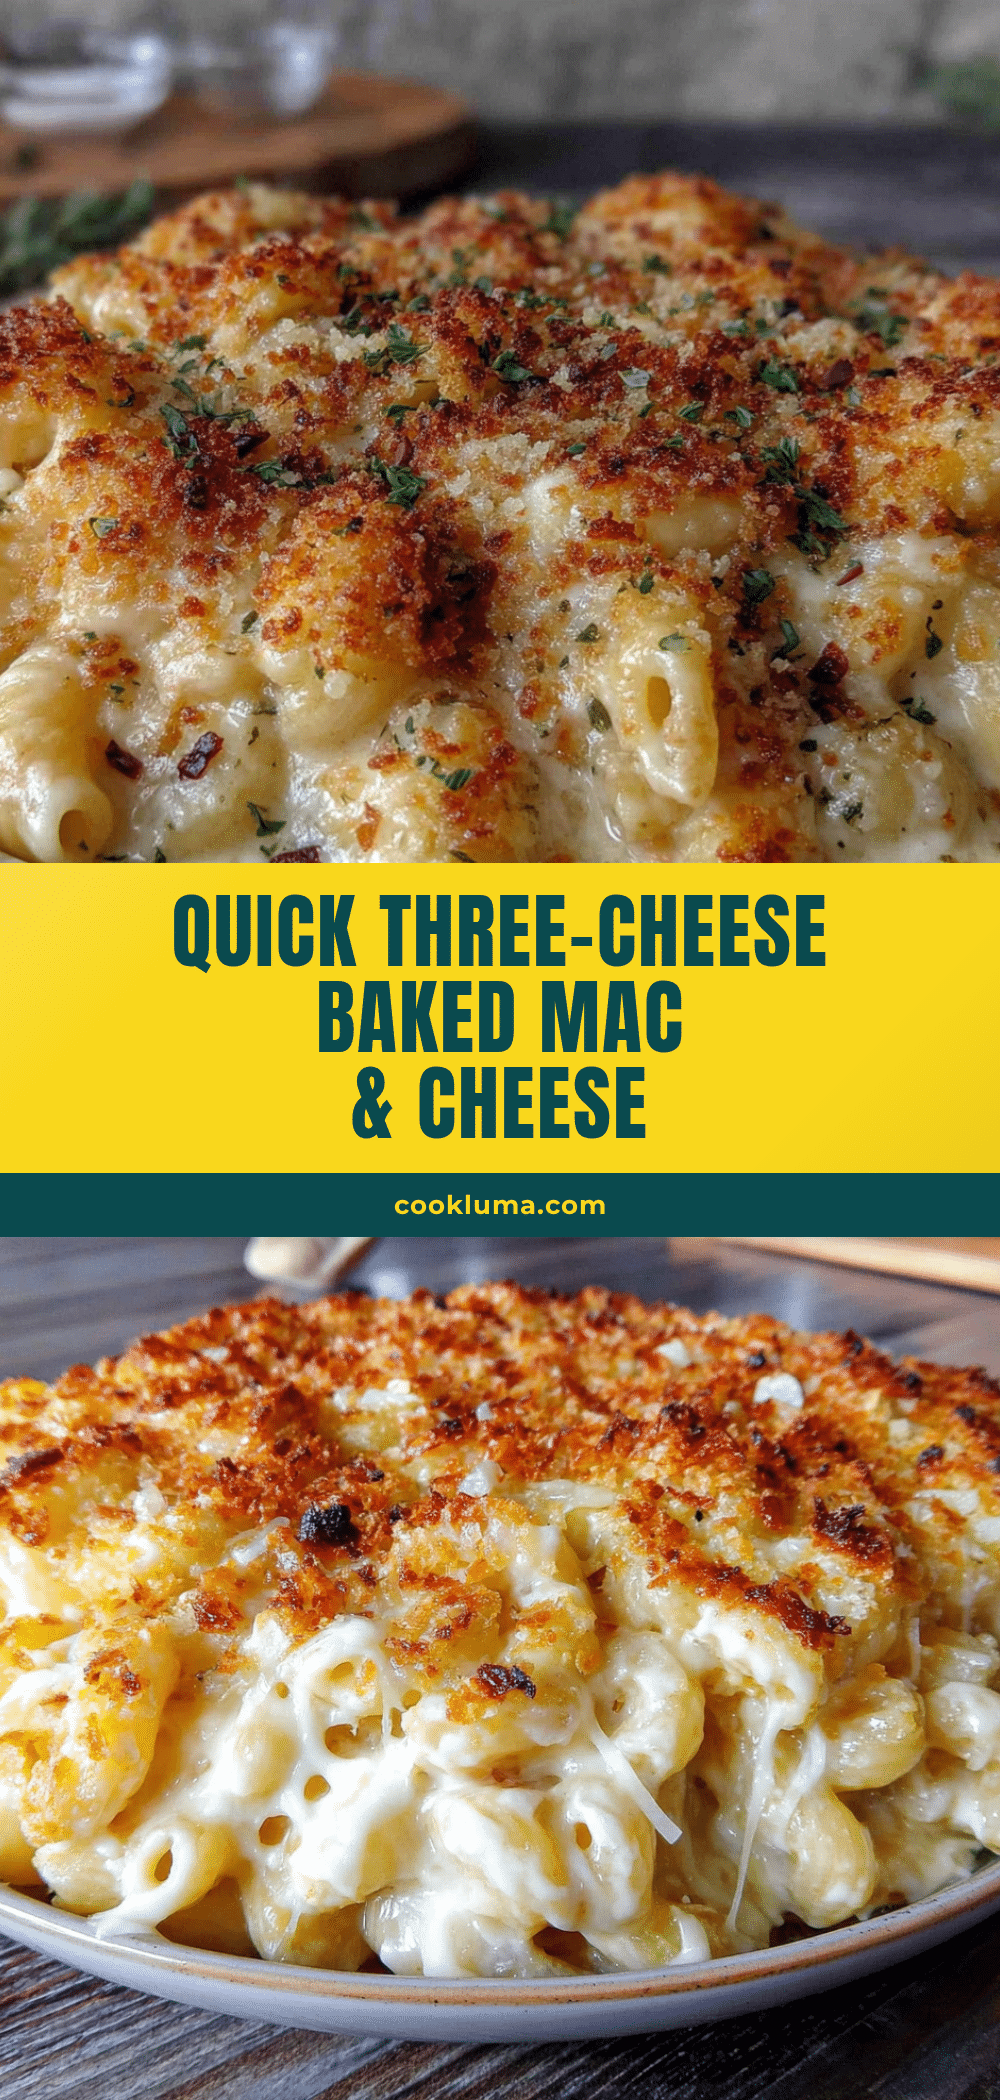
Quick Three-Cheese Baked Mac and Cheese: Easy 20-Minute Dinner
This quick three-cheese baked mac and cheese comes together in about 20 minutes flat, using mostly pantry staples, and delivers that golden, bubbly, pull-apart cheese experience without requiring a fussy béchamel.
- Prep Time: 10 minutes
- Cook Time: 20 minutes
- Total Time: 30 minutes
- Yield: 6 servings 1x
- Category: Main Course
- Cuisine: American
Ingredients
- 8 ounces elbow macaroni
- 2 tablespoons unsalted butter
- 2 tablespoons all-purpose flour
- 1 ½ cups whole milk
- ½ cup heavy cream
- ½ teaspoon salt
- ¼ teaspoon black pepper
- ¼ teaspoon garlic powder
- ¼ teaspoon mustard powder
- 1 cup sharp cheddar cheese, shredded
- ½ cup Monterey Jack cheese, shredded
- ½ cup Gruyère cheese, shredded
- ½ cup panko breadcrumbs
- 2 tablespoons butter, melted
- 2 tablespoons grated Parmesan cheese
Instructions
- Preheat your oven to 400°F (200°C).
- Bring a large pot of salted water to a boil. Add your pasta and cook it for 1-2 minutes less than the package directions say (about 6-7 minutes for elbow macaroni).
- While the pasta cooks, start your sauce. In a medium saucepan over medium heat, melt the 2 tablespoons of butter. Once bubbling, whisk in the flour and cook for about 1 minute until it smells slightly nutty and turns a light golden color.
- Slowly pour in the milk and cream while whisking constantly. Keep cooking and stirring until the mixture thickens enough to coat the back of a spoon, about 3-4 minutes.
- Remove the saucepan from heat and stir in the salt, pepper, garlic powder, and mustard powder. Then add the shredded cheeses (cheddar, Monterey Jack, and Gruyère) one handful at a time, stirring until each addition is fully melted before adding the next.
- Drain your pasta (do not rinse) and return it to the pot. Pour the cheese sauce over the top and stir until every piece of pasta is coated.
- Pour the mac and cheese into an 8×8 inch baking dish and spread into an even layer. In a small bowl, mix the panko breadcrumbs, melted butter, and Parmesan cheese until evenly coated. Sprinkle this mixture over the top.
- Bake for 10-12 minutes until the topping is golden brown and the edges are bubbly. For extra color, broil for the last 1-2 minutes, watching carefully.
- Let it rest for 2-3 minutes before serving.
Notes
Shred your own cheese for best melting. Cook pasta al dente to avoid mushiness. Let cheese come to room temperature before adding to sauce. For extra crunchy topping, toast panko in a dry skillet before mixing. Can be assembled without topping up to 24 hours in advance.
Nutrition
- Serving Size: 1 serving
- Calories: 420
- Sugar: 5
- Sodium: 520
- Fat: 24
- Saturated Fat: 14
- Carbohydrates: 35
- Fiber: 2
- Protein: 18
Keywords: mac and cheese, baked mac and cheese, three-cheese, quick dinner, weeknight dinner, comfort food, cheesy pasta


