I was standing in the frozen foods aisle at Kroger last Tuesday, staring at a bag of pre-trimmed green beans, when the smell hit me. Not from the store—from somewhere deep in my memory. Brown sugar and bacon, that sweet-smoky combo that makes you stop mid-reach for the freezer door. And suddenly I was eight years old at Aunt Jean’s kitchen table, watching her wrap each green bean like she was tying a tiny gift, her fingers moving fast while she hummed along to the radio. She passed away five years ago, and I haven’t thought about those beans in maybe a decade. But there I was, cart abandoned, just standing there trying to hold onto the feeling.
Here’s the thing, though—Aunt Jean’s version was what I’d call a “full commitment” recipe. Half a pound of bacon, a stick of butter, brown sugar by the cupful. Delicious? Absolutely. The kind of thing you’d make for a holiday and then immediately loosen your belt. I mean, I loved it, but honestly, my body doesn’t forgive me the way it used to after a meal like that. So I went home that night determined to figure out a version that kept all the soul-soothing satisfaction but didn’t leave me regretting my life choices the next morning.
After about six attempts—and let me tell you, my family was not complaining about being taste testers—I landed on something special. These Lightened-Up Bacon Wrapped Green Beans with Brown Sugar Glaze hit every single note the original did, but with about half the fat and a fraction of the sugar. The trick? Thinner-cut bacon, a smarter cooking method, and just enough brown sugar to get that caramelized crust without going overboard. Maybe you’ve been there, wanting to recreate a childhood memory but needing it to fit into the way you eat now. This one’s for you.
Why You’ll Love This Recipe
I’ve tested this recipe more times than I care to count, tweaking the bacon thickness, the oven temperature, the glaze ratio. What I landed on is the sweet spot—literally and figuratively. Here’s why this version deserves a permanent spot in your rotation:
- Quick & Easy: Comes together in about 30 minutes with just 10 minutes of active prep. Perfect for weeknight dinners or last-minute holiday side dishes when you realize you forgot to plan ahead (we’ve all been there).
- Simple Ingredients: You need exactly four main ingredients—green beans, bacon, brown sugar, and a touch of butter. Chances are you already have most of these in your kitchen right now.
- Perfect for Entertaining: These little bundles look fancy enough for Thanksgiving or Christmas dinner, but they’re casual enough for a summer barbecue or Sunday potluck. They disappear fast, so make extra.
- Crowd-Pleaser: I’ve served these to picky kids, health-conscious friends, and uncle-who-eats-everything-in-sight types. Every single person goes back for seconds. It’s almost weird how universally loved they are.
- Unbelievably Delicious: The bacon gets crispy, the green beans stay tender-crisp, and that brown sugar glaze caramelizes into something almost candy-like. It’s next-level comfort food that somehow doesn’t weigh you down.
What makes this recipe different from the dozens of other bacon-wrapped green bean recipes out there? It’s the technique. Instead of drowning everything in butter and sugar, I use a light hand with the glaze and a higher oven temperature to render the bacon fat quickly. The result? Crispy, not greasy. Sweet, not cloying. And the green beans actually taste like green beans, not just a vehicle for bacon. This isn’t just another version—it’s the version I’d serve to anyone who thinks “healthy” means “boring.”
What Ingredients You Will Need
This recipe uses simple, wholesome ingredients to deliver that nostalgic flavor without the heavy feeling afterward. Most of these are pantry staples, and I’ve included notes on substitutions so you can adapt based on what you have on hand.
For the Green Bean Bundles
- Fresh green beans, 1 pound (look for firm, bright green beans with no brown spots; I prefer haricots verts for their thinner, more tender texture, but standard green beans work great too)
- Thin-cut bacon, 8-10 slices (this is the key to lightening things up—thin-cut bacon crisps faster and uses less fat than thick-cut; I like Wright Brand or Applegate Farms for consistent quality)
For the Brown Sugar Glaze
- Light brown sugar, 2 tablespoons, packed (adds that caramelized sweetness without overwhelming; dark brown sugar works but has a stronger molasses flavor that can compete with the bacon)
- Unsalted butter, 1 tablespoon, melted (just enough to help the sugar stick and add richness; you can use olive oil for a dairy-free option, though the flavor shifts slightly)
- Garlic powder, 1/2 teaspoon (optional but highly recommended—it cuts through the sweetness and adds a savory note that makes these addictive)
- Salt and black pepper, to taste (go easy on the salt since bacon is already salty; a few cracks of fresh pepper add nice contrast)
Ingredient Selection Tips
For the green beans, I really do recommend fresh over frozen or canned. Frozen beans release too much water during cooking, which steams the bacon instead of letting it crisp. Canned beans are too soft and will fall apart when you try to wrap them. Fresh beans hold their shape and give you that satisfying snap when you bite into them.
As for the bacon, I’ve tested this with turkey bacon and it works in a pinch, but honestly, the texture isn’t the same. Turkey bacon doesn’t render fat the same way, so you end up with chewier bundles. If you’re watching sodium, look for a low-sodium bacon option instead. And please don’t use thick-cut bacon here—it takes too long to cook through, and by the time it’s done, the green beans are overcooked and sad.
One more thing about the brown sugar: I know some recipes call for a full half cup of sugar per pound of beans. Trust me when I say two tablespoons is plenty. You want that glaze to be a whisper, not a shout. It lets the natural sweetness of the green beans and the smoky bacon shine through.
Equipment Needed
You don’t need anything fancy for this recipe, which is part of why I love it. Here’s what you’ll need:
- Baking sheet, rimmed (a standard half-sheet pan works perfectly; the rim is important to catch any bacon drippings and prevent a mess in your oven)
- Parchment paper or aluminum foil (lining the pan makes cleanup infinitely easier—trust me on this one)
- Wire cooling rack (optional but highly recommended; placing it on the baking sheet allows heat to circulate around the bundles, making the bacon crispier on all sides)
- Sharp knife or kitchen shears (for trimming the green bean ends and cutting bacon slices in half if needed)
- Small bowl (for mixing the glaze ingredients)
- Pastry brush or small spoon (for applying the glaze evenly)
If you don’t have a wire cooling rack, no worries. You can place the bundles directly on the parchment-lined baking sheet. Just flip them halfway through cooking so the bottoms get crispy too. I’ve done it both ways, and while the rack gives slightly better results, the difference isn’t dramatic enough to stress about.
One tool I’d recommend investing in if you make these often: a good pair of kitchen shears. They make trimming green bean ends and cutting bacon so much faster than using a knife. I picked mine up for about eight bucks at a kitchen supply store, and they’ve paid for themselves in time saved.
Preparation Method
Let me walk you through this step by step. I’ve included timing estimates and sensory cues so you know exactly what to look for at each stage. The first time I made these, I overcooked the beans because I wasn’t paying attention to the visual cues. Learn from my mistakes!
Step 1: Preheat and Prep (5 minutes)
Preheat your oven to 400°F (200°C). Line a rimmed baking sheet with parchment paper or aluminum foil. If you’re using a wire rack, place it on top of the lined sheet. The rack isn’t mandatory, but it does help the bacon crisp up more evenly.
While the oven heats, rinse your green beans under cold water and pat them dry with a clean kitchen towel. Trim off the stem ends—just the tough little tip, not the whole end. You can leave the tail ends intact for a prettier presentation, or trim them off if you’re feeling particular. I usually leave them on because I’m lazy and they look nice.
Step 2: Blanch the Green Beans (3 minutes)
Bring a large pot of salted water to a boil. Add the green beans and cook for exactly 2 minutes. You’re not trying to cook them through—just soften them slightly so they’re pliable enough to wrap without snapping. Immediately transfer them to a bowl of ice water to stop the cooking process. This is called shocking, and it locks in that bright green color and keeps the beans tender-crisp.
Let the beans sit in the ice water for about 2 minutes, then drain them well and pat them completely dry. This is important—any excess water will steam the bacon instead of letting it crisp. I learned this the hard way when my first batch came out soggy.
Step 3: Wrap the Bundles (10 minutes)
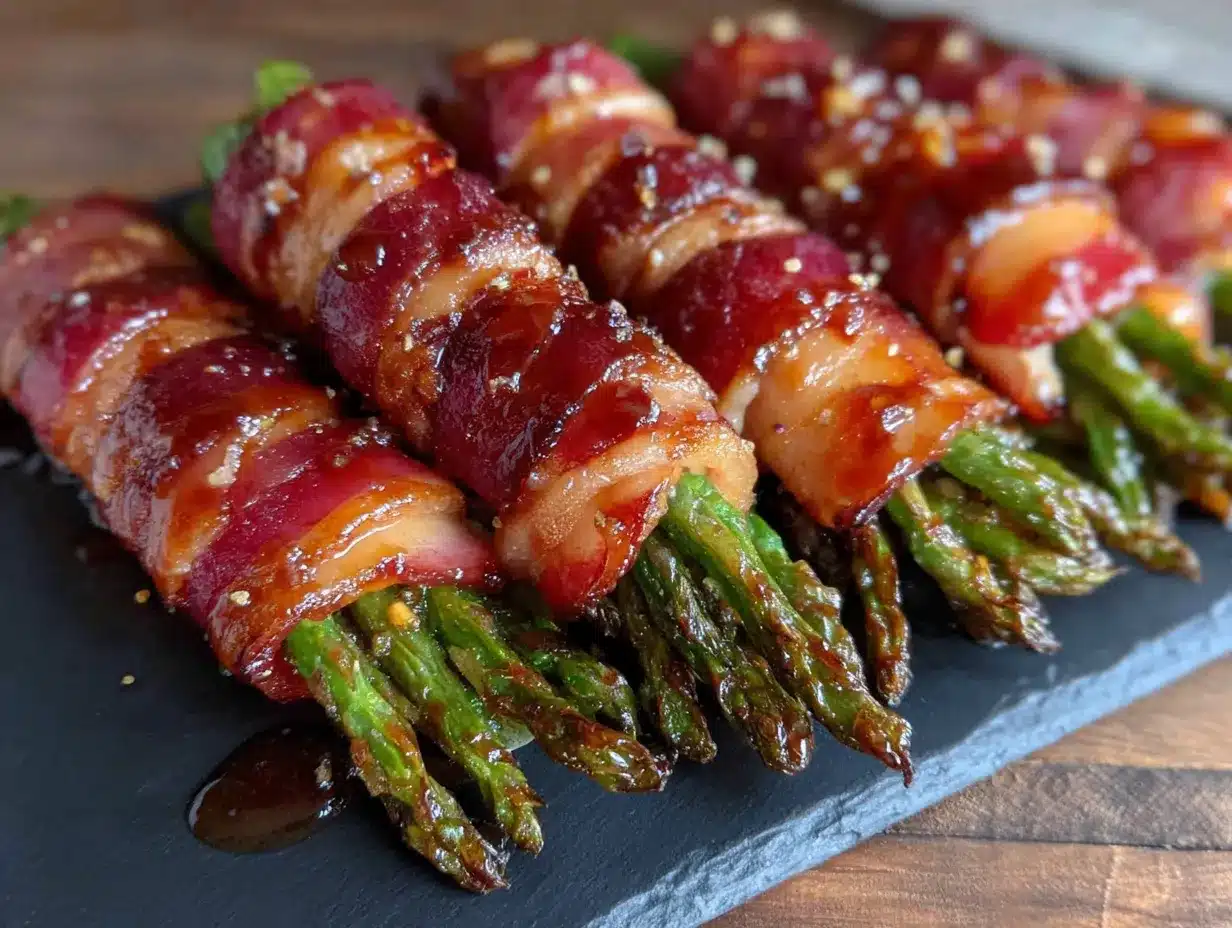
Divide the green beans into 8 to 10 bundles, each containing about 8 to 10 beans depending on their thickness. Take one slice of bacon and wrap it around the middle of each bundle, stretching the bacon slightly as you go. The bacon should overlap just slightly at the ends. Place each bundle seam-side down on the prepared baking sheet or wire rack.
If your bacon slices are particularly long, you can cut them in half crosswise before wrapping. This gives you thinner strips that crisp up faster. I started doing this after my third batch and haven’t looked back.
Step 4: Make the Glaze (2 minutes)
In a small bowl, combine the packed brown sugar, melted butter, garlic powder (if using), and a pinch of black pepper. Stir until it forms a smooth paste. It should be thick but spreadable—if it seems too thick, add a tiny splash of water. If too thin, add a pinch more brown sugar.
Step 5: Glaze and Bake (18-20 minutes)
Using a pastry brush or the back of a small spoon, spread a thin layer of the glaze over the top of each bacon-wrapped bundle. Don’t drown them—just a light coating. Reserve any remaining glaze for later.
Bake for 15 minutes, then remove from the oven and brush on another light layer of glaze. Return to the oven and bake for another 3 to 5 minutes, until the bacon is crispy and the glaze is bubbling and caramelized. The edges of the bacon should be dark and crisp, and the green beans should be tender when pierced with a fork but still hold their shape.
Here’s a sensory cue to watch for: when the glaze starts bubbling and turning a deep amber color, you’re almost there. The kitchen will smell like a cross between breakfast and dessert, which is exactly what you want.
Step 6: Rest and Serve (2 minutes)
Remove the baking sheet from the oven and let the bundles rest for 2 minutes on the pan. This allows the glaze to set slightly so it doesn’t slide off when you move them. Transfer to a serving platter and serve warm.
A quick note: these are best served within 15 minutes of coming out of the oven. They’ll still be good at room temperature, but the bacon loses its crispness as they cool. If you’re making them for a party, time the baking so they come out right when you’re ready to serve.
Cooking Tips & Techniques
Over the course of testing this recipe, I made every mistake in the book so you don’t have to. Here’s what I learned:
Don’t skip the blanching step. I know it’s an extra pot to wash, but it makes a huge difference. Raw green beans are too stiff to wrap neatly, and they won’t cook through in the same time it takes the bacon to crisp. Blanching for exactly 2 minutes gives you that perfect tender-crisp texture that holds up to the bacon without being mushy.
Pat everything dry. Wet green beans create steam, which prevents the bacon from getting crispy. Wet bacon creates the same problem. After blanching, really take the time to dry those beans thoroughly. I usually lay them out on a clean kitchen towel and roll them up gently to absorb the moisture.
Watch your oven like a hawk. Every oven runs differently, and the difference between perfectly caramelized and burnt happens fast. I ruined an entire batch once because I got distracted by a phone call. Set a timer, check at the 15-minute mark, and keep an eye on that last stretch. The glaze can go from golden to black in under a minute.
Make extra glaze if you’re a glaze person. The recipe as written gives you just enough for a light coating on each bundle. If you like things on the sweeter side, double the glaze ingredients and apply a thicker layer at the start. Just be aware that more sugar means a higher risk of burning, so watch the oven even more carefully.
Use the rack position to your advantage. For the crispiest bacon, place your baking sheet on the upper third of the oven. This puts the bundles closer to the heating element, which helps the bacon render faster. If you’re also cooking a main dish at the same time, adjust accordingly, but keep that upper rack position in mind.
Variations & Adaptations
One of the best things about this recipe is how easily it adapts to different tastes and dietary needs. Here are some variations I’ve tried and loved:
Spicy Chipotle Version
Add 1/2 teaspoon of chipotle powder and a pinch of cayenne to the brown sugar glaze. The smoky heat from the chipotle pairs beautifully with the bacon, and the cayenne gives it a subtle kick that builds as you eat. I made this version for a game day party and got asked for the recipe by three different people.
Maple-Bacon Variation
Replace the brown sugar with 2 tablespoons of pure maple syrup. The flavor is slightly less caramelized and more distinctly maple, which works wonderfully if you’re serving these alongside breakfast or brunch dishes. Reduce the butter to 1/2 tablespoon since the syrup is thinner than the sugar paste.
Garlic-Herb Twist
Skip the brown sugar entirely and make a savory version with 1 tablespoon of olive oil, 2 minced garlic cloves, 1 teaspoon of fresh thyme leaves, and a pinch of red pepper flakes. Brush this mixture over the bundles before baking. This version is less sweet and more herbaceous—perfect if you’re serving these with roasted meats or a heavy main course.
Dairy-Free Adaptation
Use coconut oil or olive oil instead of butter in the glaze. The flavor will be slightly different, but it still works beautifully. Just make sure your bacon is dairy-free as well (most are, but some brands add flavorings that contain dairy).
Vegetarian Option (Sort Of)
Okay, this one’s a stretch, but if you’re cooking for someone who doesn’t eat pork, you can use turkey bacon or even thick-cut vegetarian bacon strips. The texture won’t be quite the same, and the cooking time may need adjustment. Turkey bacon tends to cook faster, so start checking at the 12-minute mark.
Serving & Storage Suggestions
These bundles are best served warm, right after the glaze has set. I like to arrange them on a platter in a single layer, slightly overlapping, with a sprinkle of fresh cracked pepper or a few flakes of sea salt on top. The contrast of the salty finish against the sweet glaze is just gorgeous.
For a holiday spread, they pair beautifully with roasted turkey, ham, or prime rib. For a weeknight dinner, they’re fantastic alongside grilled chicken or fish. I’ve even served them as an appetizer at cocktail parties, and they disappear faster than almost anything else on the table.
If you have leftovers (which, let’s be honest, rarely happens), store them in an airtight container in the refrigerator for up to 3 days. The bacon will lose its crispness, but the flavor will still be there. To reheat, place them on a baking sheet in a 350°F oven for 5 to 7 minutes, or until heated through. Avoid the microwave—it turns the bacon rubbery and the green beans mushy.
I don’t recommend freezing these. The green beans become watery when thawed, and the bacon texture suffers significantly. If you want to prep ahead, you can blanch the green beans and make the glaze up to 2 days in advance. Assemble and bake right before serving.
One more thing: the flavors actually meld and deepen slightly after a day in the fridge. If you’re making these for a holiday, you could assemble them the night before (without the glaze), refrigerate, then glaze and bake the next day. Just add an extra 2 to 3 minutes to the baking time since they’ll be starting from cold.
Nutritional Information & Benefits
Here’s the thing about these bundles that I love: they feel indulgent, but they’re actually pretty reasonable. Each serving (about 2 bundles) contains approximately:
- Calories: 180-200
- Protein: 8g
- Fat: 12g (mostly from the bacon)
- Carbohydrates: 12g
- Fiber: 3g
- Sugar: 8g (about half of what you’d get in a traditional recipe)
Green beans are a solid source of vitamin C, vitamin K, and fiber. They’re low in calories but high in volume, which helps you feel satisfied without overdoing it. The bacon provides protein and a little bit of fat, which helps with satiety. And that small amount of brown sugar? It’s just enough to satisfy your sweet tooth without spiking your blood sugar the way a full-sugar glaze would.
If you’re watching your sodium intake, look for a low-sodium bacon and skip the added salt in the glaze. You can also use turkey bacon to reduce the fat content further, though the texture will be different as I mentioned earlier.
For anyone following a gluten-free diet, this recipe is naturally gluten-free as long as you check your bacon label. Most bacon is gluten-free, but some brands use flavorings that contain gluten, so it’s worth verifying.
Conclusion
These Lightened-Up Bacon Wrapped Green Beans with Brown Sugar Glaze have become my go-to side dish for pretty much any occasion. They remind me of Aunt Jean’s kitchen, but they fit into the way I actually eat now—mindful, balanced, and full of flavor without the guilt. Every time I make them, I think about that moment in the grocery store aisle, and I’m grateful I followed the memory home.
I’d love to hear how these turn out for you. Did you try one of the variations? Add your own twist? Burn the first batch like I did? Drop a comment below and let me know. And if you’re looking for another side dish that hits that sweet-savory spot, you might enjoy these honey glazed carrots with thyme—they’ve got a similar vibe but with a completely different flavor profile.
Go make these for your next dinner, holiday, or just a Tuesday that needs a little something special. I promise you won’t regret it.
Frequently Asked Questions
Can I use frozen green beans instead of fresh?
I really don’t recommend it. Frozen green beans release too much water as they cook, which creates steam and prevents the bacon from getting crispy. You’ll end up with soggy bacon and mushy beans. Fresh green beans are worth the extra few minutes of prep.
How do I keep the bacon from unraveling during baking?
Place the bundles seam-side down on the baking sheet. The weight of the bundle holds the bacon in place as it cooks. If you’re still worried about it, you can secure each bundle with a toothpick, but I’ve never found it necessary with thin-cut bacon.
Can I make these ahead of time for a party?
You can blanch the green beans and make the glaze up to 2 days ahead. Assemble and bake right before serving for the best texture. If you absolutely must bake them ahead, reheat in a 350°F oven for 5-7 minutes to restore some crispness.
What if I don’t have a wire cooling rack?
No problem! Place the bundles directly on the parchment-lined baking sheet. Just flip them halfway through cooking so the bottoms get crispy too. The results are slightly less even, but still delicious.
Can I double this recipe for a crowd?
Absolutely. Just use two baking sheets and rotate them halfway through baking. Make sure the bundles aren’t touching on the pan—they need space for the hot air to circulate. If they’re crowded, they’ll steam instead of crisp.
Pin This Recipe!
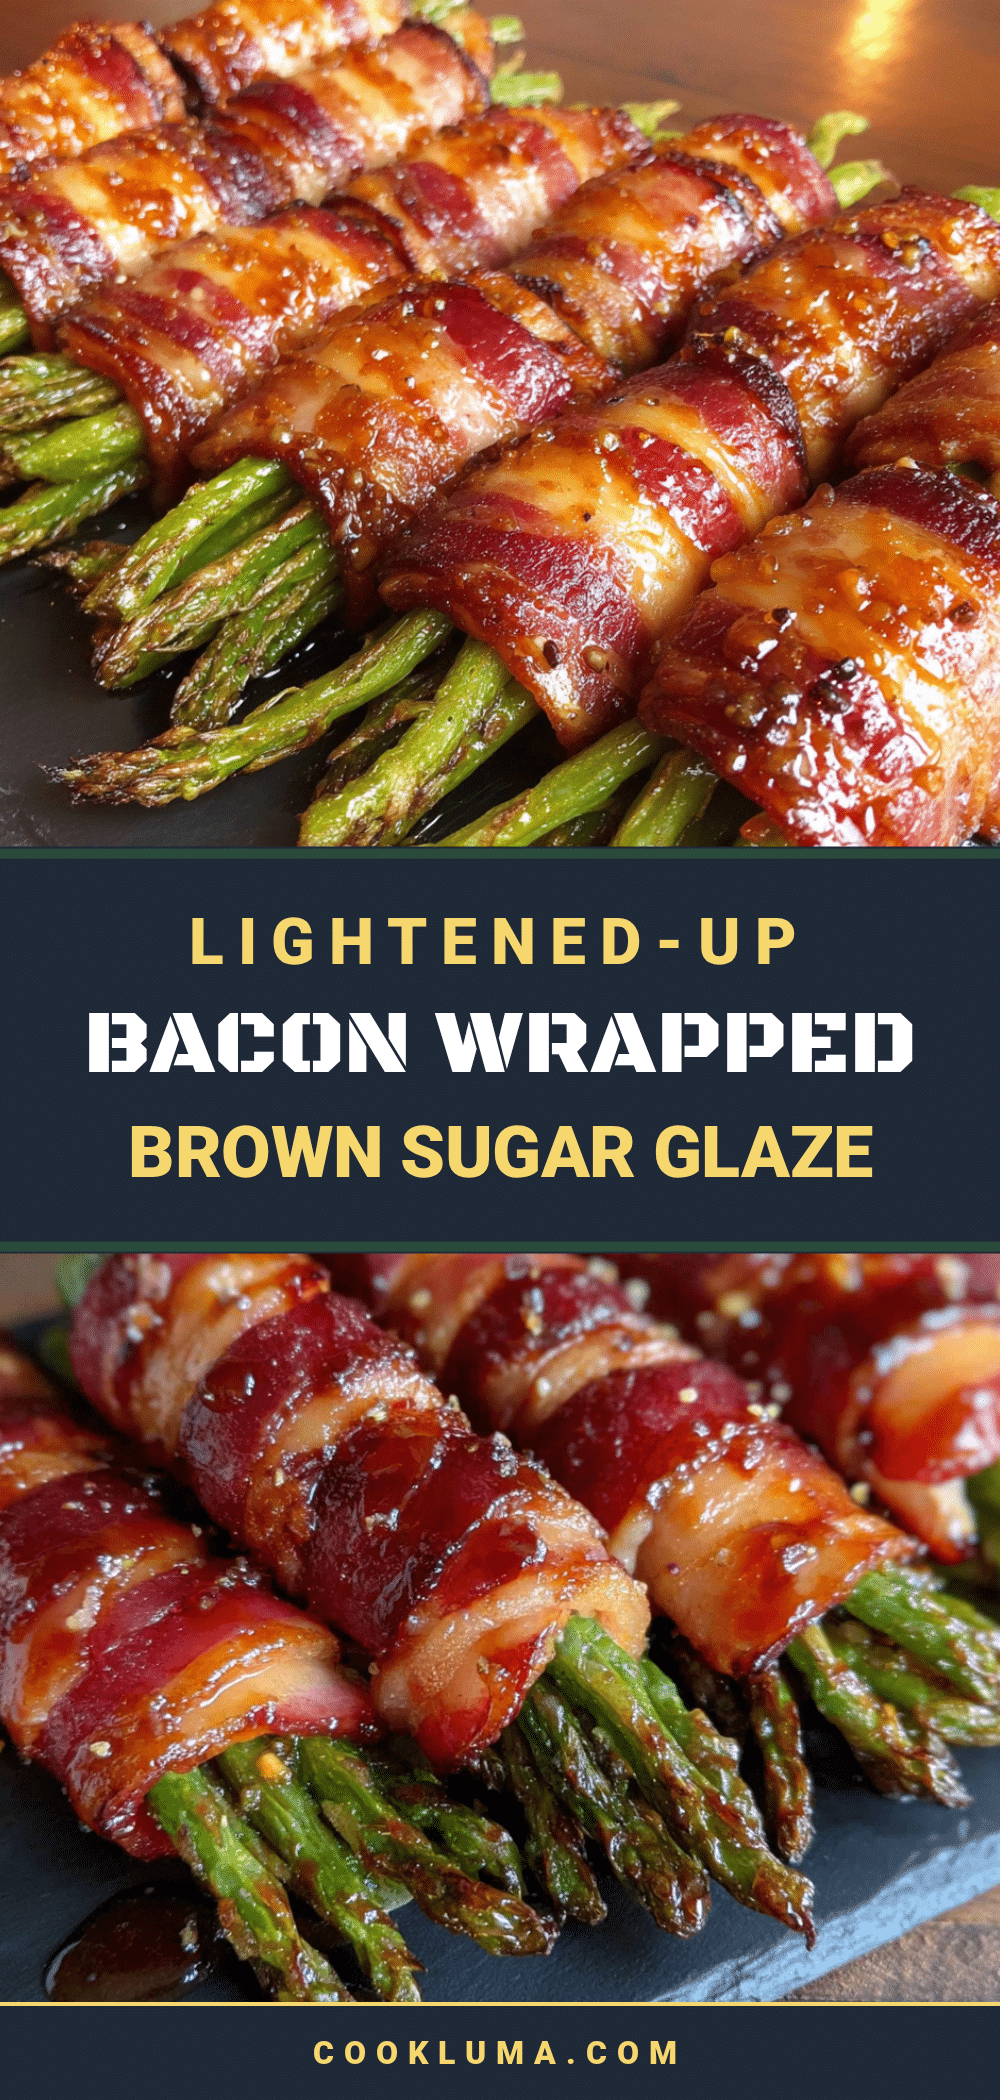
Easy Lightened-Up Bacon Wrapped Green Beans
A healthier twist on a classic side dish, featuring crispy bacon-wrapped green beans with a light brown sugar glaze. Ready in about 30 minutes, this crowd-pleaser is perfect for holidays or weeknight dinners.
- Prep Time: 10 minutes
- Cook Time: 20 minutes
- Total Time: 30 minutes
- Yield: 4 servings 1x
- Category: Side Dish
- Cuisine: American
Ingredients
- 1 pound fresh green beans (haricots verts preferred)
- 8–10 slices thin-cut bacon
- 2 tablespoons light brown sugar, packed
- 1 tablespoon unsalted butter, melted
- 1/2 teaspoon garlic powder (optional)
- Salt and black pepper to taste
Instructions
- Preheat oven to 400°F (200°C). Line a rimmed baking sheet with parchment paper or aluminum foil. Place a wire cooling rack on top if desired.
- Rinse green beans and pat dry. Trim stem ends.
- Bring a large pot of salted water to a boil. Add green beans and cook for exactly 2 minutes. Transfer to a bowl of ice water to stop cooking. Drain and pat completely dry.
- Divide green beans into 8-10 bundles (about 8-10 beans each). Wrap each bundle with one slice of bacon, stretching slightly. Place seam-side down on prepared baking sheet or rack.
- In a small bowl, mix brown sugar, melted butter, garlic powder (if using), and a pinch of black pepper until smooth.
- Brush a thin layer of glaze over each bundle. Bake for 15 minutes.
- Remove from oven, brush with remaining glaze, and bake for another 3-5 minutes until bacon is crispy and glaze is bubbling and caramelized.
- Let rest for 2 minutes on the pan, then transfer to a serving platter. Serve warm.
Notes
For best results, use fresh green beans and thin-cut bacon. Don’t skip blanching—it ensures tender-crisp beans. Watch the oven closely during the last few minutes to prevent burning. Serve within 15 minutes for crispiest bacon.
Nutrition
- Serving Size: 2 bundles
- Calories: 190
- Sugar: 8
- Sodium: 350
- Fat: 12
- Saturated Fat: 4
- Carbohydrates: 12
- Fiber: 3
- Protein: 8
Keywords: bacon wrapped green beans, lightened up, brown sugar glaze, easy side dish, holiday side, green bean bundles


