The neighborhood pie contest was in six hours and I’d completely forgotten. I mean, I’d known about it for weeks—there were flyers posted in the elevator and everything. But somehow, between work deadlines and a toddler who’d decided sleep was optional, it had slipped my mind completely. Everyone else would be bringing their grandmother’s heirloom recipes, the kind that had been passed down through generations and perfected over decades. I had a can of pumpkin puree, a bottle of maple syrup that was almost empty, and roughly four hours of available brain function.
Honestly, I almost gave up. I thought about stopping at the grocery store bakery and pretending I’d made it myself. But you know that feeling when you just refuse to let yourself take the easy way out? That stubborn little voice that says “nope, you’re doing this”? So I grabbed what I had, crossed my fingers, and started pulling ingredients together. The kitchen got messy—flour on the counter, a cracked eggshell that I spent five minutes fishing out of the bowl, and a moment where I accidentally knocked over the salt shaker. Classic me.
The pie came out of the oven looking, well, a little rustic. The crust edges were slightly uneven and the filling had a tiny crack near the center. But the smell? That combination of cinnamon, nutmeg, and maple that just wraps around you like a warm blanket? Let me tell you, it was something else. I brought it to the contest feeling like an underdog, and somehow—I still don’t quite believe it—it won. Not just placed, but actually won. The maple whipped cream I’d thrown together at the last minute got more compliments than the pie itself. And that’s the thing about this classic pumpkin pie recipe with maple whipped cream. It doesn’t need to be perfect to be unforgettable. It just needs to be made with a little heart and a lot of good ingredients.
Why You’ll Love This Recipe
This isn’t just another pumpkin pie recipe you’ll find on the internet. I’ve tested this version more times than I care to count—through burnt crusts, runny fillings, and one memorable disaster where I forgot the sugar entirely (don’t ask). What emerged from all those trials is a pie that delivers every single time, with a texture so silky and a flavor so perfectly balanced that you’ll wonder why you ever bothered with anything else.
- Perfectly Spiced: The blend of cinnamon, ginger, nutmeg, and cloves hits that sweet spot between warm and bold without overwhelming the pumpkin’s natural sweetness.
- Silky Smooth Texture: Thanks to a simple technique of straining the filling before baking, you get a custard that’s velvety and crack-free. No more slicing into a pie that looks like a dried-up riverbed.
- Maple Whipped Cream That Steals the Show: Let’s be honest—this is the real star. The maple syrup adds a deep, almost caramel-like sweetness that makes regular whipped cream feel like a missed opportunity.
- Made with Pantry Staples: You probably already have most of these ingredients in your kitchen. No special trips to fancy grocery stores required.
- Holiday-Worthy Without the Stress: This pie is impressive enough for Thanksgiving dinner but simple enough for a random Tuesday when you’re craving something cozy.
What makes this classic pumpkin pie recipe with maple whipped cream different from the rest? It’s the attention to the little things—tempering the eggs so they don’t scramble, pre-baking the crust so it stays flaky, and using real maple syrup instead of artificial stuff. These aren’t complicated techniques, but they make all the difference between a good pie and one that makes people close their eyes when they take a bite.
What Ingredients You Will Need
This recipe uses simple, wholesome ingredients that come together to create something truly special. Most of these are pantry staples, especially if you do any kind of fall or holiday baking. Let me walk you through what you’ll need and why each one matters.
For the Pie Crust
- 1 ¼ cups all-purpose flour (plus extra for dusting) — I prefer King Arthur Flour for consistent results, but any brand works. If you’re feeling ambitious, make your own crust from scratch. If not, a good quality store-bought crust will do in a pinch.
- ½ teaspoon salt — Don’t skip this. Salt balances the sweetness and keeps the crust from tasting flat.
- ½ cup cold unsalted butter, cubed — The butter needs to be really cold. Like, “you just took it out of the fridge” cold. I’ve made the mistake of using room-temperature butter and ended up with a tough, greasy crust. Learn from my failures.
- 3-4 tablespoons ice water — The key word here is ice. Cold water helps keep the butter solid, which creates those flaky layers we all love.
For the Pumpkin Filling
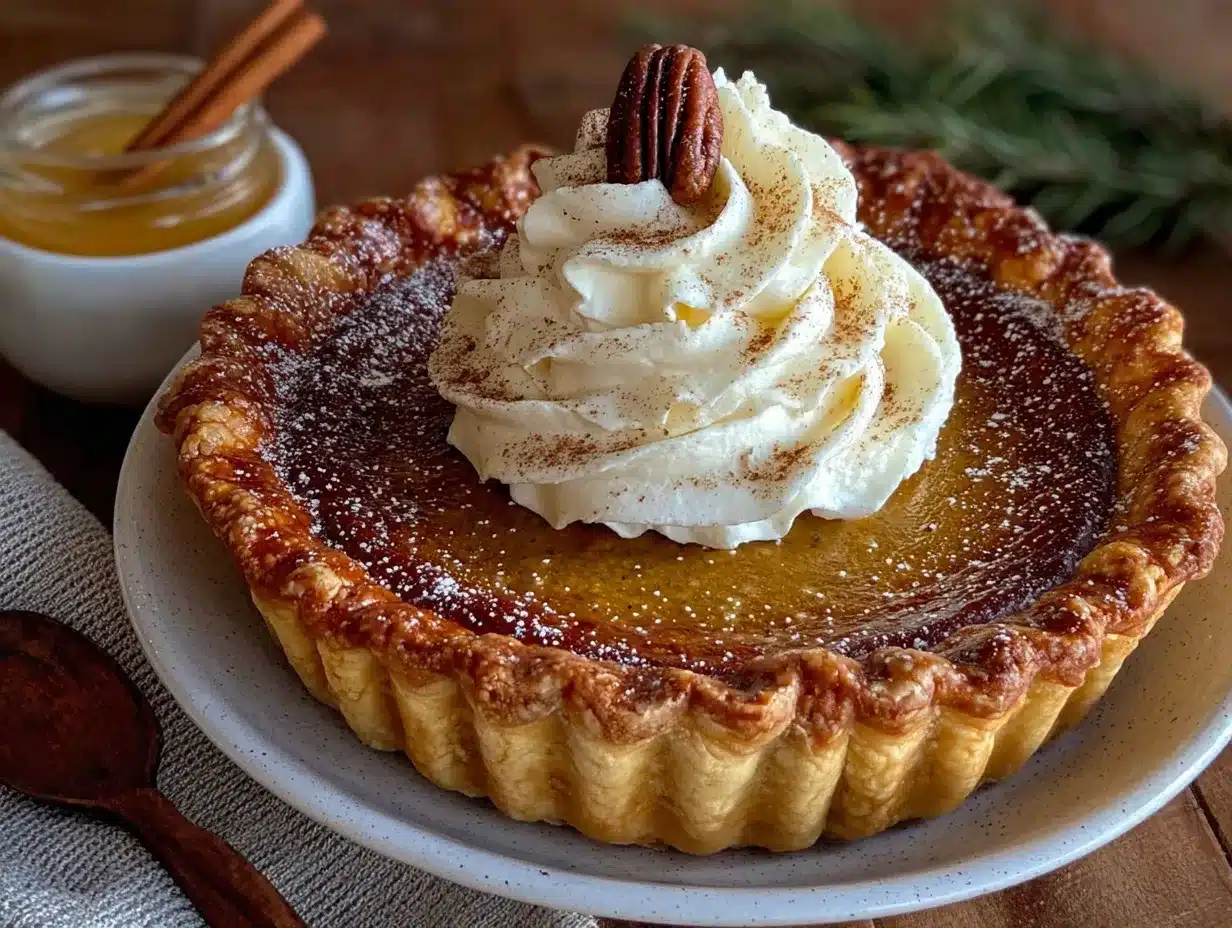
- 1 can (15 oz) pure pumpkin puree — Not pumpkin pie filling. They’re different, and using the wrong one will mess up your sweetness and spice balance. I recommend Libby’s for its consistent texture and flavor.
- ¾ cup granulated sugar — Regular white sugar lets the spices shine without competing flavors.
- ¼ cup packed light brown sugar — Adds a touch of molasses depth that makes the filling taste more complex.
- 2 large eggs — Room temperature, please. Cold eggs can make the filling lumpy and harder to blend evenly.
- 1 teaspoon vanilla extract — Pure vanilla, not imitation. Trust me on this one.
- 1 ½ teaspoons ground cinnamon — The backbone of your spice blend. Fresh spices make a noticeable difference.
- ½ teaspoon ground ginger — Adds warmth without heat.
- ½ teaspoon ground nutmeg — Freshly grated if you have it, but pre-ground works fine.
- ¼ teaspoon ground cloves — A little goes a long way. Too much and your pie will taste like a Christmas candle.
- ½ teaspoon salt — Again, crucial for balance.
- 1 can (12 oz) evaporated milk — This gives the filling its signature creamy texture. Don’t substitute with regular milk—it won’t set properly.
For the Maple Whipped Cream
- 1 cup heavy cream — Cold from the fridge. The colder, the better it whips.
- 3 tablespoons pure maple syrup — Grade A dark amber is my go-to for its strong flavor. Skip the pancake syrup—it’s not the same thing.
- ½ teaspoon vanilla extract — Optional but recommended for extra depth.
Equipment Needed
You don’t need a professional kitchen to make this pie, but having the right tools makes the process smoother. Here’s what you’ll need:
- 9-inch pie dish — Glass or ceramic works best. Metal can cook the crust too quickly. I’ve been using the same Pyrex dish for years and it’s never let me down.
- Rolling pin — If you don’t have one, a wine bottle works surprisingly well. Just clean it first.
- Mixing bowls — You’ll need at least two: one for the crust and one for the filling.
- Whisk — For blending the filling until smooth. A fork works in a pinch, but you’ll work harder.
- Fine-mesh strainer — This is my secret weapon for a silky filling. Straining out the lumps takes two minutes and makes a huge difference.
- Electric mixer or hand whisk — For the whipped cream. A stand mixer is faster, but whisking by hand builds character (and arm muscles).
- Pie weights or dried beans — For blind baking the crust. I use dried chickpeas that I’ve been reusing for years. They work perfectly.
- Parchment paper — To line the crust before adding weights. Aluminum foil also works.
If you’re missing something, don’t panic. I’ve made this pie with a fork instead of a whisk and a coffee mug instead of a rolling pin. It still turned out delicious. Cooking is about adapting, not perfection.
Preparation Method
Let’s get our hands dirty. This classic pumpkin pie recipe with maple whipped cream takes about 20 minutes of active prep time and roughly an hour of baking. The key is to work methodically and not rush the steps.
Step 1: Make the Pie Crust (30 minutes including chilling)
In a large bowl, whisk together the flour and salt. Add the cold butter cubes and use a pastry cutter or your fingertips to work the butter into the flour until it resembles coarse meal with some pea-sized butter pieces remaining. Don’t overwork it—those butter chunks are what create flaky layers. Drizzle in the ice water one tablespoon at a time, mixing with a fork until the dough just comes together. It should hold together when you squeeze it but not feel sticky. Flatten into a disk, wrap in plastic, and refrigerate for at least 30 minutes. If you’re short on time, 15 minutes in the freezer works too.
Step 2: Blind Bake the Crust (20 minutes)
Preheat your oven to 375°F (190°C). On a lightly floured surface, roll the chilled dough into a 12-inch circle, about ⅛-inch thick. Carefully transfer it to your pie dish and gently press it into the corners. Trim the excess dough, leaving about a ½-inch overhang, then fold it under and crimp the edges however you like. I go for a simple fork press because I’m not trying to win a beauty contest. Line the crust with parchment paper and fill with pie weights or dried beans. Bake for 15 minutes, then remove the weights and parchment and bake for another 5 minutes until the bottom looks dry and lightly golden. Set aside to cool slightly.
Step 3: Prepare the Filling (10 minutes)
Lower the oven temperature to 350°F (175°C). In a large bowl, whisk together the pumpkin puree, granulated sugar, brown sugar, eggs, and vanilla until smooth. In a small separate bowl, mix the cinnamon, ginger, nutmeg, cloves, and salt. Add the spice mixture to the pumpkin mixture and whisk until fully incorporated. Slowly pour in the evaporated milk while whisking continuously—this prevents lumps from forming. Here’s the trick: pour the entire filling through a fine-mesh strainer into another bowl. This catches any rogue lumps or egg bits and guarantees that silky texture. You’ll be amazed at what the strainer catches.
Step 4: Bake the Pie (50-60 minutes)
Place the pre-baked crust on a baking sheet (this catches spills and makes it easier to handle). Pour the strained filling into the crust. Bake at 350°F (175°C) for 50 to 60 minutes. The pie is done when the edges are set but the center still jiggles slightly when you gently shake the pan. It will continue to set as it cools. If the crust edges start browning too quickly, loosely cover them with foil or a pie shield. Let the pie cool completely on a wire rack—this takes at least 2 hours. Don’t rush it. Cutting into a warm pie will give you a runny mess.
Step 5: Make the Maple Whipped Cream (5 minutes)
Just before serving, pour the cold heavy cream into a chilled bowl. Whip on medium speed until soft peaks form, then add the maple syrup and vanilla. Continue whipping until medium-stiff peaks form. Be careful not to overwhip—you want it light and fluffy, not butter. Taste it. Adjust with more maple syrup if you want it sweeter. I usually add an extra drizzle because I have no self-control when it comes to maple.
Step 6: Assemble and Serve
Once the pie is completely cool, slice it into wedges. Top each slice with a generous dollop of maple whipped cream. If you’re feeling fancy, sprinkle a little extra cinnamon or grate some fresh nutmeg on top. Serve immediately and watch everyone’s faces light up.
Cooking Tips & Techniques
I’ve made this classic pumpkin pie recipe with maple whipped cream enough times to have learned some hard lessons. Let me save you from repeating my mistakes.
Don’t overmix the filling. I know it’s tempting to keep whisking until everything is perfectly smooth, but overmixing incorporates too much air into the custard. This can cause the filling to puff up in the oven and then collapse, leaving you with a cracked, uneven surface. Mix just until combined, then stop.
Temperature matters more than you think. Cold eggs and cold pumpkin puree can cause the filling to separate or take longer to bake. Let your eggs sit out for 30 minutes before starting, and if your pumpkin puree was in the fridge, give it some time to come to room temperature. The evaporated milk should also be at room temperature. This simple step makes a noticeable difference in texture.
The jiggle test is your friend. I used to rely on the toothpick test for doneness, but it always left me with overbaked pies. The center should jiggle like Jell-O when you gently shake the pan. It will look slightly underdone, but trust the process. As it cools, the residual heat will finish the cooking without drying it out.
Watch your oven like a hawk. Every oven runs differently. I learned this the hard way when I baked a pie at my mother-in-law’s house and it came out burnt on top and raw in the middle. Check your pie at the 40-minute mark and rotate it if it’s browning unevenly. Oven thermometers are cheap and worth every penny.
Strain the filling. I mentioned this earlier, but it bears repeating. The strainer catches lumps, eggshell fragments, and any bits of unmixed spice. It takes two minutes and transforms your filling from good to restaurant-quality. Don’t skip it.
Variations & Adaptations
One of the things I love about this recipe is how flexible it is. Here are some ways to make it your own:
Gluten-Free Version: Swap the all-purpose flour for a gluten-free flour blend that includes xanthan gum. I’ve had good results with Bob’s Red Mill 1-to-1 Baking Flour. The crust will be slightly more delicate, so handle it gently. No one will notice the difference once it’s topped with maple whipped cream.
Dairy-Free Adaptation: Use a dairy-free butter substitute in the crust (like Miyoko’s or Earth Balance) and replace the evaporated milk with full-fat coconut milk. The coconut flavor is subtle and actually complements the pumpkin nicely. For the whipped cream, use chilled coconut cream—just scoop the solid part from a can of full-fat coconut milk and whip it with maple syrup.
Spice It Up: Not a fan of cloves? Leave them out. Want more warmth? Add a pinch of cardamom or allspice. I once made this with a teaspoon of pumpkin pie spice instead of the individual spices and it turned out great. The beauty of homemade pie is that you control the flavor profile.
Make It Ahead: This pie actually tastes better the next day. The flavors meld together and the texture firms up perfectly. Bake it a day ahead, let it cool completely, and store it covered in the fridge. Add the whipped cream just before serving. I’ve also frozen whole baked pies (without whipped cream) for up to a month. Just wrap them tightly in plastic wrap and foil.
Mini Pie Version: Use a muffin tin to make individual pies. Roll the crust, cut circles, and press them into greased muffin cups. Fill and bake for about 25-30 minutes. These are perfect for holiday parties or when you don’t want to commit to a whole pie.
Serving & Storage Suggestions
This pie is best served at room temperature or slightly warm. If you’ve stored it in the fridge, let it sit on the counter for about 30 minutes before serving to take the chill off. The flavors are much more pronounced when the pie isn’t ice-cold.
For presentation, I like to dollop the maple whipped cream right on top of each slice rather than covering the whole pie. This keeps the leftovers from getting soggy and lets everyone control their cream-to-pie ratio. A light dusting of cinnamon or a drizzle of extra maple syrup makes it look extra special.
This pie pairs beautifully with a cup of hot coffee, spiced apple cider, or even a glass of bourbon if you’re feeling festive. For a full holiday spread, serve it alongside roasted turkey, mashed potatoes, and green bean casserole. But honestly, I’ve eaten it for breakfast the next day with no regrets.
Storage: Cover leftover pie loosely with plastic wrap or foil and refrigerate for up to 4 days. The crust will soften slightly over time, but the flavor only gets better. If you’ve already added whipped cream, store the pie and cream separately. The whipped cream will deflate after a day, so it’s best to make fresh cream for leftovers.
Freezing: To freeze the whole pie, bake and cool it completely. Wrap it tightly in plastic wrap, then a layer of foil, and freeze for up to 3 months. Thaw overnight in the refrigerator before serving. Do not freeze the whipped cream—it will separate and become watery.
Nutritional Information & Benefits
Here’s a rough estimate of the nutritional content per slice (based on 8 servings, including the maple whipped cream):
- Calories: Approximately 380-420
- Fat: 22g
- Carbohydrates: 45g
- Protein: 6g
- Fiber: 2g
- Sugar: 28g
While this isn’t exactly health food, pumpkin is packed with vitamin A, fiber, and antioxidants. The eggs provide protein and healthy fats, and real maple syrup contains minerals like zinc and manganese. The heavy cream is a good source of calcium, though it’s also high in saturated fat. Everything in moderation, right?
If you’re watching your sugar intake, you can reduce the granulated sugar to ½ cup and use a sugar-free maple syrup alternative. The texture will be slightly less tender, but it will still be delicious. For a lower-calorie option, skip the whipped cream or use a light whipped topping instead.
Conclusion
This classic pumpkin pie recipe with maple whipped cream has become my go-to for every fall gathering, holiday dinner, and random Tuesday when I need a little comfort. It’s the kind of recipe that makes you look like you spent hours in the kitchen when really, it’s just good ingredients and a few smart techniques. The silky filling, the flaky crust, that cloud of maple-scented cream on top—it all comes together in a way that feels both familiar and special.
I hope you give this recipe a try, whether you’re heading to a pie contest like I was or just craving something cozy on a cool evening. Don’t be afraid to make it your own—add more spice, swap the crust, or double the whipped cream (I won’t judge). And if you do make it, I’d love to hear how it turned out. Drop a comment below, share your photos, or tell me about your own kitchen disasters and triumphs. That’s what cooking is all about, isn’t it? Learning, adapting, and sharing a little piece of yourself with the people you feed.
Now go preheat that oven. Your pie is waiting.
Frequently Asked Questions
Can I use fresh pumpkin instead of canned?
Absolutely, but be prepared for extra work. Fresh pumpkin has more water content than canned, so you’ll need to roast it, puree it, and then strain it through cheesecloth to remove excess moisture. I’ve done it, and the flavor is lovely, but canned pumpkin is more consistent and saves time. If you’re feeling ambitious, go for it—just know it’s a different process.
Why did my pie crust shrink during baking?
This usually happens when the dough isn’t chilled enough before baking, or when it’s stretched too thin. Make sure your dough rests in the fridge for at least 30 minutes, and when you transfer it to the pie dish, let it settle naturally rather than pulling and stretching it. Also, don’t skip the blind baking step—it helps set the crust before the filling goes in.
Can I make this pie without evaporated milk?
You can substitute with half-and-half or a mixture of whole milk and heavy cream. The texture will be slightly less rich, but it will still work. I’ve also used full-fat coconut milk for a dairy-free version with great results. Just avoid using skim milk—it’s too thin and won’t set properly.
How do I prevent cracks in my pumpkin pie?
Cracks happen when the pie is overbaked or when the temperature fluctuates too quickly. Bake at a moderate temperature (350°F), don’t overmix the filling, and let the pie cool gradually on the counter rather than putting it straight in the fridge. The jiggle test is your best defense against overbaking.
Can I use maple-flavored syrup instead of real maple syrup?
Please don’t. Real maple syrup has a complex, rich flavor that’s completely different from the artificially flavored pancake syrups. The texture is also different—real syrup is thinner and integrates better into the cream. If you don’t have maple syrup, you can make plain whipped cream with a little vanilla and sugar instead. It won’t have that maple magic, but it will still be delicious.
Pin This Recipe!
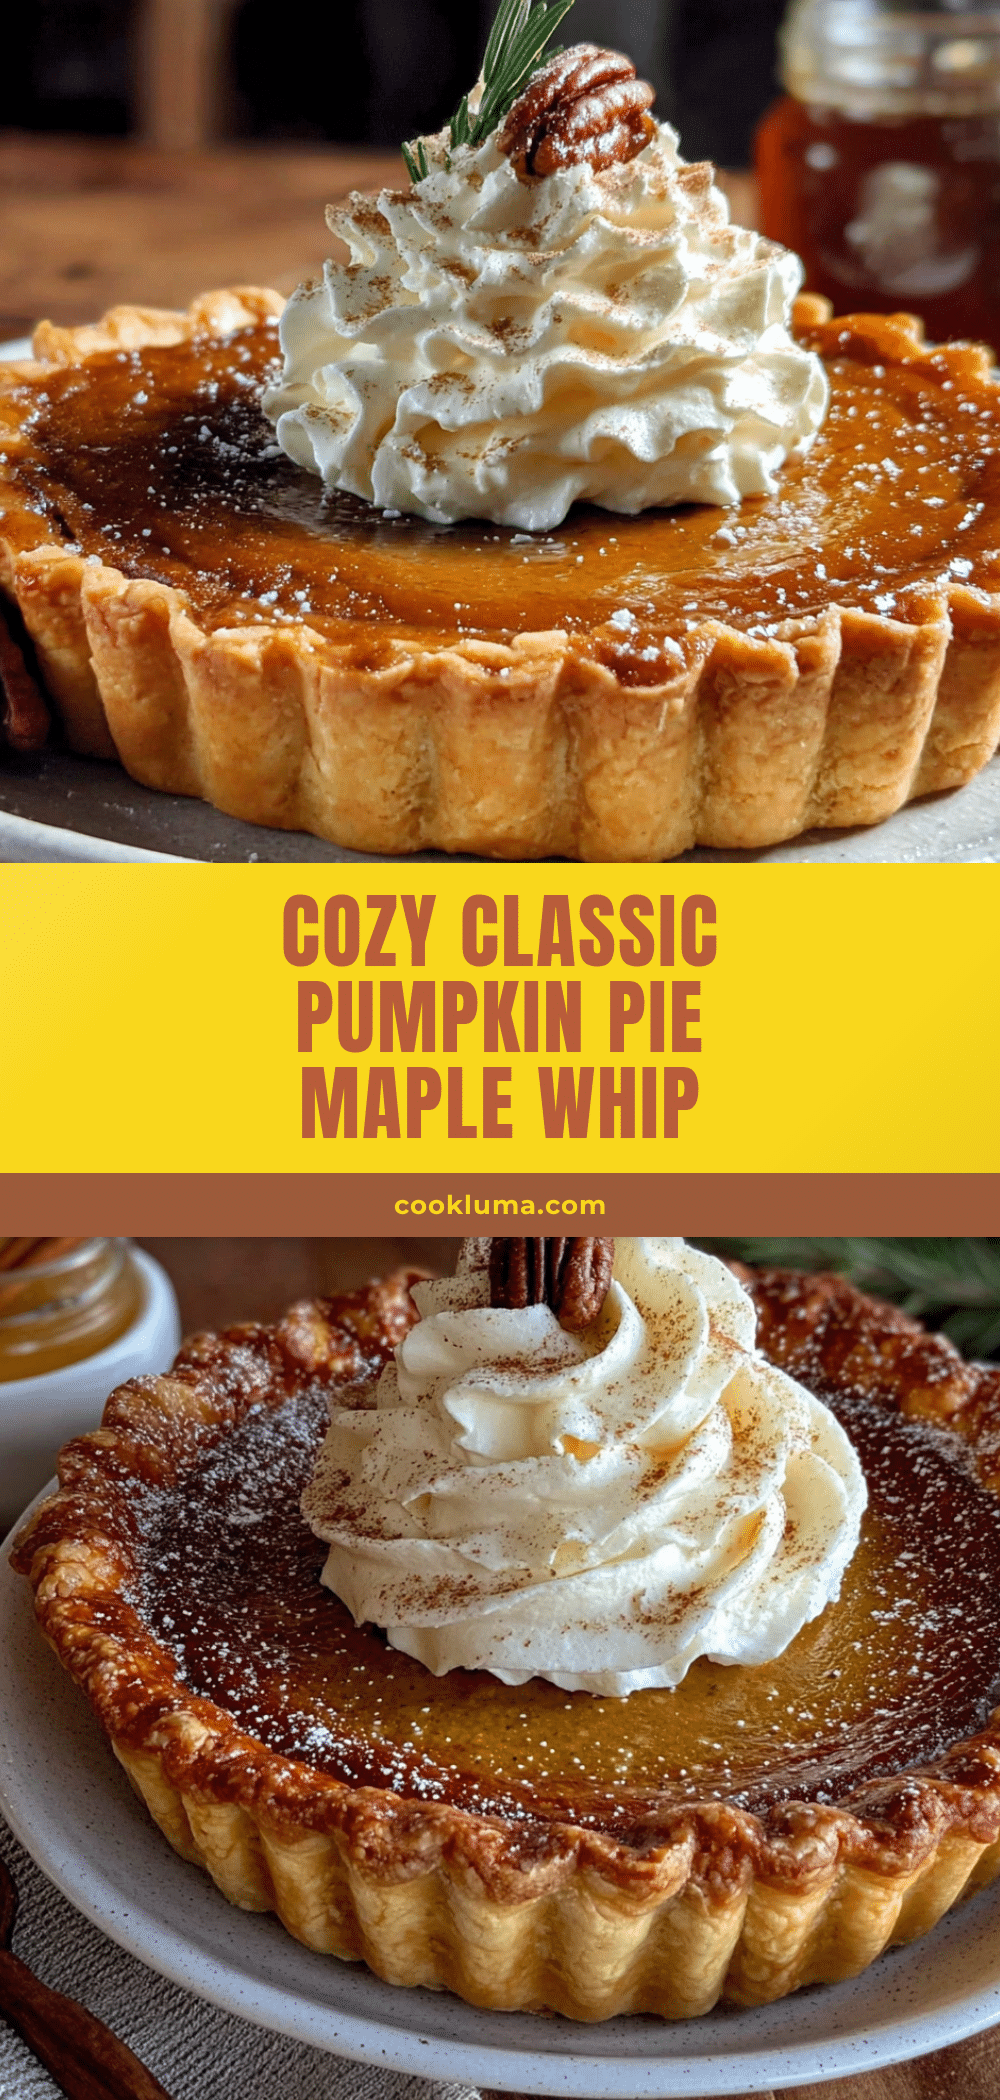
Classic Pumpkin Pie Recipe with Maple Whipped Cream
A perfectly spiced, silky smooth pumpkin pie topped with a cloud of maple whipped cream. This recipe delivers a flaky crust and a velvety filling that’s sure to impress at any fall gathering or holiday dinner.
- Prep Time: 20 minutes
- Cook Time: 50-60 minutes
- Total Time: 2 hours 10 minutes (including cooling)
- Yield: 8 servings 1x
- Category: Dessert
- Cuisine: American
Ingredients
- 1 ¼ cups all-purpose flour (plus extra for dusting)
- ½ teaspoon salt
- ½ cup cold unsalted butter, cubed
- 3–4 tablespoons ice water
- 1 can (15 oz) pure pumpkin puree
- ¾ cup granulated sugar
- ¼ cup packed light brown sugar
- 2 large eggs, room temperature
- 1 teaspoon vanilla extract
- 1 ½ teaspoons ground cinnamon
- ½ teaspoon ground ginger
- ½ teaspoon ground nutmeg
- ¼ teaspoon ground cloves
- ½ teaspoon salt
- 1 can (12 oz) evaporated milk
- 1 cup heavy cream, cold
- 3 tablespoons pure maple syrup
- ½ teaspoon vanilla extract (optional)
Instructions
- Make the pie crust: In a large bowl, whisk together flour and salt. Add cold butter cubes and work into flour with a pastry cutter or fingertips until mixture resembles coarse meal with some pea-sized butter pieces. Drizzle in ice water one tablespoon at a time, mixing with a fork until dough just comes together. Flatten into a disk, wrap in plastic, and refrigerate for at least 30 minutes.
- Blind bake the crust: Preheat oven to 375°F (190°C). On a lightly floured surface, roll dough into a 12-inch circle, about ⅛-inch thick. Transfer to a 9-inch pie dish and press into corners. Trim excess dough, leaving a ½-inch overhang, then fold under and crimp edges. Line crust with parchment paper and fill with pie weights or dried beans. Bake for 15 minutes, then remove weights and parchment and bake for another 5 minutes until bottom looks dry and lightly golden. Set aside to cool slightly.
- Prepare the filling: Lower oven temperature to 350°F (175°C). In a large bowl, whisk together pumpkin puree, granulated sugar, brown sugar, eggs, and vanilla until smooth. In a small bowl, mix cinnamon, ginger, nutmeg, cloves, and salt. Add spice mixture to pumpkin mixture and whisk until fully incorporated. Slowly pour in evaporated milk while whisking continuously. Pour entire filling through a fine-mesh strainer into another bowl to remove lumps.
- Bake the pie: Place pre-baked crust on a baking sheet. Pour strained filling into crust. Bake at 350°F (175°C) for 50 to 60 minutes, until edges are set but center still jiggles slightly when gently shaken. If crust edges brown too quickly, cover loosely with foil. Let pie cool completely on a wire rack (at least 2 hours).
- Make the maple whipped cream: Just before serving, pour cold heavy cream into a chilled bowl. Whip on medium speed until soft peaks form, then add maple syrup and vanilla. Continue whipping until medium-stiff peaks form. Be careful not to overwhip.
- Assemble and serve: Once pie is completely cool, slice into wedges. Top each slice with a generous dollop of maple whipped cream. Optionally sprinkle with cinnamon or grate fresh nutmeg on top. Serve immediately.
Notes
For best results, use room temperature eggs and pumpkin puree. Strain the filling for a silky texture. The jiggle test is key for doneness—center should jiggle like Jell-O when gently shaken. Pie tastes even better the next day. Store leftovers covered in the fridge for up to 4 days. Freeze whole baked pie (without whipped cream) for up to 3 months.
Nutrition
- Serving Size: 1 slice (1/8 of pie)
- Calories: 400
- Sugar: 28
- Sodium: 350
- Fat: 22
- Saturated Fat: 13
- Carbohydrates: 45
- Fiber: 2
- Protein: 6
Keywords: pumpkin pie, maple whipped cream, classic pumpkin pie, Thanksgiving dessert, fall baking, homemade pie


