The PTA Halloween party was in twelve hours and I’d completely forgotten. Let me tell you, the panic that sets in when you realize everyone else has been planning their elaborate spooky treats for weeks, and you’ve got… nothing. I mean, I had a block of cream cheese, a bag of shredded cheddar, and a package of crackers. That was it. My son was looking at me with those big eyes, and I could already picture the sad store-bought cookies I’d have to bring.
I started rummaging through the fridge, honestly feeling a little desperate. Then I spotted the crescent roll dough in the back—the kind that’s been there since the last time I made a quick dinner. And it just clicked. A cheese ball is easy, right? But what if I wrapped it up to look like a mummy? I mean, how hard could it be? I threw it together in a frantic half-hour, hoping for the best, fully expecting to be the mom who brought the weird, last-minute thing.
Well, the party was chaos, as you’d expect. Kids running everywhere, the usual mayhem. But my little mummy cheese ball? It was gone in the first twenty minutes. People were asking for the recipe, and I was just standing there, a little sheepish, honestly. “Oh, that? I just threw it together.” It was that accidental overachiever moment we all love. I kept making it every year after that, not because I had to, but because it became our thing. Maybe you’ve been there, scrambling for a party idea. This is that recipe—the one that makes you look like you planned it all along.
Why You’ll Love This Recipe
Let’s face it, Halloween is busy enough without adding complicated baking projects to your list. This easy mummy wrapped cheese ball with crackers is the ultimate shortcut to a show-stopping appetizer. It’s the kind of recipe that makes you look like a culinary genius with almost zero effort.
- Quick & Easy: From fridge to table in under 30 minutes. Seriously, you can make this between picking up the kids and answering the door for trick-or-treaters.
- Simple Ingredients: You probably already have most of these in your kitchen. No fancy grocery trips needed for this one.
- Perfect for Halloween Parties: Whether it’s a school event, office potluck, or family gathering, this spooky snack is always a hit.
- Crowd-Pleaser: Both kids and adults go crazy for it. It’s cheesy, it’s fun, and it’s dippable—what’s not to love?
- Unbelievably Delicious: The creamy, savory cheese ball paired with the flaky, buttery crescent wrap is a combo you didn’t know you needed.
What makes this different from every other cheese ball out there? It’s the presentation, honestly. The mummy wrap isn’t just for looks—it adds this incredible texture contrast. The dough gets golden and crispy while the inside stays cool and creamy. Plus, you can make it ahead of time, which is a lifesaver on a busy weeknight. This isn’t just another appetizer; it’s the one that gets photographed and shared. It’s comfort food with a spooky twist, and it brings that same soul-soothing satisfaction without the stress.
What Ingredients You Will Need
This recipe uses simple, everyday ingredients to create something really fun. You don’t need anything weird or hard to find. Here’s what you’ll need to grab:
For the Cheese Ball
- 8 oz cream cheese, softened (I use Philadelphia—it gives the creamiest texture)
- 1 cup shredded sharp cheddar cheese (freshly shredded melts better than pre-shredded)
- 1/4 cup grated Parmesan cheese (adds a nice salty kick)
- 1 teaspoon garlic powder
- 1/2 teaspoon onion powder
- 1/4 teaspoon black pepper
- Pinch of salt (go easy, the cheeses are already salty)
For the Mummy Wrap
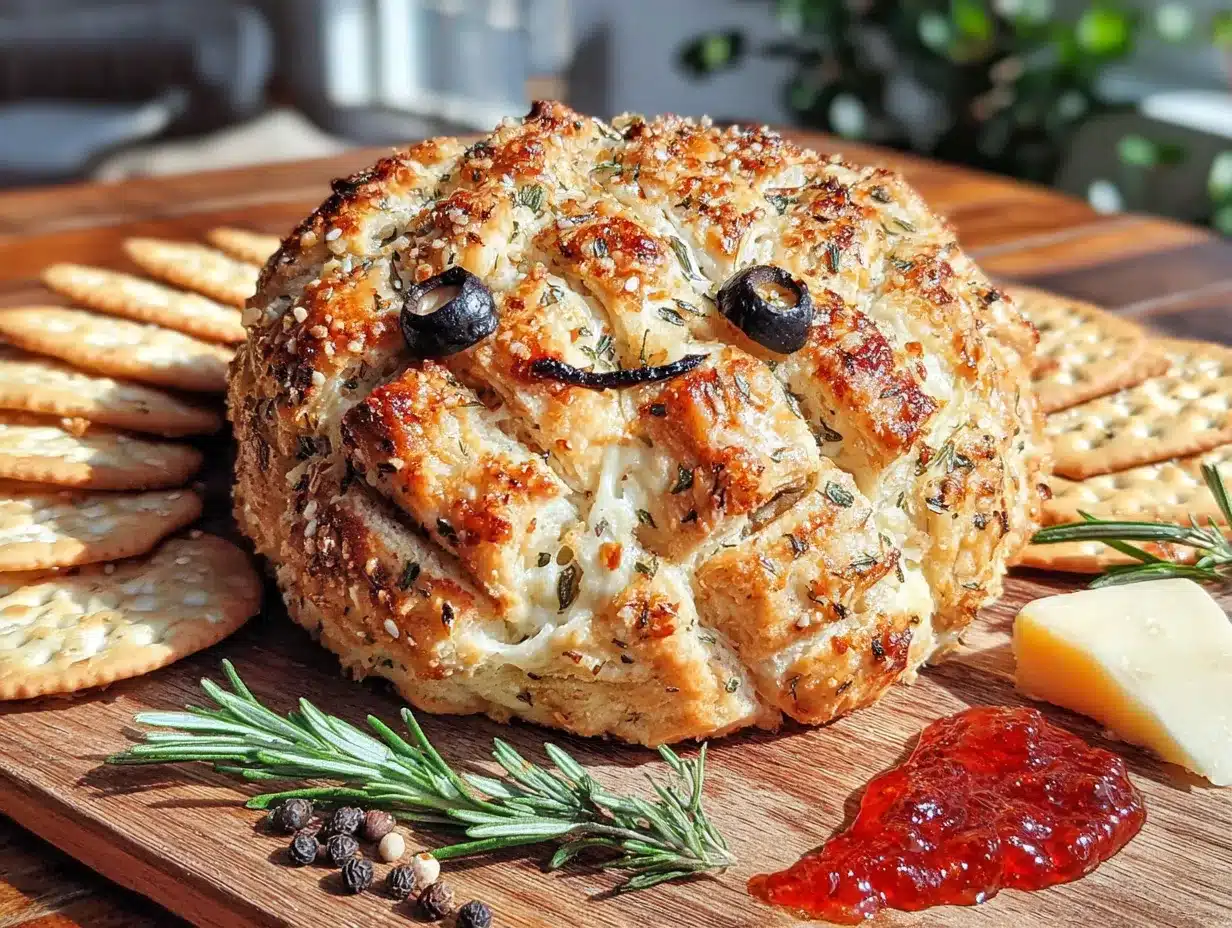
- 1 can (8 oz) refrigerated crescent roll dough (Pillsbury works great)
- 1 large egg, beaten (for the egg wash, helps it get golden)
For the Mummy Face & Serving
- 2 candy eyes (the little edible ones from the baking aisle)
- Assorted crackers (Ritz, butter crackers, or your favorite sturdy dippers)
A quick note on the cream cheese—make sure it’s really softened. If it’s cold, you’ll end up with lumpy cheese ball, and nobody wants that. Just leave it on the counter for about 30 minutes before you start. For the shredded cheddar, I really recommend shredding it yourself from a block. The pre-shredded stuff has anti-caking agents that can make the texture a bit grainy. Trust me on this one.
If you’re looking for a substitution, you can use a dairy-free cream cheese alternative. Just make sure it’s a block-style one, not the spreadable kind in a tub. For the crescent dough, there’s no great substitute here—it’s the key to that flaky mummy look. But you could use puff pastry in a pinch, just roll it out a bit thinner.
Equipment Needed
You don’t need a fancy kitchen for this. Here’s what you’ll need:
- Mixing bowl (medium-sized, nothing special)
- Hand mixer or sturdy spatula (hand mixer makes it easier, but a spatula works if you’ve got some arm strength)
- Baking sheet (lined with parchment paper for easy cleanup)
- Parchment paper (trust me, this saves you from scrubbing later)
- Sharp knife or pizza cutter (for cutting the dough strips)
- Pastry brush (for the egg wash, a clean silicone one is great)
- Plastic wrap (to shape the cheese ball)
- Small offset spatula (optional, but helpful for smoothing the cheese)
I used to skip the parchment paper, and honestly, I regretted it every time. The cheese can ooze out a little, and scrubbing a baking sheet is not how I want to spend my Halloween night. A silicone baking mat works just as well if you have one. For the pastry brush, a cheap one from the grocery store does the job—just make sure it’s clean and dry before you use it.
Preparation Method
Let’s get to the fun part. Follow these steps, and you’ll have a mummy that looks like it took way more effort than it did.
- Make the cheese ball mixture. In your mixing bowl, combine the softened cream cheese, shredded cheddar, Parmesan, garlic powder, onion powder, black pepper, and a tiny pinch of salt. Beat with a hand mixer on medium speed until everything is smooth and fully combined. It should look like a thick, creamy paste. Scrape down the sides of the bowl with a spatula to make sure you get everything.
- Shape the cheese ball. Lay out a piece of plastic wrap on your counter. Scoop the cheese mixture onto the center of the plastic wrap. Gather the edges of the wrap and twist it to form a tight ball. Squeeze and shape it until it’s a nice, round sphere. You want it to be compact so it holds together. Pop it in the fridge for about 15-20 minutes to firm up. This step is crucial—if it’s too soft, it’ll be a mess to wrap.
- Preheat and prep. While the cheese ball is chilling, preheat your oven to 375°F (190°C). Line your baking sheet with parchment paper. Open the can of crescent roll dough and unroll it onto a clean cutting board. Don’t separate the triangles—you want the whole sheet.
- Cut the mummy strips. Using a sharp knife or pizza cutter, cut the dough into thin strips. Aim for about 1/2-inch wide. You should get about 12-15 strips from the sheet. Don’t worry if they’re not perfectly even—it adds to the mummy look.
- Wrap the mummy. Take the chilled cheese ball out of the fridge and unwrap it. Place it on the prepared baking sheet. Start wrapping the dough strips around the cheese ball, crossing them over each other like you’re bandaging a mummy. Leave a small gap at the front for the eyes. Press the ends of the strips gently into the cheese ball to secure them. Don’t wrap it too tight—the dough will expand as it bakes.
- Apply the egg wash. In a small bowl, beat the egg with a tablespoon of water. Using your pastry brush, gently brush the egg wash over all the exposed dough strips. This gives it that beautiful golden-brown color. Don’t skip this step—it makes a huge difference in the final look.
- Bake. Place the baking sheet in the preheated oven. Bake for 18-22 minutes, or until the dough is golden brown and puffed up. The cheese ball should be warm and slightly soft in the center. Keep an eye on it—ovens vary, and you don’t want the dough to burn.
- Add the eyes. Let the mummy cool on the baking sheet for about 5 minutes. Then, carefully press the two candy eyes into the gap you left at the front. If the cheese is too hot, let it cool a bit more—the eyes can melt if the surface is too warm.
- Serve immediately. Transfer the mummy to a serving platter and surround it with your favorite crackers. Serve it warm for the best texture—the dough is flaky, and the cheese is gooey and delicious.
A little tip from experience: if the dough strips start to slide off while you’re wrapping, just tuck the ends under the cheese ball. It’ll hold them in place. And if you’re making this ahead of time, you can wrap the cheese ball in the dough and refrigerate it (unbaked) for up to 24 hours. Just add a couple minutes to the baking time.
Cooking Tips & Techniques
I’ve made this mummy wrapped cheese ball more times than I can count, and I’ve learned a few things along the way. Here are my best tips to make sure yours turns out perfect.
Don’t overmix the cheese. I know it’s tempting to keep beating it until it’s super fluffy, but overmixing can make it too soft and hard to shape. Just mix until everything is combined and smooth. A few tiny lumps are fine—they’ll disappear as it chills.
Chill the cheese ball thoroughly. This is the most important step. If you try to wrap a soft cheese ball, the dough will just slide off and make a mess. I’ve made that mistake before, and I ended up with a sad, doughy blob. Give it at least 15 minutes in the fridge, or even 20 if you have time.
Use a sharp knife for the dough. A dull knife will drag and tear the delicate crescent dough, leaving you with ragged edges. A pizza cutter works even better—it glides through without pulling. I actually keep a dedicated pizza cutter just for dough projects like this.
Watch the baking time. Every oven runs a little differently. Start checking at the 18-minute mark. The dough should be a deep golden brown, and you’ll see a little cheese bubbling out from the seams (that’s a good sign). If the dough is getting too dark but the cheese isn’t warm yet, tent it loosely with foil for the last few minutes.
Let it rest before serving. I know it’s hard to wait, but letting it cool for 5 minutes does two things: it sets the cheese slightly so it doesn’t ooze everywhere, and it makes the dough crispier. If you cut into it too soon, you’ll have a puddle of cheese on your plate.
Multitask like a pro. While the cheese ball is chilling, prep your baking sheet and cut the dough strips. That way, once it’s firm, you can wrap and bake it without any delays. I usually do the dishes during that chill time too—keeps the cleanup minimal.
Variations & Adaptations
This recipe is super flexible, so feel free to make it your own. Here are some variations I’ve tried and loved.
Spicy Mummy
Add 1/4 teaspoon of cayenne pepper or a tablespoon of chopped jalapeños to the cheese mixture. It gives it a nice kick that cuts through the richness. I made this version for a friends’ Halloween party, and it was a hit with the adults.
Herb & Garlic Mummy
Skip the garlic powder and use fresh minced garlic instead. Add a tablespoon of chopped fresh chives or parsley to the cheese mixture. The fresh herbs make it feel a little more elegant, perfect for a grown-up gathering.
Bacon Cheddar Mummy
Cook 4 slices of bacon until crispy, then crumble them into the cheese mixture. The smoky flavor pairs beautifully with the cheddar. This one disappears fast, I’ll tell you that.
Gluten-Free Option
Use a gluten-free crescent dough if you can find one. I’ve tested this with the brand from the freezer section, and it works fine. Just note that the baking time might be a minute or two shorter, so keep an eye on it.
Dairy-Free Adaptation
Use a dairy-free cream cheese alternative and a dairy-free shredded cheese. The texture will be slightly different—a bit less creamy—but it still tastes great. I’d recommend adding an extra tablespoon of nutritional yeast for that cheesy flavor.
My personal favorite variation is the bacon cheddar one. I made it for a Halloween potluck at work, and my coworker, Sarah, asked me for the recipe three times. It’s just that good.
Serving & Storage Suggestions
This mummy wrapped cheese ball is best served warm, right out of the oven. The contrast between the hot, flaky dough and the cool, creamy cheese is the whole point. But it’s also delicious at room temperature if you’re serving it at a party.
For presentation, I like to put it on a round wooden board and surround it with an assortment of crackers. Ritz crackers are my go-to, but butter crackers, wheat thins, or even pretzel chips work great. You can also add some veggie sticks like carrot sticks or celery for a lighter option. For a Halloween touch, arrange some black olives or gummy worms around the board.
Storage: If you have leftovers (unlikely, but possible), wrap the mummy tightly in plastic wrap and store it in the refrigerator for up to 3 days. The dough will soften, but it’s still tasty. To reheat, pop it in a 350°F oven for about 10 minutes to crisp up the dough again. Don’t use the microwave—it’ll make the dough soggy.
Make-Ahead Tip: You can assemble the entire mummy (wrap the cheese ball in the dough) up to 24 hours ahead of time. Just keep it covered in the fridge, and bake it right before serving. Add 2-3 minutes to the baking time since it’s starting from cold.
The flavors actually meld together nicely after a day in the fridge. I’ve found that the garlic and onion flavors become more pronounced, which is a good thing if you ask me.
Nutritional Information & Benefits
Let’s be honest—this is a treat, not a health food. But that doesn’t mean it can’t fit into a balanced diet. Here’s the estimated nutritional breakdown per serving (based on 8 servings, with crackers):
| Nutrient | Amount Per Serving |
|---|---|
| Calories | 280 |
| Total Fat | 20g |
| Saturated Fat | 10g |
| Cholesterol | 55mg |
| Sodium | 480mg |
| Total Carbohydrates | 16g |
| Dietary Fiber | 1g |
| Sugars | 3g |
| Protein | 10g |
The cream cheese and cheddar provide a good amount of calcium and protein, which helps keep you full. The crescent dough gives you a little energy boost from the carbs. If you’re watching your sodium, use low-sodium crackers and go easy on the added salt.
For dietary considerations, this recipe is not gluten-free (due to the crescent dough) and is not dairy-free (due to the cheese). But as I mentioned in the variations section, there are ways to adapt it. It’s also vegetarian-friendly, as long as you use vegetarian-friendly cheese (some Parmesan is made with animal rennet).
I personally see this as a fun, occasional treat. It’s not something you eat every day, but for a Halloween party or a special gathering, it’s absolutely worth the indulgence. Life’s too short to skip the cheese ball, you know?
Conclusion
This easy mummy wrapped cheese ball with crackers is the perfect example of how a little creativity can turn simple ingredients into something memorable. It’s quick, it’s fun, and it always gets people talking. Whether you’re a seasoned host or someone who just needs a last-minute party dish, this recipe has your back.
I love that it brings a smile to people’s faces. There’s something about a mummy made of cheese that just makes everyone happy. And honestly, that’s what cooking is all about—sharing joy with the people you care about. So go ahead, give it a try. Customize it with your favorite add-ins, make it your own, and watch it disappear at your next gathering.
If you make this recipe, I’d love to hear about it! Drop a comment below and let me know how it turned out. Did you try a fun variation? Did your kids love it? Share your photos and tag me on social media—I can’t wait to see your mummy creations. Happy Halloween, and happy cooking!
Frequently Asked Questions
Can I make this mummy cheese ball ahead of time?
Absolutely. You can assemble the entire mummy (wrap the cheese ball in the dough) up to 24 hours ahead. Just keep it covered in the fridge, and bake it right before serving. Add a couple extra minutes to the baking time since it’s starting cold.
What if I don’t have candy eyes?
No problem! You can use sliced black olives, capers, or even small dots of black sesame seeds for the eyes. Or just skip the eyes altogether—it’ll still look like a mummy with the bandages.
Can I use a different type of cheese?
Sure! Sharp cheddar is classic, but you can use Monterey Jack, pepper jack for some heat, or even a mix of cheeses. Just avoid super soft cheeses like brie—they won’t hold their shape as well.
How do I prevent the dough from getting soggy?
The key is to chill the cheese ball thoroughly before wrapping it. A firm cheese ball won’t release as much moisture into the dough. Also, make sure your oven is fully preheated before baking—a hot oven helps the dough crisp up quickly.
Can I freeze this mummy cheese ball?
I don’t recommend freezing it after baking, as the texture of the cheese and dough will change. However, you can freeze the unbaked, wrapped mummy for up to a month. Thaw it in the fridge overnight before baking, and add a few minutes to the baking time.
Pin This Recipe!
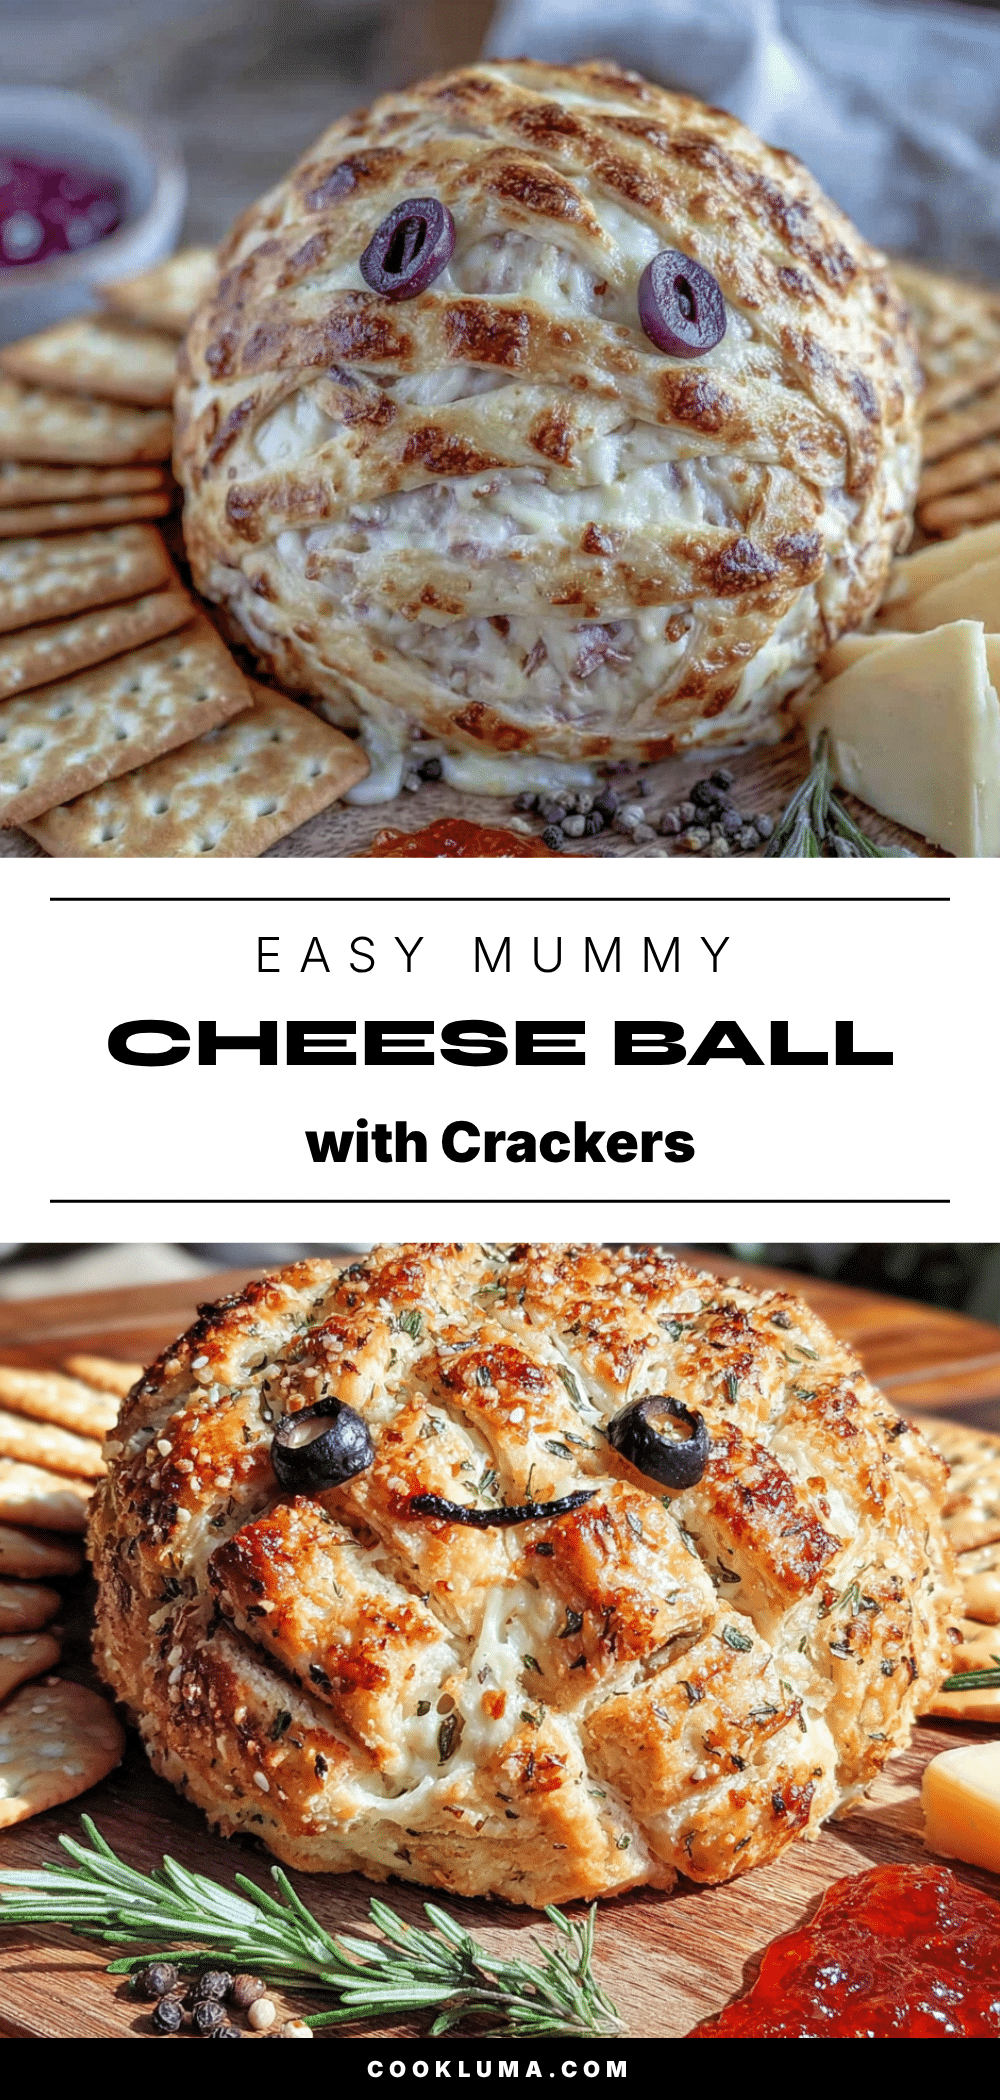
Easy Mummy Wrapped Cheese Ball with Crackers

A quick and easy Halloween appetizer featuring a creamy cheese ball wrapped in crescent roll dough to look like a mummy. Perfect for last-minute parties, it’s a crowd-pleaser that looks impressive with minimal effort.
- Prep Time: 15 minutes
- Cook Time: 20 minutes
- Total Time: 35 minutes
- Yield: 8 servings 1x
- Category: Appetizer
- Cuisine: American
Ingredients
- 8 oz cream cheese, softened
- 1 cup shredded sharp cheddar cheese
- 1/4 cup grated Parmesan cheese
- 1 teaspoon garlic powder
- 1/2 teaspoon onion powder
- 1/4 teaspoon black pepper
- Pinch of salt
- 1 can (8 oz) refrigerated crescent roll dough
- 1 large egg, beaten
- 2 candy eyes
- Assorted crackers for serving
Instructions
- Make the cheese ball mixture: In a mixing bowl, combine softened cream cheese, shredded cheddar, Parmesan, garlic powder, onion powder, black pepper, and a tiny pinch of salt. Beat with a hand mixer on medium speed until smooth and fully combined.
- Shape the cheese ball: Lay out a piece of plastic wrap on your counter. Scoop the cheese mixture onto the center of the plastic wrap. Gather the edges and twist to form a tight ball. Squeeze and shape into a round sphere. Refrigerate for 15-20 minutes to firm up.
- Preheat and prep: Preheat oven to 375°F (190°C). Line a baking sheet with parchment paper. Unroll the crescent roll dough onto a clean cutting board without separating the triangles.
- Cut the mummy strips: Using a sharp knife or pizza cutter, cut the dough into thin strips about 1/2-inch wide (12-15 strips).
- Wrap the mummy: Take the chilled cheese ball out of the fridge and unwrap it. Place on the prepared baking sheet. Wrap the dough strips around the cheese ball, crossing them over each other like bandages, leaving a small gap at the front for the eyes. Press ends gently to secure.
- Apply the egg wash: In a small bowl, beat the egg with a tablespoon of water. Brush the egg wash over all exposed dough strips.
- Bake: Place the baking sheet in the preheated oven. Bake for 18-22 minutes, until the dough is golden brown and puffed up.
- Add the eyes: Let the mummy cool on the baking sheet for about 5 minutes. Carefully press the two candy eyes into the gap at the front.
- Serve immediately: Transfer to a serving platter and surround with crackers. Serve warm.
Notes
Chill the cheese ball thoroughly before wrapping to prevent the dough from sliding off. If dough strips slide, tuck ends under the cheese ball. For make-ahead, assemble the wrapped mummy up to 24 hours in advance and refrigerate unbaked; add 2-3 minutes to baking time. Let rest 5 minutes before serving for best texture.
Nutrition
- Serving Size: 1 serving (with crac
- Calories: 280
- Sugar: 3
- Sodium: 480
- Fat: 20
- Saturated Fat: 10
- Carbohydrates: 16
- Fiber: 1
- Protein: 10
Keywords: Halloween appetizer, mummy cheese ball, easy cheese ball, crescent roll cheese ball, spooky snack, party appetizer, last-minute appetizer


