I was standing in the frozen food aisle last October, staring at a box of cocktail wieners, when the fluorescent lights flickered and suddenly I was seven years old at my neighbor Mrs. Kowalski’s kitchen table. She had flour dusted on her glasses and was laughing at something I’d said—I can’t remember what—but I remember the way her hands moved, wrapping strips of dough around little sausages like she was bandaging tiny fingers. The smell of butter and yeast hung in that tiny kitchen like a warm blanket. She called them “mummies” and told me they were too spooky to eat, which of course made me eat five of them before my mom came to pick me up. Mrs. Kowalski moved away years ago, and I haven’t thought about those afternoons in forever. But there I was, cart half-full, getting misty-eyed over refrigerated crescent rolls. So I grabbed the can, grabbed the little smokies, and went home to figure out how to make those mummies myself. Honestly, the first batch looked more like failed science experiments than Halloween treats—I forgot to cut the dough thin enough and they came out looking like sad, bloated caterpillars. But I kept trying, and now? Now I make these every October without fail. Maybe you’ve got a memory like that too—the kind that hits you sideways in a grocery store aisle. These mummies are my way of keeping that feeling close.
Why You’ll Love This Recipe
These mummy pigs in a blanket are the Halloween appetizer you didn’t know you needed. They’re ridiculously easy—like, embarrassingly easy—but they look like you spent hours on them. I’ve brought them to three different Halloween parties now, and every single time, someone asks for the recipe before the second batch even comes out of the oven.
Here’s what makes them special:
- Super Quick: From fridge to table in under 25 minutes. No marinating, no chilling, no complicated steps.
- Minimal Ingredients: You literally need two main ingredients plus some mustard for the eyes. That’s it.
- Perfect for Halloween: They’re spooky, cute, and kids absolutely lose their minds over them.
- Crowd-Pleaser: I’ve watched grown adults fight over the last mummy. They’re that good.
- Surprisingly Delicious: The combination of flaky, buttery dough wrapped around salty, juicy sausage is just… perfect. No other way to say it.
What makes this version different from every other mummy recipe out there? It’s the technique. Most recipes tell you to wrap the dough in a spiral around the sausage, which sounds fine until you realize the dough shrinks and breaks while baking. I figured out that cutting the dough into thinner strips and leaving tiny gaps between the wraps gives you that authentic mummy look without the dough exploding in the oven. Took me three failed batches to get there, but hey—that’s three batches you don’t have to mess up.
This is the kind of recipe that makes you feel like a kitchen genius with almost zero effort. Perfect for Halloween parties, classroom celebrations, or just making a Tuesday night in October feel a little more fun.
What Ingredients You Will Need
This recipe uses simple, store-bought ingredients to create something that looks way more impressive than it actually is. No fancy shopping trips, no obscure spices—just classic party food staples.
- 1 can (8 oz) refrigerated crescent roll dough — I personally use Pillsbury Original Crescents for the best flaky texture, but any brand works fine. The key is getting the seamless sheet version if you can find it, because it makes cutting even strips so much easier. If you only have the perforated ones, just pinch the seams together before cutting.
- 24 mini cocktail sausages or little smokies — Hillshire Farm Lit’l Smokies are my go-to, but any brand of mini sausages works. You want the fully cooked kind, not raw breakfast sausage links. Look for the ones that are about 2 inches long for the perfect mummy size.
- Mustard for the eyes — Yellow mustard gives the best color contrast, but honey mustard or even sriracha work too. You’ll need just a tiny dab per mummy, so don’t go buying a whole bottle just for this. (Though honestly, who doesn’t have mustard in their fridge?)
Optional additions:
- Everything bagel seasoning — Sprinkle this on before baking for extra flavor and texture. It makes the mummies look like they’ve been crawling through a spice cabinet, which is honestly kind of fitting.
- Grated parmesan cheese — A light sprinkle adds a salty, nutty flavor that pairs beautifully with the buttery dough.
- Garlic powder or onion powder — A pinch mixed into the dough before wrapping adds subtle savory depth.
Substitution notes: If you’re feeding a crowd with dietary restrictions, there are gluten-free crescent roll options available now—I’ve used the brand from Whole Foods and it worked surprisingly well. For a dairy-free version, check the crescent roll ingredients because most contain butter. Some brands offer dairy-free versions, or you can make your own quick dough using dairy-free butter.
Equipment Needed
Nothing fancy here. You probably already own everything you need.
- Baking sheet — A standard half-sheet pan works perfectly. Line it with parchment paper for easy cleanup. I learned this the hard way after scraping burnt dough off an ungreased pan for twenty minutes.
- Sharp knife or pizza cutter — A pizza cutter makes cutting the dough strips incredibly easy and gives you clean, straight edges. A sharp chef’s knife works too, but a pizza cutter is honestly faster.
- Ruler (optional but helpful) — If you’re a perfectionist like me, a ruler helps you cut even strips. But honestly? I’ve made these dozens of times now and I just eyeball it. Mummies aren’t supposed to look perfect anyway.
- Small bowl for mustard — You’ll need something to hold the mustard while you dot the eyes. A tiny dipping bowl or even a saucer works.
- Toothpick or small brush — For applying the mustard eyes. A toothpick gives you more control than a brush, but either works.
Budget tip: Don’t own a pizza cutter? A butter knife works in a pinch. The strips won’t be perfectly straight, but that just adds to the “mummy” vibe—they’re supposed to look a little messy!
Preparation Method
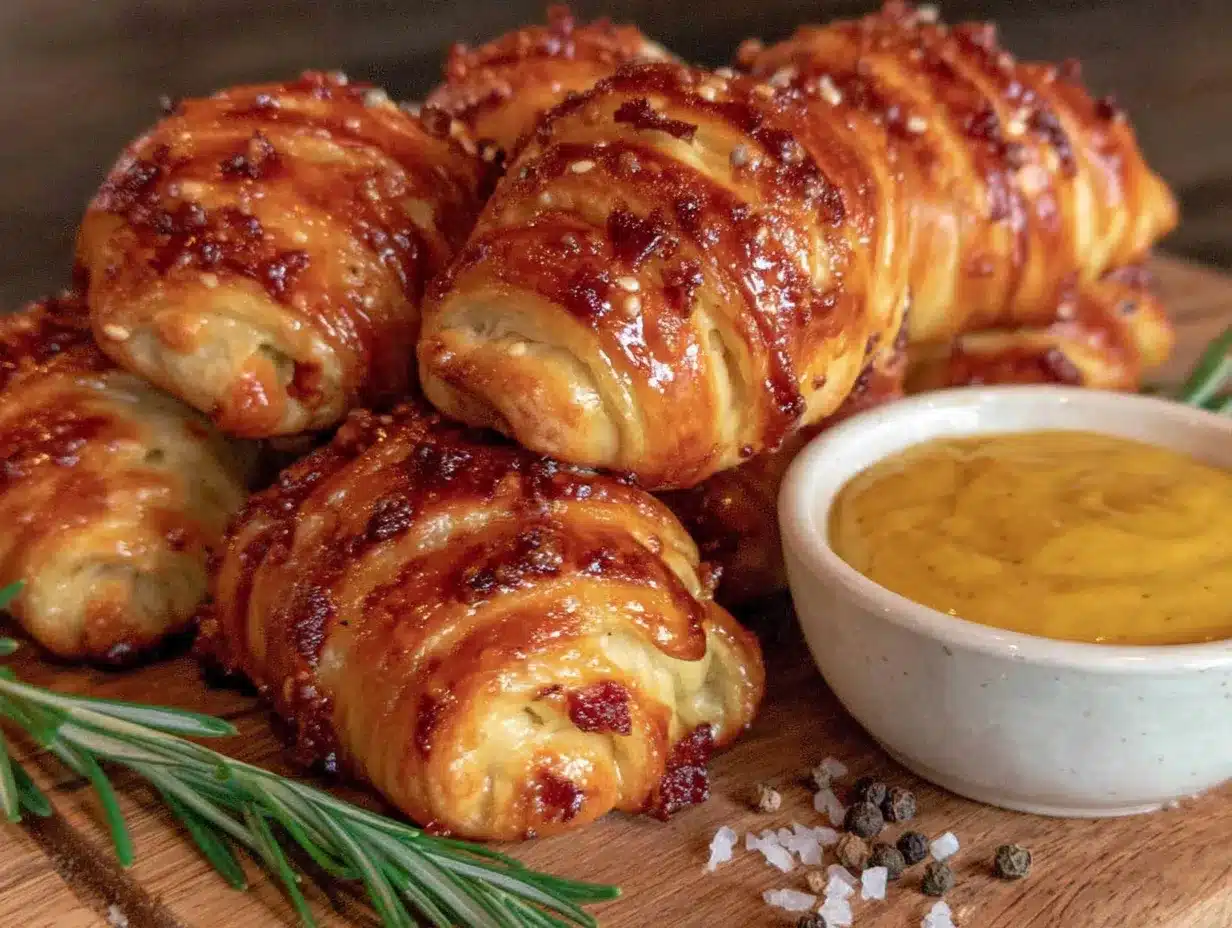
Let me walk you through this step by step. It’s simple, but a few small details make the difference between “cute mummies” and “what happened to my dough?” Trust me on this one.
- Preheat your oven to 375°F (190°C). Line a baking sheet with parchment paper. Don’t skip the parchment—it makes cleanup so much easier and prevents the bottoms from burning. I once forgot and spent twenty minutes scrubbing. Never again.
- Open the can of crescent roll dough. Unroll it onto a clean cutting board. If you’re using the perforated sheets, gently press the seams together with your fingers until they disappear. You want one solid rectangle of dough. If you’re using the seamless sheet, you’re already ahead of the game.
- Cut the dough into strips. Using a pizza cutter or sharp knife, cut the dough lengthwise into 12 strips. Each strip should be about 1/2 inch wide. Then cut those strips in half crosswise, so you have 24 strips total—one for each sausage. Don’t stress about making them perfect. Uneven strips actually look more authentic on a mummy.
- Wrap the sausages. Take one strip of dough and wrap it around one cocktail sausage, starting at one end and working your way to the other. Leave small gaps between the wraps so it looks like a mummy’s bandages. Don’t wrap too tightly—the dough will expand as it bakes, and tight wrapping can cause it to tear. Leave about 1/4 inch of the sausage exposed at each end for the “face” and “feet.”
- Place the mummies on the baking sheet. Arrange them about 1 inch apart. They won’t spread much, but you want a little breathing room for even browning. Position them with the seam side down so the dough doesn’t unroll while baking.
- Bake for 10-12 minutes. Keep an eye on them around the 10-minute mark. You want the dough to be golden brown and flaky, not dark brown. Every oven runs a little differently—mine runs hot, so I usually check at 9 minutes. The mummies are done when the dough looks puffed and lightly golden.
- Let them cool for 2 minutes. This is important! The dough is piping hot right out of the oven, and the mustard eyes will just slide off if you try to apply them immediately. Give them just enough time to cool so you can handle them without burning your fingers.
- Add the eyes. Dip a toothpick into the mustard and dot two small eyes onto the exposed end of each mummy. Don’t make them too big—tiny dots look cuter and more mummy-like. I use the tip of the toothpick for precision. If you mess up, just wipe it off and try again. The mustard wipes off easily when the mummies are still warm.
- Serve immediately. These are best enjoyed warm, when the dough is still flaky and the sausage is juicy. They’re still good at room temperature, but that first warm bite? Unbeatable.
Sensory cue: You’ll know they’re done when the kitchen smells like buttery, toasty dough and the mummies look like they just crawled out of a tomb—golden, slightly puffed, with little gaps where the sausage peeks through.
Cooking Tips & Techniques
I’ve made these mummies more times than I care to admit, and I’ve learned a few things along the way. Here’s what I wish someone had told me before my first attempt.
Don’t overwork the dough. Crescent roll dough is delicate. The more you handle it, the tougher it gets. When you’re cutting the strips and wrapping the sausages, work quickly and gently. If the dough starts to feel sticky or warm, pop it in the fridge for five minutes to firm up.
Thin strips are your friend. I made the mistake of cutting my strips too wide the first time, and the mummies came out looking like chubby little burritos instead of mummies. Aim for strips that are about 1/2 inch wide. Thin enough to wrap multiple times, but thick enough to hold together during baking.
Leave gaps on purpose. This is the secret to the mummy look. If you wrap the dough too tightly or too close together, the mummy effect disappears. You want visible gaps where the sausage shows through. Think of it like wrapping a real mummy—the bandages are spaced out.
Watch the bake time. These can go from perfect to overdone in about 60 seconds. Set a timer for 10 minutes and start checking. The dough should be golden, not brown. If the edges of the dough start to darken before the center is done, you can tent the pan loosely with foil for the last few minutes.
Make ahead tip: You can assemble the mummies up to 4 hours ahead of time and keep them in the refrigerator on the baking sheet. Just cover them loosely with plastic wrap. Add 1-2 minutes to the bake time if they’re going in cold. I’ve done this for parties and it works like a charm.
My biggest failure: The first time I made these for a Halloween party, I tried to double the batch and ran out of space on my baking sheet. I crammed them all together, thinking they’d be fine. They baked into one giant mass of dough and sausage—a mummy blob, if you will. It tasted fine, but it looked ridiculous. Lesson learned: give them space!
Variations & Adaptations
Once you’ve mastered the basic mummy, the possibilities are endless. Here are some variations I’ve tried and loved.
Spicy Mummies: Brush the sausages with a little sriracha or hot sauce before wrapping. The heat cuts through the buttery dough beautifully. I did this for a grown-up Halloween party and they disappeared faster than the regular ones.
Cheese-Stuffed Mummies: Cut a small slit in each sausage and tuck in a tiny piece of cheddar or mozzarella before wrapping. The cheese melts out slightly during baking, creating a delicious little surprise. Just be careful—the cheese gets hot!
Everything Bagel Mummies: Sprinkle everything bagel seasoning over the wrapped mummies before baking. The sesame seeds, poppy seeds, garlic, and onion add incredible flavor and texture. Plus, the mummies look like they’ve been rolling around in a spice cabinet, which is honestly kind of hilarious.
Vegetarian Mummies: Swap the cocktail sausages for vegetarian cocktail sausages or even small pieces of firm tofu (marinated in soy sauce and liquid smoke). The dough-wrapping technique stays exactly the same. I’ve tried this with veggie sausages and they work great—just make sure to pat them dry first so the dough doesn’t get soggy.
Sweet Mummies: Use the same technique but swap the sausages for small pieces of banana or apple, and use cinnamon-sugar instead of mustard for the eyes. It’s a completely different dish, but the mummy concept still works. My kids went nuts for these.
Air Fryer Mummies: Cook at 350°F (175°C) for 6-8 minutes, flipping halfway through. They come out extra crispy and cook faster than the oven version. Just don’t overcrowd the basket—work in batches if needed.
Serving & Storage Suggestions
These mummies are best served warm, but they’re still delicious at room temperature. Here’s how to make the most of them.
Serving temperature: Right out of the oven is ideal. The dough is flaky, the sausage is juicy, and the mustard eyes are perfectly set. If you’re serving them at a party, you can keep them warm in a low oven (200°F) for up to 30 minutes. Just don’t cover them with foil or the dough will get soggy.
Presentation ideas: Arrange the mummies on a platter lined with black or orange napkins for the full Halloween effect. You can add a small bowl of extra mustard or ketchup for dipping, though honestly, they’re perfect on their own. I like to scatter a few candy eyeballs around the platter for extra spooky flair.
What to serve with them: These pair beautifully with other Halloween appetizers like pumpkin-shaped cheese balls, spider web dip, or roasted pumpkin seeds. For drinks, apple cider or a pumpkin beer makes a great companion.
Storage: Leftover mummies (if you have any!) can be stored in an airtight container in the refrigerator for up to 3 days. The dough will soften slightly, but they’re still tasty. I wouldn’t recommend freezing them—the texture just isn’t the same after thawing.
Reheating: The best way to reheat is in the oven at 350°F for 5-7 minutes. The microwave works in a pinch (about 20 seconds), but the dough will lose its flakiness. If you have an air fryer, 3 minutes at 350°F brings them back to life beautifully.
Flavor note: The mustard eyes tend to dry out a bit overnight, so if you’re making these ahead for a party, I recommend adding the mustard just before serving. The mummies themselves can be baked a few hours ahead and kept at room temperature, then popped back in the oven for a few minutes to warm up.
Nutritional Information & Benefits
Let’s be real—these are party appetizers, not health food. But here’s what you’re looking at per mummy (approximate values based on standard ingredients):
| Nutrient | Amount per Mummy |
|---|---|
| Calories | 85-100 |
| Total Fat | 6-7g |
| Saturated Fat | 2-3g |
| Carbohydrates | 5-6g |
| Protein | 3-4g |
| Sodium | 250-300mg |
Health considerations: The cocktail sausages are processed meat, so these aren’t an everyday snack. But for a Halloween party or special occasion? Absolutely worth it. If you’re watching your sodium intake, look for low-sodium cocktail sausages or turkey-based options.
Dietary notes: This recipe contains wheat and dairy (from the crescent roll dough) and may contain soy (from the sausages). For gluten-free needs, use gluten-free crescent roll dough. For dairy-free, check your dough ingredients carefully—some brands use butter, others use vegetable oils.
My take: I’m all about balance. These mummies are a fun, seasonal treat that brings joy to a Halloween party. I don’t stress about the nutritional stats when I’m making them for a celebration. Life’s too short to count calories at a costume party, you know?
Conclusion
These easy mummy pigs in a blanket are more than just a Halloween appetizer—they’re a little piece of nostalgia wrapped in flaky dough. Every time I make them, I think of Mrs. Kowalski’s kitchen and that feeling of being seven years old, covered in flour, eating something that looked too spooky to be real.
What I love most about this recipe is how forgiving it is. You don’t need to be a pastry chef or a Halloween decorating expert. You just need a can of dough, some sausages, and a little bit of patience. The mummies don’t have to look perfect—in fact, the imperfect ones are always the most charming.
I’d love to hear how yours turn out! Did you try any of the variations? Did your kids help you wrap the mummies? Drop a comment below and let me know. And if you’re looking for more Halloween fun, check out our spider web dip or pumpkin cheese ball for the full spooky spread.
Go make some mummies, friend. Your Halloween table will thank you.
Frequently Asked Questions
Can I make these mummy pigs in a blanket ahead of time?
Absolutely! You can assemble them up to 4 hours ahead and keep them in the fridge. Just add an extra minute or two to the bake time. I wouldn’t recommend baking them more than a few hours ahead, though—they’re best fresh out of the oven.
Can I use hot dogs instead of cocktail sausages?
You can, but you’ll need to cut them into smaller pieces. Full-size hot dogs will require more dough and longer baking time. I’d recommend cutting each hot dog into 3-4 pieces for the right mummy proportions.
What can I use instead of mustard for the eyes?
Ketchup works in a pinch, though the color isn’t as striking. You can also use small dots of sriracha, sambal oelek, or even tiny candy eyes if you want a non-edible but super cute option. Just add the candy eyes after baking.
Why did my dough shrink while baking?
This happens when the dough is wrapped too tightly or when it’s been handled too much. Crescent roll dough has a tendency to shrink back to its original shape when baked. Try wrapping more loosely next time, and leave those intentional gaps between the wraps.
Can I freeze these mummies?
I don’t recommend it. The dough gets soggy when thawed, and the texture just isn’t the same. These are best made fresh. If you’re really in a pinch, you can freeze the unbaked assembled mummies and bake them straight from frozen, adding 2-3 minutes to the bake time.
Pin This Recipe!
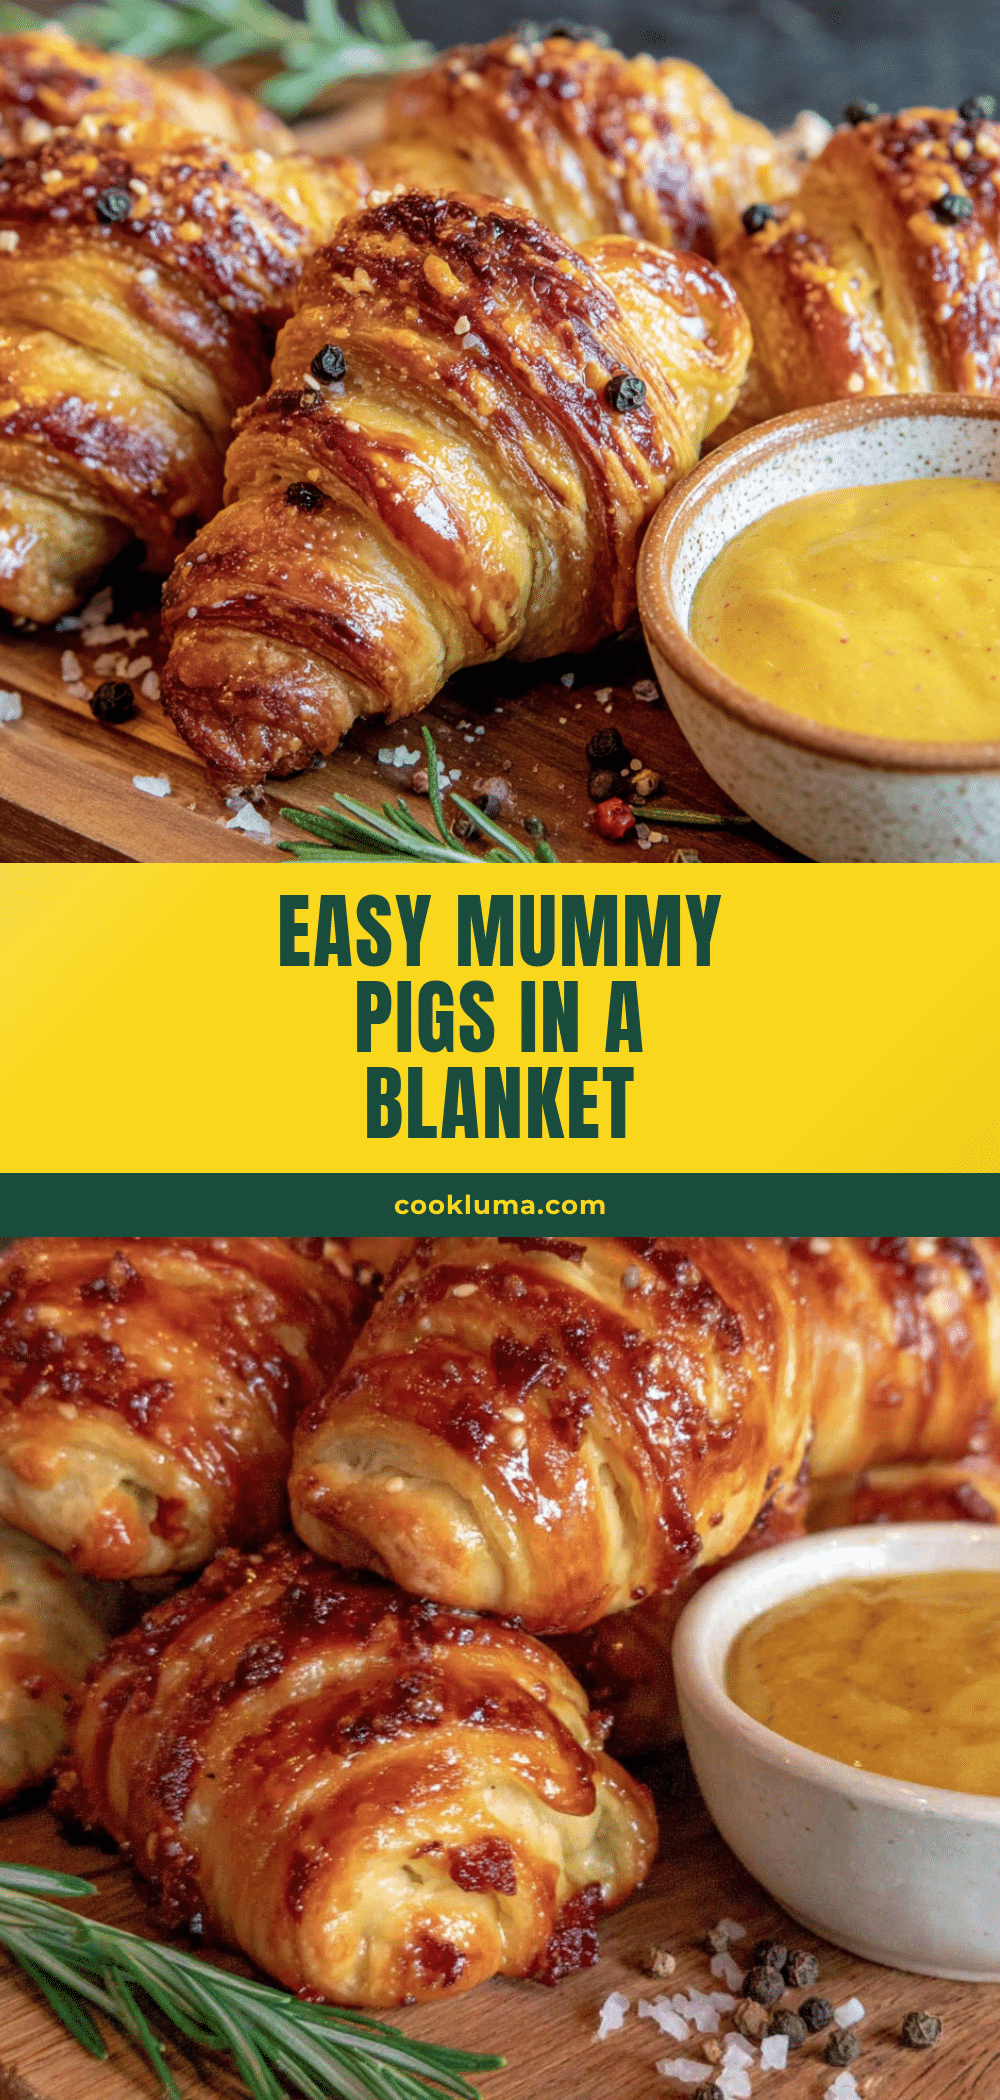
Best Easy Mummy Pigs in a Blanket Recipe

These mummy pigs in a blanket are a fun and easy Halloween appetizer made with crescent roll dough and cocktail sausages, wrapped to look like mummies. Perfect for parties, they’re ready in under 25 minutes and always a crowd-pleaser.
- Prep Time: 10 minutes
- Cook Time: 12 minutes
- Total Time: 22 minutes
- Yield: 24 mummies 1x
- Category: Appetizer
- Cuisine: American
Ingredients
- 1 can (8 oz) refrigerated crescent roll dough
- 24 mini cocktail sausages or little smokies
- Mustard for the eyes
- Everything bagel seasoning (optional)
- Grated parmesan cheese (optional)
- Garlic powder or onion powder (optional)
Instructions
- Preheat your oven to 375°F (190°C). Line a baking sheet with parchment paper.
- Open the can of crescent roll dough and unroll it onto a clean cutting board. If using perforated sheets, press the seams together to form a solid rectangle.
- Cut the dough lengthwise into 12 strips, each about 1/2 inch wide. Then cut those strips in half crosswise to get 24 strips total.
- Take one strip of dough and wrap it around one cocktail sausage, starting at one end and working to the other. Leave small gaps between wraps for a mummy look. Leave about 1/4 inch of sausage exposed at each end.
- Place the mummies on the baking sheet, seam side down, about 1 inch apart.
- Bake for 10-12 minutes, until the dough is golden brown and flaky.
- Let them cool for 2 minutes.
- Dip a toothpick into mustard and dot two small eyes onto the exposed end of each mummy.
- Serve immediately.
Notes
For best results, cut dough into thin strips (about 1/2 inch wide) and leave gaps between wraps to achieve the mummy look. Don’t overwork the dough. Assemble up to 4 hours ahead and refrigerate. Reheat in oven at 350°F for 5-7 minutes.
Nutrition
- Serving Size: 1 mummy
- Calories: 90
- Sugar: 1
- Sodium: 275
- Fat: 6.5
- Saturated Fat: 2.5
- Carbohydrates: 5.5
- Protein: 3.5
Keywords: mummy pigs in a blanket, Halloween appetizer, crescent roll sausages, easy Halloween recipe, cocktail sausages


