My neighbor Sarah asked why I couldn’t just melt the marshmallow fluff with the sugar instead of stirring it in at the end. I started to explain why that wouldn’t work – something about sugar crystallization and the delicate structure of fluff. Then I stopped. Honestly, I had no real reason other than “that’s how my grandmother did it.” So I tried her way, fully expecting a grainy, separated mess. The fudge came out perfectly smooth, with that signature creamy texture that makes fantasy fudge so addictive. I stood there in my kitchen, spatula in hand, feeling equal parts delighted and humbled. Sometimes the best lessons come from someone who doesn’t know they’re teaching you.
That moment changed how I make this classic fantasy fudge recipe forever. And let me tell you, I’ve made a lot of fudge in my day – for holiday parties, potlucks, and those last-minute “I need to bring something” moments. This marshmallow fluff version has become my secret weapon for impressing guests without breaking a sweat. The first time I brought it to a dinner party, three people asked for the recipe before I’d even taken my coat off. Maybe you’ve been there – that moment when a dish becomes your signature, the one everyone expects you to bring. That’s this fudge for me.
The thing about hosting is you want something that looks impressive but doesn’t keep you stuck in the kitchen while your guests are arriving. This recipe delivers on both fronts. It comes together in about 15 minutes of active time, then you just let it set while you focus on your guests. I’ve made this for Christmas gatherings, birthday parties, and casual get-togethers where I wanted to bring something special without spending hours fussing. It never fails to get those “wow” reactions. The combination of rich chocolate and marshmallow creates this perfectly balanced sweetness that keeps people coming back for “just one more piece.”
Why You’ll Love This Recipe
After testing this recipe more times than I care to count – including a memorable fail where I forgot the butter entirely – I can confidently say this is the version you want in your hosting arsenal. Here’s what makes it stand out:
- Incredibly Easy: You don’t need a candy thermometer or any fancy equipment. Just a saucepan, a spoon, and about 15 minutes of your time. The marshmallow fluff does the heavy lifting for that perfect texture.
- Foolproof Results: The marshmallow fluff stabilizes the sugar mixture, making this one of the most forgiving fudge recipes out there. Even if you’re new to candy making, you’ll get creamy, sliceable fudge every time.
- Perfect for Hosting: This fudge makes enough for a crowd – about 2 pounds of rich, chocolatey goodness. It’s ideal for holiday parties, potlucks, or when you want to offer guests something sweet without pulling out the full dessert spread.
- Make-Ahead Friendly: You can prepare this days before your event. The fudge actually gets better after a day or two, developing a creamier texture as it sits.
- Crowd-Pleasing Flavor: The combination of semi-sweet chocolate chips, milk chocolate, and marshmallow fluff creates a balanced sweetness that appeals to both kids and adults. I’ve watched people who claim they don’t like fudge go back for seconds.
What sets this recipe apart from other fudge recipes is the technique. By melting the marshmallow fluff with the sugar and butter from the start – thanks to Sarah’s suggestion – you create an ultra-smooth base that prevents the graininess that plagues so many homemade fudges. The texture is that perfect middle ground between firm enough to hold its shape and soft enough to melt on your tongue. It’s the kind of recipe that makes you look like a candy-making pro, even if it’s your first time trying.
This isn’t just another fudge recipe you’ll forget about. It’s the one that becomes your go-to for every gathering, the one friends text you for when they’re hosting their own parties. There’s something deeply satisfying about pulling out a tray of perfectly set fudge and watching your guests’ faces light up. It’s comfort food at its finest – familiar, indulgent, and made with love.
What Ingredients You Will Need
This recipe uses simple, pantry-friendly ingredients to create something truly special. Most of these items you probably already have in your kitchen, which makes this perfect for those moments when you need a last-minute dessert for unexpected guests.
For the Fudge Base
- 3 cups granulated sugar – Regular white sugar works best here. Don’t substitute with brown sugar or alternative sweeteners, as they’ll change the texture and setting properties.
- ¾ cup unsalted butter (1½ sticks) – Use real butter, not margarine. The butter adds richness and helps create that smooth, melt-in-your-mouth texture. I prefer Land O’Lakes for consistent results.
- ¾ cup evaporated milk (not sweetened condensed milk) – This is crucial. Evaporated milk provides the right amount of liquid and fat without making the fudge too sweet. Look for the classic Carnation brand in the baking aisle.
- 1 jar (7 oz) marshmallow fluff – The star ingredient that makes this fudge so creamy. Don’t substitute with mini marshmallows – the fluff incorporates more smoothly and gives better texture. Jet-Puffed is my go-to brand.
- ¼ teaspoon salt – Just enough to balance the sweetness and enhance the chocolate flavor. I use fine sea salt for even distribution.
For the Chocolate
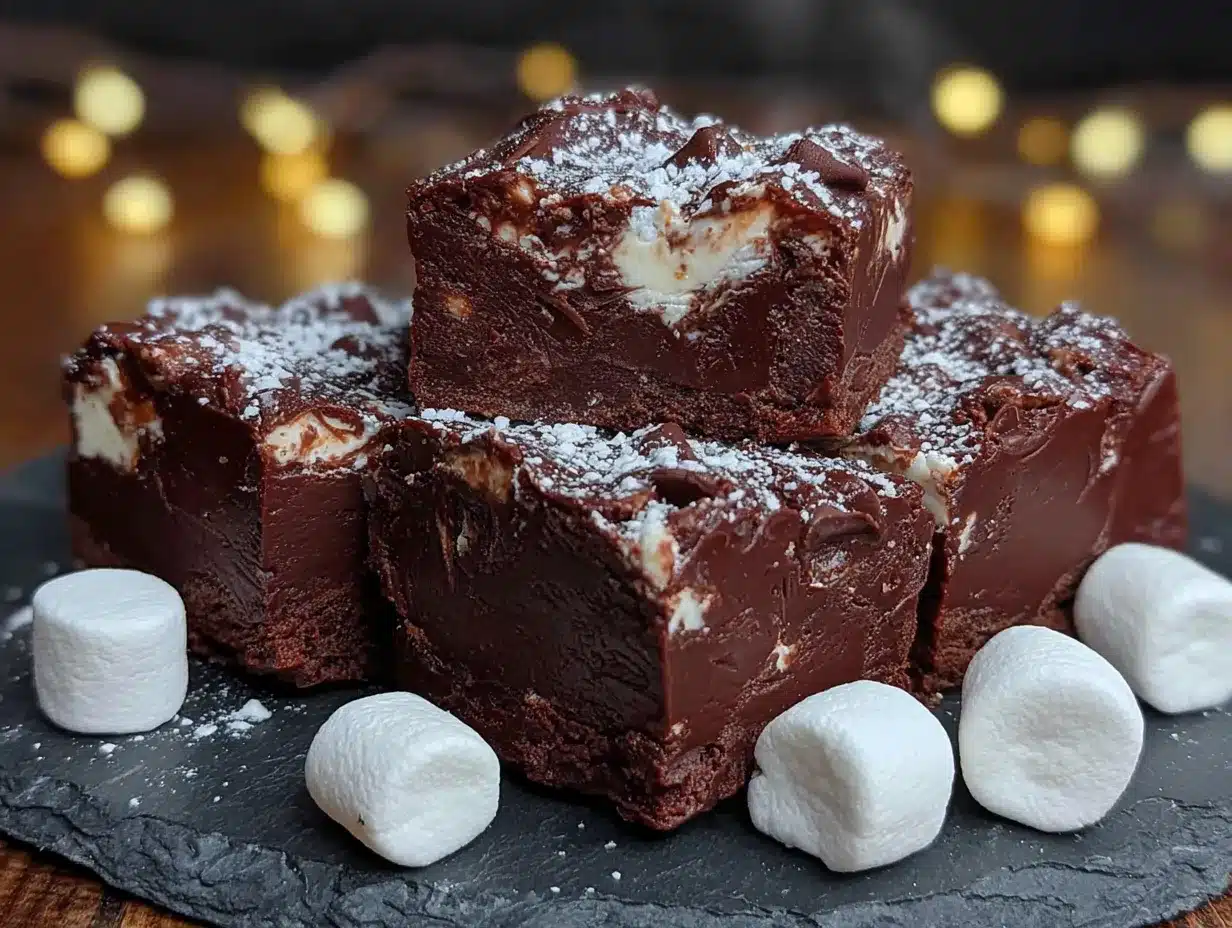
- 1½ cups semi-sweet chocolate chips – I recommend Ghirardelli or Guittard for the best flavor. The semi-sweet chips provide that deep chocolate taste without making the fudge overly sweet.
- 1 cup milk chocolate chips – These add creaminess and a milder chocolate note. You can use all semi-sweet if you prefer a darker fudge, but the combination creates a more complex flavor profile.
Optional Add-Ins
- 1 teaspoon vanilla extract – Adds warmth and depth to the chocolate flavor. Use pure vanilla extract if you have it, but imitation works fine too.
- ½ cup chopped walnuts or pecans – For texture and a nutty contrast. Toast them lightly in a dry pan first for extra flavor (about 3-4 minutes, stirring constantly).
- Flaky sea salt for topping – A sprinkle on top right before the fudge sets creates that sweet-salty combination everyone loves.
When selecting your ingredients, quality matters but you don’t need to break the bank. The chocolate chips make the biggest difference in flavor, so splurge a little there if you can. For the butter and evaporated milk, store brands work just fine. And please, don’t skip the salt – it’s not just for flavor, it actually helps balance the sweetness and makes the chocolate taste more chocolatey.
Equipment Needed
One of the best things about this recipe is how little equipment it requires. You probably already own everything you need.
- Large heavy-bottomed saucepan (3-4 quart) – The heavy bottom prevents hot spots that can scorch the sugar mixture. I use my trusty Calphalon saucepan, but any heavy pot works. Avoid thin pans that distribute heat unevenly.
- Wooden spoon or silicone spatula – You’ll be stirring constantly, so use something comfortable to hold. I prefer a silicone spatula because it scrapes the sides and bottom well, preventing sugar crystals from forming.
- 8×8-inch baking pan – For setting the fudge. Line it with parchment paper or foil for easy removal. If you want thicker fudge pieces, use a 9×9-inch pan instead.
- Parchment paper or aluminum foil – Lining the pan makes lifting out the set fudge much easier. Leave some overhang on two sides to create “handles.”
- Sharp knife – For cutting the fudge into clean pieces once set. A chef’s knife works great, but a long serrated knife also does the job.
- Candy thermometer (optional but helpful) – While this recipe is forgiving enough to work without one, a thermometer helps you know exactly when the sugar mixture reaches the soft-ball stage (234°F). I use a simple Taylor brand thermometer.
If you don’t have a candy thermometer, don’t worry. The visual cues in the recipe will guide you. And if your saucepan is on the smaller side, just be careful not to let the mixture boil over – it can bubble up quite a bit when you add the chocolate.
Preparation Method
Let me walk you through this step by step. Once you’ve made it once, you’ll have the process memorized.
- Prepare your pan. Line an 8×8-inch baking pan with parchment paper or foil, leaving about 2 inches of overhang on two opposite sides. This creates handles for lifting the fudge out later. Lightly grease the paper with butter or non-stick spray.
- Combine the base ingredients. In your large heavy-bottomed saucepan, combine 3 cups granulated sugar, ¾ cup unsalted butter, ¾ cup evaporated milk, and ¼ teaspoon salt. Yes, add the marshmallow fluff too – all of it. I know it seems wrong to add it this early, but trust me on this. Stir everything together with your wooden spoon or silicone spatula.
- Heat and stir constantly. Place the saucepan over medium heat and stir constantly. This is not the time to walk away. Keep stirring until the butter is completely melted and the mixture is smooth. The marshmallow fluff will melt into the liquid, creating a creamy, pale golden base. This takes about 5-7 minutes.
- Bring to a boil. Continue stirring as the mixture comes to a full rolling boil. You’ll see large bubbles breaking on the surface. Once it reaches a boil, let it boil for exactly 5 minutes, stirring constantly. The mixture will thicken slightly and turn a light caramel color. If you’re using a candy thermometer, it should reach 234°F (soft-ball stage).
- Remove from heat. Take the saucepan off the burner immediately. Don’t let it sit on the hot burner – the residual heat could overcook the sugar mixture and make your fudge grainy.
- Add the chocolate. Pour in 1½ cups semi-sweet chocolate chips and 1 cup milk chocolate chips. Don’t stir yet – let them sit on top of the hot mixture for about 2-3 minutes to soften. This gentle melting prevents the chocolate from seizing.
- Stir until smooth. After the chocolate has softened, stir vigorously until everything is completely melted and the mixture is smooth and glossy. This takes about 2-3 minutes of steady stirring. If you’re adding vanilla extract, stir it in now. The fudge should look thick and velvety, with no streaks of white from the marshmallow fluff.
- Add nuts if desired. If you’re using chopped walnuts or pecans, fold them in now. Stir just until evenly distributed – overmixing can break up the nuts too much.
- Pour into prepared pan. Scrape the fudge into your lined pan and spread it evenly with your spatula. Work quickly – the fudge starts setting as it cools. Try to get the top as smooth as possible, but don’t stress about perfection.
- Let it set. Let the fudge cool at room temperature for about 2-3 hours, or until completely firm. Don’t rush this by putting it in the refrigerator – rapid cooling can cause the sugar to crystallize and make the fudge grainy. If you’re in a hurry, you can refrigerate it after it’s cooled for about 30 minutes at room temperature, then transfer to the fridge for another hour.
- Cut and serve. Once fully set, lift the fudge out of the pan using the parchment handles. Place on a cutting board and cut into 1-inch squares with a sharp knife. For clean cuts, wipe the knife clean between cuts. You should get about 36 pieces from an 8×8 pan.
A few things to watch for as you go: If the mixture starts to separate or look greasy, you might have overheated it slightly. Don’t panic – just keep stirring and it usually comes back together. If your fudge doesn’t set properly, it likely didn’t boil long enough. Next time, let it boil the full 5 minutes and check the temperature if you have a thermometer.
Cooking Tips & Techniques
After making this fudge more times than I can count – including a batch that turned into a sticky, unset mess when I got distracted by a phone call – I’ve learned a few tricks that make all the difference.
Stirring is non-negotiable. I cannot stress this enough. You must stir constantly while the mixture is on the heat. Those few minutes of stirring prevent sugar crystals from forming on the sides of the pan, which can cause the entire batch to become grainy. I keep a silicone spatula in my hand the entire time and scrape the sides and bottom every few rotations.
Watch for the boil. The mixture needs to reach a full rolling boil – not just a few lazy bubbles. You’ll know it’s there when the surface is covered with large, active bubbles that don’t stop when you stir. Start your timer from this point, not from when you first see bubbles.
Humidity is your enemy. Fudge doesn’t like humid days. The sugar absorbs moisture from the air, which can prevent it from setting properly. If you’re making this on a rainy or humid day, let it set in an air-conditioned room or near a dehumidifier. I learned this the hard way during a summer picnic prep – my fudge stayed soft for hours.
Don’t scrape the pan. When you pour the fudge into the pan, leave the last bit in the saucepan. The mixture at the bottom and sides might have slightly overcooked sugar crystals that could make your fudge grainy. It’s a small waste for a much better texture.
Let it cool naturally. I know it’s tempting to speed things up by putting the pan in the fridge, but patience pays off here. Room temperature cooling allows the fudge to set slowly and evenly, resulting in that smooth, creamy texture you’re after. If you absolutely must refrigerate it, let it cool on the counter for at least 30 minutes first.
Test for doneness. If you don’t have a candy thermometer, drop a small amount of the hot mixture into a glass of cold water. If it forms a soft ball that flattens when you remove it from the water, it’s ready. This old-fashioned test works perfectly and doesn’t require any special equipment.
Variations & Adaptations
One of the best things about this recipe is how easily it adapts to different tastes and occasions. Here are some variations I’ve tried and loved:
Peppermint Bark Fudge: Add ½ teaspoon peppermint extract along with the vanilla. After pouring the fudge into the pan, sprinkle crushed candy canes on top and gently press them in. This is my go-to for Christmas parties – it looks festive and tastes incredible.
Dark Chocolate Lover’s Fudge: Swap all the chocolate chips for dark chocolate chips (60-70% cacao). The bitterness of the dark chocolate balances the sweetness of the marshmallow fluff beautifully. Add a teaspoon of espresso powder to enhance the chocolate flavor without making it taste like coffee.
Nut-Free Version: Simply omit the nuts. The fudge is still delicious and perfect for school events or parties where nut allergies are a concern. You can add toasted coconut flakes or dried fruit instead for texture.
White Chocolate Fantasy Fudge: Replace both types of chocolate chips with 2½ cups white chocolate chips. Add ½ cup dried cranberries and ¼ cup pistachios for a festive holiday version. The white chocolate sets a bit softer, so let it cool longer before cutting.
Peanut Butter Swirl: After pouring the fudge into the pan, drop spoonfuls of creamy peanut butter on top and swirl with a knife. Don’t overmix – you want distinct ribbons of peanut butter throughout. This combination is dangerously addictive.
Vegan Adaptation: Use vegan butter, canned coconut milk instead of evaporated milk, and dairy-free chocolate chips. The marshmallow fluff is surprisingly vegan-friendly (most brands don’t contain gelatin). The texture will be slightly different – a bit softer – but still delicious.
I once made the peppermint version for a holiday potluck and accidentally used chocolate mint chips instead of regular chocolate chips. It was a happy accident – the subtle mint flavor paired perfectly with the candy cane topping. Sometimes the best discoveries come from mistakes.
Serving & Storage Suggestions
This fudge is incredibly versatile when it comes to serving. Here’s how I like to present it for gatherings:
At Room Temperature: Fudge is best served at room temperature, where it has that perfect creamy texture. If you’ve refrigerated it, let it sit out for about 20-30 minutes before serving. Arrange the pieces on a decorative platter or in a lined gift box for a beautiful presentation.
Pairings: Serve alongside fresh berries for a pop of color and acidity that cuts through the richness. A small cup of strong coffee or espresso is the perfect beverage companion. For dessert boards, I love including fudge with dried figs, almonds, and a good aged cheddar – the combination of sweet, salty, and savory is amazing.
Gift Giving: This fudge makes wonderful homemade gifts. Layer pieces in a tin or mason jar with parchment paper between layers. Add a handwritten tag with the recipe name and date. I’ve given these as hostess gifts, teacher appreciation presents, and holiday treats for years.
Storage: Store fudge in an airtight container at room temperature for up to 2 weeks. If your kitchen is warm, you can refrigerate it, but bring it to room temperature before serving. For longer storage, wrap individual pieces in wax paper and place in a freezer-safe container. Frozen fudge keeps for up to 3 months. Thaw in the refrigerator overnight, then bring to room temperature before serving.
Flavor Development: Here’s something interesting – this fudge actually tastes better the next day. The flavors meld together and the texture becomes even creamier after 24 hours. So don’t stress about making it fresh the day of your event. Make it a day or two ahead, and your guests will thank you.
Nutritional Information & Benefits
Let’s be honest – fudge is a treat, not a health food. But knowing what’s in it helps you enjoy it mindfully.
Per piece (based on 36 pieces from an 8×8 pan):
- Calories: approximately 180-200
- Fat: 9-10g
- Saturated Fat: 6-7g
- Carbohydrates: 26-28g
- Sugar: 22-24g
- Protein: 1-2g
- Sodium: 35-45mg
Dietary Considerations: This recipe contains dairy and is not suitable for vegans (unless adapted). It contains gluten-free ingredients, but check your chocolate chip labels for cross-contamination if you have celiac disease. The nuts are optional, so it can easily be made nut-free.
Health Notes: Dark chocolate contains antioxidants called flavonoids, which may support heart health. The small amount of protein from the milk and nuts (if added) helps balance the sugar rush slightly. That said, this is an occasional indulgence – perfect for celebrations and gatherings, not everyday snacking.
I personally believe that food should be enjoyed without guilt. A piece or two of this fudge at a party isn’t going to derail anyone’s health goals. It’s about balance and savoring special moments with the people you care about.
Conclusion
This classic fantasy fudge with marshmallow fluff has become my signature recipe for a reason. It’s the dessert that makes people close their eyes and say “mmm” after the first bite. It’s the recipe I turn to when I want to bring something special to a gathering without spending hours in the kitchen. And now, thanks to my neighbor Sarah’s unconventional suggestion, it’s even better than before.
I hope you’ll try this recipe and make it your own. Add your favorite mix-ins, experiment with different chocolate combinations, and don’t be afraid to make mistakes – that’s how you learn. The best recipes are the ones that evolve with us, shaped by happy accidents and suggestions from unexpected sources.
When you make this fudge – and I know you will – I’d love to hear how it turns out. Drop a comment below and let me know what variations you tried, or tag me in your photos on social media. Your feedback and creativity inspire me to keep experimenting in the kitchen. Here’s to sweet moments with the people we love!
Frequently Asked Questions
Can I use regular marshmallows instead of marshmallow fluff?
I don’t recommend it. Marshmallow fluff has a different consistency and dissolves more smoothly into the sugar mixture. Regular marshmallows contain more gelatin and corn syrup, which can affect the texture and setting properties of the fudge. Stick with the fluff for the best results.
Why did my fudge turn out grainy?
Grainy fudge usually happens when sugar crystals form during cooking. This can occur if you didn’t stir constantly, if the mixture wasn’t boiled long enough, or if it cooled too quickly. Next time, make sure you’re stirring continuously and let the fudge cool at room temperature. Adding the marshmallow fluff early also helps prevent crystallization.
Can I double this recipe?
Absolutely! Double all ingredients and use a 9×13-inch pan. Just make sure your saucepan is large enough – the mixture bubbles up significantly when boiling. A 6-quart pot works well for a double batch. The cooking time remains the same – 5 minutes at a full rolling boil.
How do I know when the fudge is done boiling without a thermometer?
Use the cold water test. Keep a glass of cold water nearby. Drop a small amount of the hot mixture into the water. If it forms a soft ball that flattens when you remove it from the water, it’s ready. The ball should be pliable but hold its shape briefly before flattening.
Can I make this fudge in the microwave?
I’ve tested this method and it works, but the texture isn’t quite as smooth as the stovetop version. If you’re in a pinch, combine the sugar, butter, evaporated milk, and marshmallow fluff in a large microwave-safe bowl. Microwave on high for 3 minutes, stir, then microwave for another 3-4 minutes until boiling. Add the chocolate chips and stir until smooth. The stovetop method gives better control and more consistent results.
Pin This Recipe!
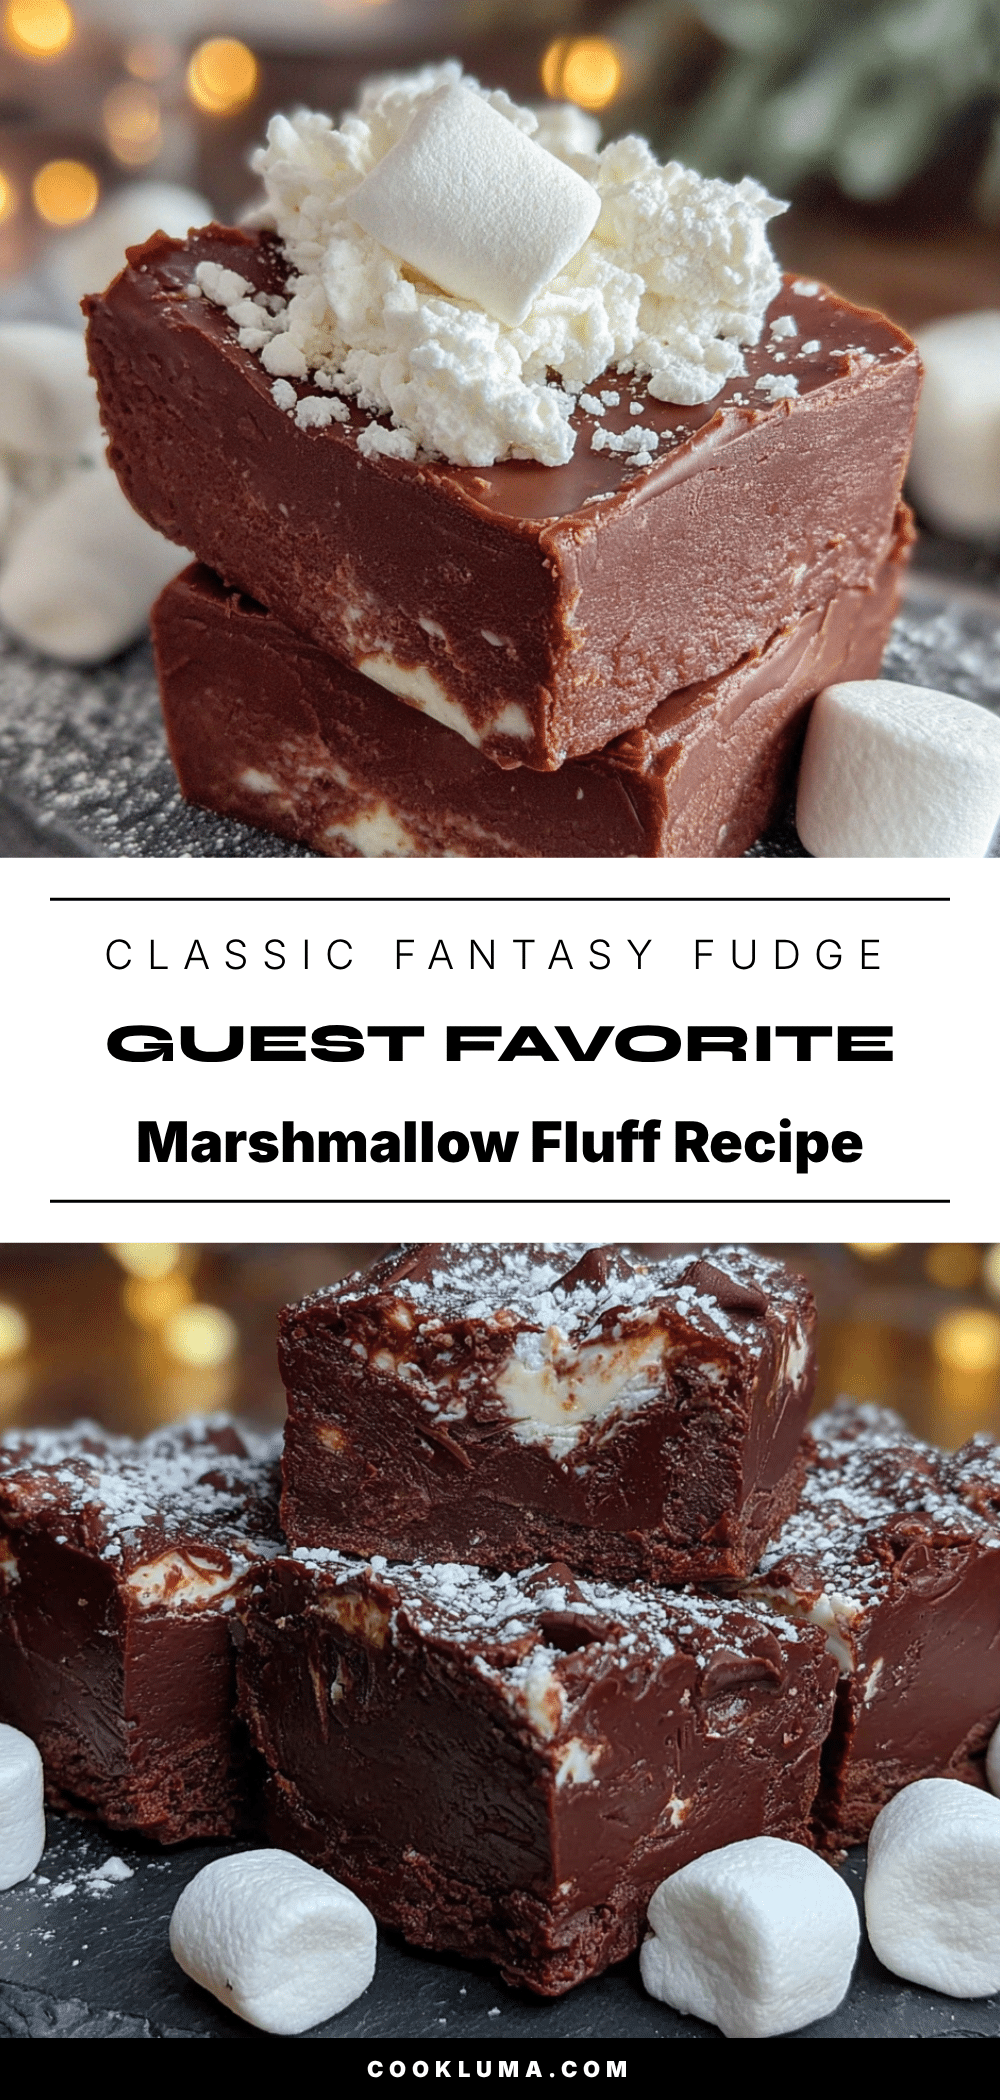
Best Classic Fantasy Fudge: Easy Guest-Favorite Recipe
This classic fantasy fudge with marshmallow fluff is incredibly easy, foolproof, and perfect for hosting. It comes together in about 15 minutes of active time and delivers creamy, sliceable fudge every time.
- Prep Time: 15 minutes
- Cook Time: 10 minutes
- Total Time: 2 hours 25 minutes (including setting time)
- Yield: 36 pieces 1x
- Category: Dessert
- Cuisine: American
Ingredients
- 3 cups granulated sugar
- ¾ cup unsalted butter (1½ sticks)
- ¾ cup evaporated milk
- 1 jar (7 oz) marshmallow fluff
- ¼ teaspoon salt
- 1½ cups semi-sweet chocolate chips
- 1 cup milk chocolate chips
- 1 teaspoon vanilla extract (optional)
- ½ cup chopped walnuts or pecans (optional)
- Flaky sea salt for topping (optional)
Instructions
- Line an 8×8-inch baking pan with parchment paper or foil, leaving about 2 inches of overhang on two opposite sides. Lightly grease the paper with butter or non-stick spray.
- In a large heavy-bottomed saucepan, combine 3 cups granulated sugar, ¾ cup unsalted butter, ¾ cup evaporated milk, ¼ teaspoon salt, and the entire jar of marshmallow fluff. Stir together with a wooden spoon or silicone spatula.
- Place the saucepan over medium heat and stir constantly until the butter is completely melted and the mixture is smooth, about 5-7 minutes.
- Continue stirring as the mixture comes to a full rolling boil. Once it reaches a boil, let it boil for exactly 5 minutes, stirring constantly. The mixture will thicken slightly and turn a light caramel color. If using a candy thermometer, it should reach 234°F (soft-ball stage).
- Remove the saucepan from the heat immediately.
- Pour in 1½ cups semi-sweet chocolate chips and 1 cup milk chocolate chips. Let them sit on top of the hot mixture for about 2-3 minutes to soften.
- Stir vigorously until everything is completely melted and the mixture is smooth and glossy, about 2-3 minutes. If using vanilla extract, stir it in now.
- If using chopped walnuts or pecans, fold them in now until evenly distributed.
- Pour the fudge into the prepared pan and spread it evenly with a spatula.
- Let the fudge cool at room temperature for about 2-3 hours, or until completely firm. Do not refrigerate to speed up the process.
- Once fully set, lift the fudge out of the pan using the parchment handles. Place on a cutting board and cut into 1-inch squares with a sharp knife. Wipe the knife clean between cuts for clean edges.
Notes
Stir constantly while the mixture is on the heat to prevent sugar crystallization. Do not scrape the pan when pouring the fudge to avoid incorporating overcooked sugar crystals. Let the fudge cool at room temperature for the best texture. This fudge actually tastes better the next day as flavors meld.
Nutrition
- Serving Size: 1 piece
- Calories: 190
- Sugar: 23
- Sodium: 40
- Fat: 9.5
- Saturated Fat: 6.5
- Carbohydrates: 27
- Fiber: 1
- Protein: 1.5
Keywords: fantasy fudge, marshmallow fluff fudge, classic fudge, easy fudge recipe, holiday fudge, chocolate fudge, homemade fudge


