This was supposed to be a slow-braised chicken cacciatore. I had the canned tomatoes out, the red wine breathing on the counter, and a whole afternoon stretched in front of me. Then my youngest decided that 3:00 PM was the perfect time to “help” by emptying an entire jar of garlic cloves onto the floor. By the time I’d picked them all up, the baby was crying, the phone was ringing, and that slow braise was a pipe dream. I grabbed what was left of my sanity, tossed the chicken thighs into a hot skillet with a mountain of butter and those floor-garlic cloves (washed, obviously), and prayed. What came out was nothing like the plan — and better. Honestly, I stood there eating one straight from the pan, dripping butter down my chin, thinking, “Why have I been doing it the hard way all these years?”
Maybe you’ve been there — a dinner plan that falls apart, a kitchen that feels more like a circus than a workspace, and a family that’s hungry now. This Easy Crispy Garlic Butter Chicken Thighs recipe was born from that chaos, and it’s saved my sanity more times than I can count. The skin gets shatteringly crisp, the meat stays juicy, and that garlic butter sauce? Let me tell you, it’s the kind of thing you’ll want to drink with a straw. I keep making it because it’s the one dinner that gets my kids to the table without complaint, my husband to reach for seconds, and me to actually sit down and enjoy a meal instead of hovering over the stove.
Why You’ll Love This Recipe
I’ve tested this chicken thighs recipe at least a dozen times — tweaking the heat, playing with the butter-to-garlic ratio, even trying it with different pan types. What I’m sharing today is the version that works every single time, no fancy skills required. Here’s why it’s become a staple in our house:
- Quick & Easy : From fridge to table in under 30 minutes. Seriously. This is faster than takeout and twice as satisfying.
- Simple Ingredients : You need chicken thighs, butter, garlic, salt, pepper, and maybe some herbs. That’s it. No grocery store scavenger hunt.
- Perfect for Busy Weeknights : Whether it’s a Tuesday night scramble or a Sunday dinner that got derailed, this recipe fits the bill.
- Crowd-Pleaser : Even my pickiest eater — the one who once declared chicken “too chicken-y” — cleans her plate. The crispy skin is like magic.
- Unbelievably Delicious : That contrast between the crackling skin and the tender, buttery meat is pure comfort food gold. It’s the kind of meal that makes you close your eyes after the first bite.
What makes this recipe different from the rest? It’s the technique. Most crispy chicken recipes call for flipping and fussing, but I’ve found the secret is leaving the chicken alone. Let the skin render and crisp in a cold-start pan, then finish it in a hot butter bath. It sounds simple because it is — but the result is next-level. This isn’t just another chicken dinner; it’s the one you’ll text your friends about.
What Ingredients You Will Need
This recipe uses simple, everyday ingredients to deliver bold flavor and that irresistible crispy texture. Nothing fancy, nothing hard to find — just pantry staples that work together beautifully.
- Bone-in, skin-on chicken thighs (4-6 thighs, about 2 lbs / 900g) — The bone keeps the meat juicy, and the skin is what gets that perfect crunch. I prefer thighs from Bell & Evans or a local farm when I can find them, but any good-quality brand works.
- Unsalted butter (4 tablespoons, 56g) — Unsalted lets you control the salt level. If you only have salted butter, just reduce the added salt by a pinch.
- Garlic cloves (6-8 cloves, minced) — Fresh garlic is non-negotiable here. The pre-minced stuff in a jar won’t give you that sweet, nutty flavor. Trust me on this.
- Kosher salt (1½ teaspoons, or to taste) — I use Diamond Crystal; if you’re using Morton’s, use about 1 teaspoon. The salt draws out moisture, which helps the skin crisp up.
- Freshly ground black pepper (½ teaspoon) — Freshly ground makes a difference. Pre-ground pepper is fine in a pinch, but you’ll miss that little pop of flavor.
- Optional: Fresh thyme or rosemary (a few sprigs) — Adds a lovely herbal note to the butter. I use thyme most often because it’s what I have growing on my windowsill.
- Optional: Red pepper flakes (¼ teaspoon) — For a tiny kick of heat. My husband loves this, but I skip it when the kids are eating.
Ingredient Selection Tips: Look for chicken thighs that are roughly the same size so they cook evenly. The skin should be intact and not torn. If you’re using frozen thighs, thaw them completely in the fridge overnight and pat them very dry — moisture is the enemy of crispy skin.
Substitution Guidance: You can use chicken drumsticks or even bone-in breasts, but adjust cooking time accordingly. For a dairy-free version, substitute the butter with a high-quality vegan butter or ghee (if you tolerate it). The flavor will change slightly, but it’ll still be delicious.
Equipment Needed
You don’t need a professional kitchen to nail this recipe. Here’s what I use and what you can swap in:
- Large cast-iron skillet or heavy-bottomed stainless steel pan (12-inch / 30cm) — Cast iron holds heat beautifully and gives you that even, golden crust. If you don’t have one, a heavy stainless steel pan works well — just avoid nonstick, as you won’t get the same browning.
- Tongs — For flipping the chicken without piercing the skin. A good pair of spring-loaded tongs is worth the investment.
- Meat thermometer — The only way to guarantee perfectly cooked chicken. I use a Thermapen, but any instant-read thermometer will do.
- Paper towels — Essential for patting the chicken dry. Don’t skip this step!
- Cutting board and sharp knife — For mincing the garlic and any herbs.
- Small bowl — To hold your minced garlic and herbs so they’re ready to go.
Budget-Friendly Tip: If you don’t own a cast-iron skillet, check thrift stores — I found my favorite one for $8. It cleans up like new with a little salt and oil.
Preparation Method
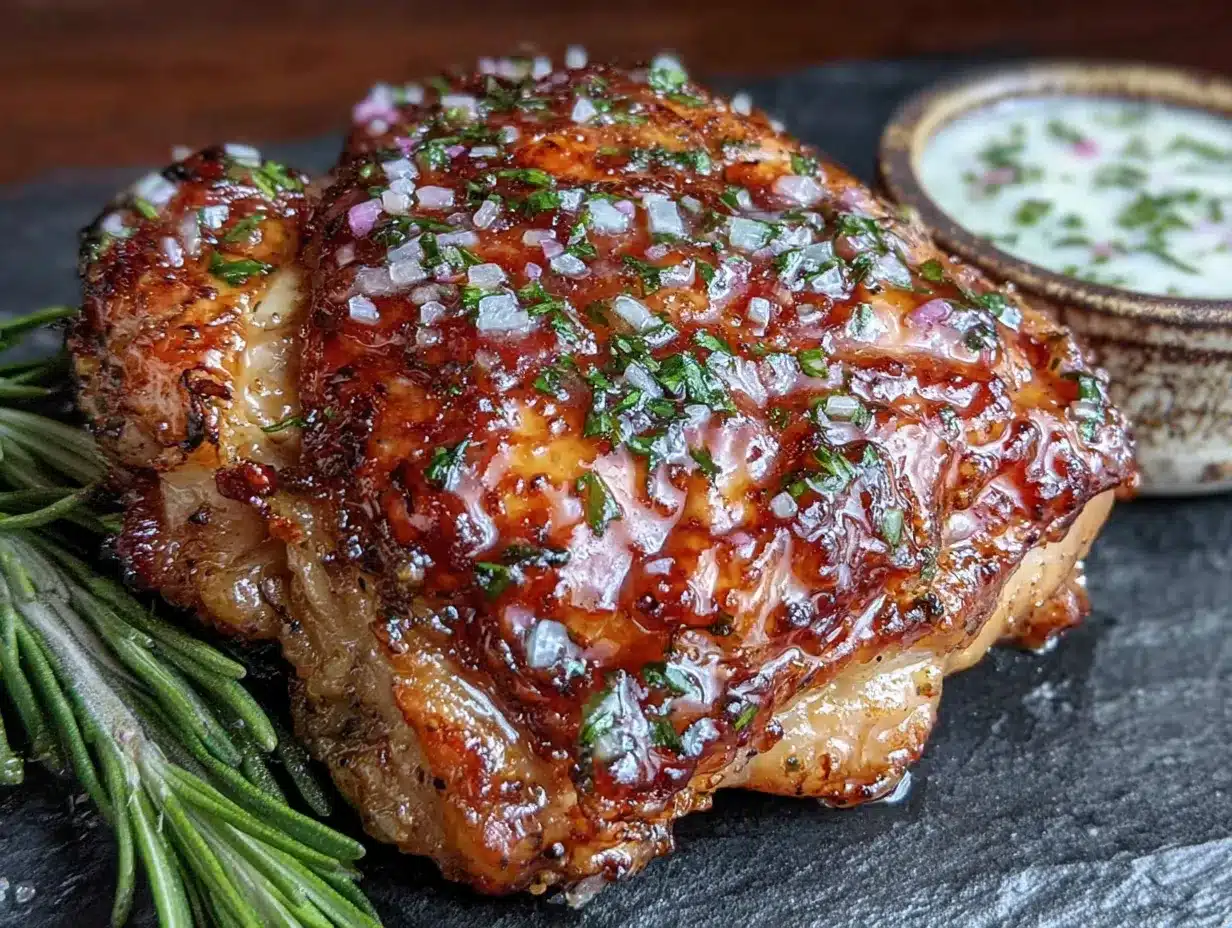
Let’s get cooking. This method is designed for maximum crispiness with minimal fuss.
- Prepare the chicken (5 minutes): Remove the chicken thighs from the fridge and pat them very dry with paper towels. This is the most important step — moisture is the enemy of crispy skin. Season both sides generously with the kosher salt and black pepper. Let them sit at room temperature for 10-15 minutes while you prep the garlic. (If you’re short on time, even 5 minutes helps.)
- Start the chicken in a cold pan (0 minutes active): Place the chicken thighs skin-side down in a cold, dry cast-iron skillet. Yes, cold. Don’t add any oil or butter yet. Turn the heat to medium-low. This slow start renders the fat from the skin, making it incredibly crispy. Let the chicken cook undisturbed for 12-15 minutes. You’ll hear a gentle sizzle — that’s the fat rendering. Resist the urge to peek or move the chicken!
- Flip and sear (2 minutes): After 12-15 minutes, the skin should be deep golden brown and crispy. Use your tongs to carefully flip the chicken. The skin will release easily if it’s ready — if it sticks, give it another minute. Increase the heat to medium-high and cook for 2 minutes to brown the other side.
- Add the butter and garlic (2 minutes): Reduce the heat to medium-low. Add the 4 tablespoons of butter to the pan, letting it melt around the chicken. Scatter the minced garlic and any herb sprigs into the butter. Using a spoon, baste the chicken with the garlic butter for about 2 minutes. The garlic should become fragrant and lightly golden — don’t let it burn, or it’ll turn bitter.
- Check for doneness (1 minute): Insert your meat thermometer into the thickest part of a thigh (avoiding the bone). You’re looking for 165°F (74°C). If it’s not there yet, continue basting for another 1-2 minutes. The residual heat will carry it the rest of the way.
- Rest and serve (5 minutes): Transfer the chicken to a plate and let it rest for 5 minutes. This lets the juices redistribute so every bite is tender. Spoon any remaining garlic butter from the pan over the chicken before serving.
Sensory Cue: When the skin is ready to flip, it should look like a golden-brown crackling — almost like the top of a crème brûlée. The smell will be rich and nutty, with that sweet garlic aroma filling your kitchen.
Cooking Tips & Techniques
I’ve made this recipe more times than I can count, and I’ve definitely learned a few things the hard way. Here’s what I wish someone had told me:
- Don’t crowd the pan: If you’re cooking more than 6 thighs, do it in batches. Overcrowding traps steam, and steam is the enemy of crispy skin. Your chicken needs room to breathe.
- Patience is key with the cold start: I know it’s tempting to crank up the heat, but don’t. The slow render is what gives you that shatteringly crisp skin. The first time I tried this, I got impatient and turned the heat to medium — the skin was tough, not crispy. Learn from my mistake.
- Watch the garlic: Garlic burns in seconds. Once you add it to the butter, keep it moving. If it turns dark brown, start over — burnt garlic will ruin the whole dish. I’ve had to toss a pan of butter and start fresh more than once.
- Use a splatter guard: Chicken fat spatters like crazy. A simple mesh splatter guard saves your stovetop (and your arms) from a greasy mess.
- Let the chicken rest: I know you’re hungry, but those 5 minutes of rest make a huge difference. Cutting into it too early lets all the juices run out, leaving dry meat.
Timing Strategy: While the chicken is rendering in the cold pan (that 12-15 minutes), use that time to prep your side dish. I often steam some green beans or toss together a quick salad. It makes the whole dinner come together in under 30 minutes.
Variations & Adaptations
This recipe is a fantastic base for experimentation. Here are a few ways I’ve adapted it:
- Lemon Herb: Add the zest of one lemon and a tablespoon of fresh lemon juice to the butter along with the garlic. Finish with a squeeze of lemon over the chicken before serving. It brightens everything up beautifully.
- Spicy Honey Garlic: After basting, drizzle 2 tablespoons of honey and ½ teaspoon of red pepper flakes over the chicken. The sweet-spicy combo is addictive. My husband requests this version every other week.
- Dairy-Free: Swap the butter for 4 tablespoons of olive oil or avocado oil. The flavor will be different — more fruity, less rich — but still delicious. Just be careful not to burn the garlic, as oil heats faster than butter.
- Oven-Finished: If you’re cooking a larger batch, sear the chicken in the skillet as directed, then transfer the pan to a 400°F (200°C) oven for 10-15 minutes to finish cooking. This frees up stovetop space for sides.
- Add Vegetables: Toss in some halved Brussels sprouts or asparagus spears during the last 5 minutes of cooking. They soak up the garlic butter and become a side dish in their own right.
Serving & Storage Suggestions
This chicken is best served hot, straight from the pan, with that garlic butter spooned over the top. I love it with mashed potatoes (to soak up all that buttery goodness) or a simple side of roasted broccoli. A crisp green salad with a lemony vinaigrette also cuts through the richness beautifully.
Storage: Leftover chicken keeps in an airtight container in the fridge for up to 4 days. The skin will lose its crispiness, but the meat stays juicy. To reheat, place the chicken in a 350°F (175°C) oven for 10 minutes — this helps revive the skin a bit. Avoid the microwave, which will make the skin rubbery.
Freezing: You can freeze the cooked chicken for up to 3 months. Wrap each thigh individually in plastic wrap, then place them in a freezer bag. Thaw overnight in the fridge and reheat in a skillet with a little butter.
Flavor Development: Honestly, this chicken tastes even better the next day. The garlic butter seeps into the meat overnight, making it incredibly flavorful. I often make a double batch just for leftovers — it’s amazing sliced cold over a lunch salad.
Nutritional Information & Benefits
Per serving (based on 4 servings, one thigh each):
| Nutrient | Amount |
|---|---|
| Calories | ~380 kcal |
| Protein | 28g |
| Fat | 30g |
| Saturated Fat | 12g |
| Carbohydrates | 1g |
| Fiber | 0g |
| Sugar | 0g |
| Sodium | ~600mg |
Health Benefits: Chicken thighs are a great source of protein, iron, and B vitamins, which support energy metabolism. Garlic is known for its anti-inflammatory properties and may help support immune health. While this recipe is higher in fat, it’s also low in carbs, making it suitable for low-carb and keto diets. If you’re watching your saturated fat intake, you can trim the skin before eating (though you’ll lose the crispy magic).
Dietary Considerations: This recipe is naturally gluten-free, low-carb, and nut-free. It contains dairy from the butter, but as mentioned, you can substitute with oil.
Conclusion
This Easy Crispy Garlic Butter Chicken Thighs recipe is proof that the best meals often come from the most chaotic moments. It’s simple enough for a Tuesday night, special enough for company, and so delicious that you’ll find yourself making excuses to cook it. I love how it brings my family to the table — no complaints, just clean plates and requests for “more chicken, please.”
Don’t be afraid to make it your own. Add extra garlic if you’re a garlic lover (I certainly am), throw in some herbs, or spice it up with chili flakes. The method is forgiving, and the result is always rewarding. I’d love to hear how it turns out for you — drop a comment below and let me know your favorite variation. Happy cooking, friend!
Frequently Asked Questions
Can I use boneless, skinless chicken thighs?
Yes, but you’ll lose the crispy skin (obviously) and the bone-in juiciness. Reduce cooking time to about 10-12 minutes total. The cold-start method won’t work as well, so start with a hot pan and a little oil instead.
Why is my chicken skin not crispy?
Most likely, you didn’t pat the chicken dry enough, or you moved it too soon. Moisture and impatience are the two biggest culprits. Next time, use more paper towels and let the chicken cook undisturbed in the cold pan for the full 15 minutes.
Can I make this recipe ahead of time?
You can cook the chicken up to 2 days ahead and reheat it in a 350°F oven. The skin won’t be as crispy, but the flavor will be even better. For meal prep, I often cook a double batch and use the leftovers for salads and sandwiches.
What’s the best way to mince garlic for this recipe?
I use a microplane zester for a fine paste that melts into the butter, but a sharp knife works just fine. Avoid garlic presses — they can make the garlic bitter. Just mince it as finely as you can.
Can I use this method for chicken breasts?
Bone-in, skin-on breasts work, but they need a longer cooking time (about 20-25 minutes in the cold pan). Boneless breasts will dry out, so I don’t recommend them for this method. Stick with thighs for the best results.
Pin This Recipe!
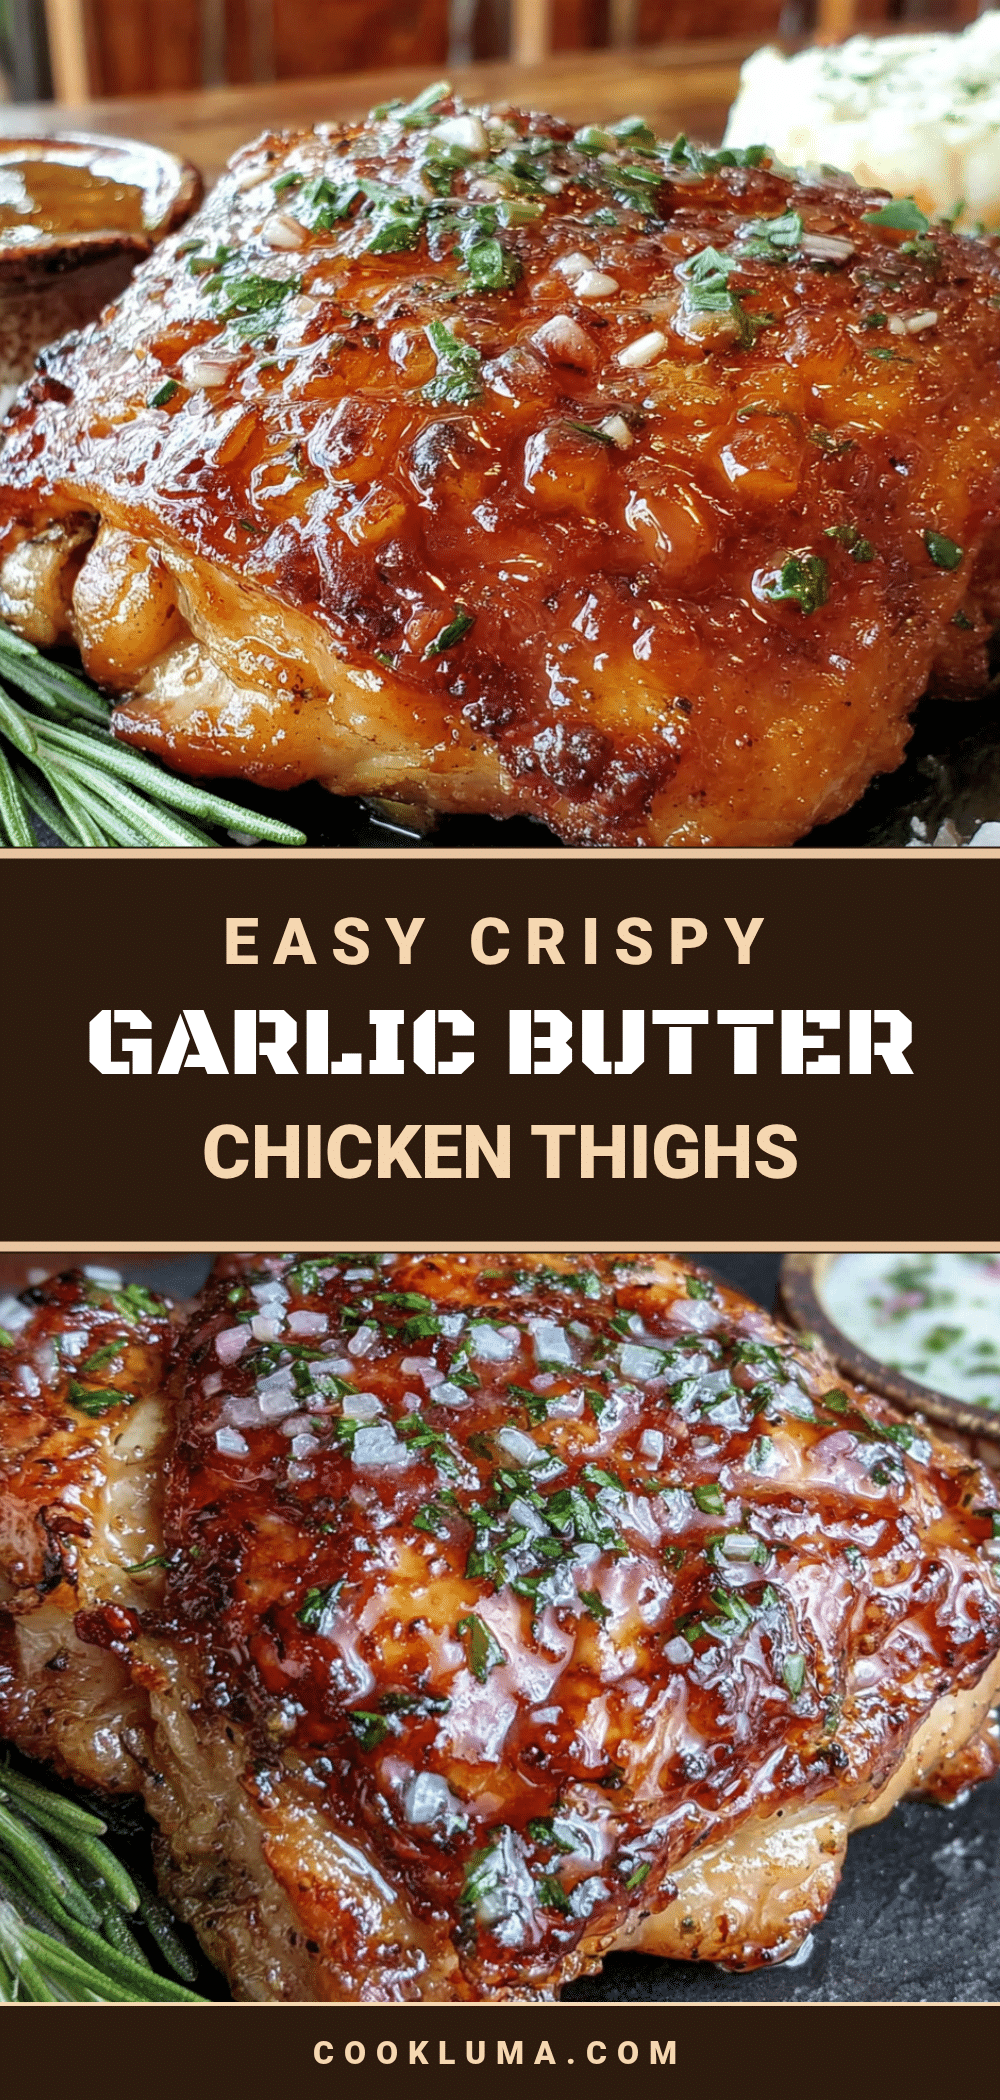
Easy Crispy Garlic Butter Chicken Thighs

This Easy Crispy Garlic Butter Chicken Thighs recipe is proof that the best meals often come from the most chaotic moments. It’s simple enough for a Tuesday night, special enough for company, and so delicious that you’ll find yourself making excuses to cook it.
- Prep Time: 15 minutes
- Cook Time: 20 minutes
- Total Time: 35 minutes
- Yield: 4 servings 1x
- Category: Main Course
- Cuisine: American
Ingredients
- 4–6 bone-in, skin-on chicken thighs (about 2 lbs / 900g)
- 4 tablespoons unsalted butter (56g)
- 6–8 garlic cloves, minced
- 1½ teaspoons kosher salt (or 1 teaspoon Morton’s)
- ½ teaspoon freshly ground black pepper
- Optional: a few sprigs fresh thyme or rosemary
- Optional: ¼ teaspoon red pepper flakes
Instructions
- Prepare the chicken: Remove the chicken thighs from the fridge and pat them very dry with paper towels. Season both sides generously with the kosher salt and black pepper. Let them sit at room temperature for 10-15 minutes while you prep the garlic.
- Start the chicken in a cold pan: Place the chicken thighs skin-side down in a cold, dry cast-iron skillet. Turn the heat to medium-low. Let the chicken cook undisturbed for 12-15 minutes.
- Flip and sear: After 12-15 minutes, the skin should be deep golden brown and crispy. Use tongs to carefully flip the chicken. Increase the heat to medium-high and cook for 2 minutes to brown the other side.
- Add the butter and garlic: Reduce the heat to medium-low. Add the 4 tablespoons of butter to the pan, letting it melt around the chicken. Scatter the minced garlic and any herb sprigs into the butter. Using a spoon, baste the chicken with the garlic butter for about 2 minutes.
- Check for doneness: Insert a meat thermometer into the thickest part of a thigh (avoiding the bone). You’re looking for 165°F (74°C). If it’s not there yet, continue basting for another 1-2 minutes.
- Rest and serve: Transfer the chicken to a plate and let it rest for 5 minutes. Spoon any remaining garlic butter from the pan over the chicken before serving.
Notes
Don’t crowd the pan; cook in batches if needed. Patience is key with the cold start. Watch the garlic so it doesn’t burn. Use a splatter guard to keep the stovetop clean. Let the chicken rest for 5 minutes before serving.
Nutrition
- Serving Size: 1 thigh
- Calories: 380
- Sodium: 600
- Fat: 30
- Saturated Fat: 12
- Carbohydrates: 1
- Protein: 28
Keywords: crispy chicken thighs, garlic butter chicken, easy chicken dinner, weeknight dinner, bone-in chicken thighs


