The power went out halfway through my grocery run last fall. There I was, standing in the dark aisle of the hardware store—because where else do you end up when the lights flicker out at the supermarket?—and the plumber, a guy named Frank who usually just grunts when I ask about pipe fittings, starts telling me about his grandmother’s pumpkin pie. Not just any pumpkin pie, mind you. A three-ingredient pumpkin pie. I was holding a flashlight app up to my face, trying to see if they had extension cords, and Frank is describing this impossibly simple dessert like it’s the family crown jewel. Honestly, I almost laughed. A plumber, in a dark hardware store, giving me a pie recipe? But there was something about the way he said it—”It’s the only pie my wife lets me make, and I mess it up half the time, but it still tastes like heaven”—that made me write it down on the back of a receipt.
That night, with the power still out and the kids getting restless, I figured I had nothing to lose. I had a can of pumpkin puree, some sweetened condensed milk, and a box of graham cracker crusts in the pantry. No eggs, no spices, no fancy equipment. Frank’s grandmother’s recipe was basically: mix, pour, bake. I was skeptical, let me tell you. I mean, pumpkin pie without cinnamon? Without nutmeg? It felt wrong. But the smell that filled the house as it baked—even by candlelight—was warm and caramel-like, completely unexpected. When I finally took a bite, still standing in the dark kitchen, I closed my eyes. It was creamy, sweet, and tasted exactly like fall should. Maybe you’ve been there, trying something on a whim because the circumstances forced your hand, and it turns out to be the best accident ever. That’s this pie. It stayed with me because it proved that you don’t need a dozen ingredients or a culinary degree to make something that feels special. Sometimes, the simplest things are the ones that surprise you the most.
Why You’ll Love This Recipe
Let’s be real—fall desserts can get complicated fast. Between making your own crust, toasting spices, and worrying about cracks in the filling, pumpkin pie can feel like a project. This easy 3-ingredient pumpkin pie flips all of that on its head. It’s the kind of recipe that makes you wonder why you ever stressed about Thanksgiving dessert in the first place.
- Quick & Easy : This pie comes together in under 10 minutes of prep time. Seriously, you just stir three things together and pour. It’s perfect for those busy weeknights when you still want a homemade dessert without the mess.
- Simple Ingredients : No fancy grocery trips needed. You likely already have a can of pumpkin puree and sweetened condensed milk in your pantry. The only “special” item is a pre-made crust, and those are always on sale this time of year.
- Perfect for Family Meals : This isn’t just a holiday pie. It’s great for Sunday dinners, potlucks, or even a random Tuesday when you need a little comfort. It pleases everyone—from picky toddlers to budget-conscious parents.
- Crowd-Pleaser : Every single time I’ve brought this to a gathering, people ask for the recipe. They can’t believe it only has three ingredients. It’s become my secret weapon for last-minute hosting.
- Unbelievably Delicious : The texture is silky smooth, and the flavor is pure, unadulterated pumpkin sweetness. Without a bunch of spices competing, the pumpkin really shines. It’s comfort food at its most honest.
What makes this recipe different from the rest? It’s the perfect balance of convenience and homemade taste. You’re not using a box mix or a can of pre-made filling. You’re actually stirring together real ingredients, but without the fuss. It’s the kind of dessert that makes you feel like a genius with almost zero effort. Honestly, it’s the pie that saved my sanity during a hectic fall season, and I think it’ll do the same for you.
What Ingredients You Will Need
This recipe uses just three simple, wholesome ingredients to deliver a rich and satisfying dessert. Each one plays a crucial role, so let’s break them down. No surprises here—just pantry staples that work together beautifully.
- 1 can (15 oz) pumpkin puree : This is the star of the show. Make sure you’re buying pure pumpkin puree, not pumpkin pie filling. The puree is just pumpkin, nothing else. I personally prefer Libby’s for its consistent texture and deep color. If you’re feeling ambitious, you can roast and puree your own sugar pumpkin, but honestly, the canned stuff works perfectly here and keeps it budget-friendly. Look for cans that are firm and not dented—freshness matters.
- 1 can (14 oz) sweetened condensed milk : This does double duty. It sweetens the pie and gives it that luscious, creamy texture without needing eggs or cream. The sugar in the condensed milk also helps the pie set properly. I’ve tried a few brands, and Eagle Brand is my go-to for consistent results. If you’re dairy-sensitive, there are dairy-free versions of sweetened condensed milk available, but I haven’t tested them in this exact recipe. For best results, stick with the classic version.
- 1 pre-made graham cracker crust (9-inch) : This is your time-saver. A store-bought crust keeps everything easy and foolproof. I like the Keebler brand because the crust is buttery and holds up well. If you want to go homemade, you can certainly make your own graham cracker crust, but the whole point of this recipe is simplicity. For a gluten-free option, look for a gluten-free graham cracker crust or a nut-based crust. Just make sure it’s a 9-inch size to fit the filling perfectly.
That’s it. Three ingredients. No eggs, no sugar, no spices. The magic happens when they combine. The pumpkin provides the body and earthy flavor, the condensed milk brings sweetness and creaminess, and the crust adds that buttery crunch. It’s a match made in fall dessert heaven. You might be tempted to add cinnamon or nutmeg, and you can—but try it plain first. You’ll be surprised at how complete it tastes on its own.
Equipment Needed
You don’t need a fancy kitchen to pull this off. Here’s what you’ll need:
- Large mixing bowl : Any bowl will do, but a medium to large size gives you room to stir without splashing. I use a glass Pyrex bowl because it’s easy to see if the mixture is smooth.
- Whisk or spatula : A whisk works best to break up any lumps in the pumpkin puree. A silicone spatula is great for scraping the bowl clean. If you only have a fork, that works too—just be prepared to put in a little elbow grease.
- 9-inch pie pan : If you’re using a pre-made crust, it comes in its own aluminum pan. If you’re making your own crust, a standard glass or ceramic pie dish works beautifully. I’ve used both, and glass gives a slightly crispier bottom crust.
- Measuring cups and spoons : Technically, you don’t need these since the ingredients come pre-measured in cans. But if you’re halving the recipe or making adjustments, have them handy.
- Oven : Preheated to 375°F (190°C). That’s it. No water bath, no special settings. Just a regular oven.
For a budget-friendly option, skip the fancy mixer. Your arm will do just fine. I’ve made this pie in a tiny apartment oven and a friend’s massive double oven, and it turns out the same every time. The only maintenance tip I’d offer is to make sure your whisk is dry before you start—moisture can make the condensed milk seize up slightly. Trust me, I learned that the hard way.
Preparation Method
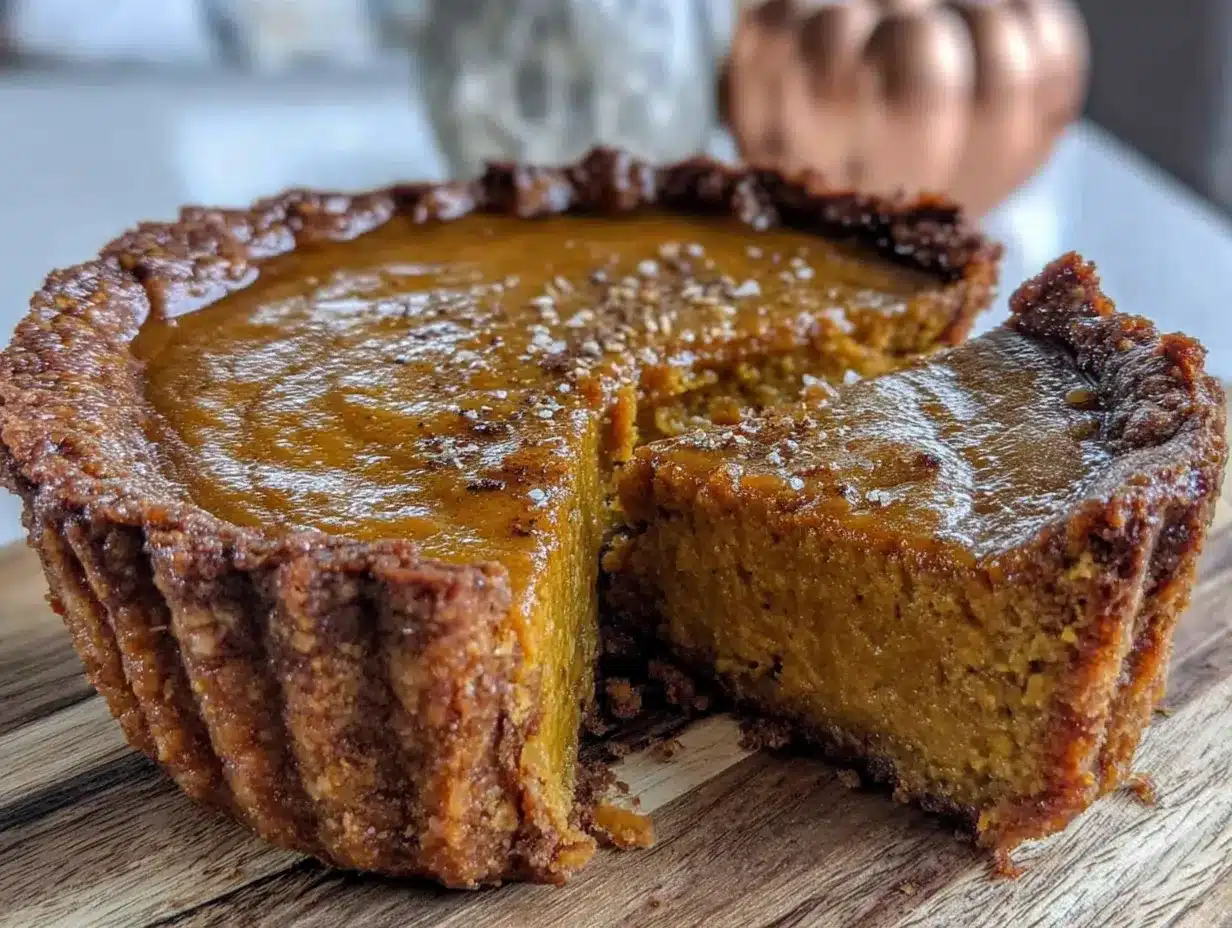
Follow these steps, and you’ll have a perfect pumpkin pie with almost zero effort. I’ve made this dozens of times, so I’ve included a few notes to help you avoid my early mistakes.
- Preheat your oven to 375°F (190°C). This is important. Let the oven fully come to temperature before you put the pie in. If you’re impatient like me, you might try to save time, but a properly preheated oven ensures even baking. Place the oven rack in the middle position.
- In a large mixing bowl, combine the pumpkin puree and sweetened condensed milk. Open the can of pumpkin and give it a good stir in the can first—sometimes it separates. Dump it into the bowl. Then pour in the entire can of sweetened condensed milk. Don’t leave any behind; scrape the can with a spatula. Use a whisk to mix them together until the mixture is completely smooth and uniform in color. It should be a rich, deep orange. No streaks of white or lighter orange should remain. This takes about 30 seconds of whisking. If you see lumps, keep whisking. I once had a lumpy pie because I was in a hurry, and it still tasted fine, but the texture wasn’t as silky.
- Pour the filling into the pre-made graham cracker crust. Place the crust on a baking sheet first—this catches any drips and makes it easier to handle. Slowly pour the pumpkin mixture into the crust. It will fill it almost to the brim, which is perfect. Use a spatula to scrape every last bit out of the bowl. Gently tap the pie pan on the counter a few times to release any air bubbles. You’ll see a few tiny bubbles rise to the surface—that’s normal.
- Bake for 45-50 minutes. Place the pie in the preheated oven. Set a timer for 45 minutes. The pie is done when the edges are set and the center is slightly jiggly—like Jell-O, not like liquid. It should have a few tiny cracks around the edges. If the center still sloshes when you gently shake the pan, give it another 5 minutes. My personal trick: after 45 minutes, I turn off the oven and leave the pie inside with the door cracked for 10 minutes. This helps it set without over-baking. Don’t open the oven door too often during baking, or the temperature will drop.
- Cool completely on a wire rack. Once the pie is out of the oven, place it on a wire rack to cool. This is crucial. Let it cool at room temperature for at least 2 hours. The filling will continue to set as it cools. If you try to cut it while it’s warm, it will be a runny mess. I learned this the hard way when I was impatient and ended up with pumpkin soup on my plate. After it’s completely cool, you can refrigerate it for at least 4 hours or overnight. Chilled pie slices much cleaner.
- Serve and enjoy! Slice with a sharp knife, wiping the blade clean between cuts for neat slices. Serve plain, or with a dollop of whipped cream if you’re feeling fancy. The pie is sweet enough on its own, so whipped cream is purely optional.
Cooking Tips & Techniques
Over the years, I’ve made this pie more times than I can count. Here are the lessons I’ve learned—some through success, some through spectacular failure.
Don’t overmix the filling. I know I said to whisk until smooth, but there’s a line. If you whisk too vigorously or for too long, you can incorporate too much air, which can cause the pie to puff up and then crack as it cools. A gentle, steady whisk for about 30 seconds is all you need. If you see bubbles forming on the surface after pouring, you’ve gone too far.
Watch the edges of the crust. Graham cracker crusts can brown quickly. If you notice the edges getting too dark around the 30-minute mark, loosely cover them with strips of aluminum foil or a pie shield. I forgot to do this once, and the crust was a bit too toasty for my liking. Still delicious, but not as pretty.
Use room temperature ingredients. This isn’t always possible if you’re pulling cans from the pantry, but if your pumpkin puree and condensed milk are at room temperature, they’ll mix together more smoothly. Cold ingredients can cause the mixture to be slightly lumpy. If your cans are cold, let them sit on the counter for 15 minutes before you start.
Test for doneness with a knife. The jiggle test is the best indicator, but if you’re nervous, insert a knife about an inch from the center. If it comes out clean, the pie is done. If it’s wet, give it more time. Just remember that the center will still be slightly soft—that’s the creamy texture you want.
Plan for leftovers. This pie actually tastes better the next day. The flavors meld together and the texture becomes even creamier. So don’t stress if you’re making it a day ahead. That’s actually the smart move.
Variations & Adaptations
While this easy 3-ingredient pumpkin pie is perfect as-is, I’ve experimented with a few twists over the years. Here are some of my favorites.
- Spiced Version : If you miss the traditional pumpkin pie spices, add 1 teaspoon of pumpkin pie spice or a mix of ½ teaspoon cinnamon, ¼ teaspoon nutmeg, and a pinch of ginger. Whisk it into the pumpkin mixture before pouring. It adds a warm, aromatic depth without complicating the recipe. My family loves this version for Thanksgiving.
- Dairy-Free Adaptation : Swap the sweetened condensed milk for a dairy-free version. I’ve used coconut-based sweetened condensed milk with good results. The coconut flavor is subtle and pairs nicely with the pumpkin. Just be aware that the texture might be slightly softer, so chill the pie for a full 6 hours before serving.
- Homemade Crust : For a more involved version, make your own graham cracker crust. Crush 1½ cups of graham crackers, mix with ¼ cup melted butter and 2 tablespoons sugar, then press into a pie dish. Bake at 375°F for 8 minutes before adding the filling. It’s a bit more work, but the buttery crunch is worth it.
- Chocolate Drizzle : After the pie has cooled, drizzle melted dark chocolate over the top. It adds a touch of richness and looks gorgeous. I did this for a potluck once, and it was gone in minutes.
- Mini Pies : Use a muffin tin with mini graham cracker crusts. Divide the filling among 12 mini crusts and bake for 20-25 minutes. Perfect for portion control or parties. My kids love these for school lunches.
Serving & Storage Suggestions
This pie is versatile and forgiving, whether you’re serving it warm, cold, or somewhere in between.
Serving Temperature : I prefer this pie chilled. After it’s completely cool, refrigerate it for at least 4 hours. Cold slices are clean and firm. If you like it slightly warmer, let it sit at room temperature for 15 minutes before serving. A dollop of whipped cream or a scoop of vanilla ice cream is a classic pairing. For a fall twist, try a drizzle of caramel sauce and a sprinkle of sea salt.
Complementary Dishes : This pie is rich enough to stand alone, but it pairs beautifully with a cup of hot apple cider or coffee. If you’re serving it as part of a meal, it’s a great finish after a hearty dish like roasted chicken or a warm soup. I’ve also served it alongside a simple apple crisp for a dessert spread that feels like fall on a plate.
Storage : Cover the pie tightly with plastic wrap or aluminum foil and store it in the refrigerator. It will keep well for up to 5 days. The texture stays creamy, and the flavors actually deepen over time. I’ve never had a slice last longer than 3 days in my house, but it’s good to know you have options.
Freezing : This pie freezes beautifully. Once it’s completely cooled and set, wrap it tightly in plastic wrap, then a layer of foil. Freeze for up to 3 months. To serve, thaw it in the refrigerator overnight. Don’t thaw at room temperature, or the crust can get soggy. I’ve frozen whole pies and individual slices, and both work well.
Reheating : If you prefer warm pie, reheat individual slices in the microwave for 15-20 seconds. For a whole pie, place it in a 300°F oven for 10-15 minutes. Just watch the crust—it can burn quickly. Honestly, I think it’s best cold, but to each their own.
Nutritional Information & Benefits
While this is a dessert, it does have some redeeming qualities. Here’s a rough estimate per slice (based on 8 servings):
| Nutrient | Amount Per Slice |
|---|---|
| Calories | 280 |
| Total Fat | 9g |
| Saturated Fat | 4g |
| Carbohydrates | 47g |
| Sugar | 33g |
| Protein | 5g |
| Fiber | 3g |
| Vitamin A | 190% DV |
Pumpkin is packed with vitamin A, which is great for eye health and immune function. It’s also a good source of fiber, which helps with digestion. The sweetened condensed milk adds calcium and protein, though it’s also where most of the sugar comes from. If you’re watching your sugar intake, this is a treat to enjoy in moderation. But honestly, for a dessert that tastes this indulgent, the numbers aren’t bad at all. It’s a far cry from the heavy, butter-laden pies of yesteryear.
Dietary Considerations : This recipe is vegetarian and can be made gluten-free with a gluten-free crust. It’s not vegan or dairy-free in its standard form, but the adaptations above can help. It contains dairy and gluten (in the crust). Always check labels if you have allergies.
Conclusion
This easy 3-ingredient pumpkin pie has become a staple in my kitchen, and I hope it becomes one in yours too. It’s proof that you don’t need a long list of ingredients or hours of work to create something truly special. Whether you’re a seasoned baker or someone who’s never made a pie from scratch, this recipe is for you. It’s forgiving, foolproof, and always delicious.
I love this recipe because it reminds me that cooking doesn’t have to be complicated to be good. Sometimes the best things come from the simplest places—like a dark hardware store and a plumber named Frank. So go ahead, give it a try. Customize it with spices, a drizzle of chocolate, or a scoop of ice cream. Make it your own. And when you do, I’d love to hear about it. Leave a comment below and tell me how it turned out, or share your own twist on this classic. Don’t forget to pin this recipe for later and share it with a friend who needs a little fall comfort. Happy baking!
Frequently Asked Questions
Can I use pumpkin pie filling instead of pumpkin puree?
No, I wouldn’t recommend it. Pumpkin pie filling already has sugar and spices added, which will throw off the sweetness and texture of this recipe. Stick with pure pumpkin puree for the best results.
Do I need to add eggs to this recipe?
Not at all. The sweetened condensed milk acts as both a sweetener and a binder. It gives the pie a creamy, custard-like texture without needing eggs. That’s the magic of this recipe.
Can I make this pie ahead of time?
Absolutely. In fact, I recommend it. Make the pie a day in advance, let it cool, and refrigerate it overnight. The flavors meld together beautifully, and it slices even cleaner when fully chilled.
Why is my pie still runny after baking?
It likely needs more time in the oven. The center should be slightly jiggly but not liquid. If it’s still runny, bake it for an additional 5-10 minutes. Also, make sure you let it cool completely before slicing—it sets as it cools.
Can I use a different type of crust?
Yes, you can. A pre-made shortbread crust or a homemade pastry crust would work. Just keep in mind that the baking time might vary slightly. A pastry crust may need a few extra minutes to fully bake on the bottom.
Pin This Recipe!
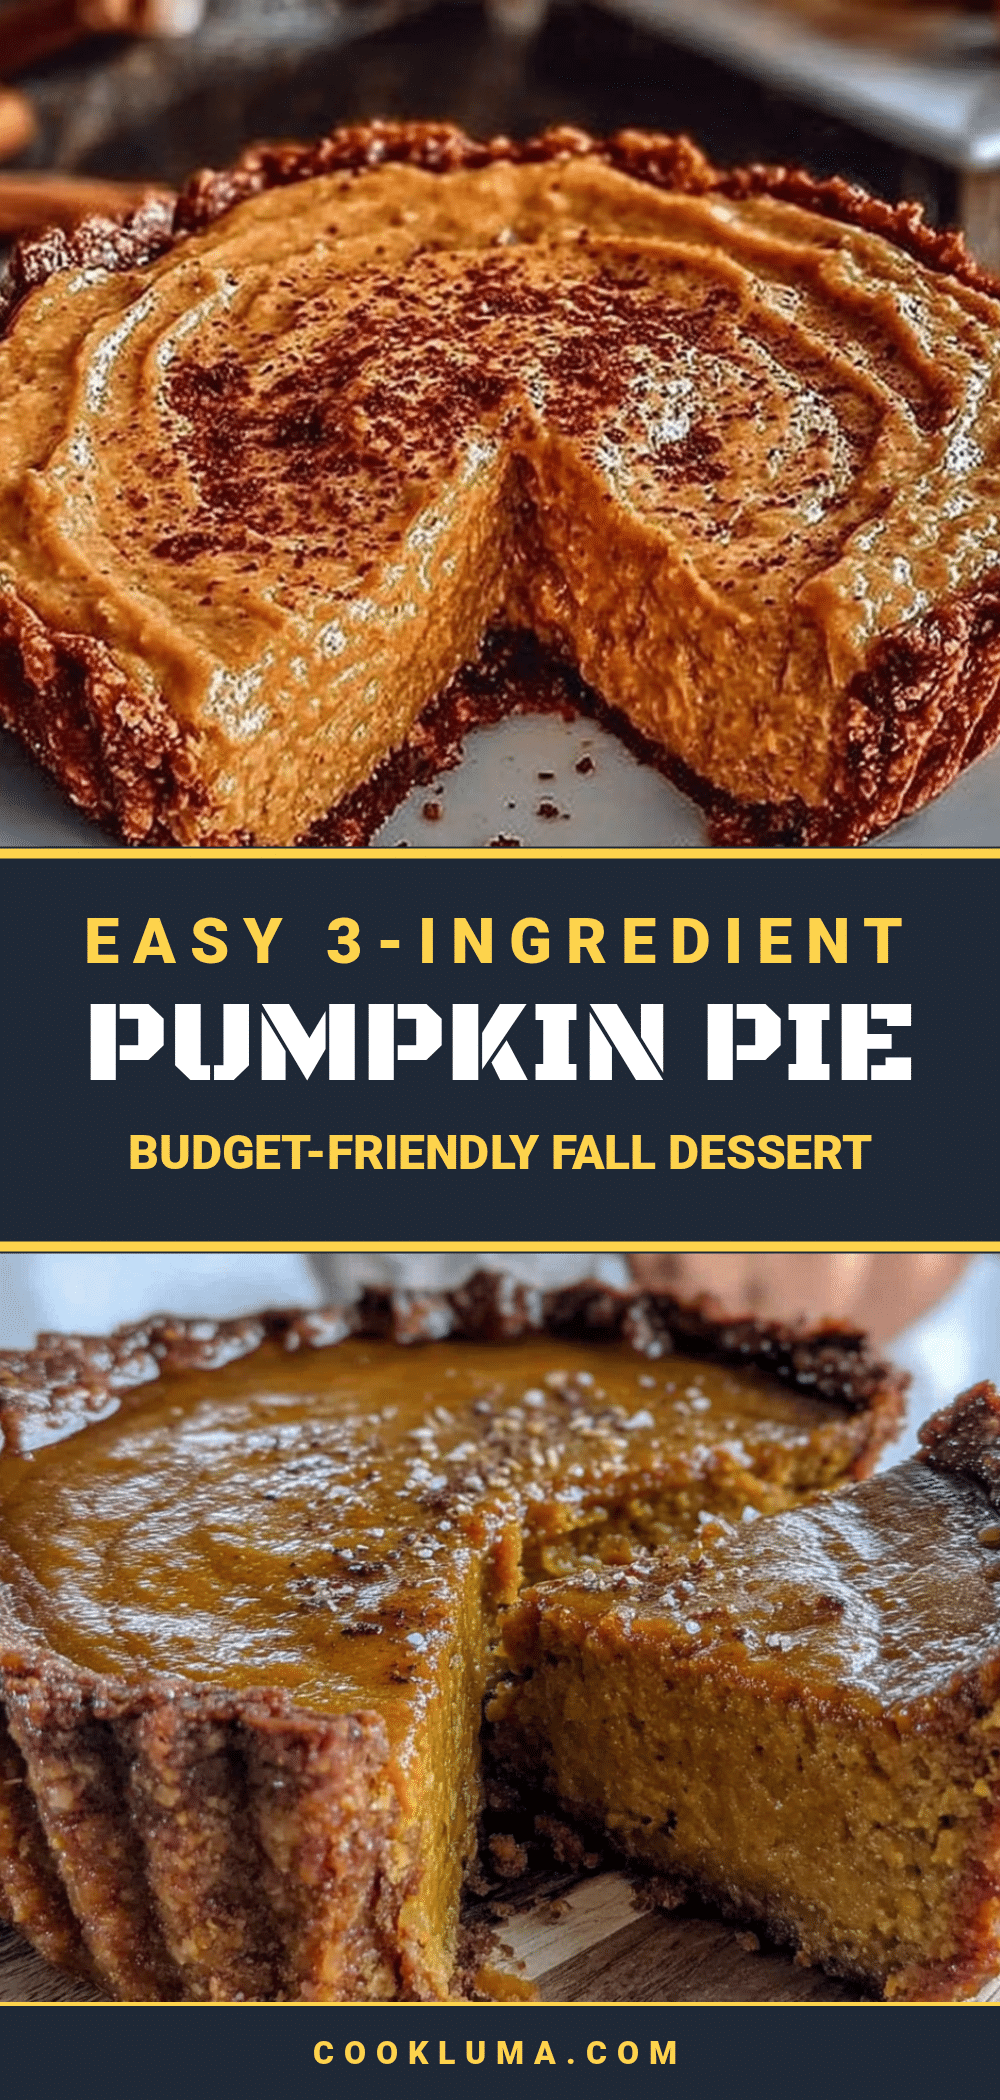
Easy 3-Ingredient Pumpkin Pie: Best Budget Fall Dessert
This incredibly simple pumpkin pie uses just three ingredients and comes together in minutes. It’s creamy, sweet, and tastes like fall, proving you don’t need a dozen ingredients to make something special.
- Prep Time: 10 minutes
- Cook Time: 45 minutes
- Total Time: 55 minutes
- Yield: 8 servings 1x
- Category: Dessert
- Cuisine: American
Ingredients
- 1 can (15 oz) pumpkin puree
- 1 can (14 oz) sweetened condensed milk
- 1 pre-made graham cracker crust (9-inch)
Instructions
- Preheat your oven to 375°F (190°C). Place the oven rack in the middle position.
- In a large mixing bowl, combine the pumpkin puree and sweetened condensed milk. Whisk until completely smooth and uniform in color, about 30 seconds.
- Pour the filling into the pre-made graham cracker crust. Place the crust on a baking sheet first. Gently tap the pie pan on the counter to release air bubbles.
- Bake for 45-50 minutes. The pie is done when the edges are set and the center is slightly jiggly. Optionally, after 45 minutes, turn off the oven and leave the pie inside with the door cracked for 10 minutes.
- Cool completely on a wire rack for at least 2 hours. Refrigerate for at least 4 hours or overnight before serving.
- Slice with a sharp knife, wiping the blade clean between cuts. Serve plain or with whipped cream.
Notes
Don’t overmix the filling to avoid cracks. Watch the edges of the crust and cover with foil if browning too quickly. Use room temperature ingredients for smoother mixing. The pie tastes even better the next day.
Nutrition
- Serving Size: 1 slice
- Calories: 280
- Sugar: 33
- Fat: 9
- Saturated Fat: 4
- Carbohydrates: 47
- Fiber: 3
- Protein: 5
Keywords: pumpkin pie, 3-ingredient, easy, budget, fall dessert, no eggs, no spices


