The Thanksgiving potluck at my son’s school was in twelve hours and I’d completely forgotten. Everyone else would be bringing their grandmother’s legendary stuffing, perfectly bronzed turkeys, and pies that looked like they belonged on a magazine cover. I had a bag of green beans, some mushrooms that were starting to look a little sad, and a stick of butter. Honestly, I almost just brought a store-bought pie and called it a day. But something made me stop and look at that butter. I remembered a trick I’d seen once about browning it, and I figured, well, it can’t make things worse, right?
So I stood there, watching that butter foam and turn a nutty, golden brown, and the smell that filled my kitchen was just incredible. It was warm and toasty, and suddenly my sad little ingredients felt like they had potential. I threw everything together in a baking dish, crossed my fingers, and ran out the door. The whole drive over, I was convinced I’d be the one bringing the afterthought dish. You know that feeling when you’re just hoping nobody asks who brought the green beans?
But then the potluck started, and people started asking. “Who made this green bean casserole?” someone called out. Then another person. Pretty soon, the dish was completely empty, and I was standing there with a sheepish grin, holding an empty baking dish. It was the first dish to go. Not the turkey, not the pies. The green bean casserole. I mean, I was as surprised as anyone. The brown butter just added this whole other layer of flavor that nobody expected. It turned a classic side dish into the star of the show, and honestly, I’ve been making it every Thanksgiving since. It’s the recipe that taught me that sometimes the best things come from a little bit of panic and a lot of butter.
Why You’ll Love This Recipe
This isn’t just another green bean casserole. This is the one that will have people asking for the recipe before they’ve even finished their first helping. I’ve tested this version more times than I can count, tweaking the brown butter timing, the creaminess of the sauce, and the perfect crunch of the topping. It’s become my go-to Thanksgiving side dish for a reason.
- Quick & Easy: Comes together in under 45 minutes, perfect for the chaos of Thanksgiving morning when the oven is full and you’re juggling a dozen things at once.
- Simple Ingredients: No weird canned soups or mystery ingredients. You likely already have everything in your kitchen, minus the fresh green beans.
- Perfect for Thanksgiving: This dish was born for the holiday table. It’s rich, comforting, and feels special without being fussy.
- Crowd-Pleaser: I’ve watched kids who swear they hate green beans go back for seconds. It’s that good.
- Unbelievably Delicious: The nutty brown butter with the creamy mushroom sauce and crispy fried onions? It’s next-level comfort food that makes you close your eyes after the first bite.
What makes this recipe different from the rest is the brown butter. It’s not just a fancy word to throw in the title. It genuinely transforms the entire dish, adding a deep, toasty richness that you just can’t get from regular melted butter. It’s the secret weapon that turns a humble side dish into something memorable.
What Ingredients You Will Need
This recipe uses simple, wholesome ingredients to deliver big, bold flavor. Most of these are pantry staples, especially around the holidays, so you won’t need a special trip to a fancy grocery store.
For the Casserole
- 1 ½ pounds fresh green beans, trimmed and cut into 2-inch pieces (I prefer fresh for the best texture, but high-quality frozen can work in a pinch)
- 4 tablespoons unsalted butter (this is for browning, so use a good brand like Kerrygold for the best nutty flavor)
- 8 ounces cremini mushrooms, sliced (baby bellas are perfect, but white mushrooms work too)
- 1 small yellow onion, finely diced
- 3 cloves garlic, minced (fresh is non-negotiable here, please don’t use the jarred stuff)
- 3 tablespoons all-purpose flour (for thickening the sauce)
- 1 ½ cups whole milk (you can use 2%, but whole milk makes the sauce much creamier)
- ½ cup heavy cream (adds that luxurious richness we’re after)
- 1 teaspoon kosher salt, plus more for the water
- ½ teaspoon black pepper
- ¼ teaspoon ground nutmeg (trust me, it’s a game-changer with the brown butter)
- ¼ teaspoon cayenne pepper (optional, but it adds a lovely warmth without being spicy)
For the Topping
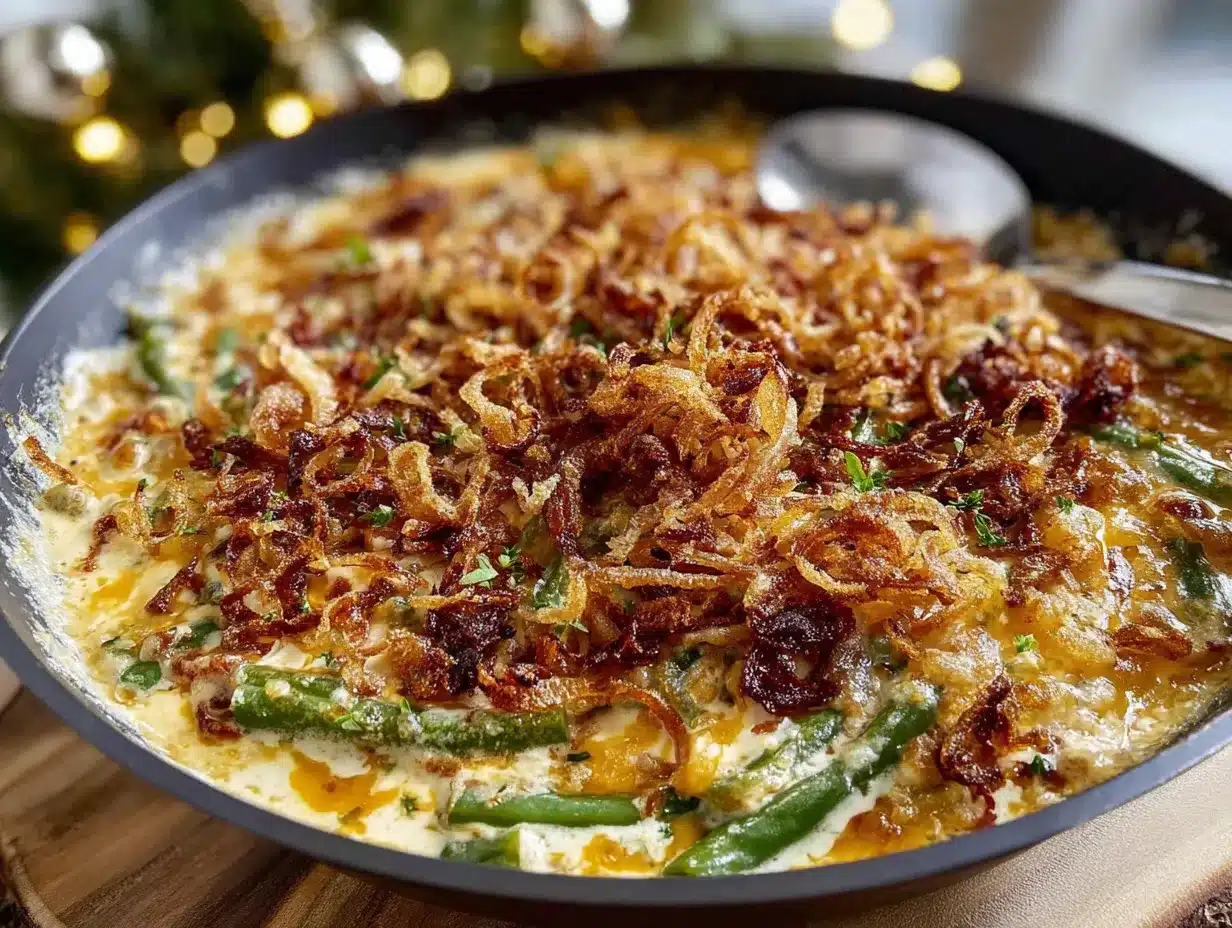
- 1 cup crispy fried onions (the classic French’s ones are perfect, or you can make your own if you’re feeling ambitious)
- ½ cup panko breadcrumbs (for extra crunch)
- 2 tablespoons unsalted butter, melted (to mix with the panko)
- ¼ cup grated Parmesan cheese (optional, but it adds a salty, savory kick to the topping)
Equipment Needed
You don’t need a professional kitchen to pull this off. A few basic tools will do the trick.
- Large pot for blanching the green beans
- Large skillet or sauté pan (a light-colored pan is best for browning butter so you can see the color change)
- 9×13-inch baking dish (or any 2-quart casserole dish)
- Cutting board and sharp knife
- Wooden spoon or silicone spatula
- Measuring cups and spoons
- Colander for draining the beans
- Mixing bowl for the topping
If you don’t have a light-colored pan, just keep a close eye on the butter. It can go from brown to burnt in seconds. I learned that the hard way on my first try and had to start over. A good heavy-bottomed pan also helps distribute the heat evenly, which makes browning butter much easier.
Preparation Method
Let’s get cooking. This comes together faster than you’d think once you have everything prepped.
- Preheat your oven to 375°F (190°C). Get that going first so it’s ready when you are.
- Blanch the green beans. Bring a large pot of salted water to a boil. Add the trimmed green beans and cook for exactly 3 minutes. You want them bright green and crisp-tender. Drain immediately and transfer to a bowl of ice water to stop the cooking. This step is crucial—it keeps the beans from turning into mush later. Drain again and set aside.
- Brown the butter. In your large skillet, melt 4 tablespoons of butter over medium heat. Once melted, it will start to foam and sputter. Swirl the pan occasionally. After about 3-4 minutes, the foam will subside and you’ll see little brown specks forming at the bottom. The butter will smell nutty and amazing. The second you see those brown specks and smell that toasty aroma, remove the pan from the heat. Don’t walk away during this step, it happens fast.
- Sauté the aromatics. Add the sliced mushrooms and diced onion to the pan with the brown butter. Return to medium heat and cook for 5-7 minutes, stirring occasionally, until the mushrooms have released their liquid and started to brown. Add the minced garlic and cook for another 30 seconds until fragrant.
- Make the sauce. Sprinkle the flour over the mushroom mixture and stir constantly for 1 minute. This cooks out the raw flour taste. Slowly pour in the milk while whisking continuously to prevent lumps. Then add the heavy cream. Bring to a gentle simmer, stirring often, until the sauce thickens enough to coat the back of a spoon, about 3-4 minutes.
- Season the sauce. Stir in the salt, pepper, nutmeg, and cayenne if using. Taste it and adjust the seasoning. The sauce should be rich and creamy with a subtle nutty undertone from the brown butter.
- Combine everything. Add the blanched green beans to the skillet and stir until they are completely coated in the creamy sauce. Pour the entire mixture into your greased 9×13-inch baking dish and spread it into an even layer.
- Make the topping. In a small bowl, mix the crispy fried onions, panko breadcrumbs, and grated Parmesan (if using). Pour the 2 tablespoons of melted butter over the top and toss to combine. Sprinkle this mixture evenly over the green bean casserole.
- Bake. Place the dish in the preheated oven and bake for 20-25 minutes, until the topping is golden brown and the sauce is bubbly around the edges. Let it rest for 5 minutes before serving. This helps the sauce set up a bit.
Cooking Tips & Techniques
I’ve made this casserole more times than I can count, and I’ve definitely learned a few things along the way. Here are my best tips to ensure yours turns out perfect every time.
Don’t skip the blanching step. I know it’s an extra pot to wash, but it’s non-negotiable. Blanching sets the color and partially cooks the beans so they finish perfectly in the oven. If you skip it, your beans will either be undercooked and crunchy or overcooked and mushy. There’s no in-between.
Watch the brown butter like a hawk. The first time I tried this, I got distracted by my phone and ended up with burnt butter that tasted bitter and awful. The whole kitchen smelled like a tragedy. Brown butter goes from perfect to ruined in about 15 seconds. As soon as you see those brown specks and smell that nutty aroma, pull it off the heat immediately.
Make the sauce ahead of time. I actually prefer to make the entire sauce base (steps 3-6) a day ahead and store it in the fridge. On Thanksgiving morning, I just blanch the beans, reheat the sauce, and assemble everything. It saves so much time and stress when you’re juggling a million other dishes.
Use a microplane for the nutmeg. Pre-ground nutmeg is fine, but freshly grated nutmeg is a whole different level of flavor. It’s more aromatic and has a warmth that really complements the brown butter. Just a few swipes on a microplane is all you need.
Double the topping. Honestly, the topping is the best part. I always make a little extra and sprinkle it on halfway through baking so it stays extra crispy. Nobody has ever complained about too much crunchy topping.
Variations & Adaptations
This recipe is pretty perfect as is, but I love playing around with it depending on the mood or the occasion.
Make it gluten-free. It’s super easy. Just swap the all-purpose flour for a 1:1 gluten-free flour blend, use gluten-free panko breadcrumbs, and make sure your crispy fried onions are gluten-free (many brands are, but always check the label).
Add some protein. For a non-Thanksgiving version, I’ve added crispy bacon bits or sliced sautéed chicken sausage to turn this into a full weeknight meal. It’s incredible with a fried egg on top too, if you’re feeling extra indulgent.
Switch up the mushrooms. Cremini are my go-to, but you can use shiitake for a more earthy flavor, or a mix of wild mushrooms like oyster and chanterelles if you want to get fancy. Just keep the total weight the same.
Make it dairy-free. Use a high-quality vegan butter for browning (I like Miyoko’s), unsweetened oat milk or cashew milk for the sauce, and a dairy-free cream alternative. The topping can use vegan butter and a dairy-free Parmesan alternative.
Add a crunchy nut topping. One year I mixed in ½ cup of toasted pecans with the panko and fried onions. It added this amazing buttery crunch that was absolutely divine. Walnuts would work great too.
Serving & Storage Suggestions
This casserole is best served hot out of the oven, but it’s still pretty fantastic at room temperature. I usually let it rest for about 5 minutes after baking so the sauce sets up a little and doesn’t run all over the plate.
It pairs beautifully with all the classic Thanksgiving dishes. I love it next to a big slice of roasted turkey, a scoop of creamy mashed potatoes, and a pile of tangy cranberry sauce. The richness of the casserole balances perfectly with the tartness of the cranberries. If you’re looking for another side dish that uses fresh ingredients, you might enjoy this garlic parmesan roasted brussels sprouts for another vegetable option on the table.
To store leftovers: Let the casserole cool completely, then cover the baking dish tightly with foil or transfer to an airtight container. It will keep in the refrigerator for up to 4 days. The flavors actually meld together even more overnight, so leftovers are often even better.
To reheat: The best way is in the oven at 350°F for about 15-20 minutes, covered with foil so the topping doesn’t burn. You can also microwave individual portions, but the topping won’t be as crispy. For a quick fix, I sometimes reheat it in a skillet over medium heat with a splash of milk to loosen the sauce back up.
To freeze: Assemble the casserole completely but don’t bake it. Cover tightly with plastic wrap and then foil. Freeze for up to 3 months. To bake from frozen, add about 20-30 minutes to the baking time, covering with foil for the first half so the topping doesn’t burn.
Nutritional Information & Benefits
Let’s be real, this is a Thanksgiving side dish, not a health food. But it does have some redeeming qualities. Green beans are a great source of fiber, vitamins A, C, and K, and they’re low in calories. Mushrooms are packed with antioxidants and B vitamins. So there’s that.
Here are the approximate nutritional values per serving (based on 8 servings):
- Calories: 285
- Fat: 18g
- Carbohydrates: 22g
- Protein: 7g
- Fiber: 4g
- Sugar: 8g
If you’re looking to lighten it up, you can use half-and-half instead of heavy cream and reduce the butter in the topping. But honestly, Thanksgiving is one day a year. I say go for the full-fat version and enjoy every single bite. Your taste buds will thank you.
Conclusion
This Ultimate Brown Butter Green Bean Casserole has become my non-negotiable Thanksgiving dish. It’s the recipe that transformed me from a potluck panicker into someone who actually looks forward to bringing a side dish. The brown butter adds a warmth and depth that you just can’t get from the classic version, and the crispy, cheesy topping is absolutely addictive.
I really hope you give this one a try, whether it’s for the big Thanksgiving feast or just a random Tuesday night when you’re craving comfort food. Feel free to play around with the variations and make it your own. That’s what cooking is all about, right?
I’d love to hear how it turns out for you. Drop a comment below and let me know if your family loved it as much as mine does. And if you come up with a killer variation, please share it. Happy Thanksgiving, and happy cooking!
Frequently Asked Questions
Can I use frozen green beans instead of fresh?
Yes, you can use frozen green beans in a pinch. Thaw them first and pat them very dry with paper towels to remove excess moisture. Skip the blanching step since they’re already partially cooked. Just add them directly to the sauce.
Can I make this casserole ahead of time?
Absolutely. You can assemble the entire casserole a day ahead, but leave the topping off until right before baking. Cover and refrigerate the assembled casserole, then add the topping and bake as directed. You may need to add 5-10 minutes to the baking time since it’s starting from cold.
Why did my sauce turn out lumpy?
Lumpy sauce usually happens when you add the milk too quickly or don’t whisk enough. Make sure to pour the milk in slowly while whisking constantly. If it does get lumpy, you can use an immersion blender to smooth it out, or strain it through a fine-mesh sieve.
Can I use canned cream of mushroom soup instead of making the sauce?
You can, but honestly, the homemade sauce with brown butter is what makes this recipe special. The canned soup version just doesn’t have the same depth of flavor or creamy texture. If you’re really short on time, I’d rather you use a high-quality condensed soup and add some sauteed mushrooms and a splash of cream to doctor it up.
How do I keep the topping crispy?
The key is to not overbake the casserole and to let it rest for a few minutes before serving. If you’re making it ahead, add the topping just before baking. If you have leftovers, reheat them in the oven rather than the microwave to help the topping stay crunchy.
Pin This Recipe!
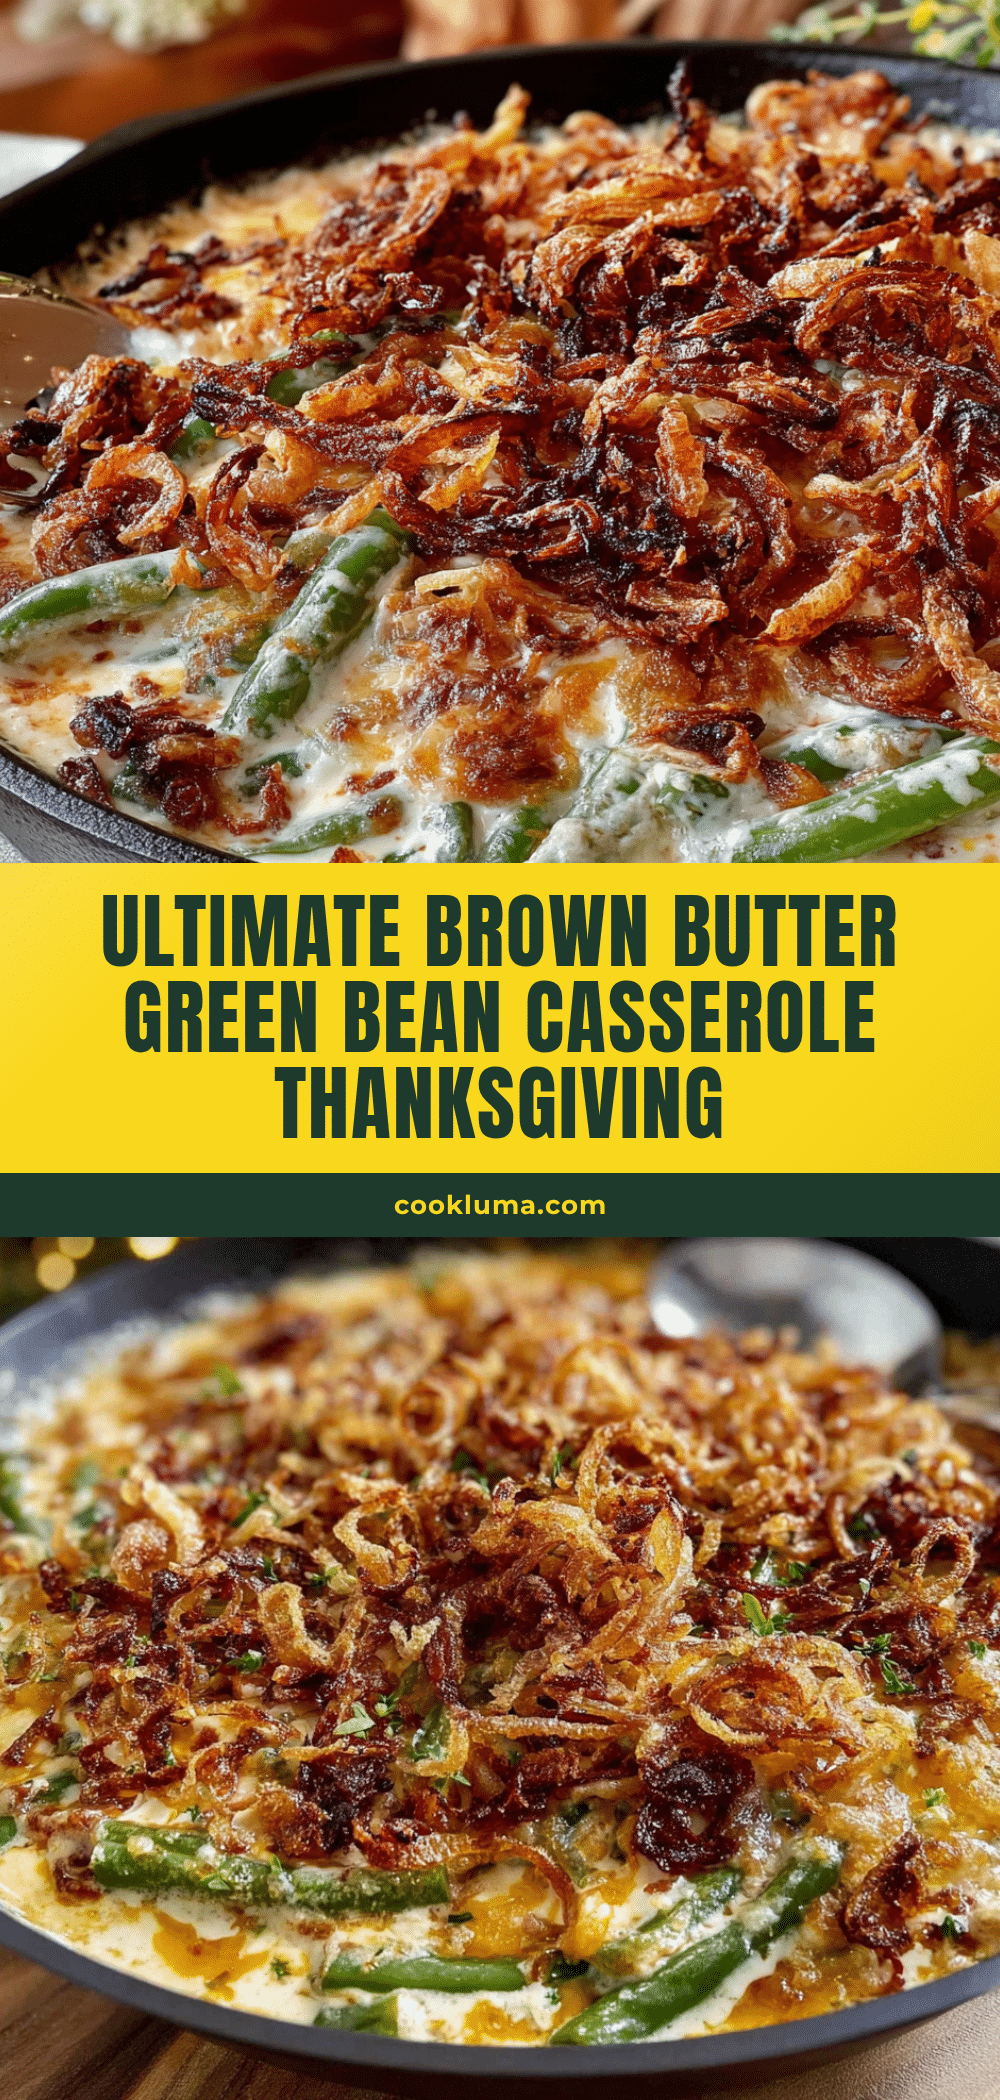
Ultimate Brown Butter Green Bean Casserole: Best Thanksgiving Side Dish

This isn’t just another green bean casserole. This is the one that will have people asking for the recipe before they’ve even finished their first helping. The nutty brown butter with the creamy mushroom sauce and crispy fried onions creates next-level comfort food that makes you close your eyes after the first bite.
- Prep Time: 15 minutes
- Cook Time: 30 minutes
- Total Time: 45 minutes
- Yield: 8 servings 1x
- Category: Side Dish
- Cuisine: American
Ingredients
- 1 ½ pounds fresh green beans, trimmed and cut into 2-inch pieces
- 4 tablespoons unsalted butter
- 8 ounces cremini mushrooms, sliced
- 1 small yellow onion, finely diced
- 3 cloves garlic, minced
- 3 tablespoons all-purpose flour
- 1 ½ cups whole milk
- ½ cup heavy cream
- 1 teaspoon kosher salt, plus more for the water
- ½ teaspoon black pepper
- ¼ teaspoon ground nutmeg
- ¼ teaspoon cayenne pepper (optional)
- 1 cup crispy fried onions
- ½ cup panko breadcrumbs
- 2 tablespoons unsalted butter, melted
- ¼ cup grated Parmesan cheese (optional)
Instructions
- Preheat your oven to 375°F (190°C).
- Blanch the green beans: Bring a large pot of salted water to a boil. Add the trimmed green beans and cook for exactly 3 minutes. Drain immediately and transfer to a bowl of ice water to stop the cooking. Drain again and set aside.
- Brown the butter: In a large skillet, melt 4 tablespoons of butter over medium heat. Once melted, it will start to foam and sputter. Swirl the pan occasionally. After about 3-4 minutes, the foam will subside and you’ll see little brown specks forming at the bottom. The butter will smell nutty. Remove the pan from the heat immediately.
- Sauté the aromatics: Add the sliced mushrooms and diced onion to the pan with the brown butter. Return to medium heat and cook for 5-7 minutes, stirring occasionally, until the mushrooms have released their liquid and started to brown. Add the minced garlic and cook for another 30 seconds until fragrant.
- Make the sauce: Sprinkle the flour over the mushroom mixture and stir constantly for 1 minute. Slowly pour in the milk while whisking continuously to prevent lumps. Then add the heavy cream. Bring to a gentle simmer, stirring often, until the sauce thickens enough to coat the back of a spoon, about 3-4 minutes.
- Season the sauce: Stir in the salt, pepper, nutmeg, and cayenne if using. Taste and adjust the seasoning.
- Combine everything: Add the blanched green beans to the skillet and stir until they are completely coated in the creamy sauce. Pour the entire mixture into a greased 9×13-inch baking dish and spread it into an even layer.
- Make the topping: In a small bowl, mix the crispy fried onions, panko breadcrumbs, and grated Parmesan (if using). Pour the 2 tablespoons of melted butter over the top and toss to combine. Sprinkle this mixture evenly over the green bean casserole.
- Bake: Place the dish in the preheated oven and bake for 20-25 minutes, until the topping is golden brown and the sauce is bubbly around the edges. Let it rest for 5 minutes before serving.
Notes
Don’t skip the blanching step—it keeps the beans from turning into mush. Watch the brown butter like a hawk; it goes from perfect to burnt in about 15 seconds. Make the sauce ahead of time to save stress on Thanksgiving. Use a microplane for fresh nutmeg for best flavor. Double the topping for extra crunch.
Nutrition
- Serving Size: 1 serving (approxima
- Calories: 285
- Sugar: 8
- Sodium: 520
- Fat: 18
- Saturated Fat: 10
- Carbohydrates: 22
- Fiber: 4
- Protein: 7
Keywords: green bean casserole, brown butter, Thanksgiving side dish, mushroom sauce, crispy fried onions, holiday recipe, comfort food


